
 |
|
#11
|
||||
|
||||
|
Thank you Eduardo.
You are right, if I had tried to do the sideplates in one piece, it would have been a disaster. Jim |
|
#12
|
||||
|
||||
|
Quote:
__________________
Carborundum Illegitimi Ne Herky  
|
|
#13
|
||||
|
||||
|
Good evening.
Short update on the Bismarck. Started work on the midships hull side panel installation. Only one side done which I finished tonight. These panel can not be rushed. Gluing along the deck line first, a bit at a time. Keeping the top of the panel and the deck line even. Only after the deck line is finish do we attach along the lower hull. 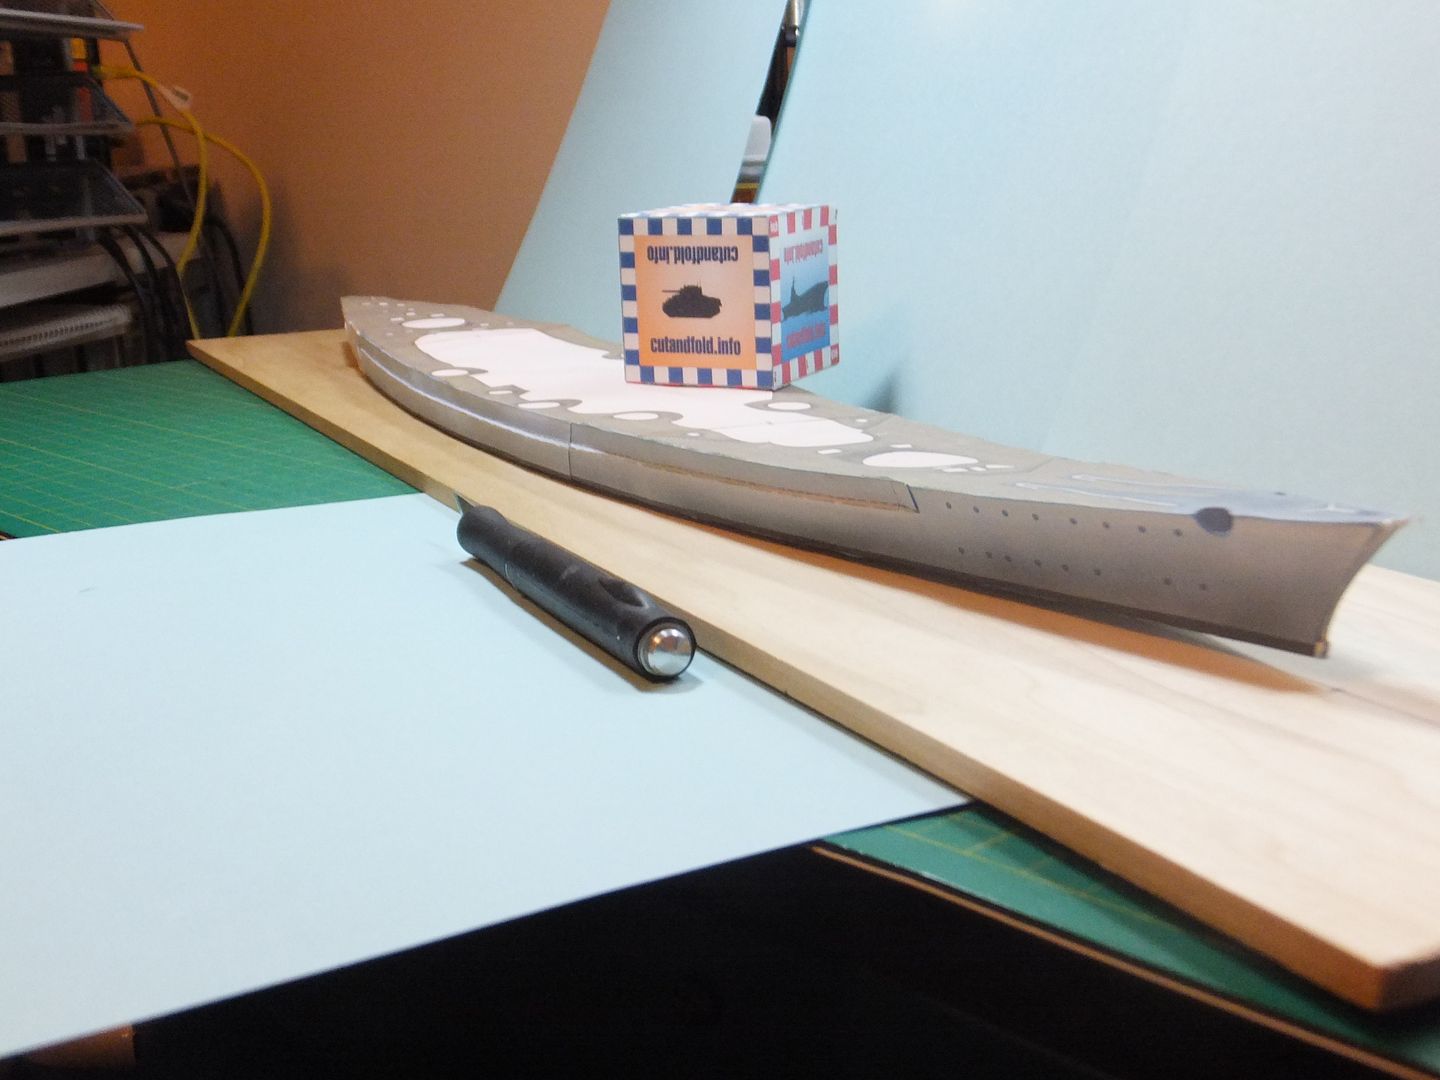 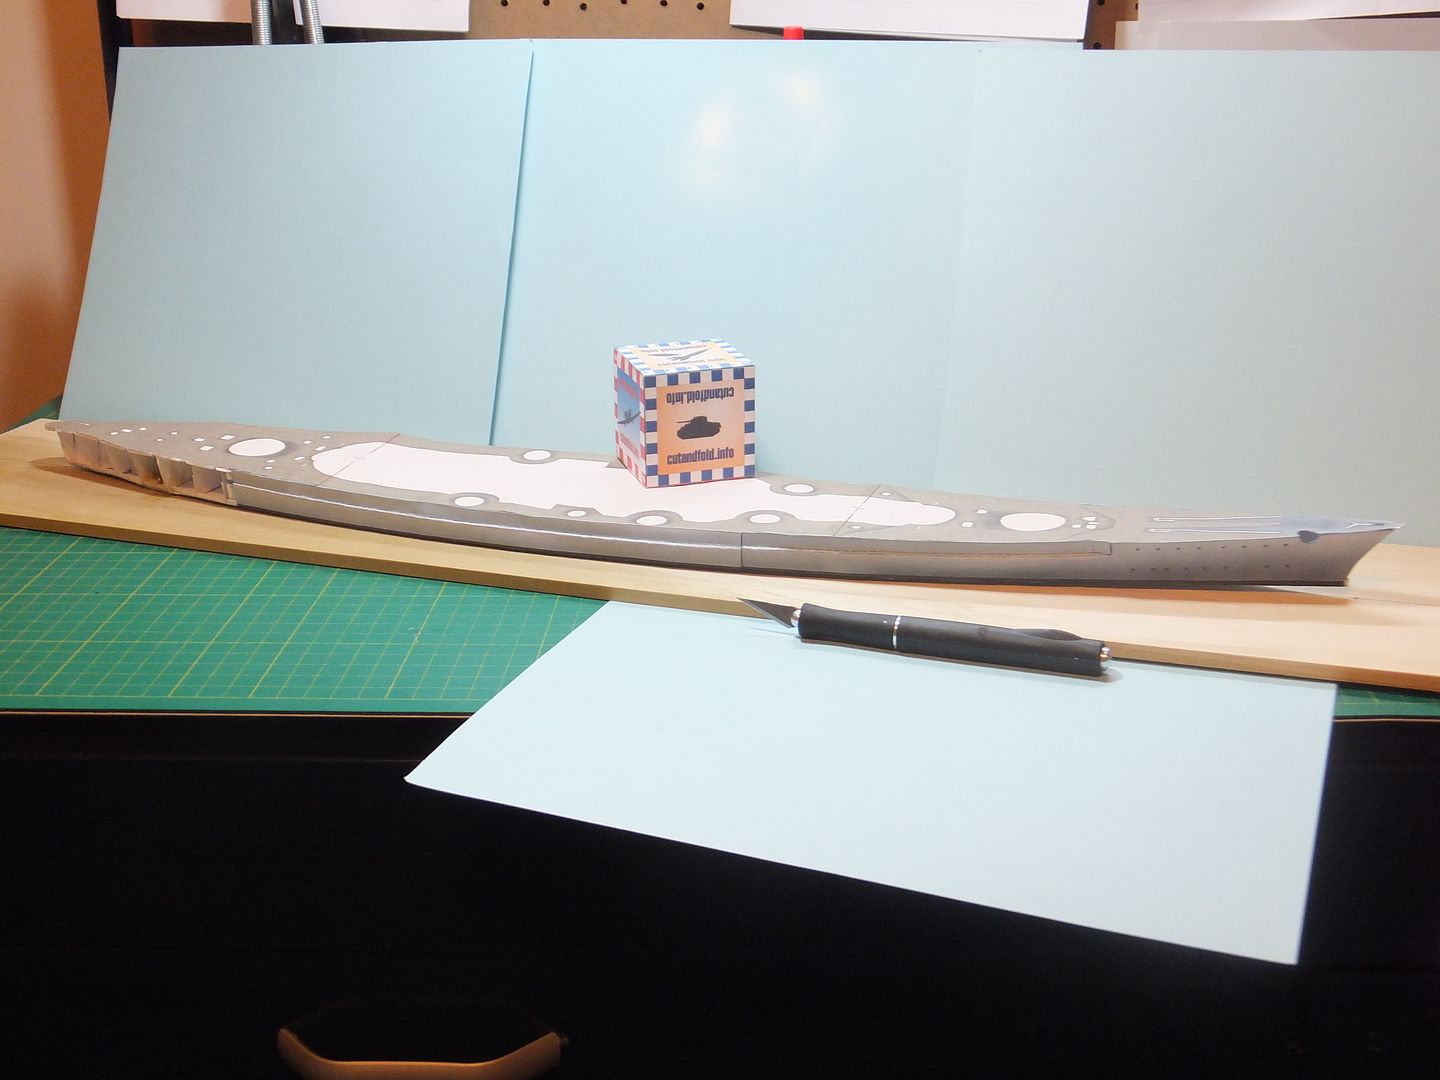 I know it is an optical illusion, but with this panel the ship looks longer, especially from my vantage point at my computer desk looking toward the bench. Still have to finish the other side before moving on to the aft section. Thank you for following. Questions and comments welcome. Jim |
|
#14
|
||||
|
||||
|
Good day evey one.
Had a bit of progress over the weekend. Was able to install the midships hull side panel on the other side as well as the two aft sections. 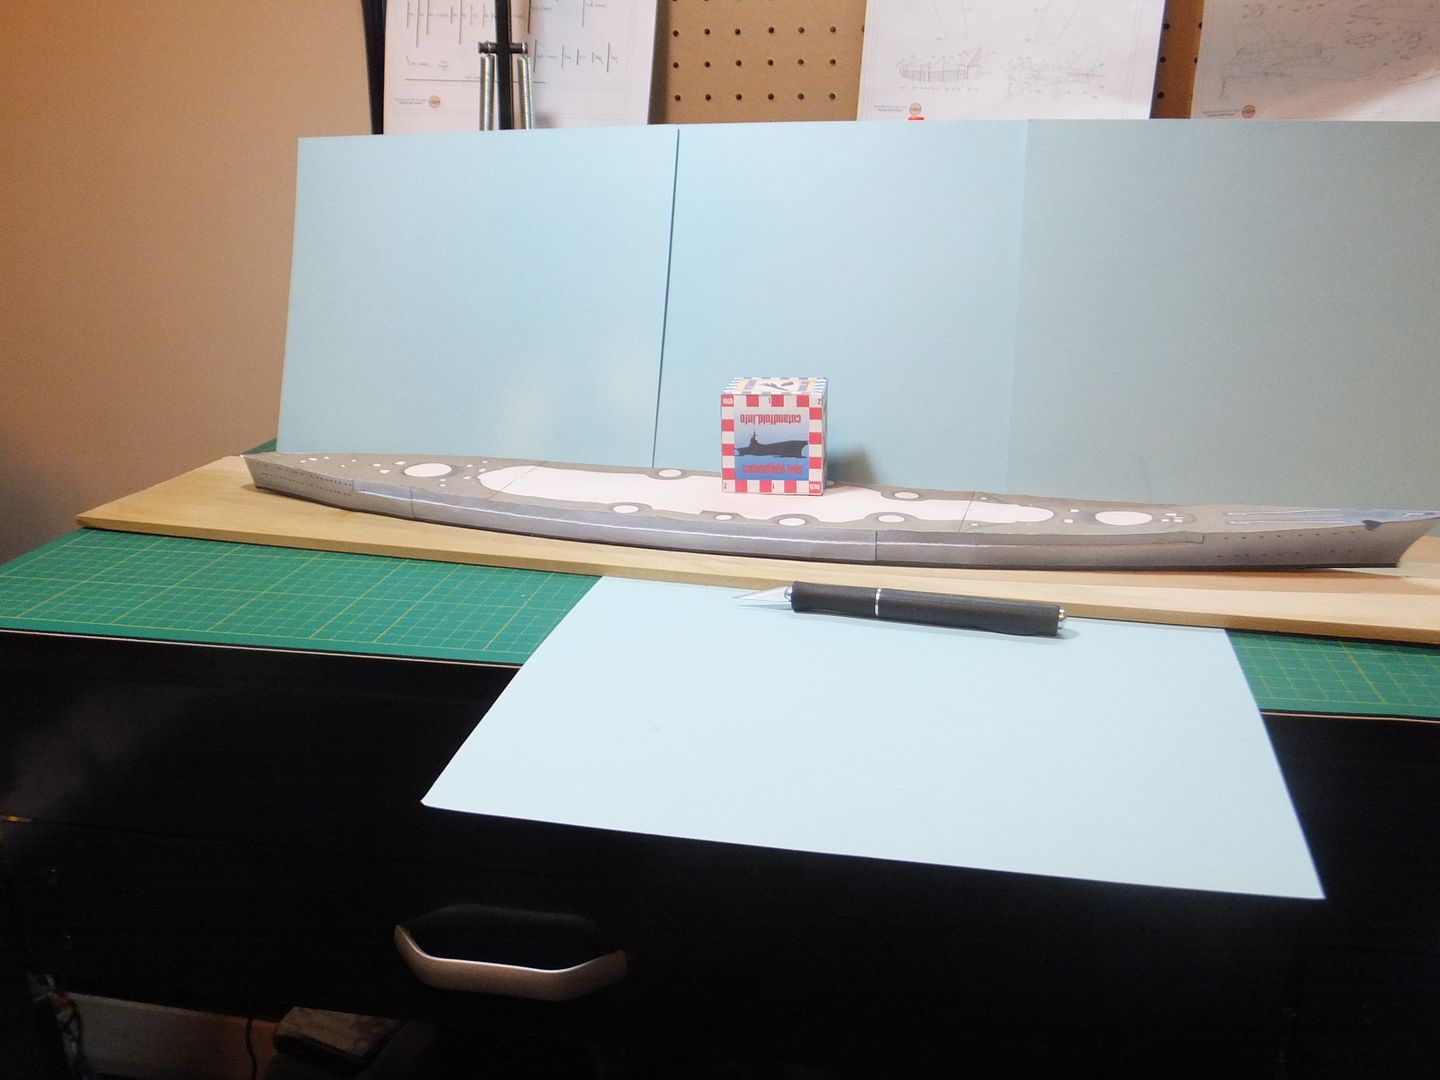 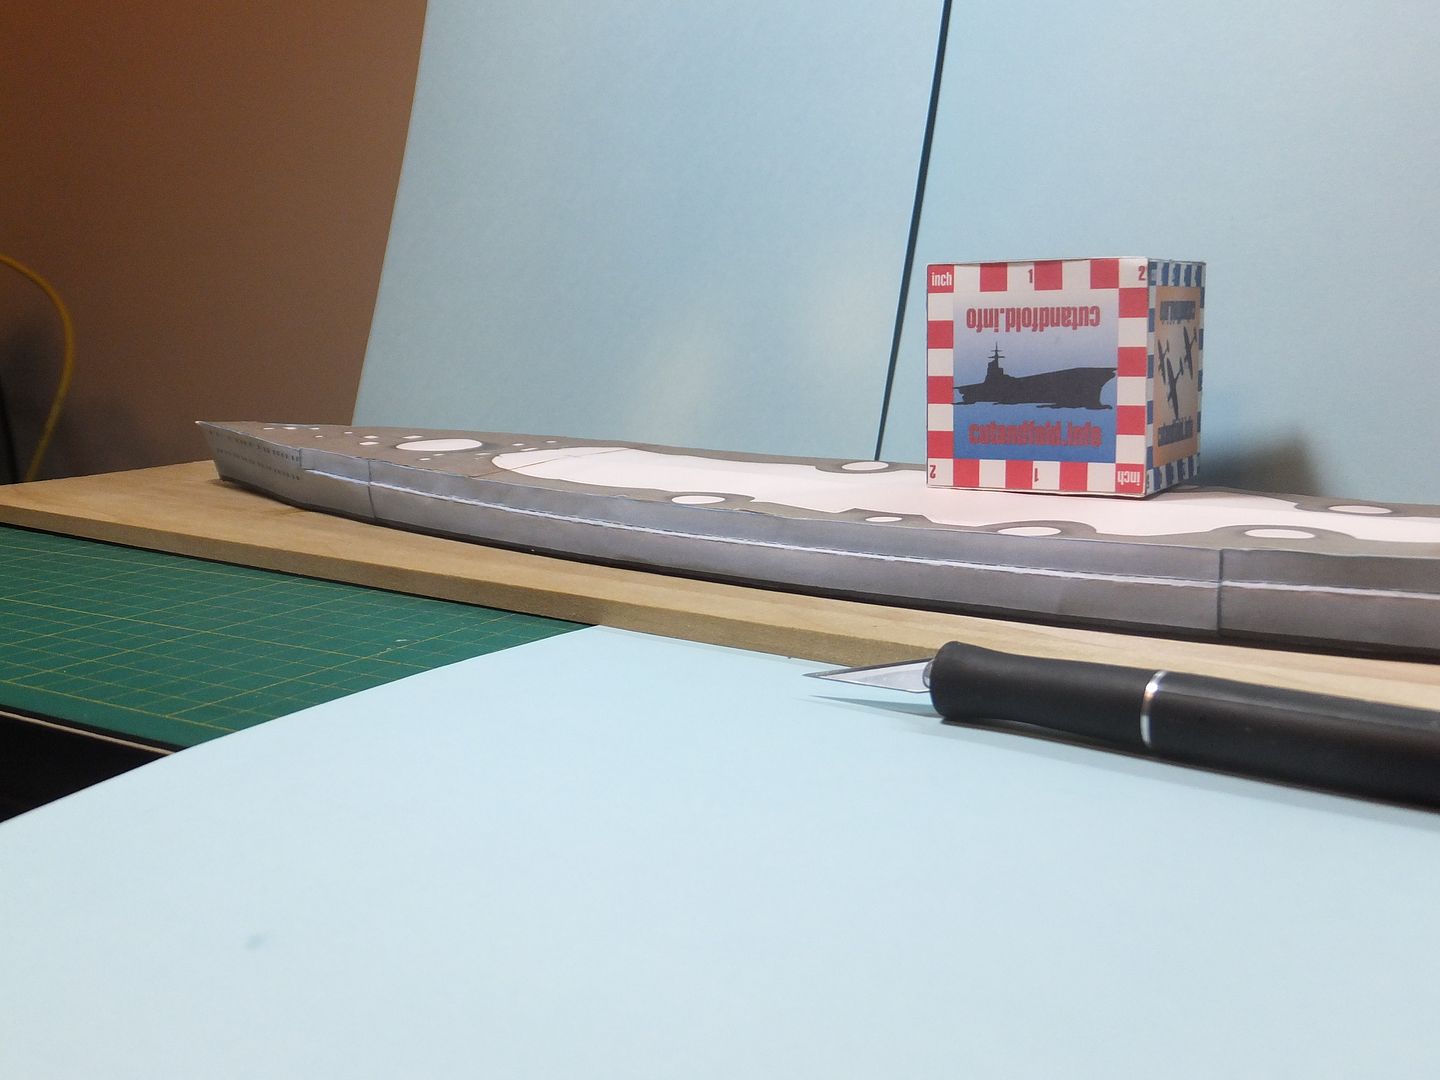 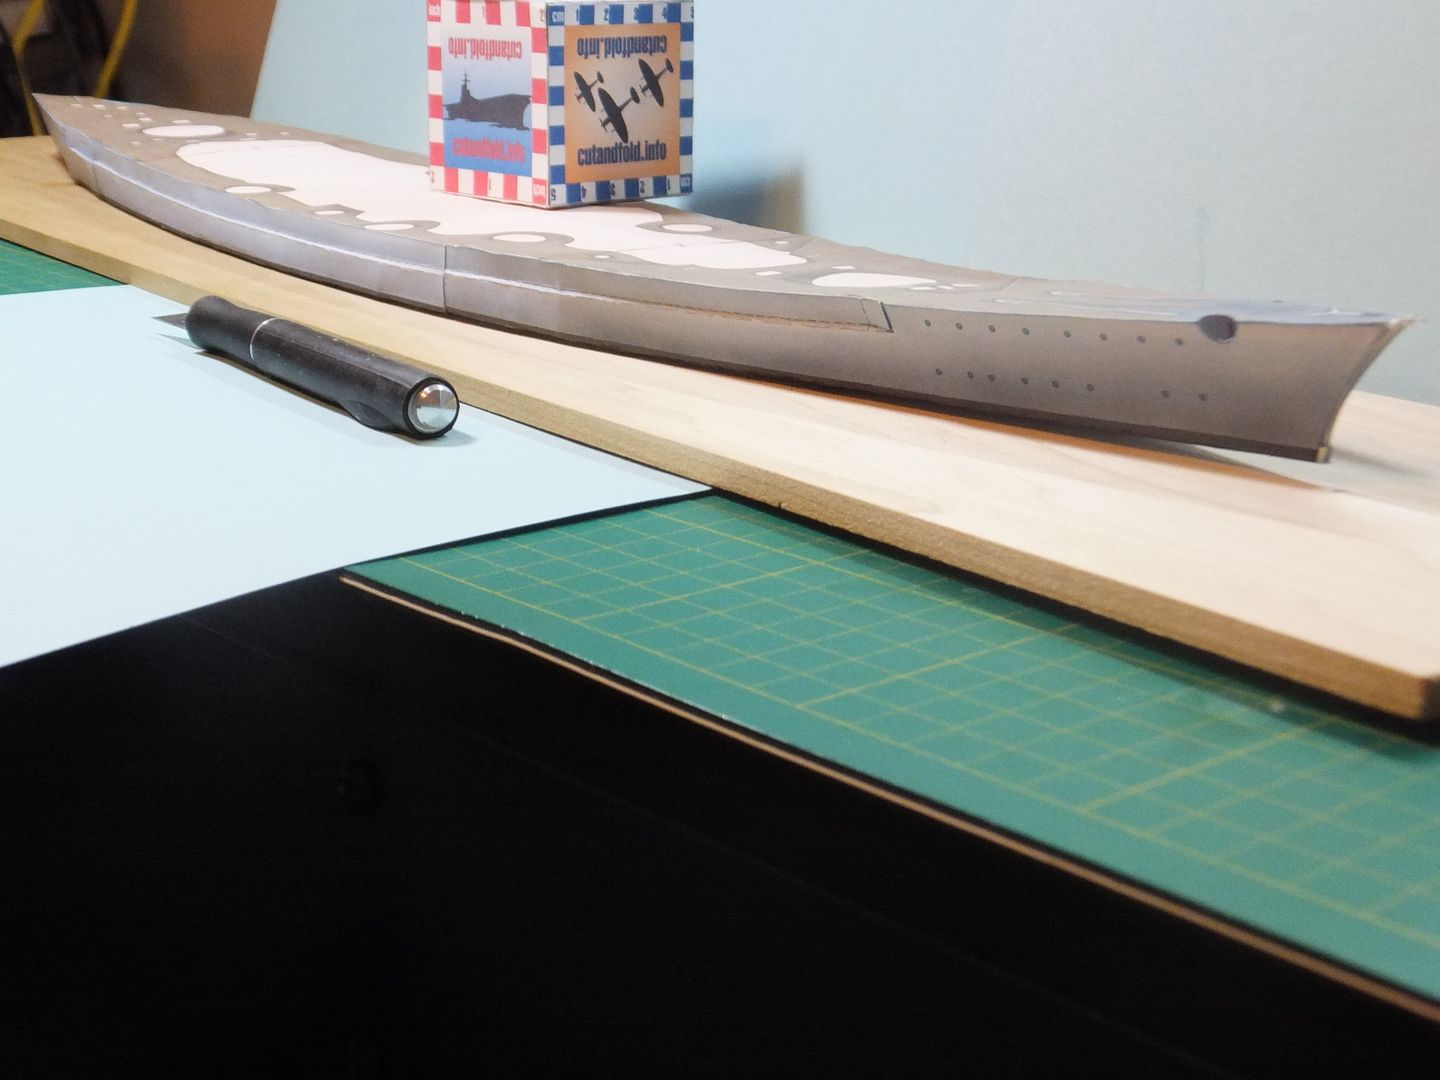 With the side panels done, it was time to work on the Bow and Stern. The pieces cut and shaped. 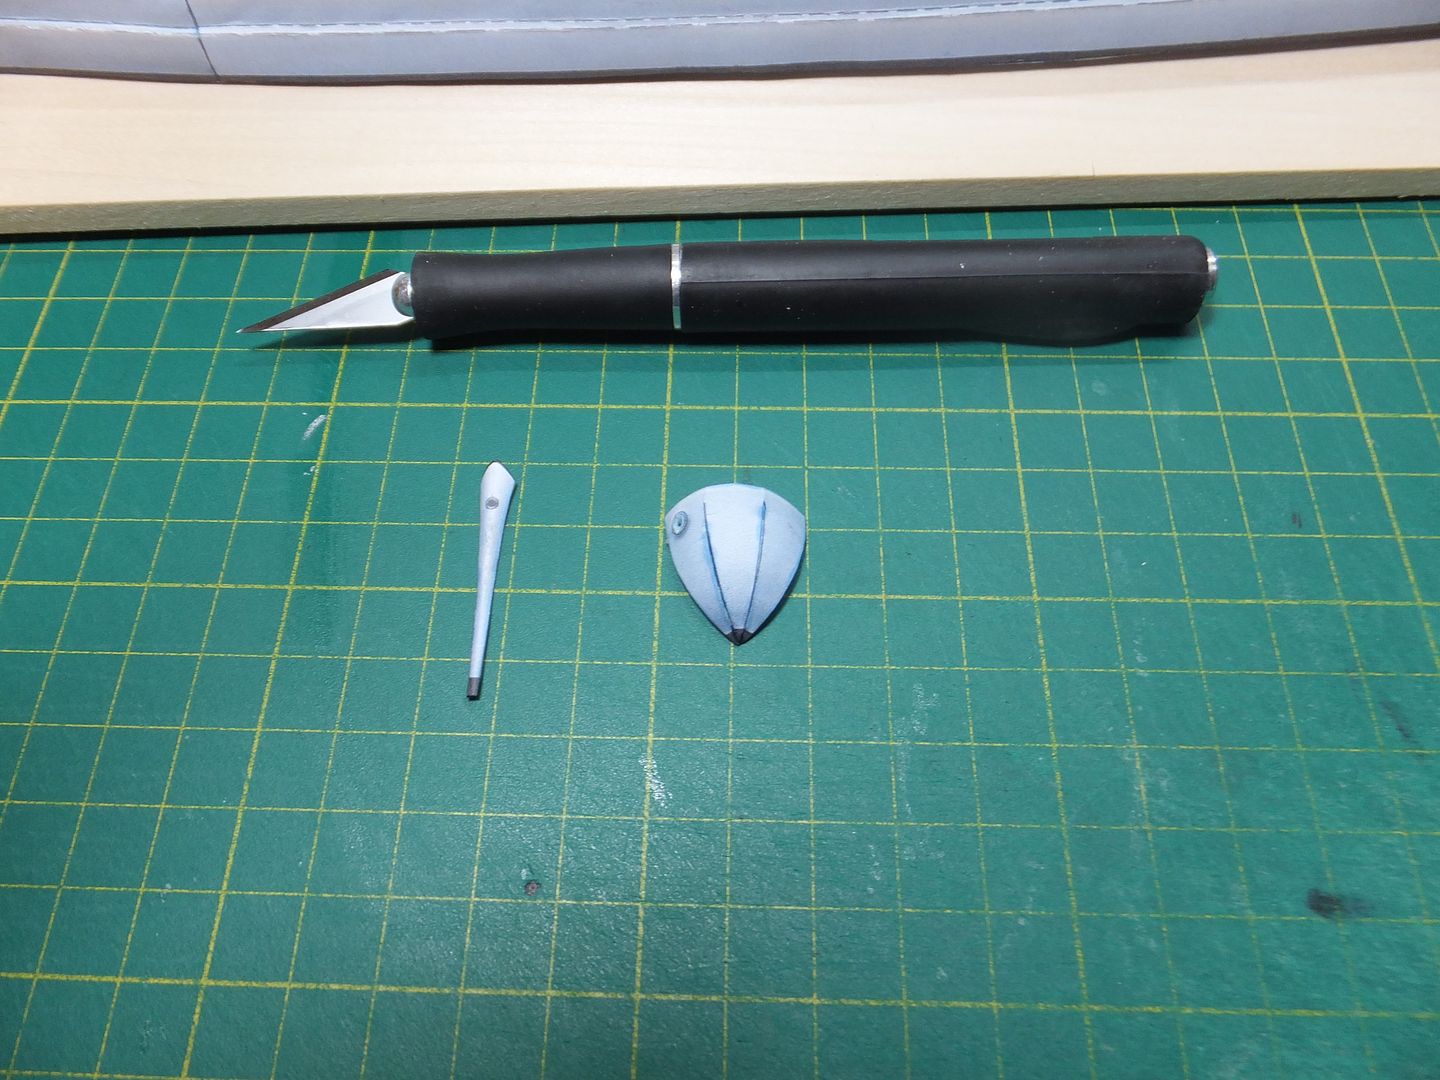 Then installed the bow and stern. For the bow the glue tabs were coloured the deck colour and the waterline was extended to the exposed bow framework. 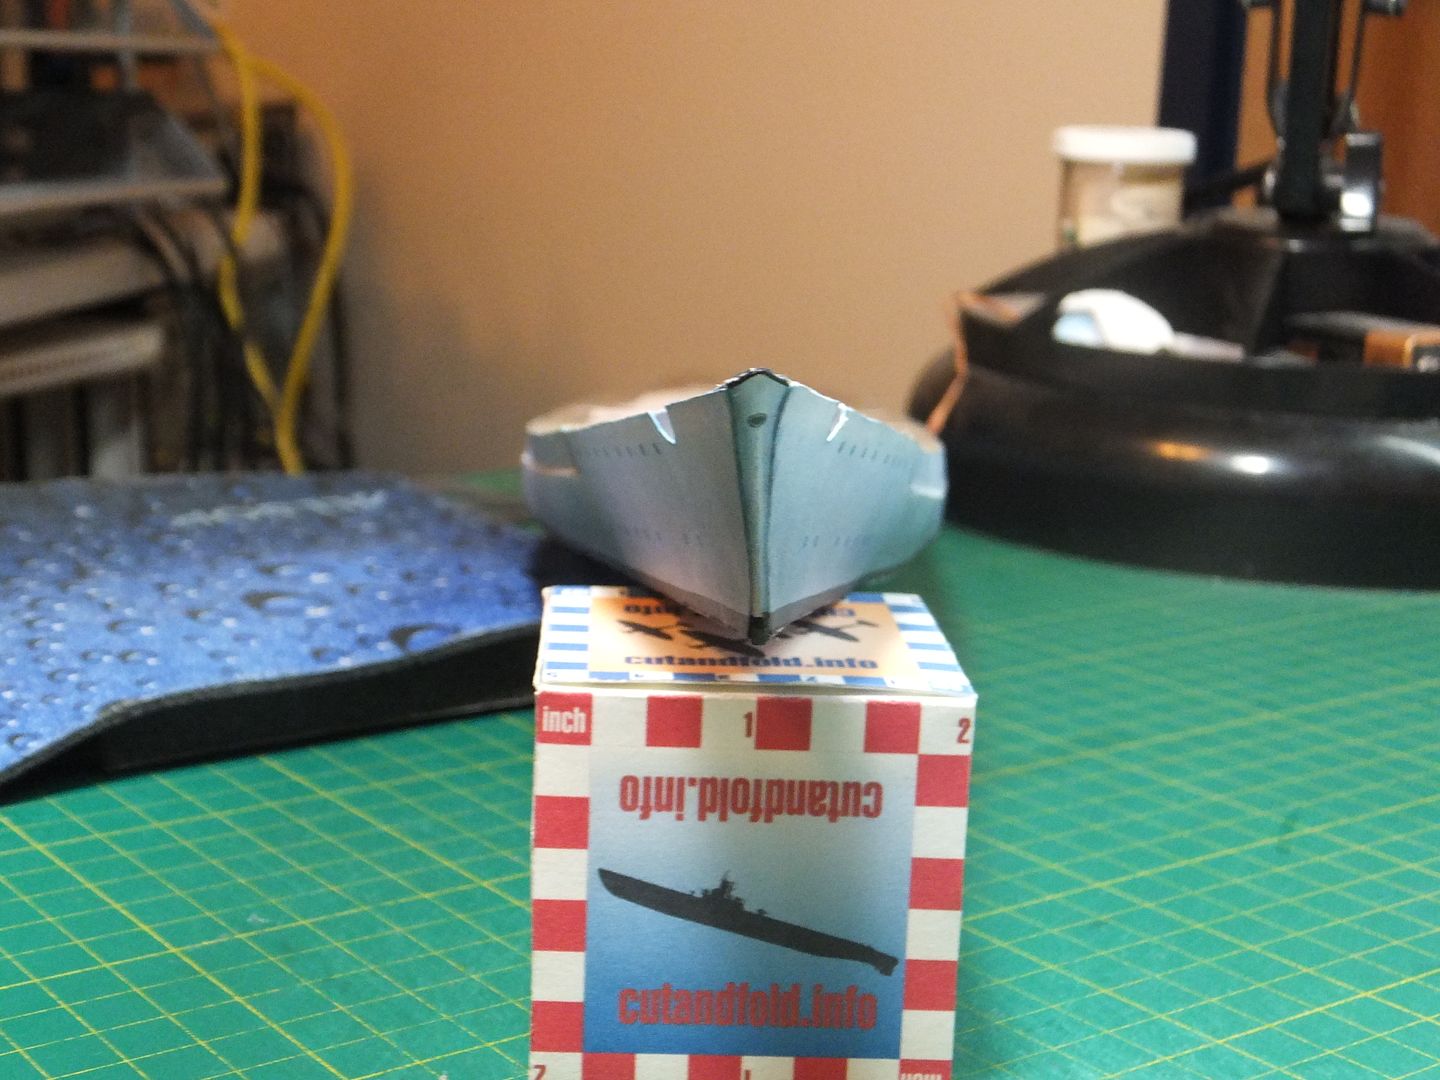 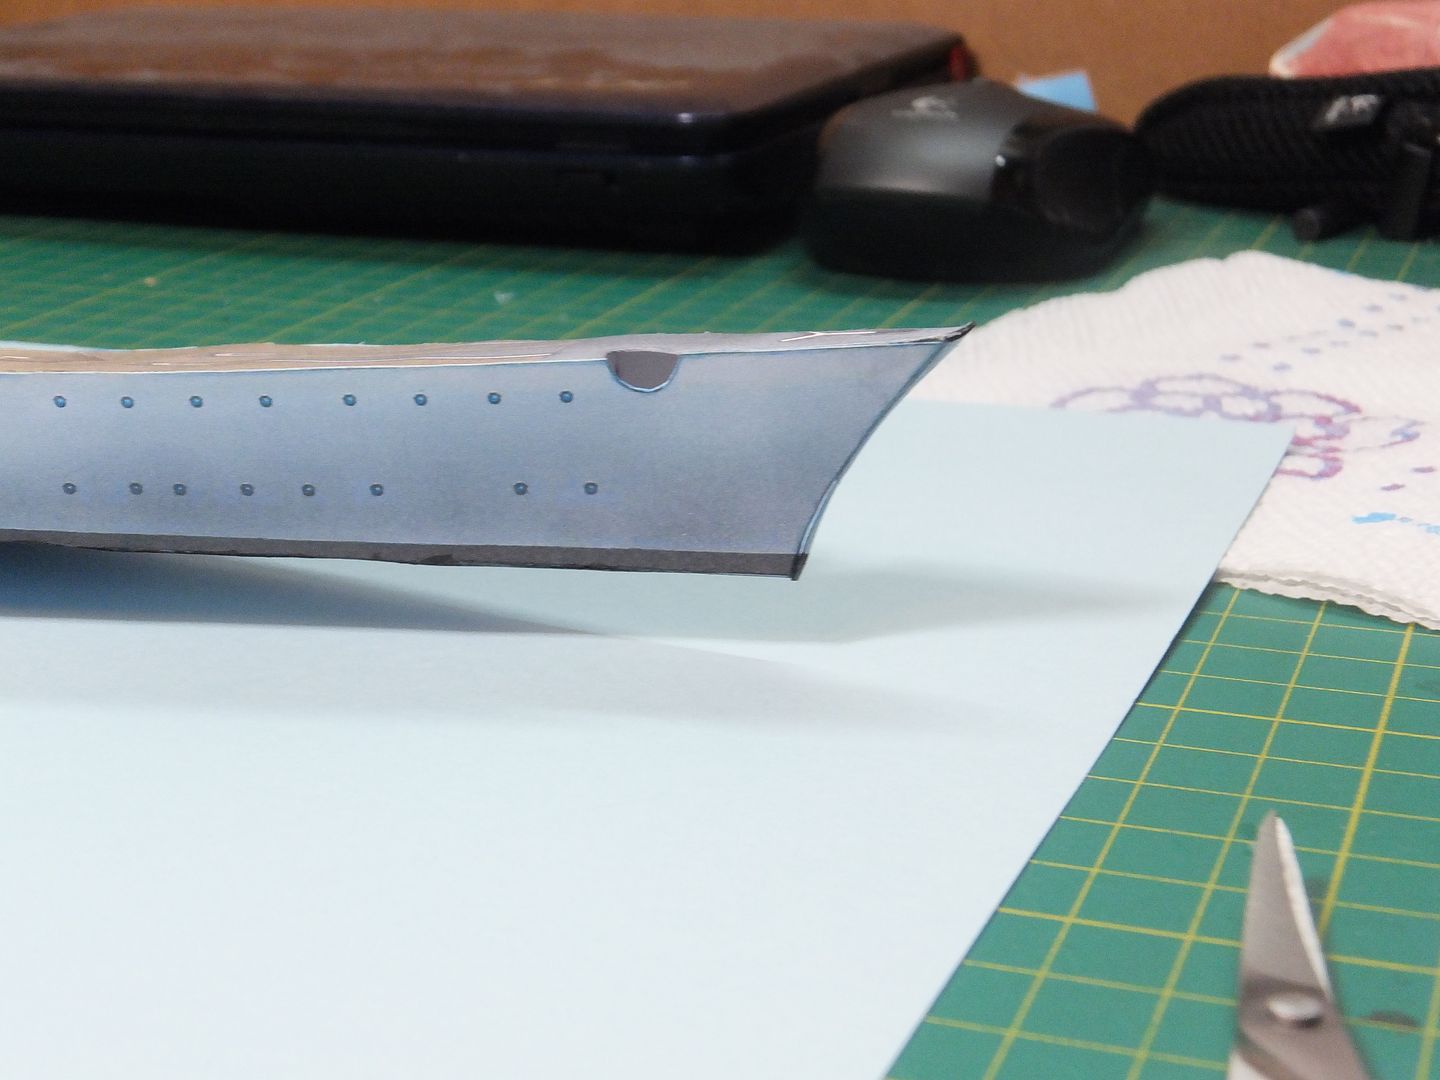 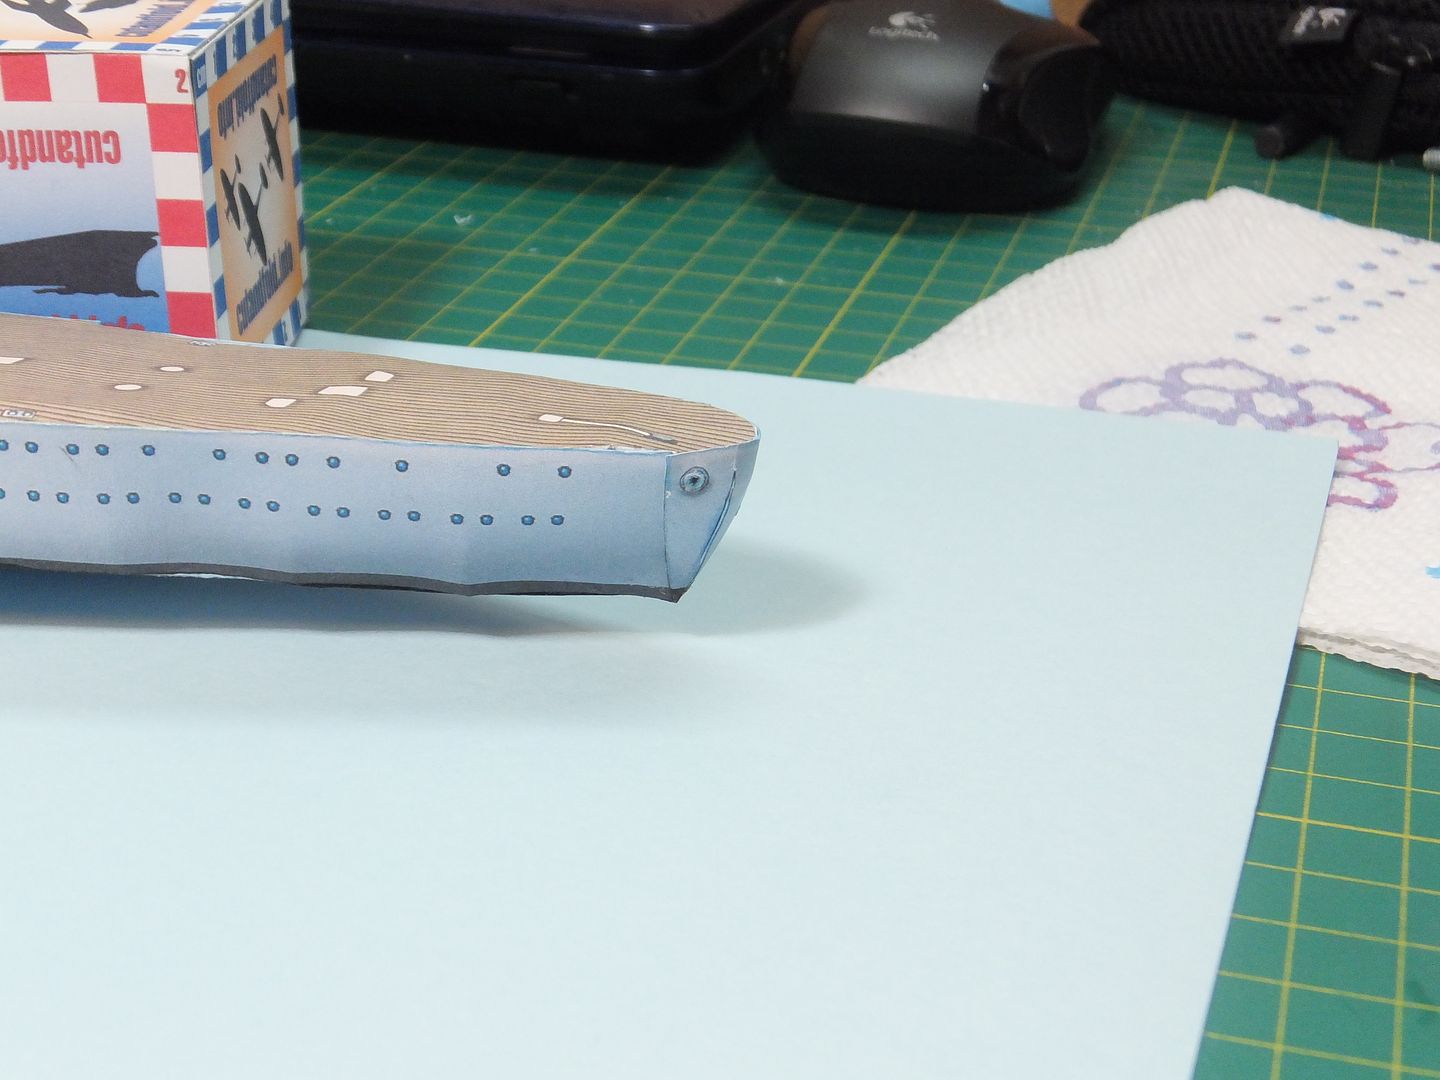 This is where I am at, at this moment. Thank you for following. Questions and comments are welcome. Jim |
|
#15
|
||||
|
||||
|
I have a question. The ship is warped up or is just my idea?
__________________
https://ecardmodels.com/vendors/draco |
| Google Adsense |
|
#16
|
||||
|
||||
|
Hi Draco. It does have a bit of a rise at the bow.That will be fixed when it is mounted on it's final base.
Jim |
|
#17
|
||||
|
||||
|
Good Evening.
Update on the Bismarck build. I'm just following the pages from the start and would like to complete all the little bits still on those pages. Anyhow, started with installing those anchor chains and the ports where the chains enter the hull. they were pretty straight forward. Then went for the Capstans. The 2 at the bow went together fairly easily. Those 2 aft were another story. Had to use pins to shape and assemble those as even toothpicks were too large. 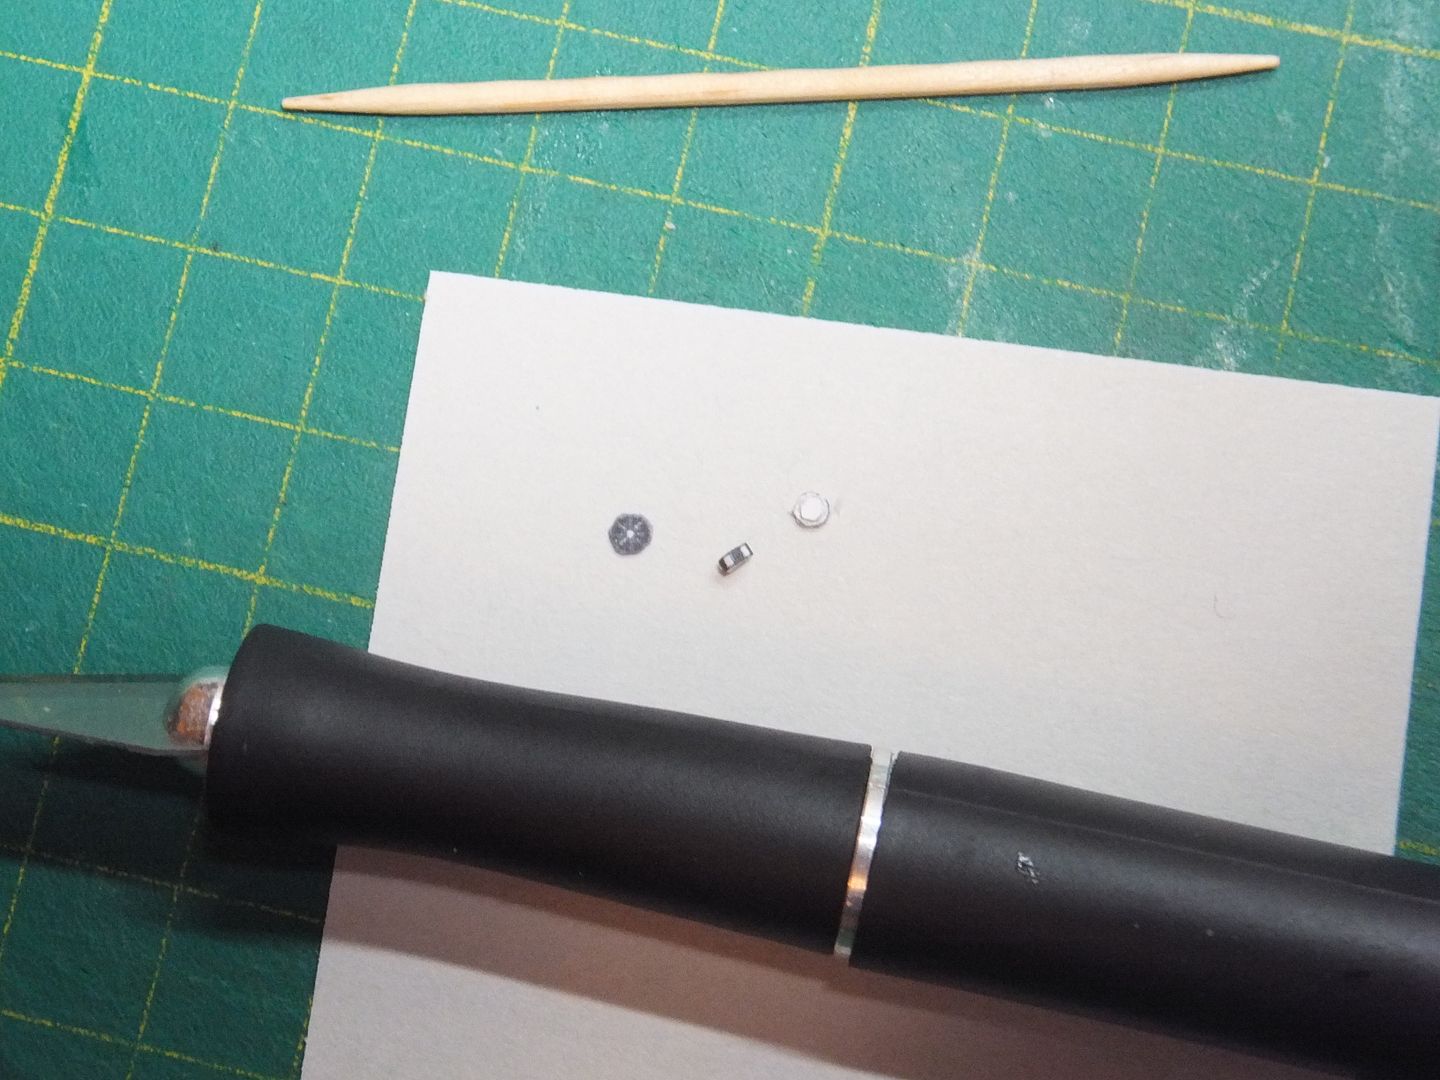 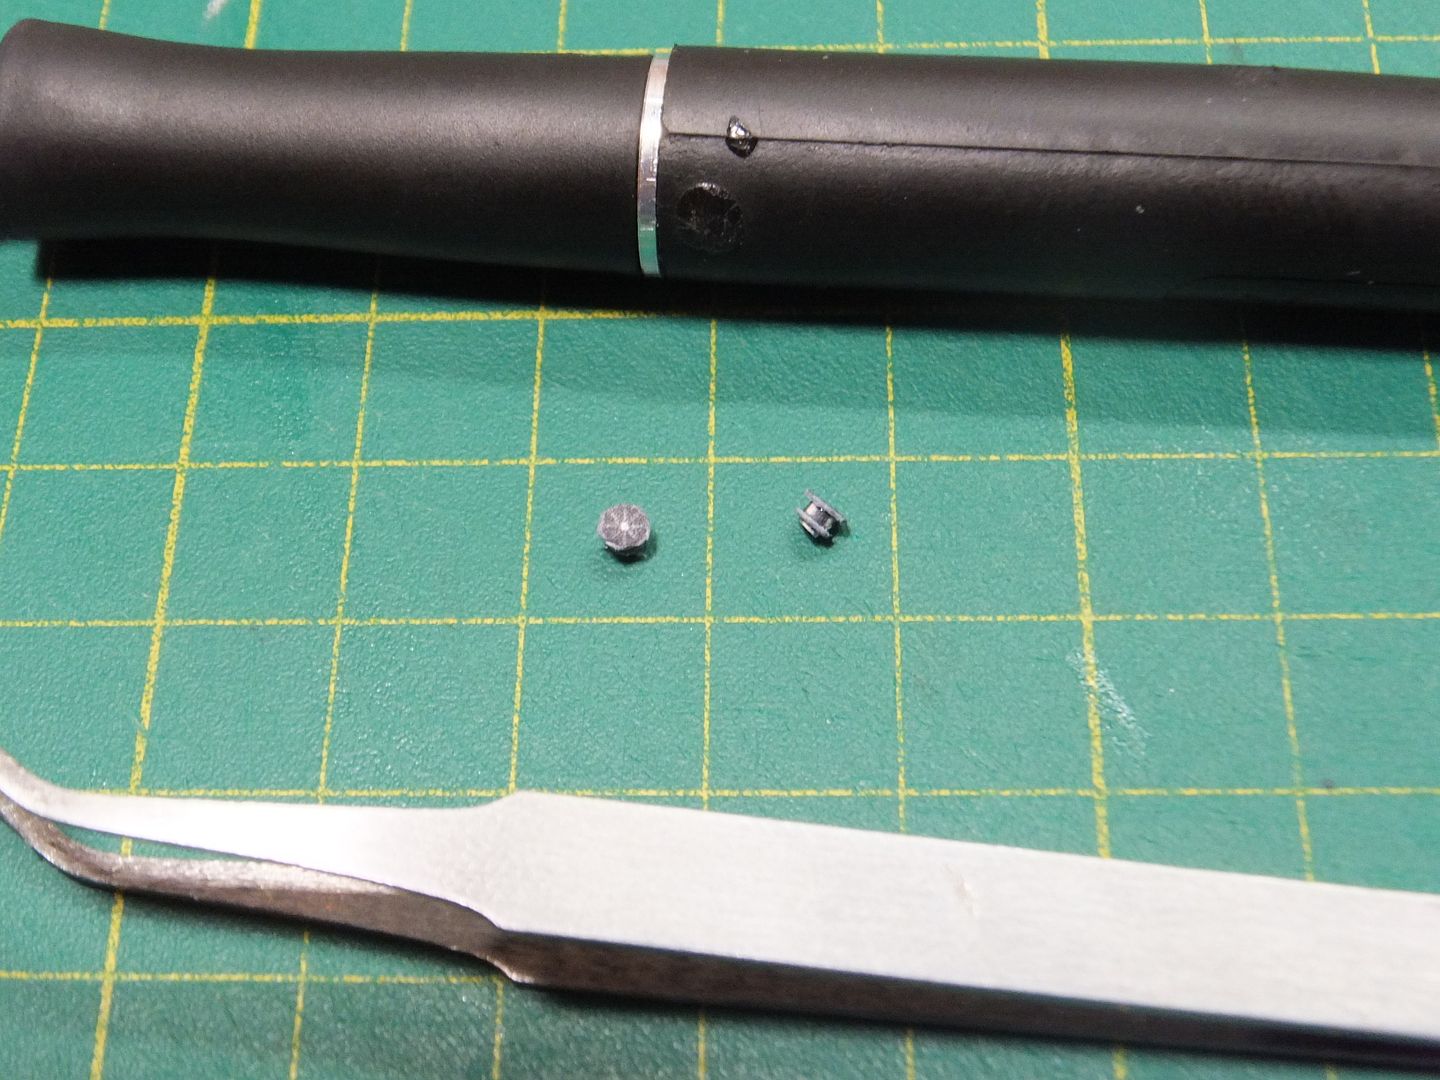 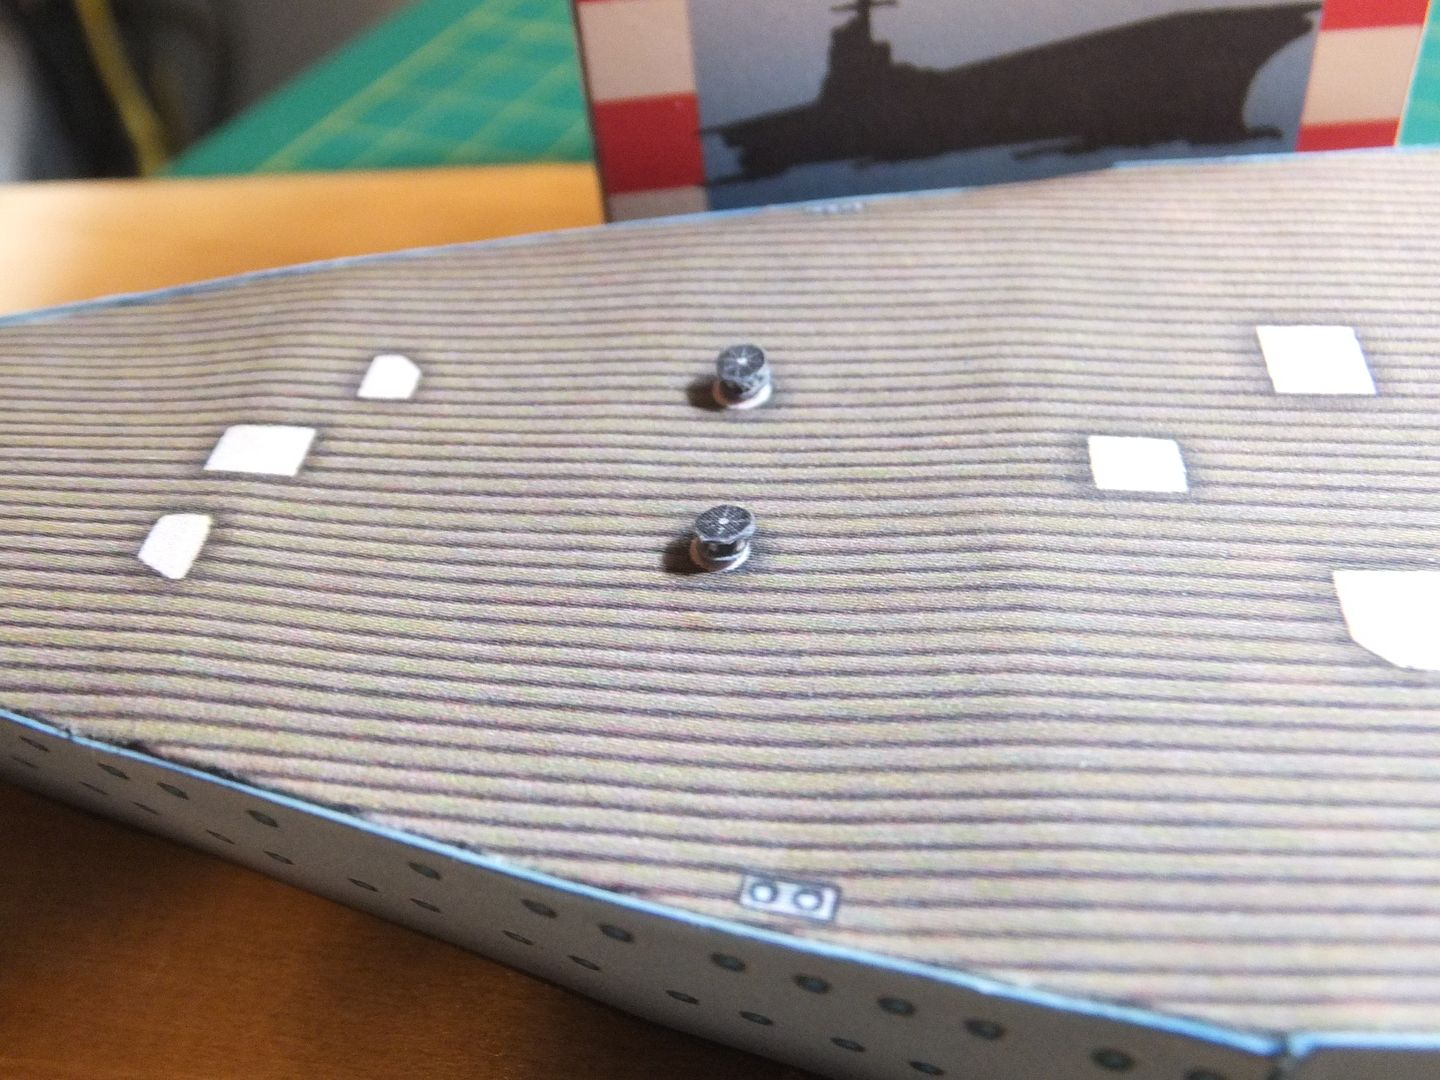 Then came the anchors. They went together with no problems, but the position showed on Zio's site is incorrect according to the images and drawing for the actual ship that I have. Cut them a little shorter and align flat with the deck and the anchor way. A detail I added to the model are the "Bow Anchor Hawse" which are used to guide the anchor and chain down the anchor way off the side of the ship and to secure the anchor when they're aboard. These were easy to synthesis from the images and drawings that I have. 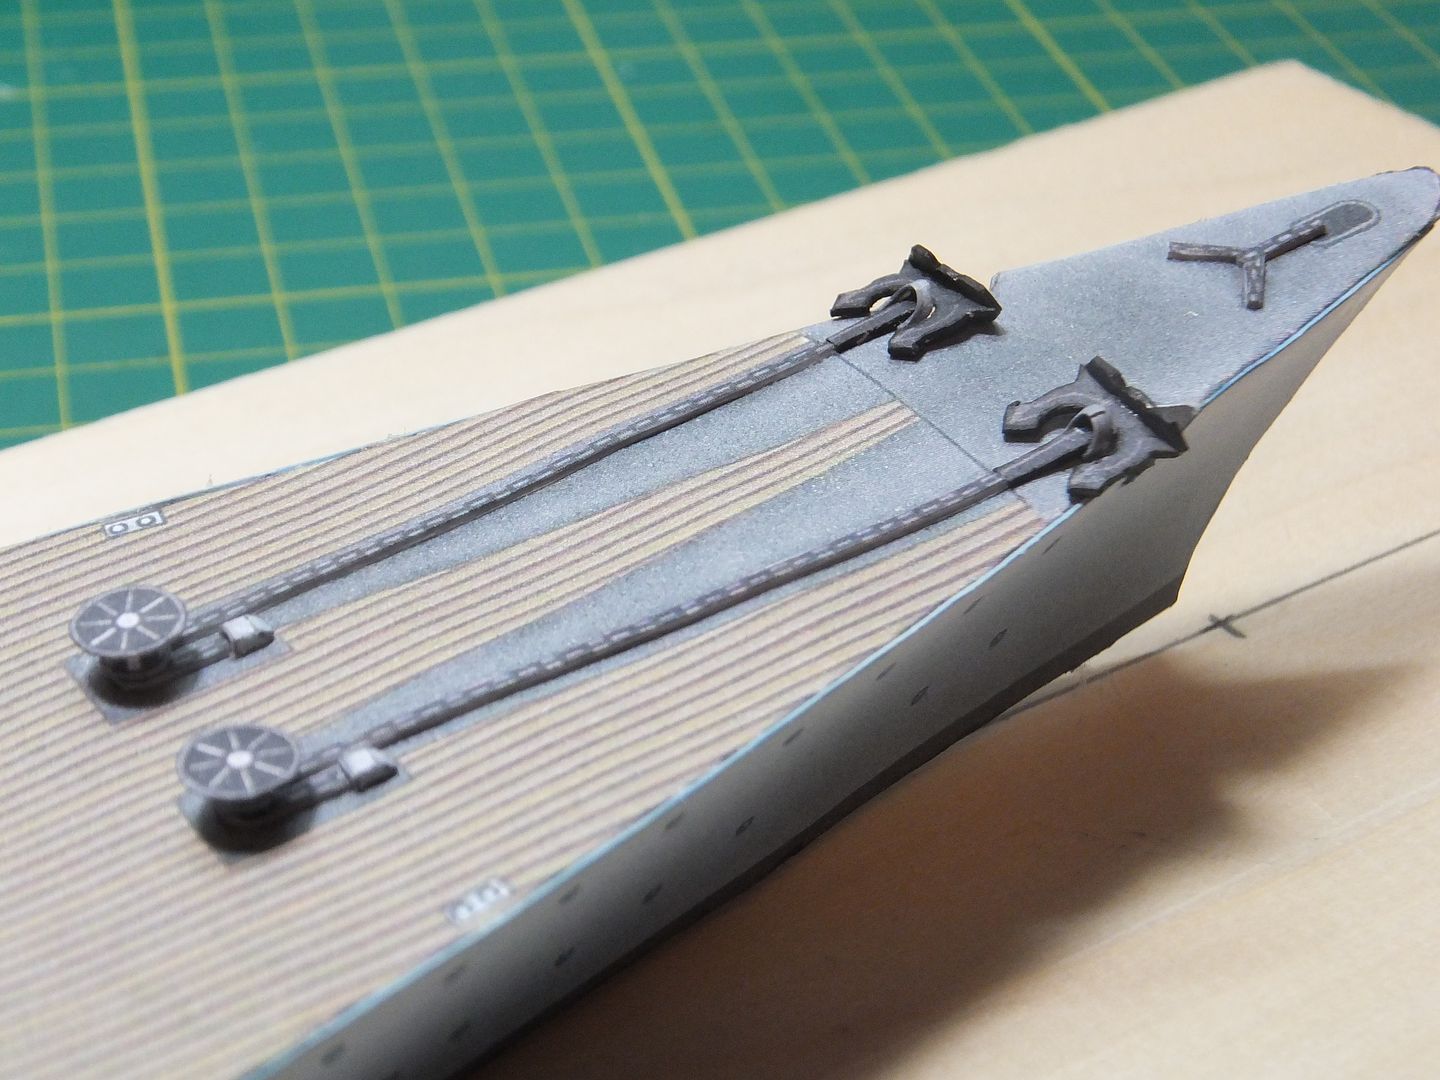 And last the install of the Stern anchor. 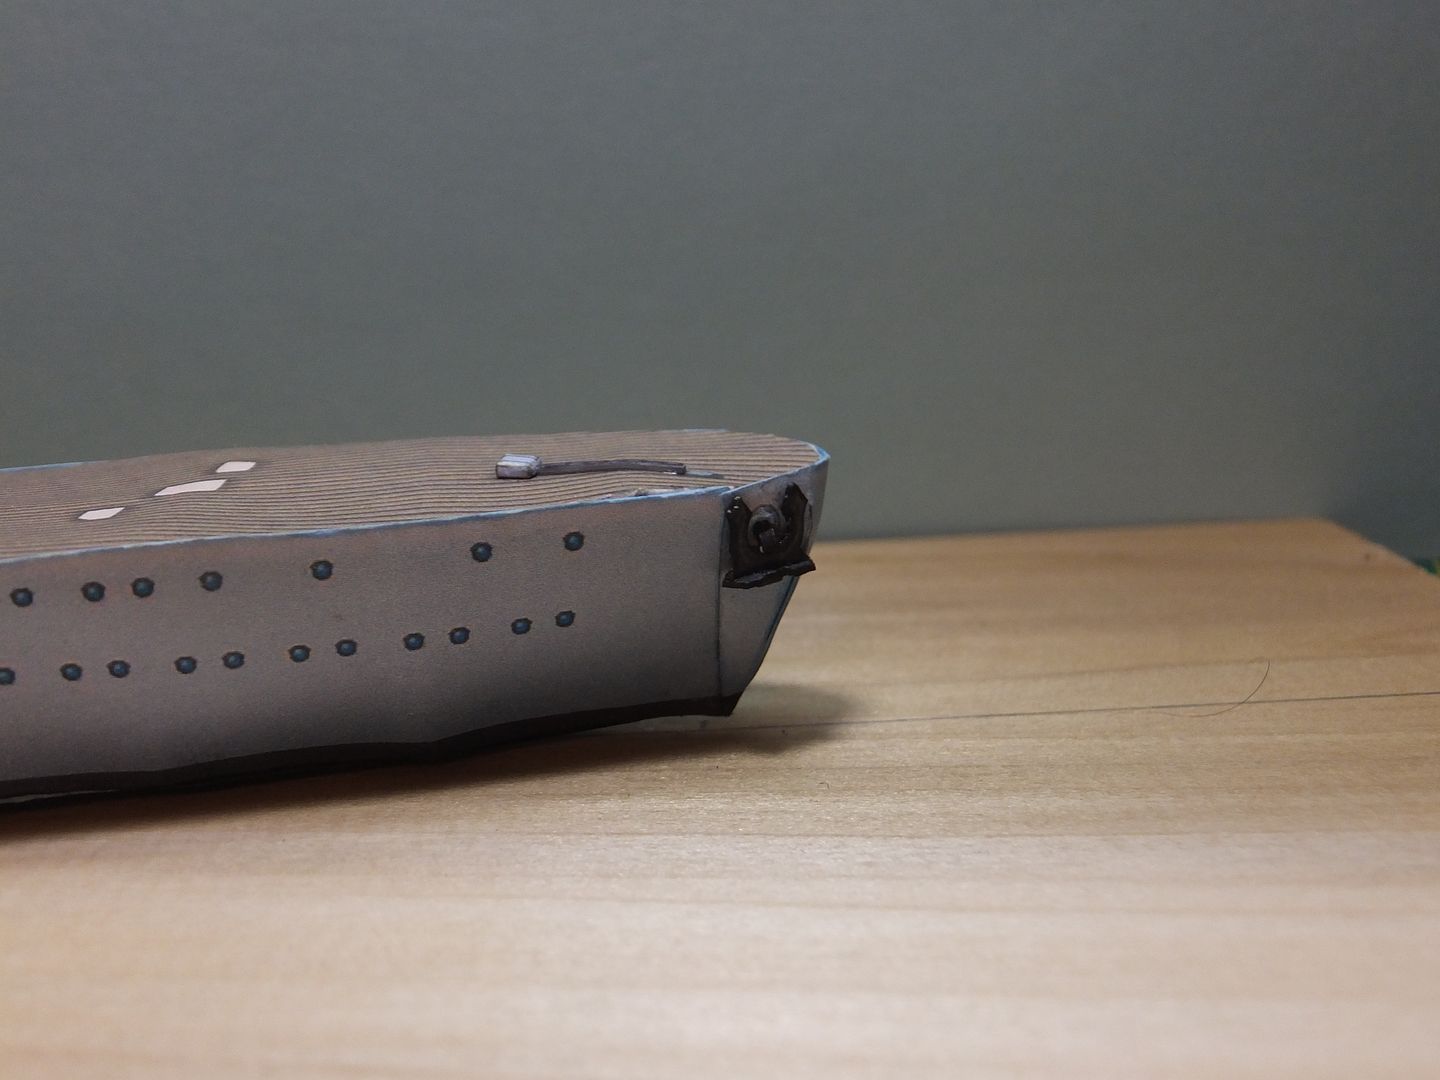 Thank you for following. Questions and comments welcome. Jim |
|
#18
|
||||
|
||||
|
#19
|
||||
|
||||
|
Good evening.
This weekend I was able to finish off the small deck features that I wanted to complete before moving on to the larger structures. Some of those little boxes take time to assemble. Some are actually complex for their size and can only glue one joint at a time. 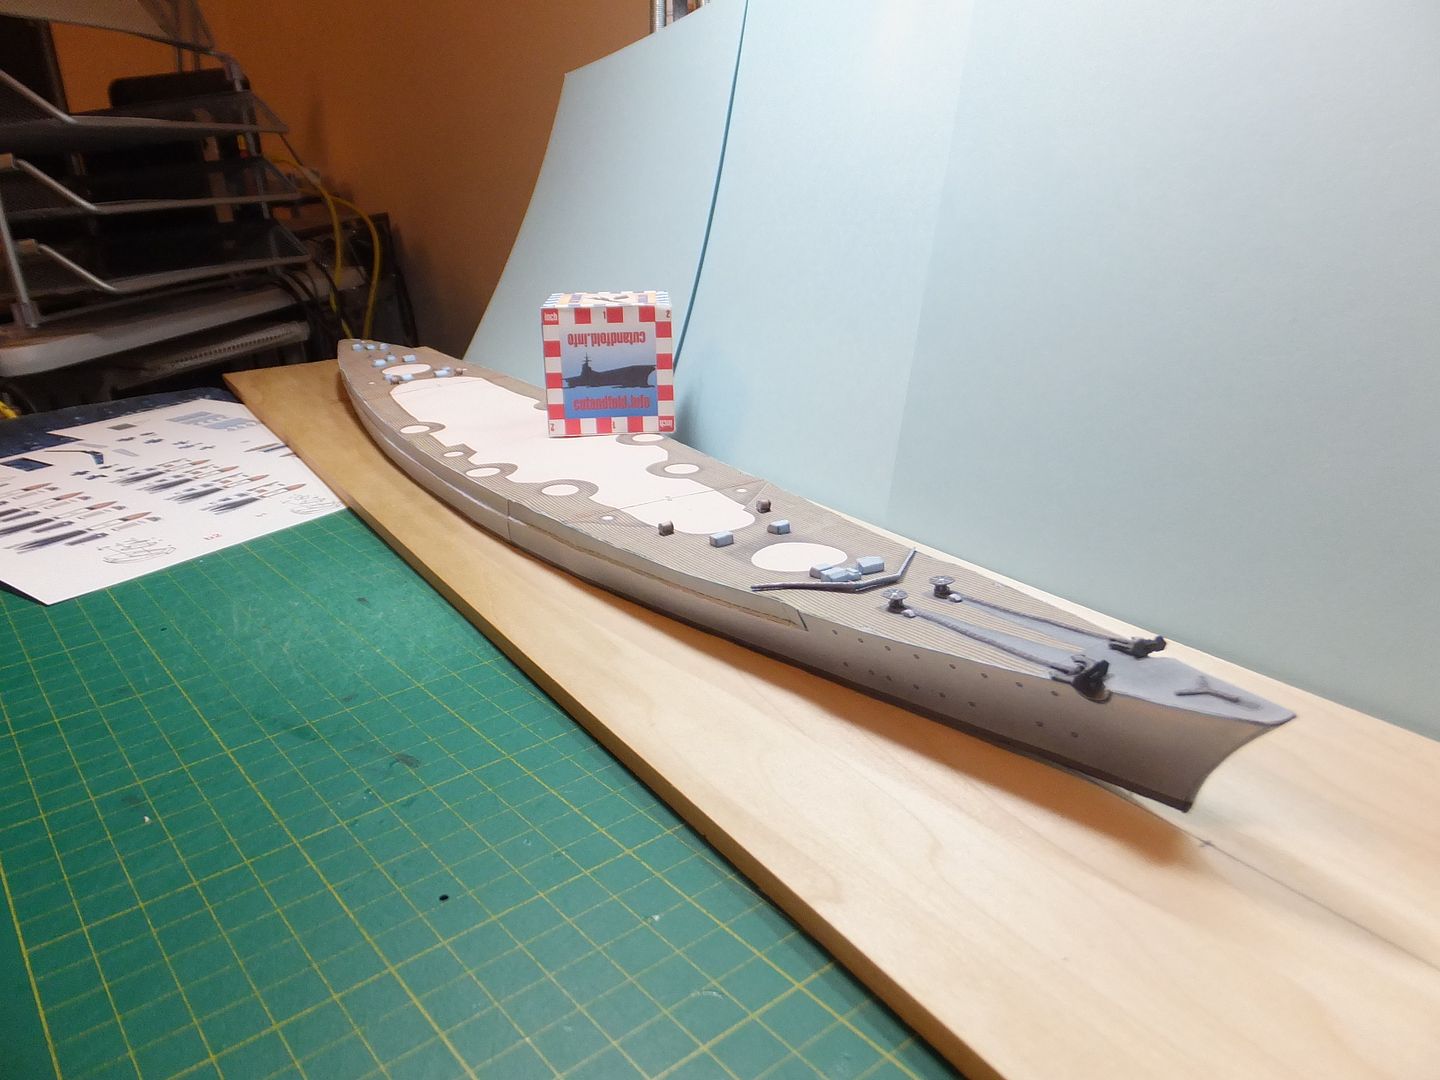 Fwd view with the breakwater added. 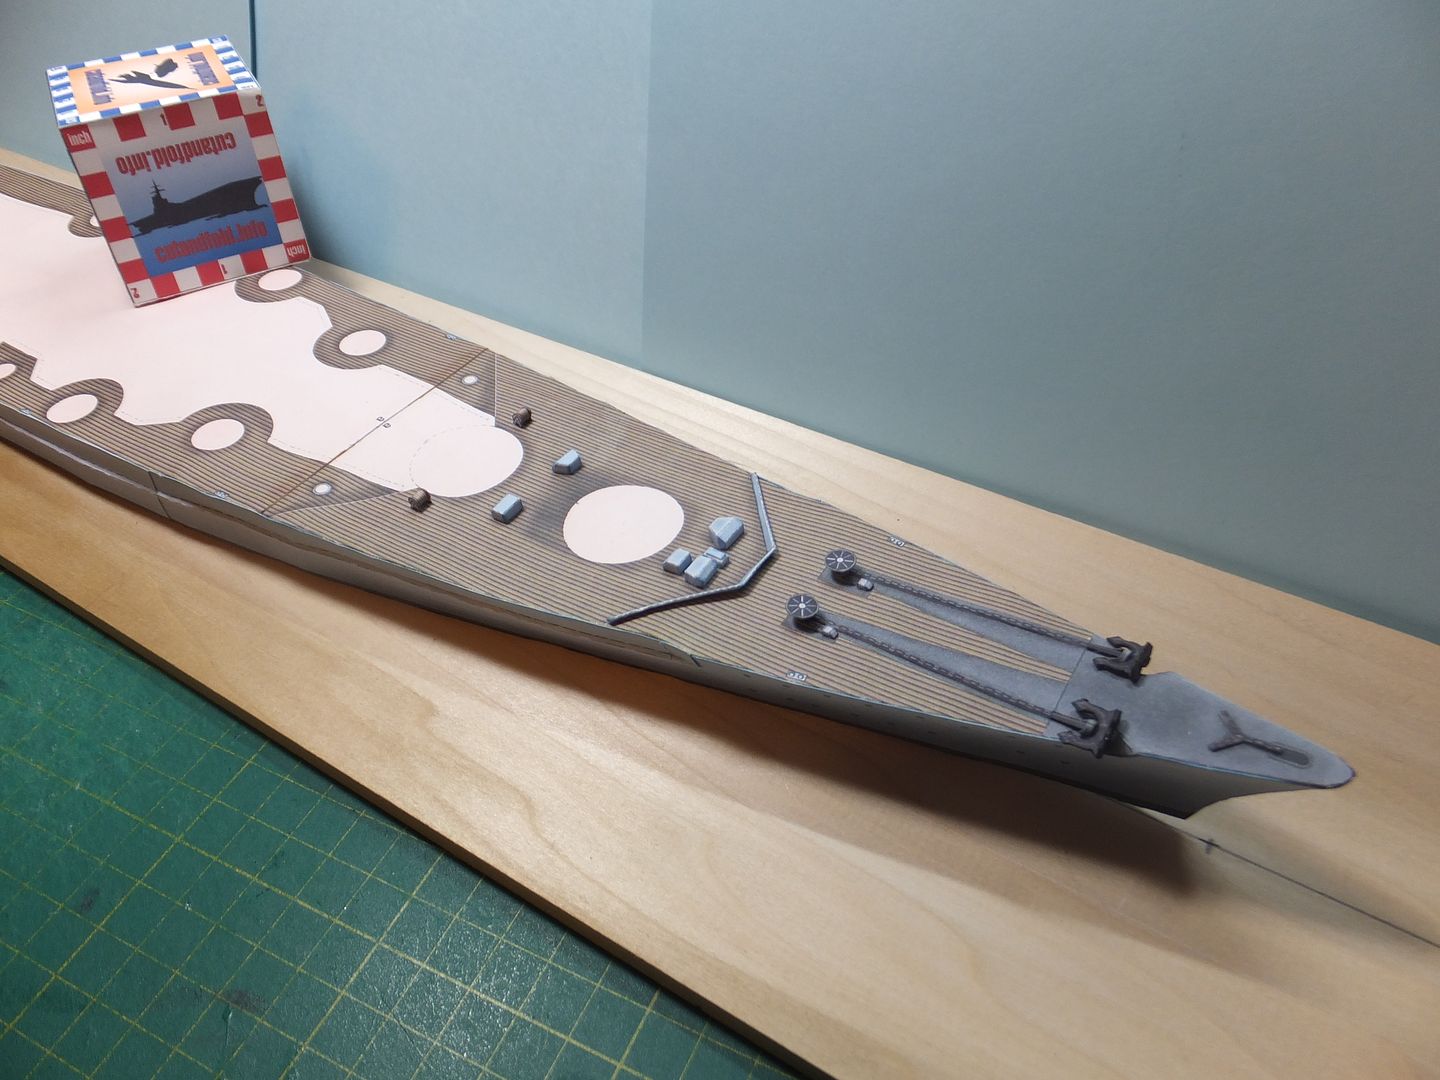 Aft view. 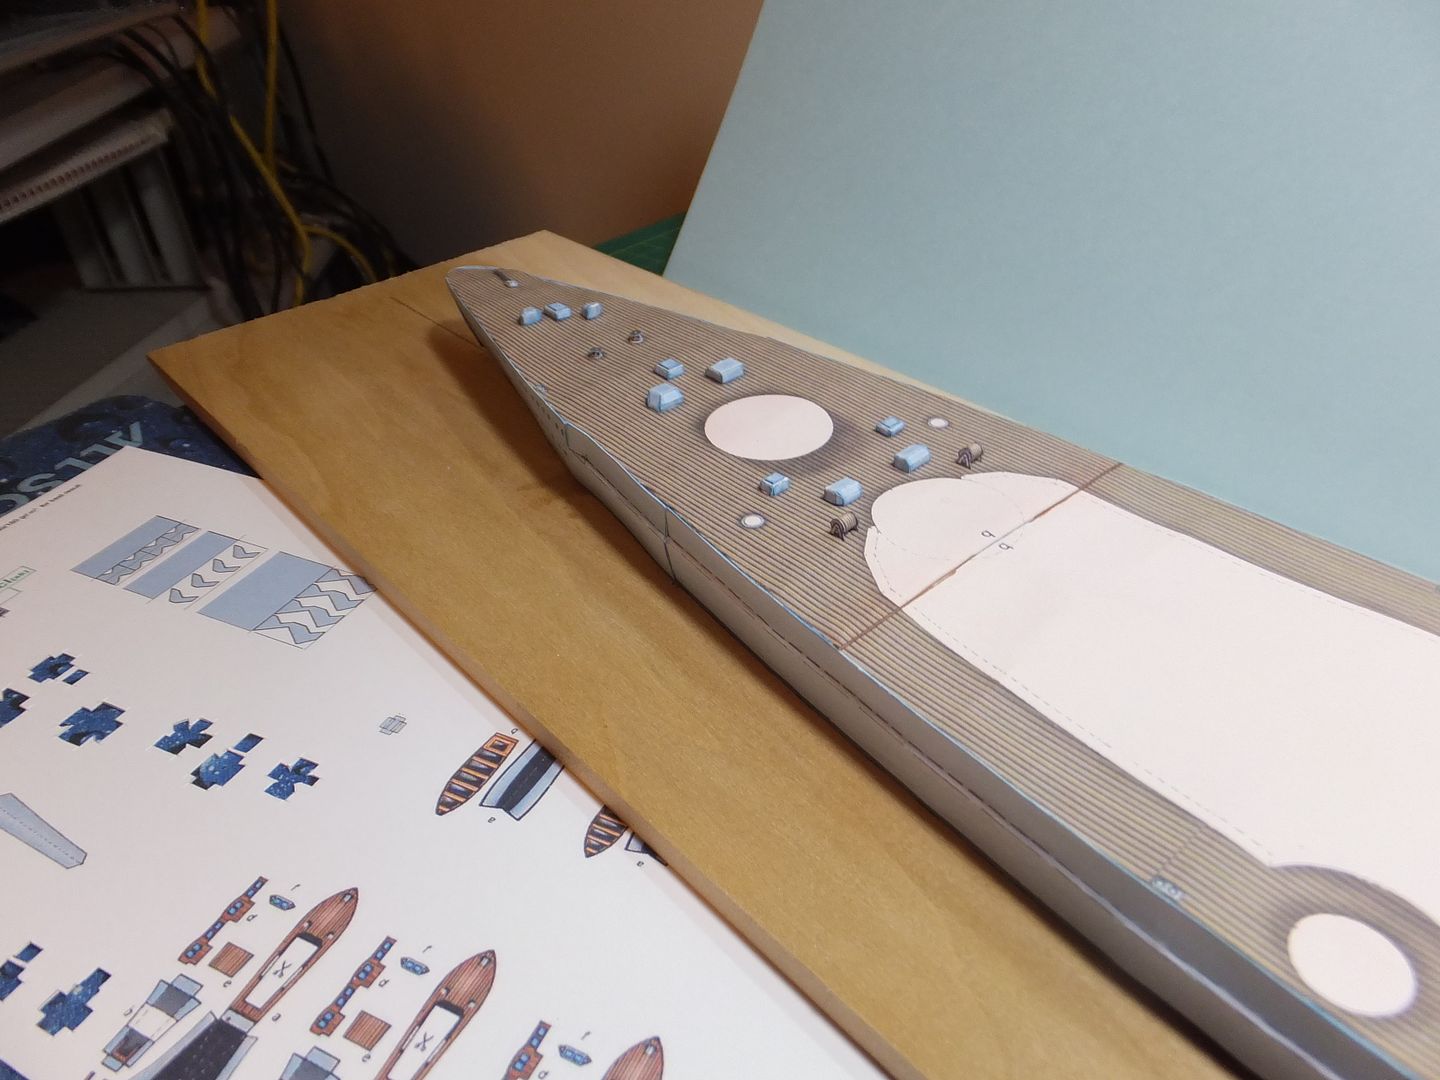 This is where I am at tonight. 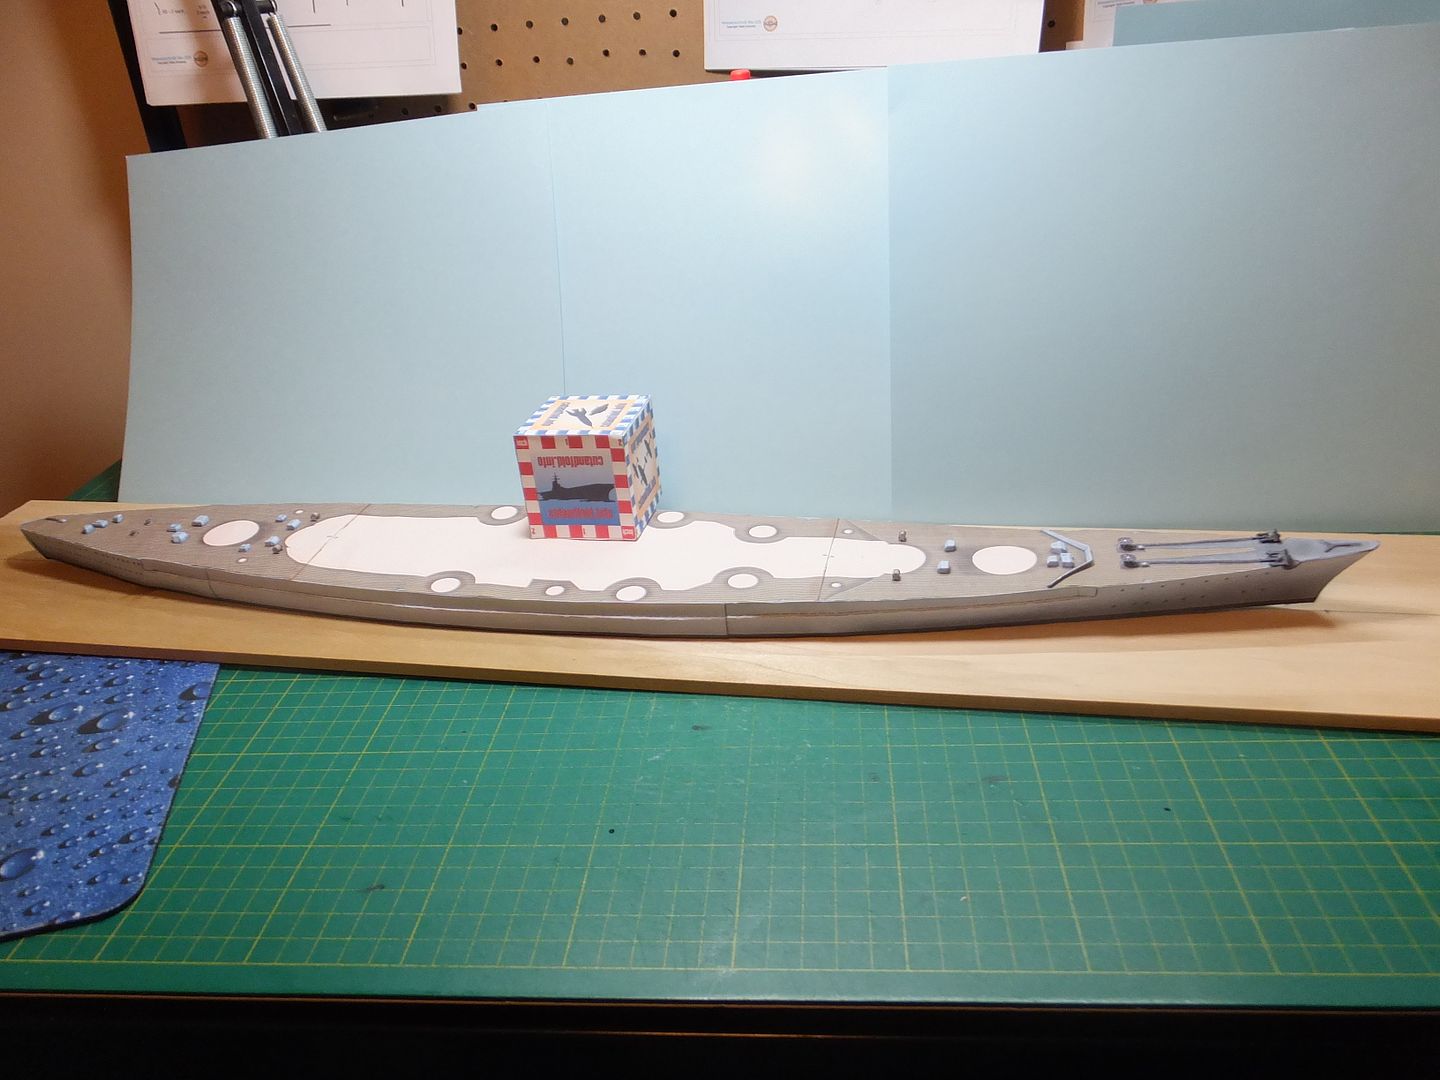 She's slowly starting to look like a ship. At the moment more like how the Bismarck looked as she was being built. Next up are the Barbettes. Thank you for following. Questions and comments welcome. Jim |
|
#20
|
||||
|
||||
|
Hello Jim,
Even at 1:400 scale, its still a good sized model. Perhaps 2 feet in length or 61 Centimeters? Mike |
| Google Adsense |
 |
|
|