
 |
|
#1
|
||||
|
||||
|
Bismarck 1/400 by ZioPrudezio
I have put my ME-329 aside for a bit as I had to start my spring build.
I have an itch to build another watercraft, and the Bismarck has be staring at me for quite a while now. At first was thinking about a 1/200 build, but right now I do not have the room for a 4' ship model and the 1/200 model I had in my inventory already. After printing it all out, started with the assembly of the lower hull sections and mounted to a building board. 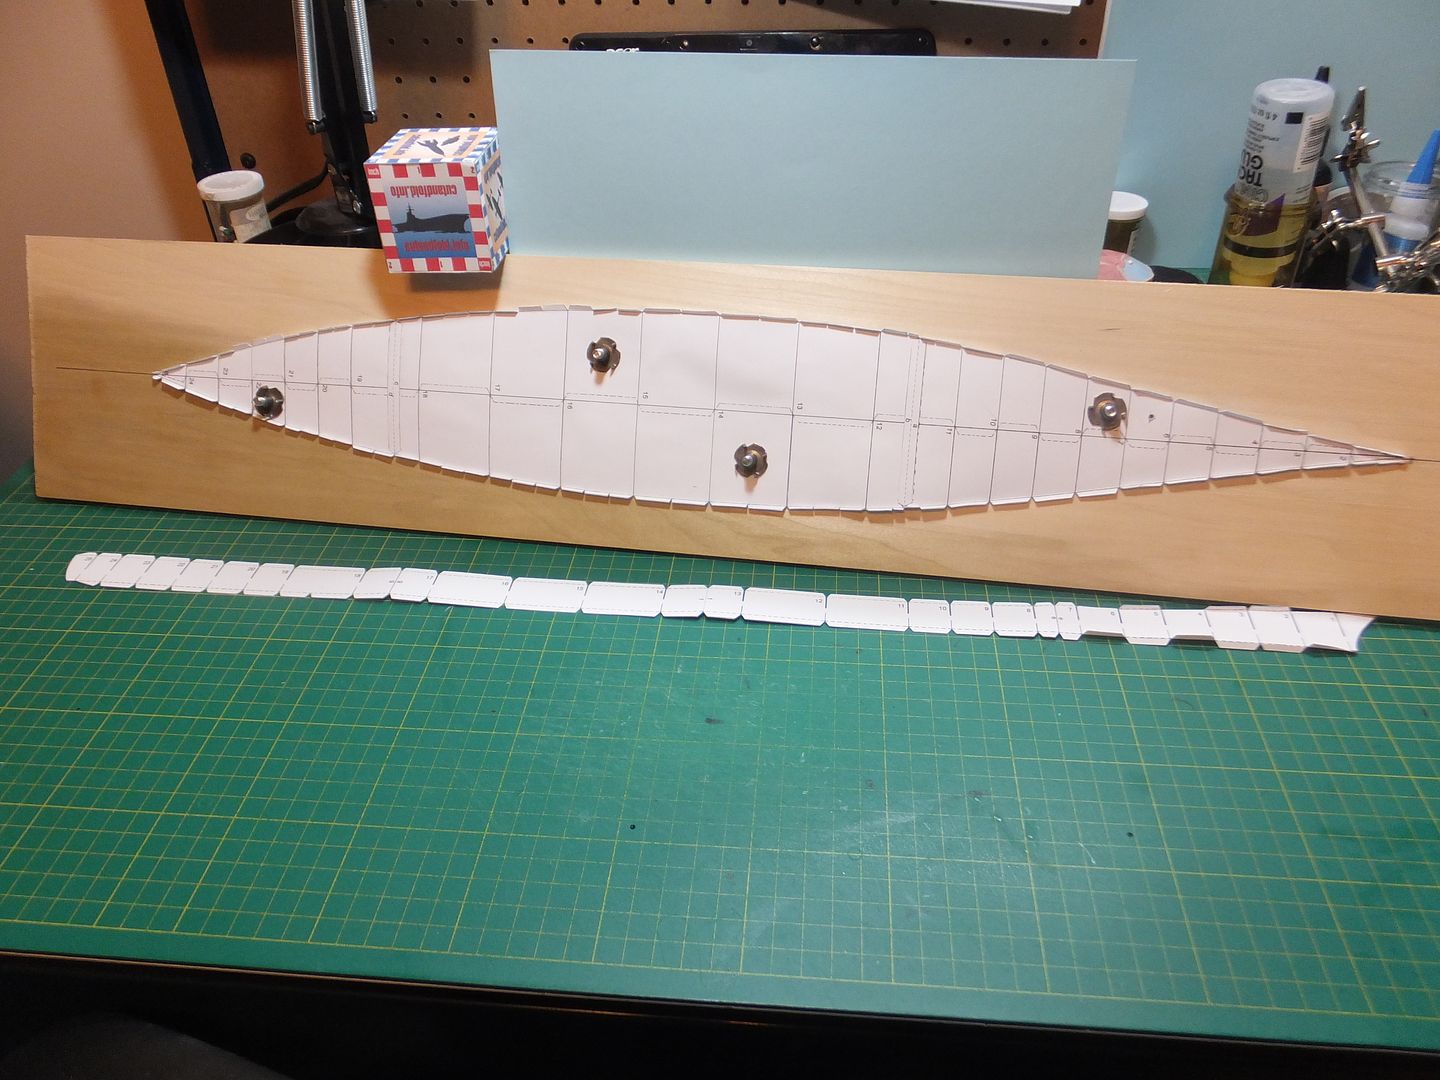 Then move to installing the centre hull support and all the bulkheads. 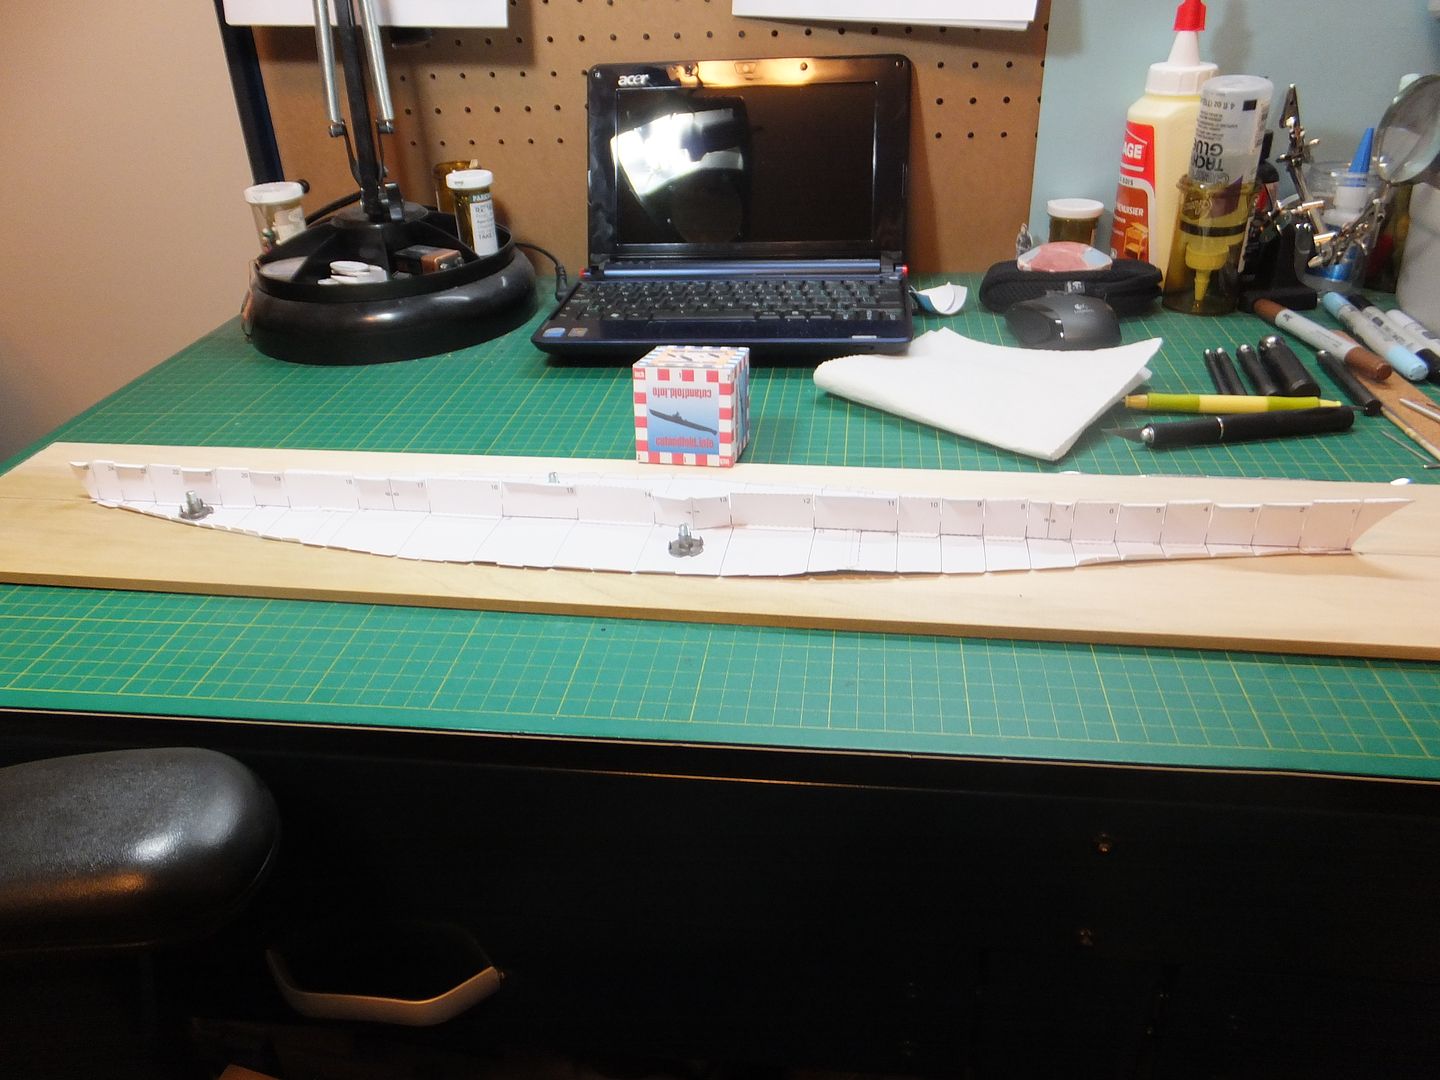 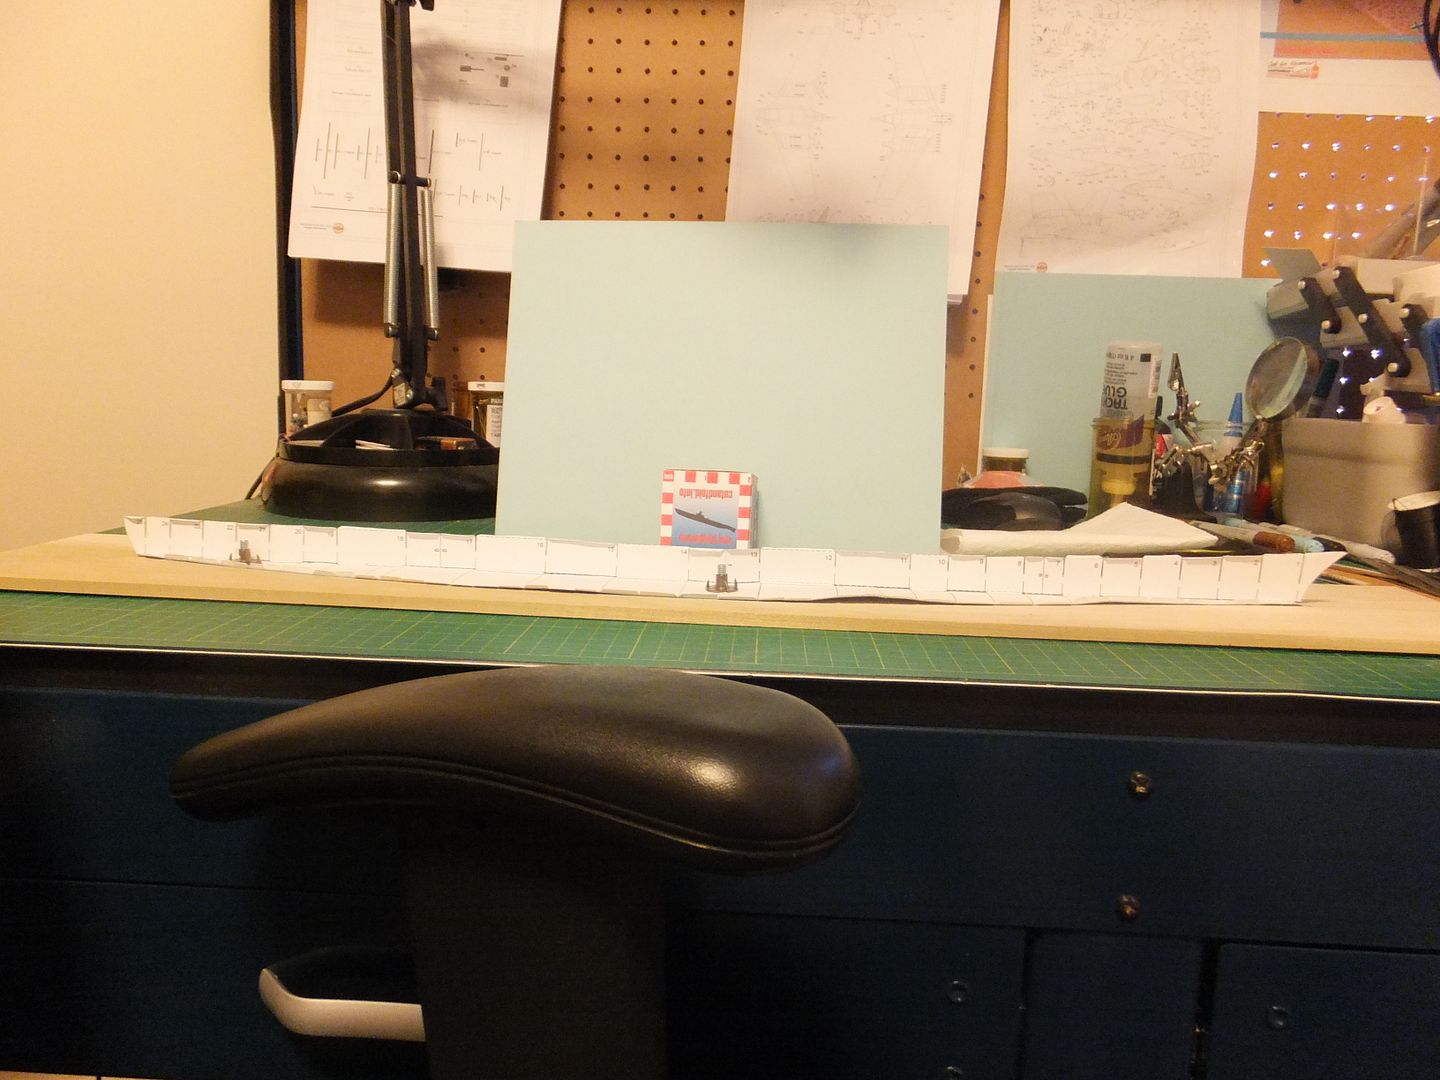 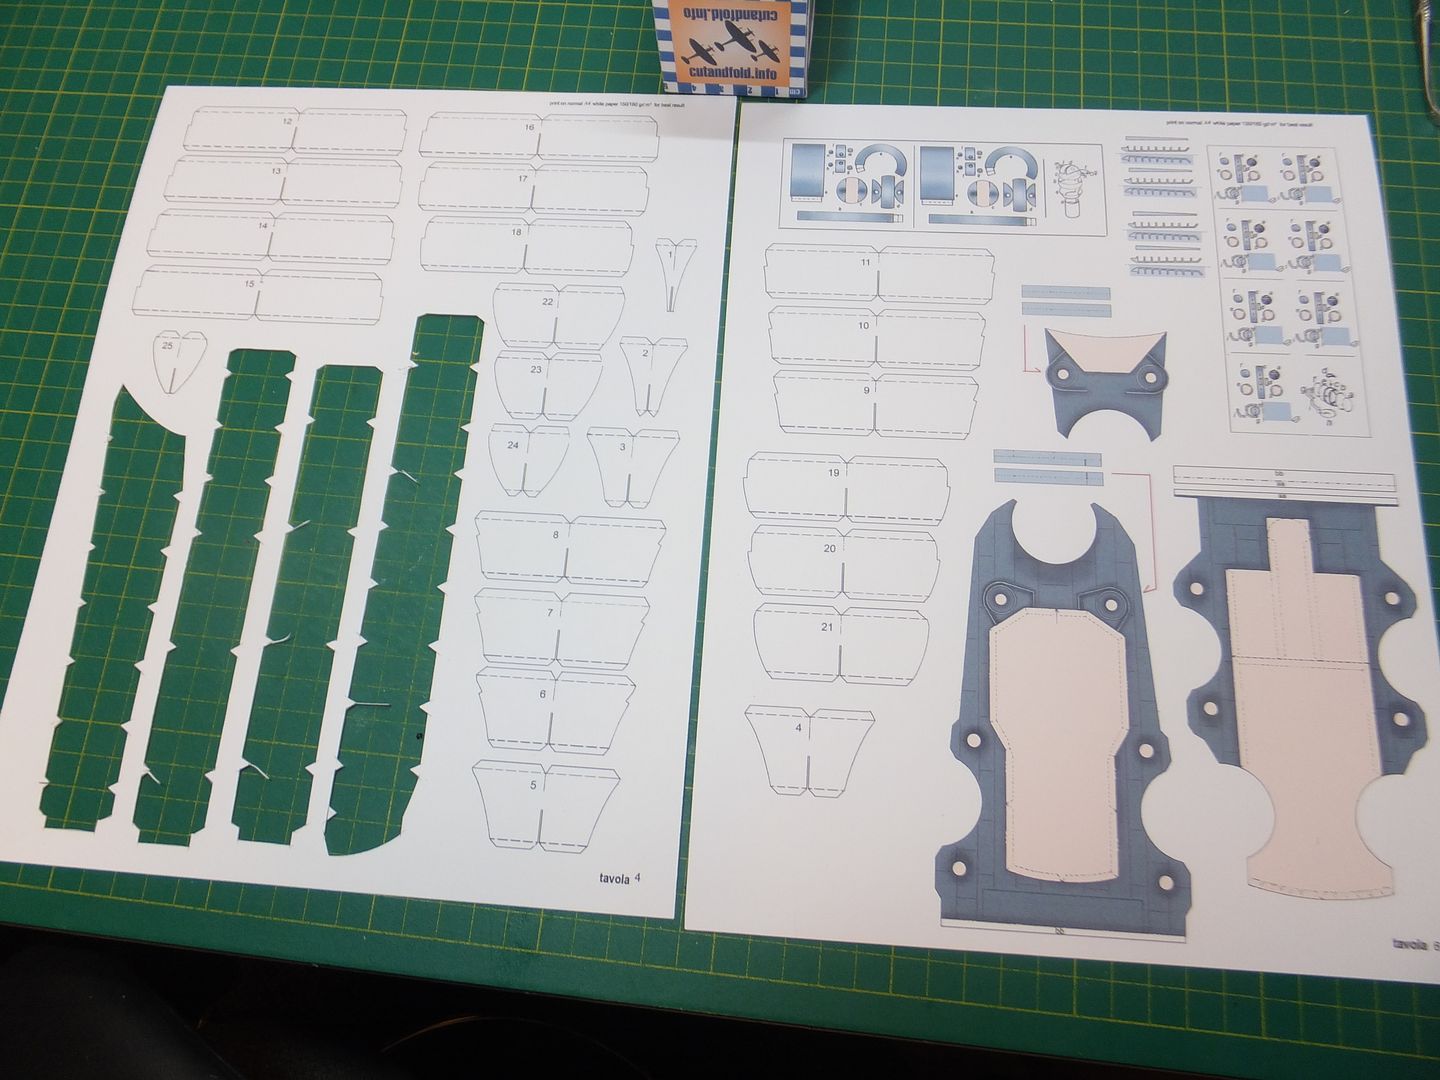 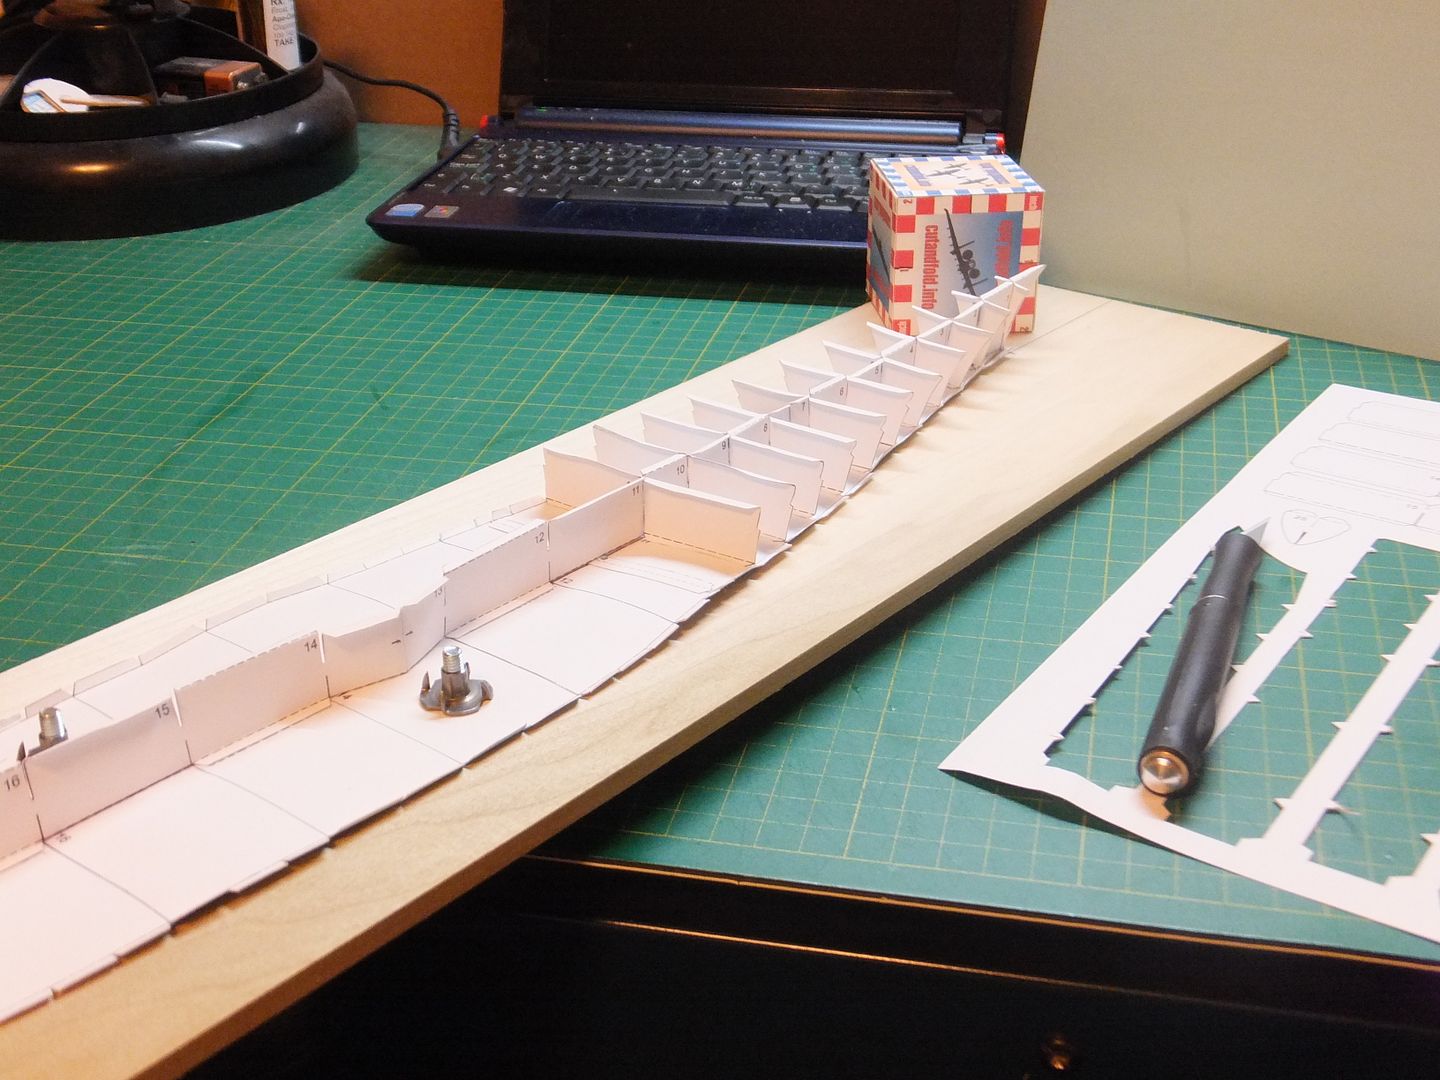 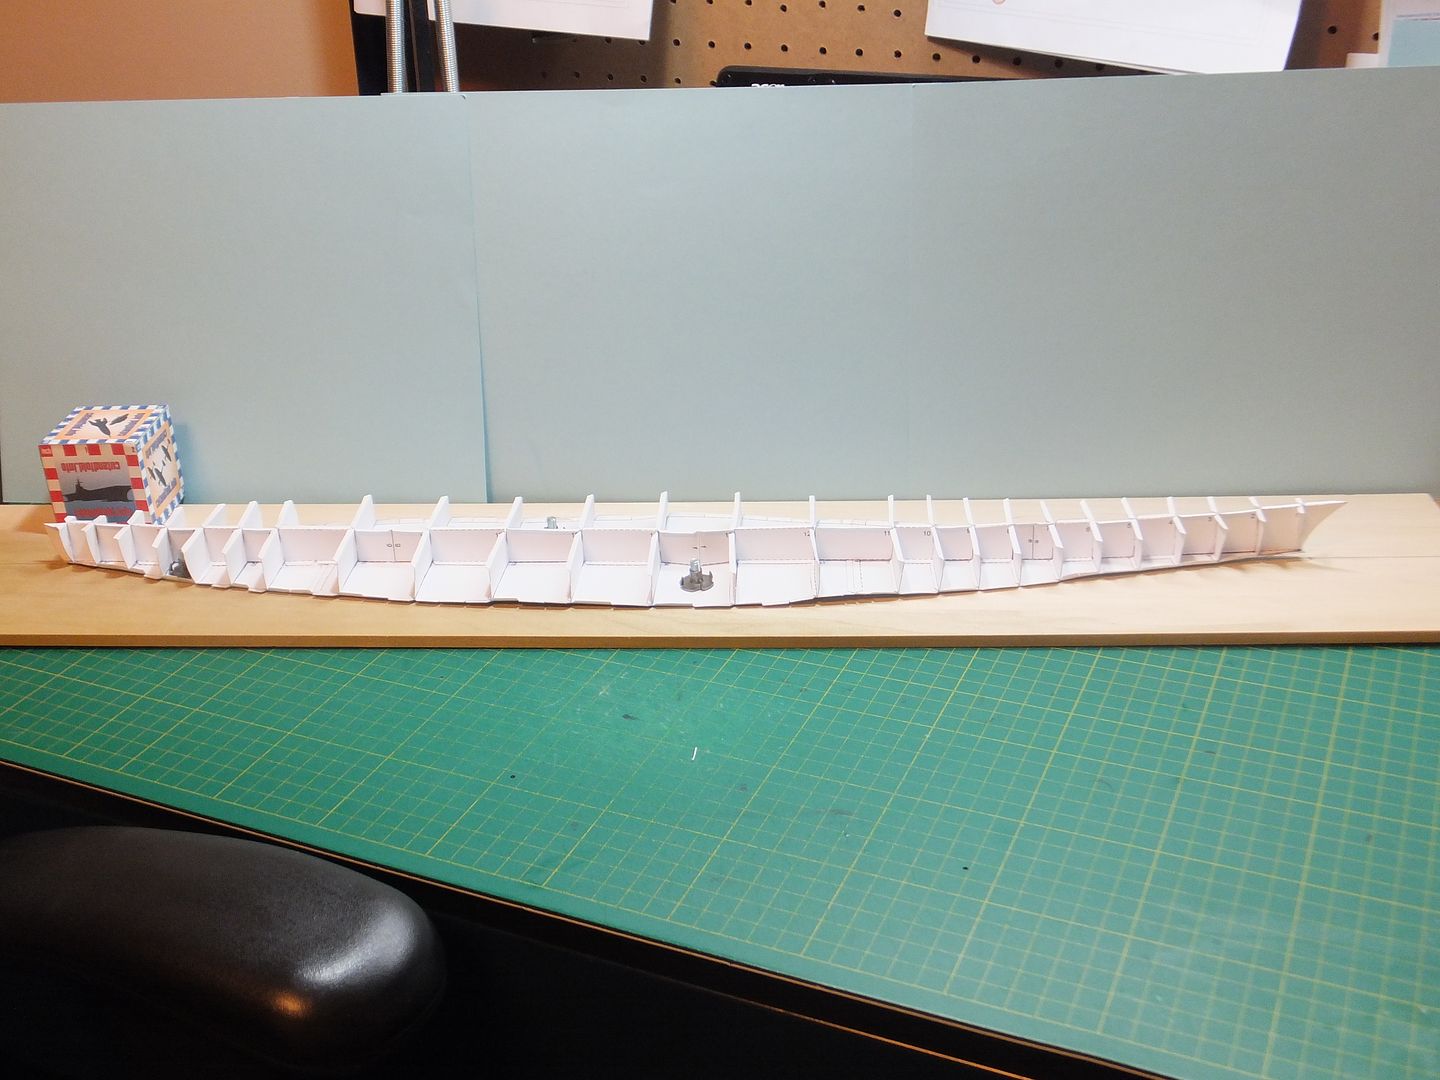 With the bulkheads all in place, it was time to start the main deck. 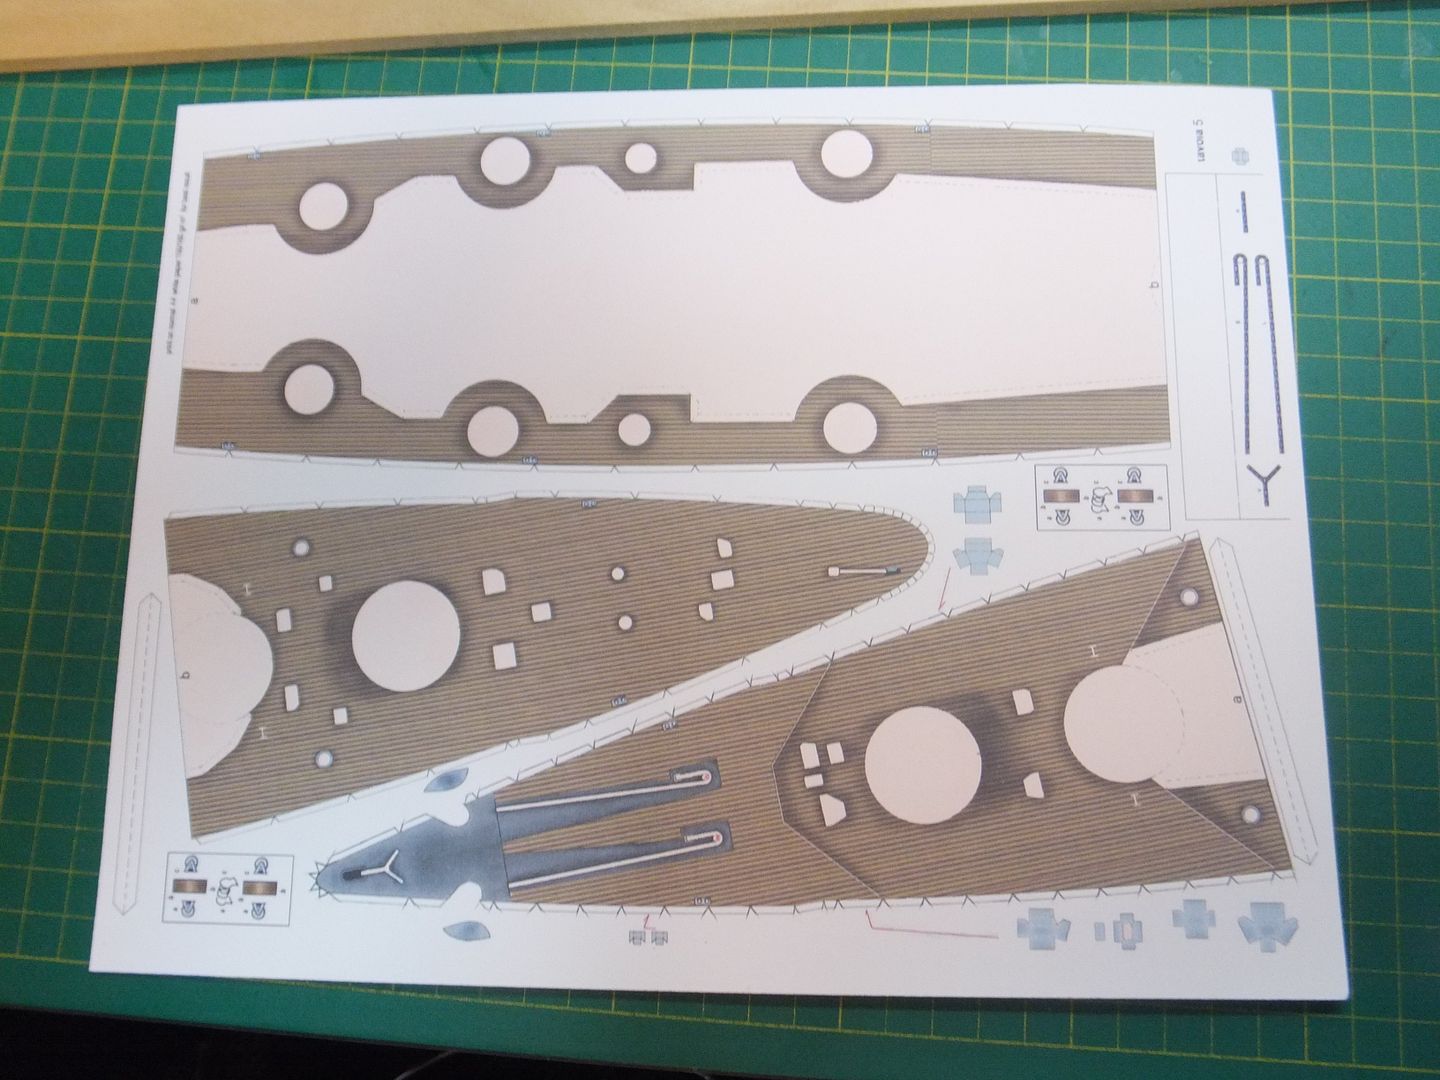 Assembled the deck panels before applying them. 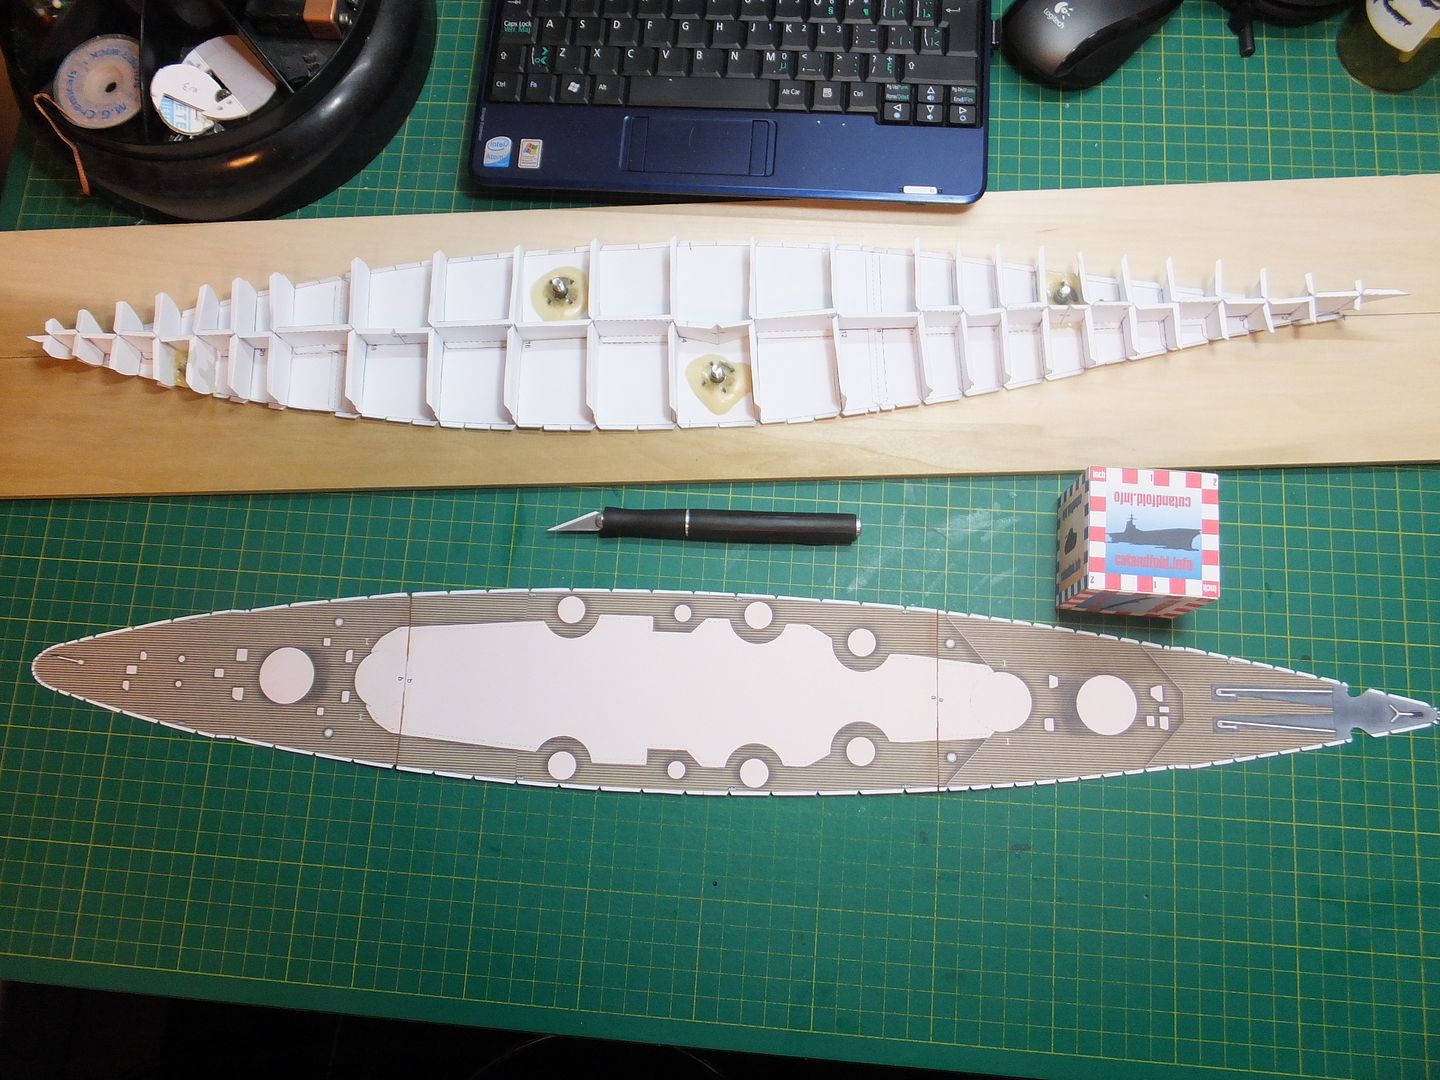 I marked off the centre line of the deck and the hull to aid in proper alignment, as there was no other obvious alignment point. Then proceeded to start gluing the deck into place, keeping an eye on it's alignment. 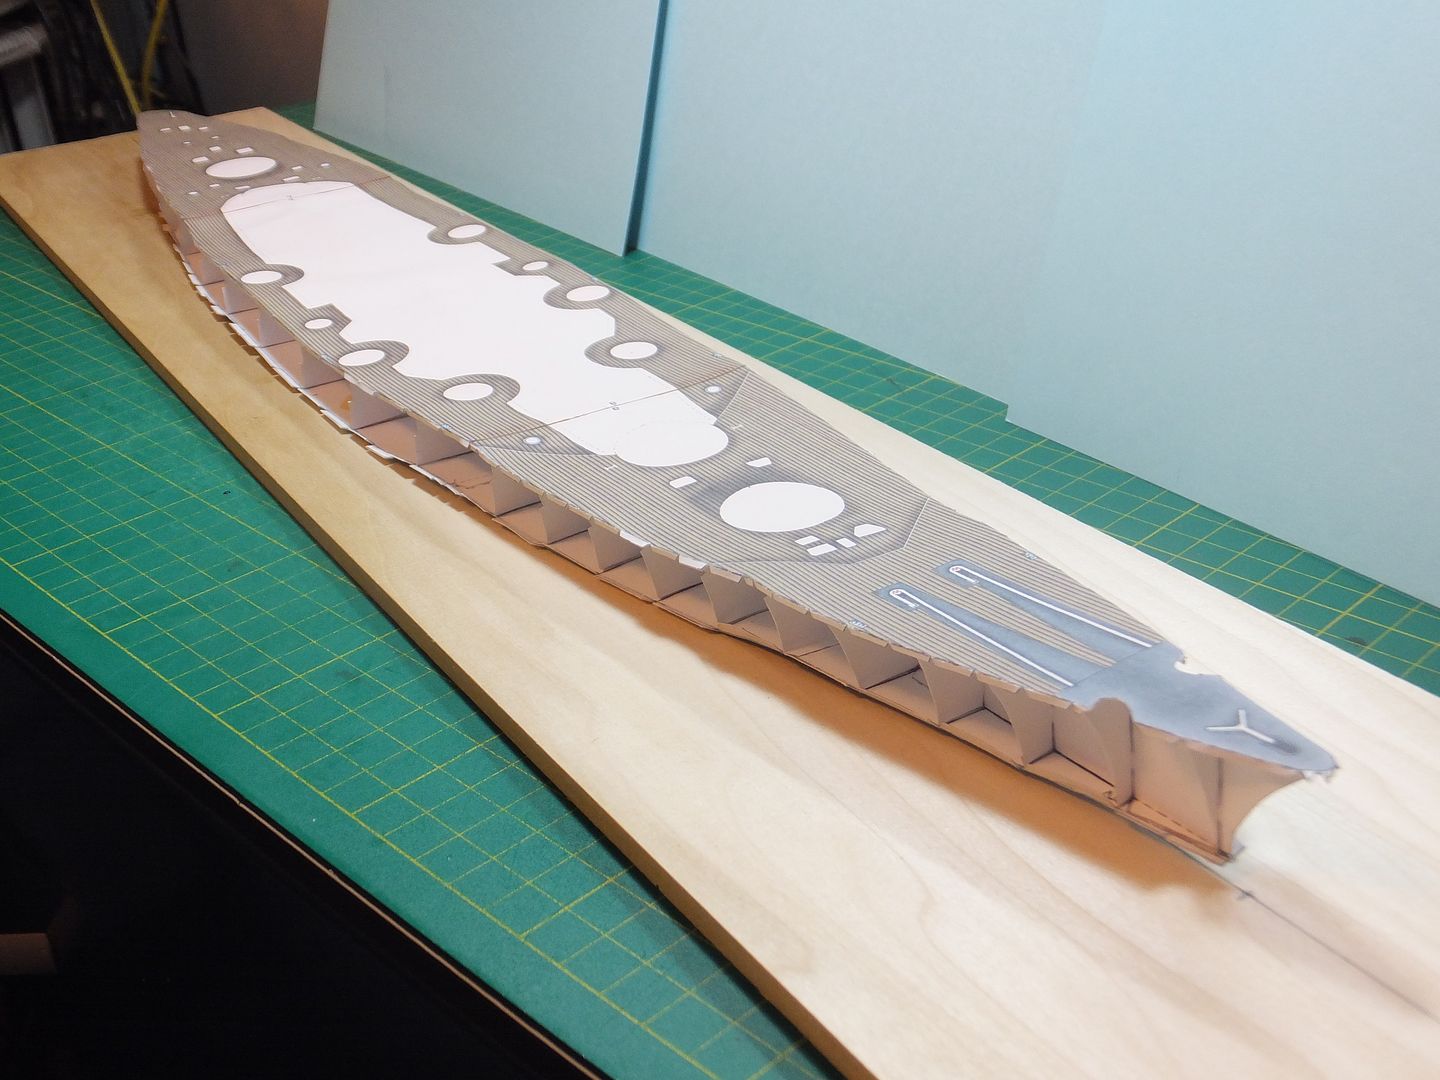 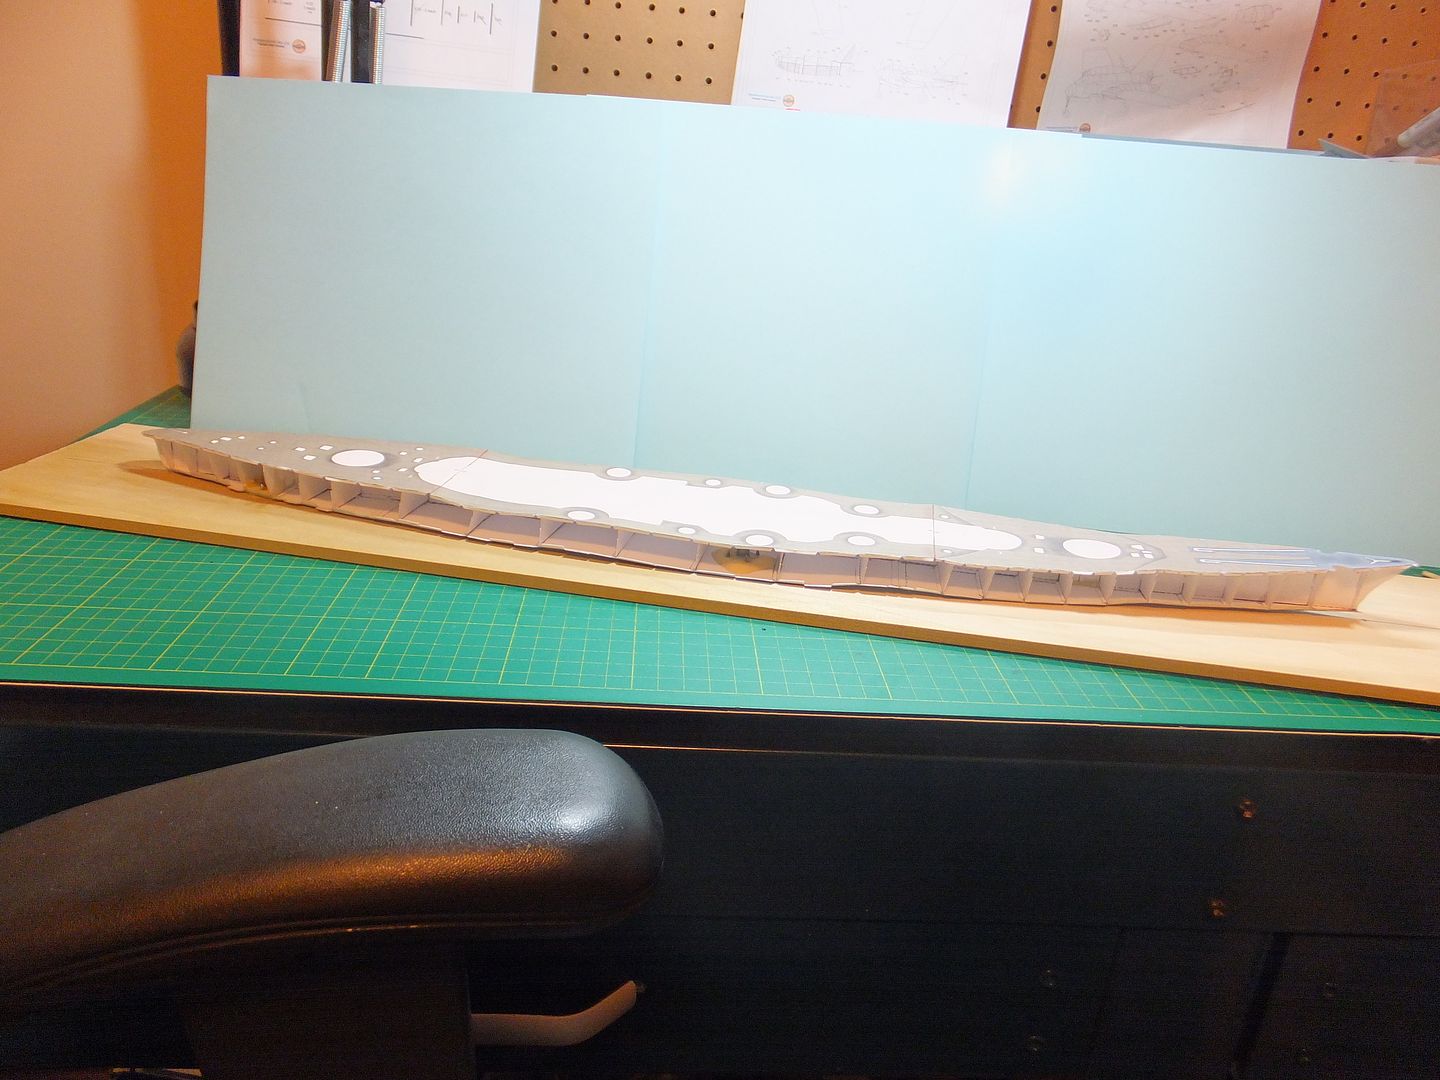 There are a couple of waves in the deck, but I believe these will be solved when the hull sides are finished. Moved on to the hull side panels. Rather than preassembling the panels together. I thought they would be easier to handle individually. Starting with the bow section. As the anchor position is an easy alignment point. Slowly glued the hull side panel to the deck first, and when finished attached it to the bulkheads and the lower hull. This helped with the alignment and keeping the deck straight. 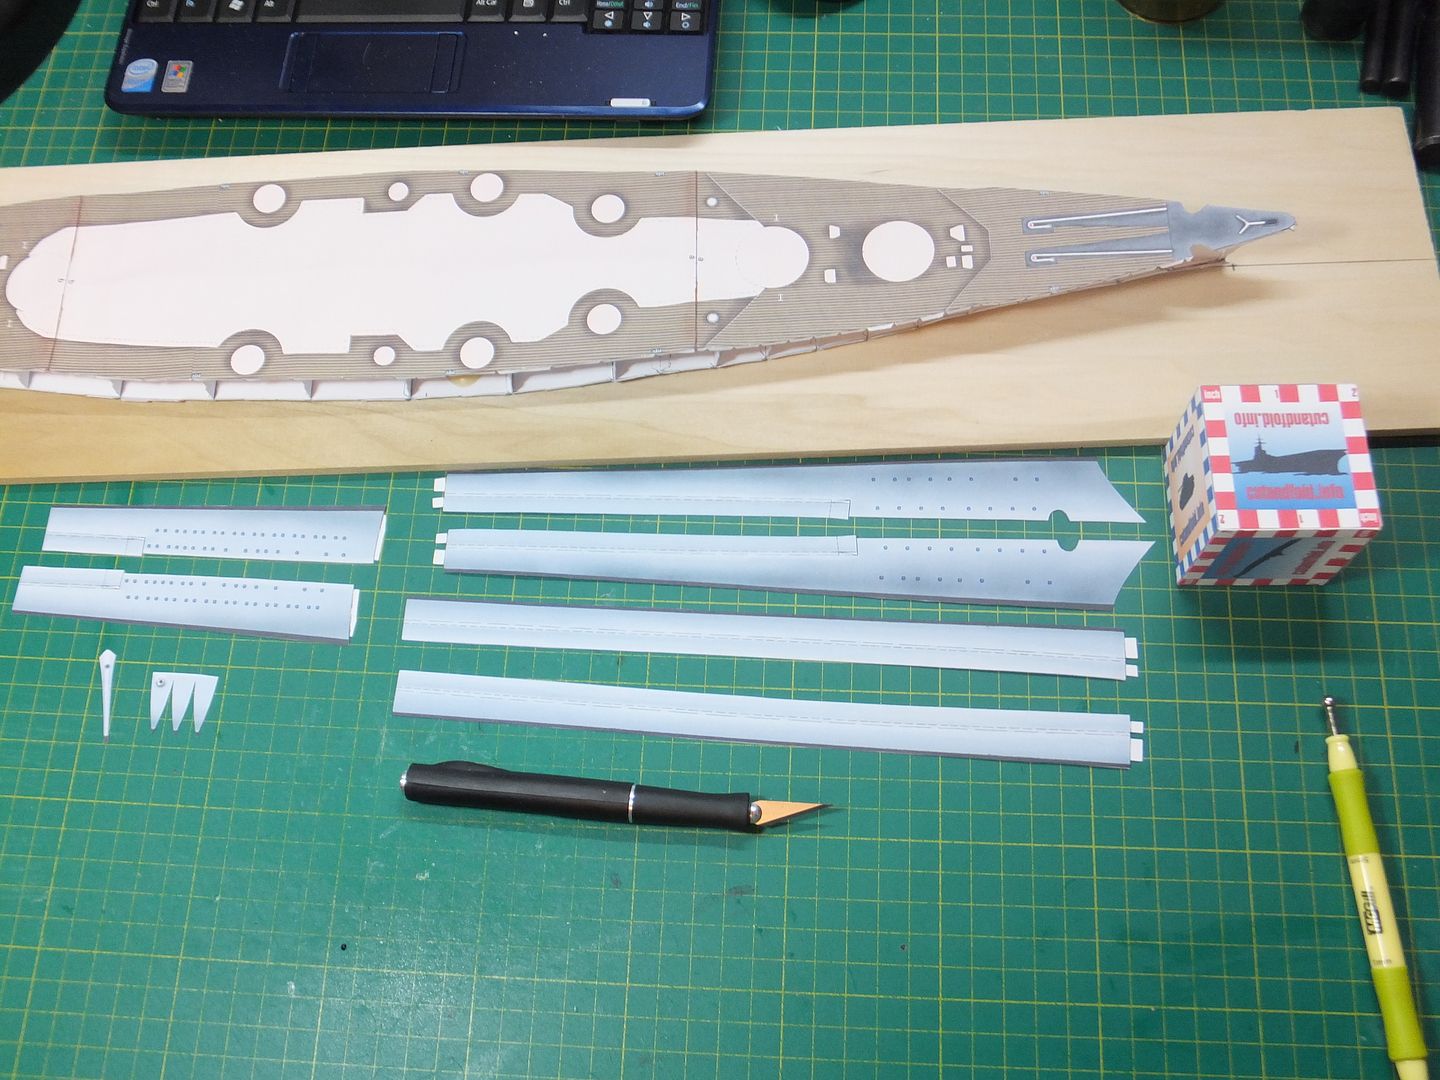 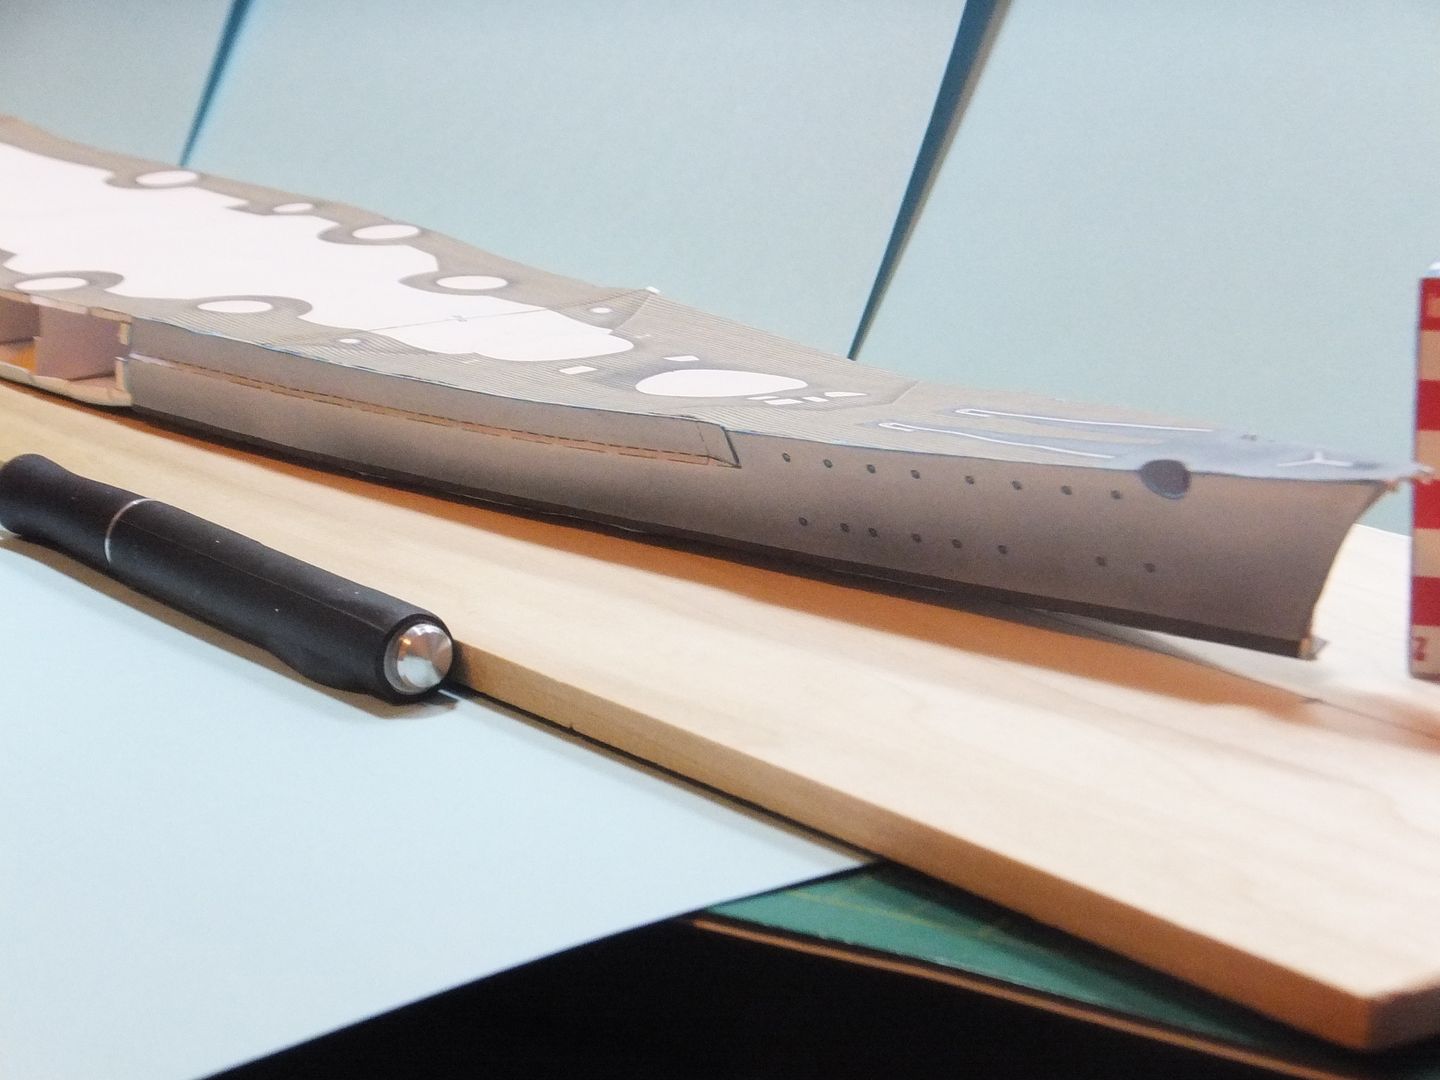 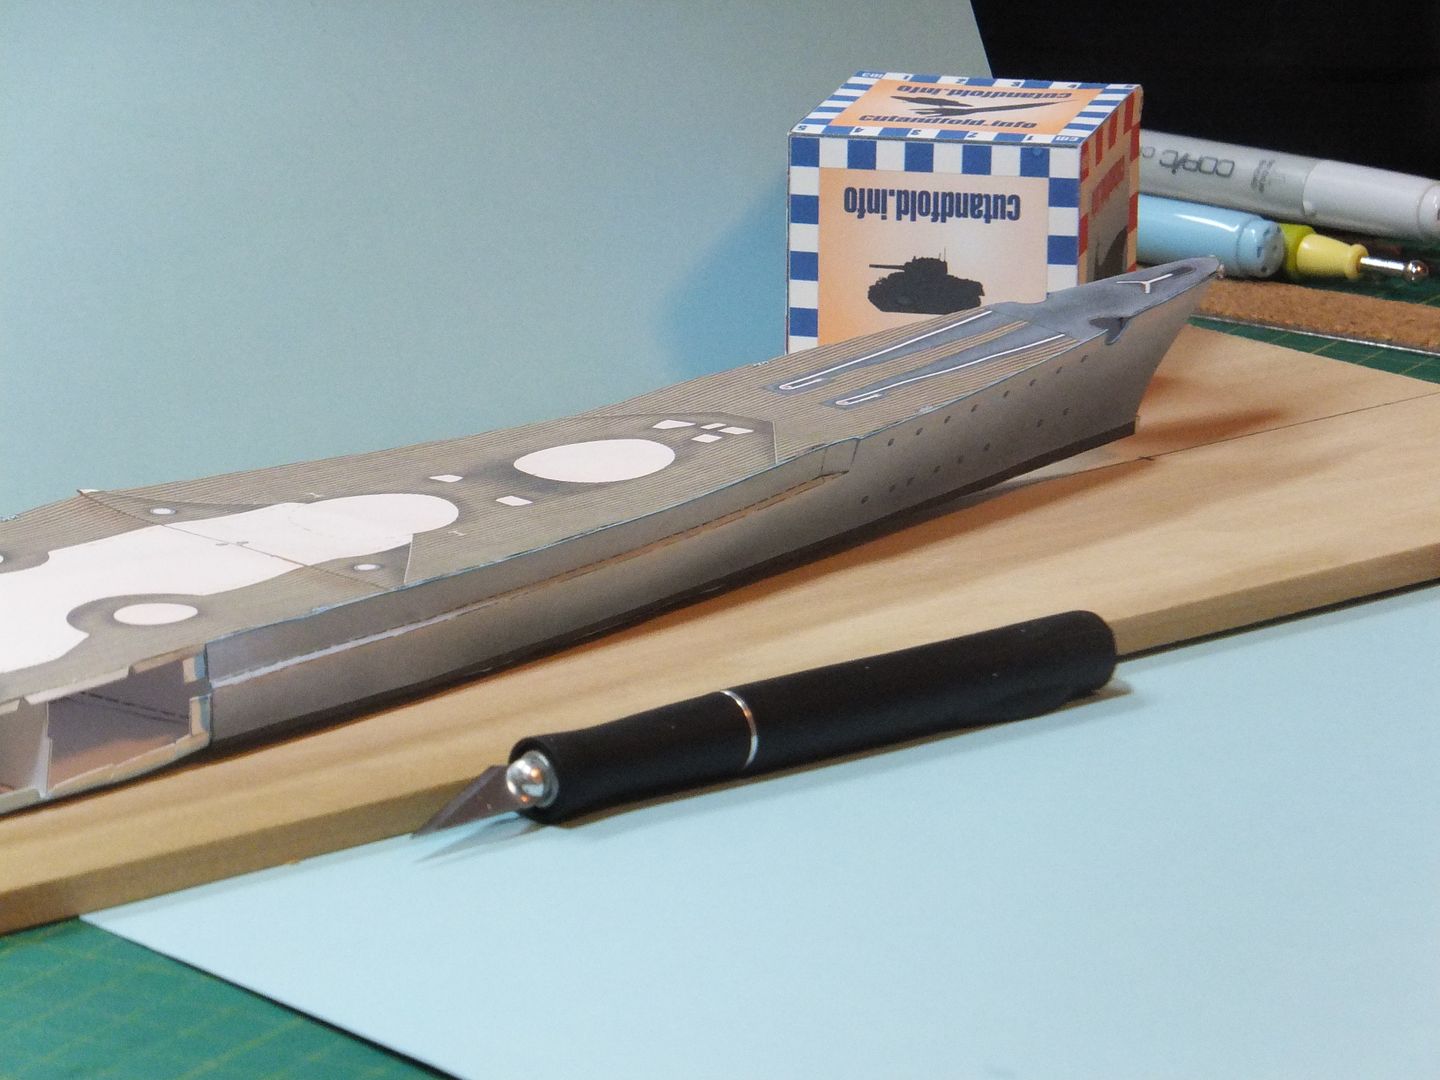 This is where I am at right now. will do the same with the other side before moving amidships. Thank you for following. Questions and comments are always welcome. Jim |
| Google Adsense |
|
#2
|
||||
|
||||
|
Having never done more than 'toys' when it comes to ships. I appreciate that you are doing a build thread
__________________
A fine is a tax when you do wrong. A tax is a fine when you do well. |
|
#3
|
||||
|
||||
|
Your welcome Vermin King.
Jim |
|
#4
|
|||
|
|||
|
I got this in my stack of stuff to build but haven't had enough nerve to start it, so I am watching very closely.
Beard |
|
#5
|
||||
|
||||
|
It looks like you're off to a great start Jim.
Having never built a ship of my own - I have a quick question...How do you remove it from the building board? |
| Google Adsense |
|
#6
|
||||
|
||||
|
Welcome aboard Burning Beard.
Thanks Kevin. The ship is fastened to the board with blind nuts that are glued to the inside of the hull, then screws from the bottom of the board. Its a technique from the wood ship modelers. That way I can mount and unmount it at will. Jim |
|
#7
|
||||
|
||||
|
Hello Jim,
it's looking very nice! Marco
__________________
Currently Building: RN Zara 1:400 |
|
#8
|
||||
|
||||
|
Hi , It will be a lot of work , good luck
 Henryk 
__________________
Listen now advice of elderly people, they were in this place where you are now . |
|
#9
|
||||
|
||||
|
Thank you Marco and Henryk.
I know, Zio did not give a lot of instructions, so you have to rely on you own expertise and what research material one has. Jim |
|
#10
|
||||
|
||||
|
Hello Jim,
I agree with you. Zio's models are very beautiful and detailed, but lack the instructions. I've built his scharnhorst and it made me sweat. hehe The sideplates are easier to handle individually. Its very hard to position and glue the entire thing without making a mistake (I've tried it). Your hull is shaping up very nicely. I'm going to follow your thread closely, since I wanna improve my hull building and you seem to be heading the right direction. Eduardo |
| Google Adsense |
 |
|
|