


|
|
|
#21
 04-27-2018, 03:15 PM
|
|||
|
|||
|
Quote:
I like Formula 560 Canopy PVA becasue it's strong, dries clear and can be re-dissolved if you make a mistake, and can also be diluted with water to brush along joints. Downside is the warping. I spoke to HMV at a show at Telford one year, and they recommended UHU, but there's no way I could ever use it for precision work like this - far too stringy and hopeless for detail parts. maybe they meant use it for tabbed parts? I guess it gives some working time before it sets? 
|
|
#22
04-28-2018, 11:34 AM
|
|||
|
|||
|
So on Paperlab's advice I got some of this stuff of Amazon:
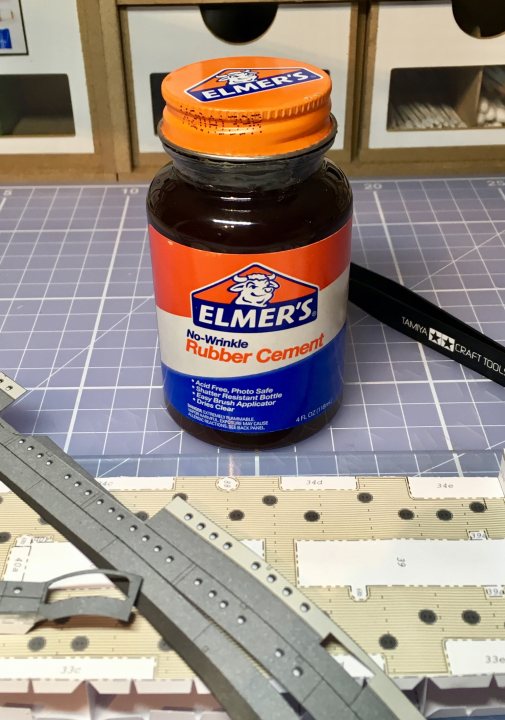 First impressions weren’t too good - very gloopy, and fast drying similar to EvoStick contact adhesives. However, I used it on some test pieces, and it goes on ok with a cocktail stick. I’d describe it as resulting in a bond - at least initially - similar to a post-it note. It remains fully peelable for at least half an hour - which is perfect for positioning large parts. I think it may stay peelable, because excess can be rubbed off quite easily. My plan is to position all the main hull sub-assemblies with Elmer’s, then wick PVA along all the external joints to make a final, stronger bond. Thanks Paperlab!
|
|
#24
04-28-2018, 03:22 PM
|
|||
|
|||
|
Quote:
|
|
#25
04-29-2018, 12:15 PM
|
|||
|
|||
|
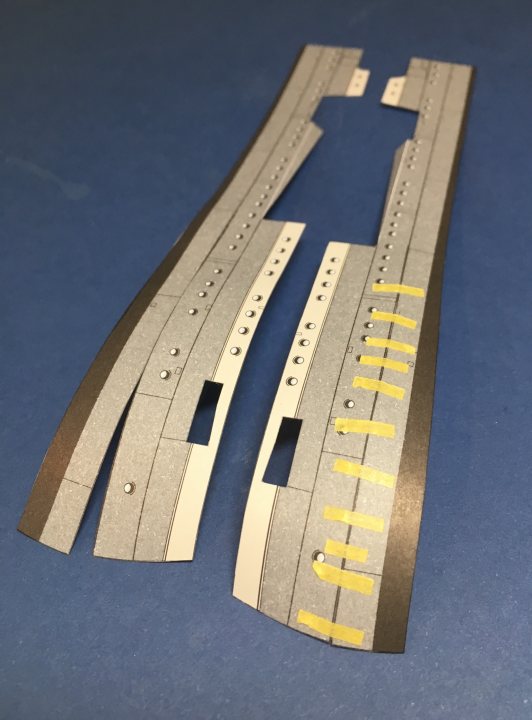
The bow casemate guns arent very clearly explained in the instructions. Some views show them closed up, with just the barrel showing:
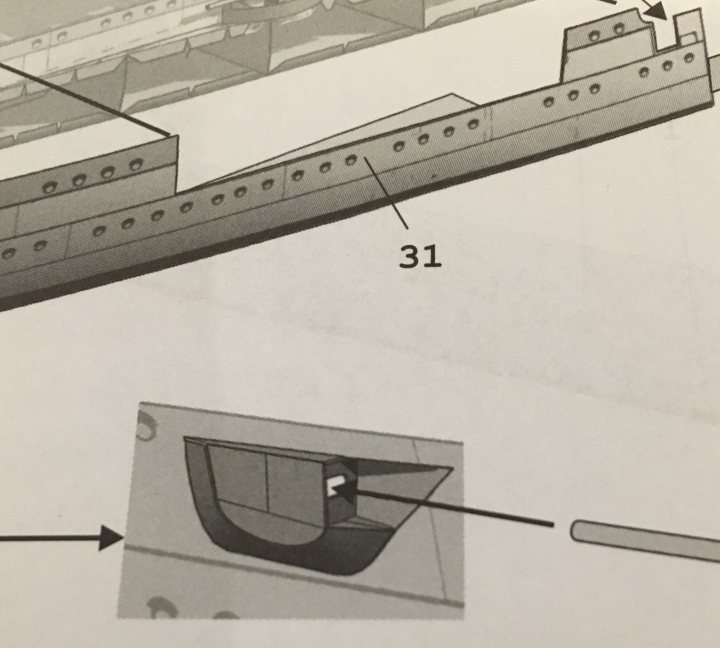 The alternative option is open, but apparently without the blister or covers: 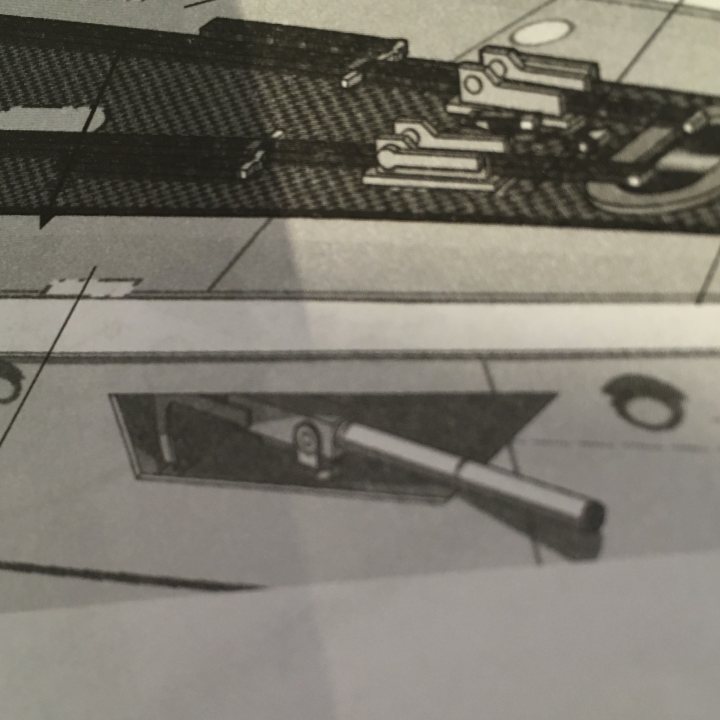 Only later is the open option revised to this: 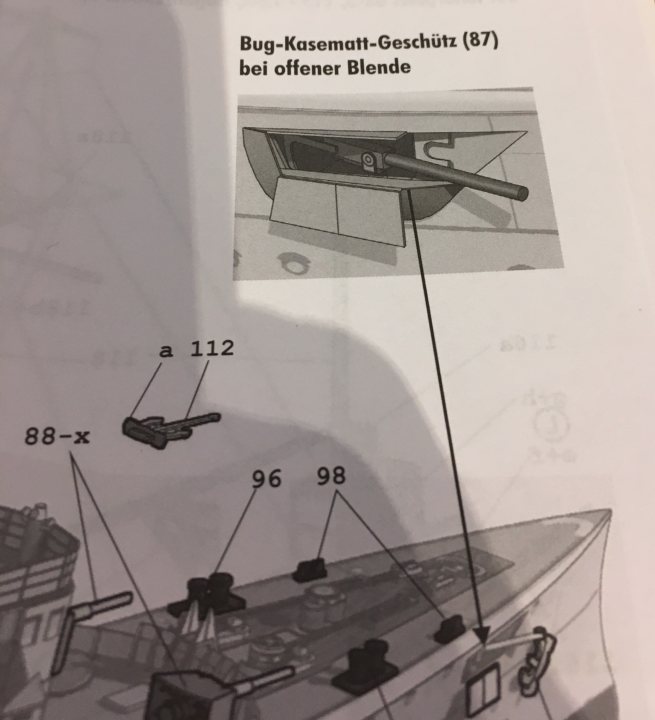 I had a guess at this being right (although the slotted panel might have been intended to be flat to the hull:   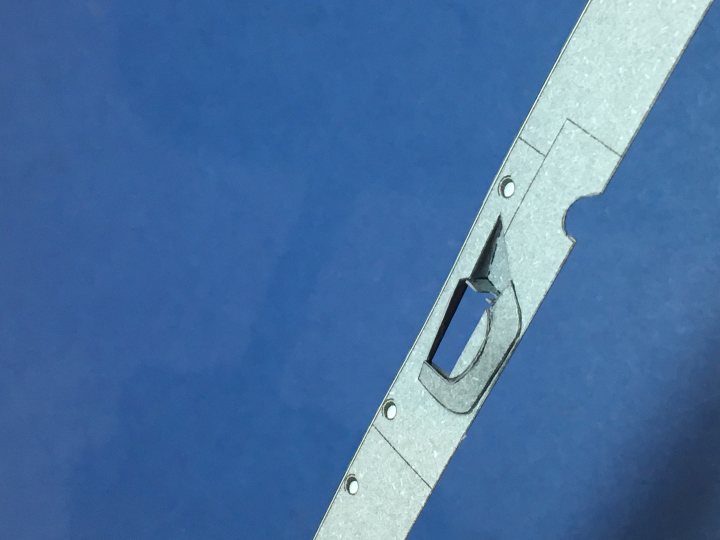 I doubt the inside will be visible, but I painted it anyway: 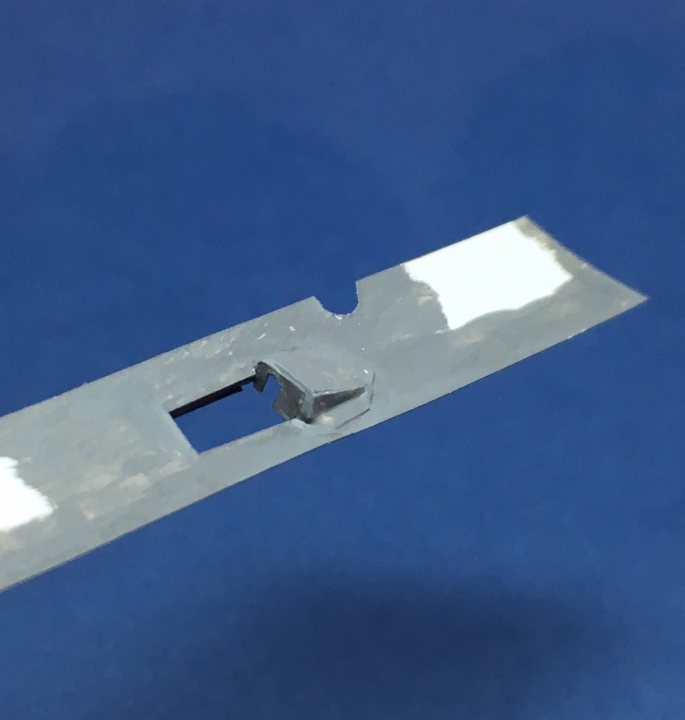 Part 31/32m needs to be split into 4 parts for the open option, yet most of the cut lines are missing. I made a best guess, so hopefully it will be ok. Ill add the open doors later.
|
| Google Adsense |
|
#26
05-01-2018, 01:37 PM
|
|||
|
|||
|
Great stuff. Keep them coming.
Regarding rubber cement, delamination could happen but if used along with other types of glues plus if you spray couple of cotes of Krylon your model should stay solid for ages. BTW, Krylon sells good spray adhesive for laminating large elements too. I usually keep 5 different types of glues handy while building my models with each one set for something specific...  Darius
__________________
Paper Lab
|
|
#27
05-01-2018, 02:29 PM
|
|||
|
|||
|
Quote:
Up to now, on paper I've only used PVA and cyano (for stiffening thin bits of masts mainly).
|
|
#28
05-01-2018, 02:30 PM
|
|||
|
|||
|
The masts on this one are huge, and there’s plenty of rigging between and around them. I’ve modified the model slightly by bonding these aluminium tubes into the hull:
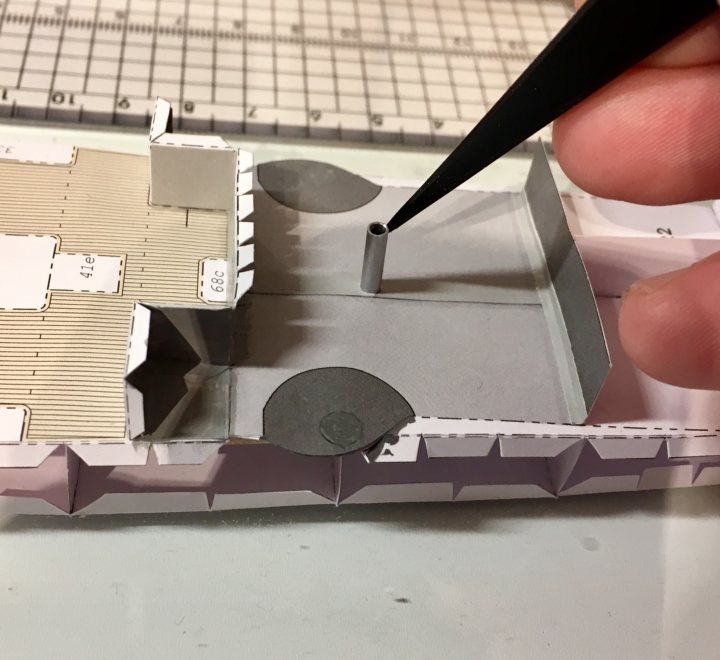 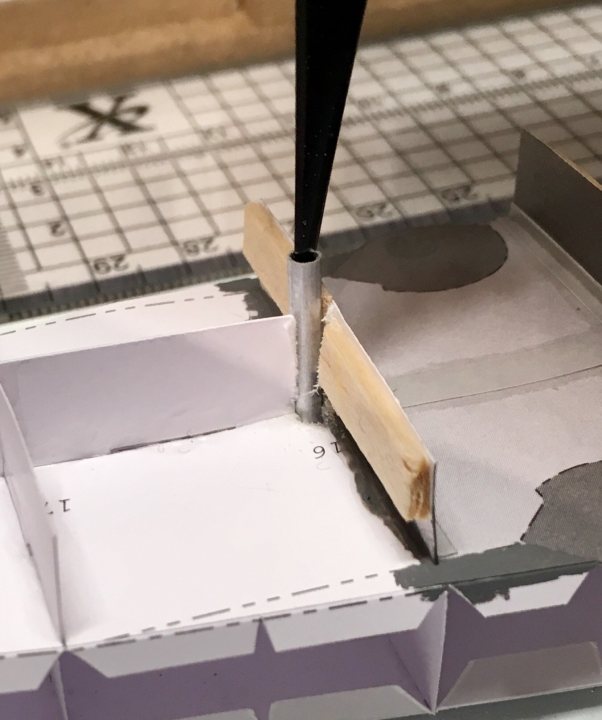 They’ll form a much stronger location for the masts than the paper deck. I’ll bond a wire spigot into the bottom half of each tubular paper mast, and Araldite it into the aluminium sockets near the end of the build. None of the aluminium or wire will be visible once complete.
|
|
#29
05-02-2018, 03:53 PM
|
|||
|
|||
|
Now things get tricky. There are 4 stern panels and the deck, all of which need assembling to pretty close tolerances if there are to be no gaps. The areas around the casemate guns comprise curves and angled sections, all of which need to mate pretty much perfectly. The stern sides also have cuts in them which when closed, form an angled, curved profile. Starting with these, after painting all exposed edges, I tacked them in place with Tamiya tape:
 Then painted pva along the joints, backed up with thin tracing paper to form a shear joint rather than an edge joint: 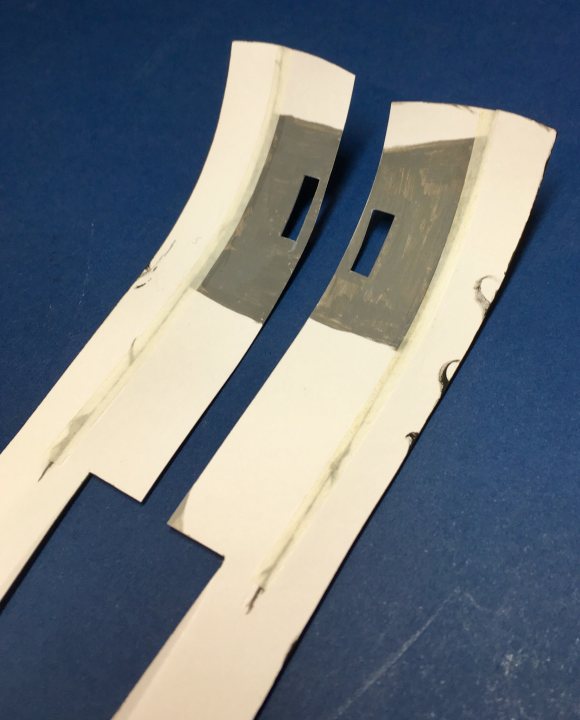 Then painted the back to make any small gaps opaque. The upper and lower bow sides were joined in the same manner: 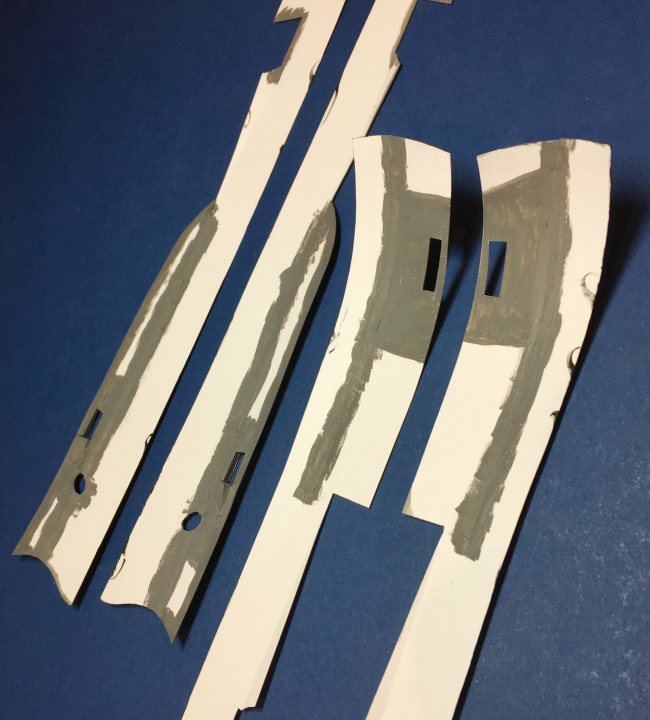 This results in - pretty much - perfect joins, with no excess glue on the outside: 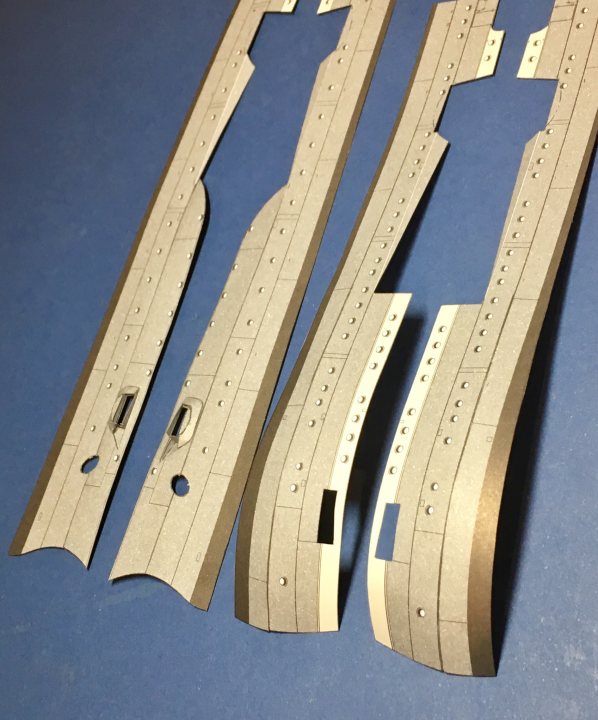 On to the casemate panels: 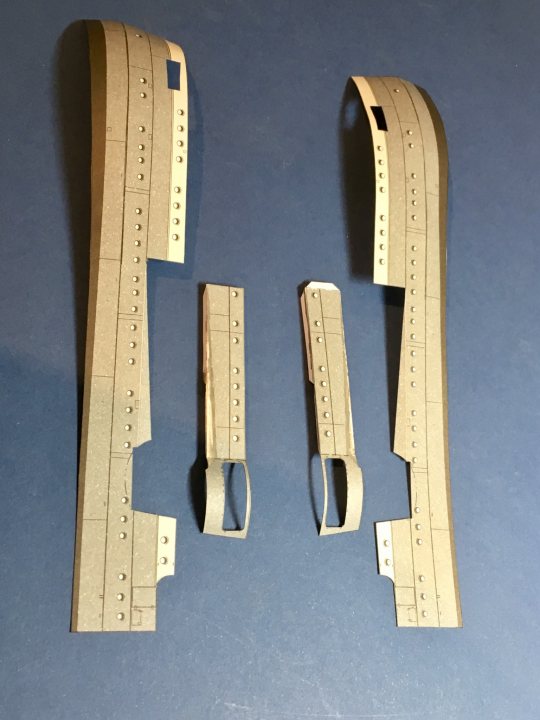 The ends were trimmed to the right length, and joined to the stern sides as above. Then, the two sub-assemblies were fitted to the rear deck using Elmer’s glue, which allowed adjustment to suit the casemate bulges. PVA was then brushed along the inside edges of the hull-deck interface. This formed a shell structure: 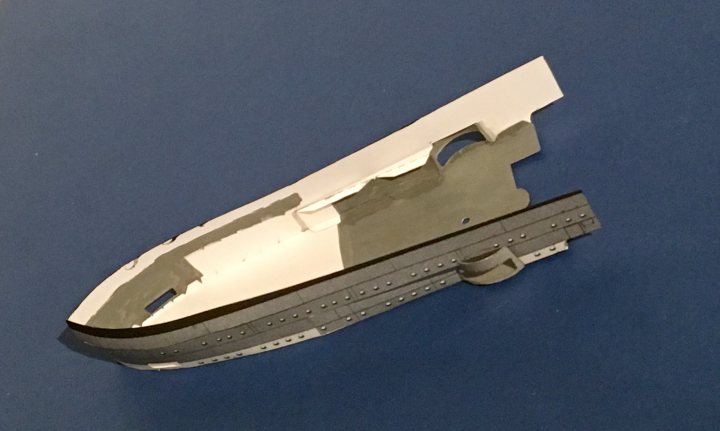 I opted for this shell method because it simplifies the critical, and very difficult, hull-deck joint, allowing access to the inside and outside for adjustments and application of glue. The insides will be finally painted dark grey in case anything is visible from the gun ports (unlikely, but possible). The shell fitted nicely to the stern sub-structure, at least as a test-fit. The aluminium rod represents the mast spigot, which lines up nicely with its previously fitted socket. 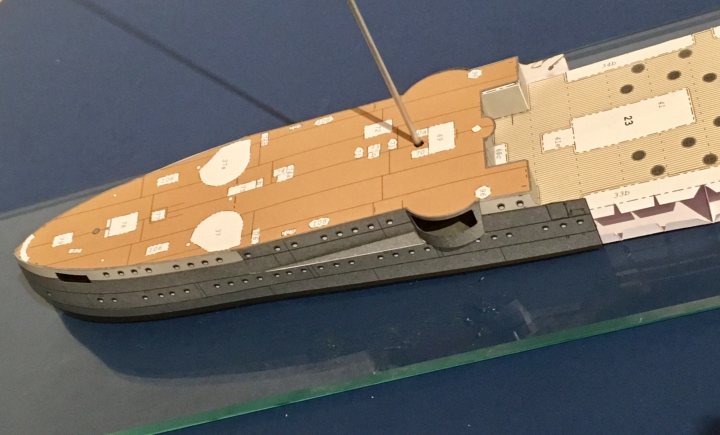 Next, the bow shell structure.
|
|
#30
05-03-2018, 05:00 PM
|
|||
|
|||
|
This is remarkable approach from somebody who just starting in paper medium. It took me decades to come up with something similar and in my case wasn't happy ending after my model eventually landed in a trash bin....
Don't know whether you are familiar with this specific edge to edge assembly while working on boxy structures. Using chiseling type of blade like Xacto #18 shave off the edge at 45* of each end so after butt join it creates almost seamless edge and basically no edge coloring is required. Not always possible and more time consuming than usual tabbed edges joint but when done cleanly it really looks head and shoulders above...
__________________
Paper Lab
|
| Google Adsense |
 |
|
|


 Linear Mode

