


|
|
|
#161
 11-17-2018, 02:22 PM
|
|||
|
|||
|
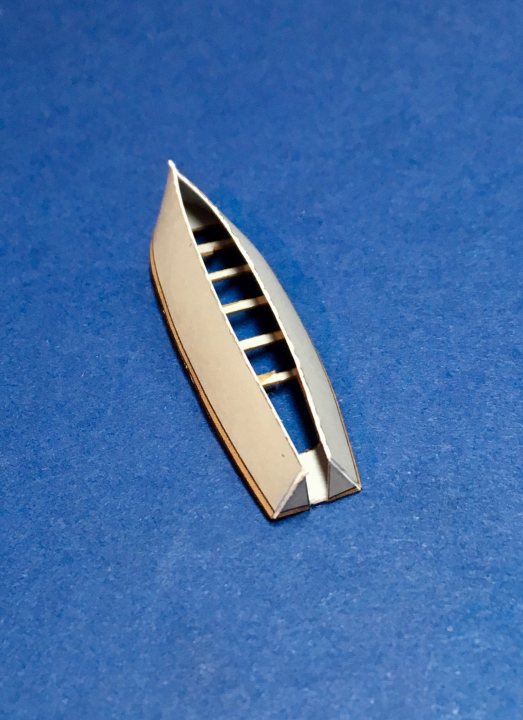
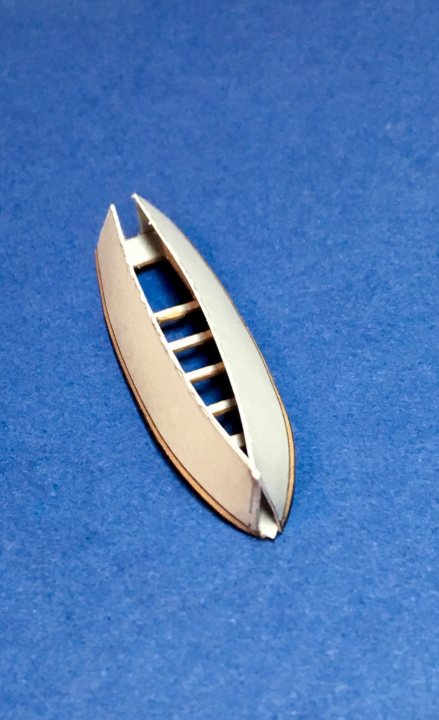
Made a start on the eight lifeboats and launches. They’re turning out to be a bit of a nightmare. I opted to cut the hulls into two halves, and attach to the decks bit-by-bit. I couldn’t get the instruction version to work ie fold and glue the hull, then add the deck. The decks are also single thickness, which, once you’ve cut the lower deck portions out are obviously very weak and won’t take any load; I doubled them up.
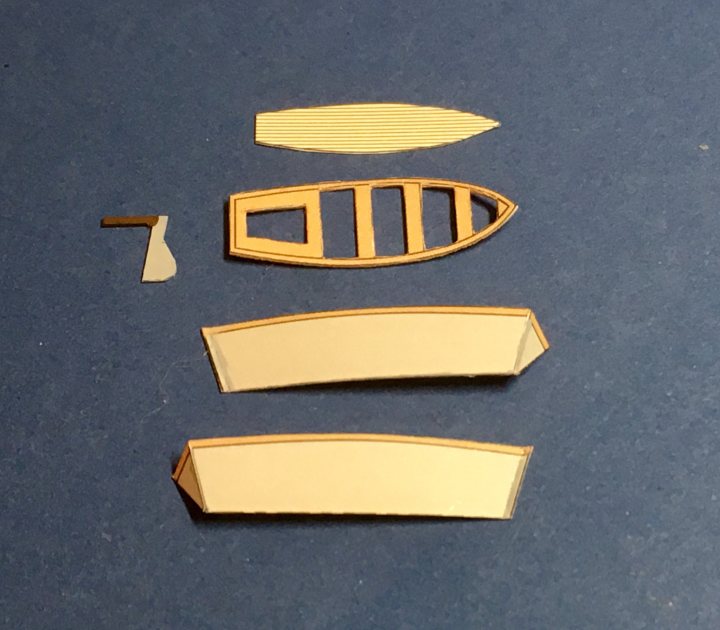 First step - add the first side to the deck: 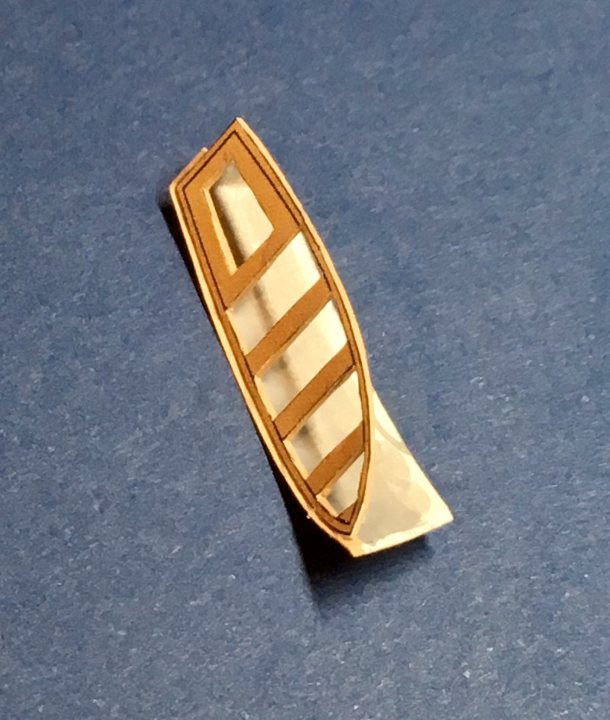 Next add the other side and slide the lower deck piece inside: 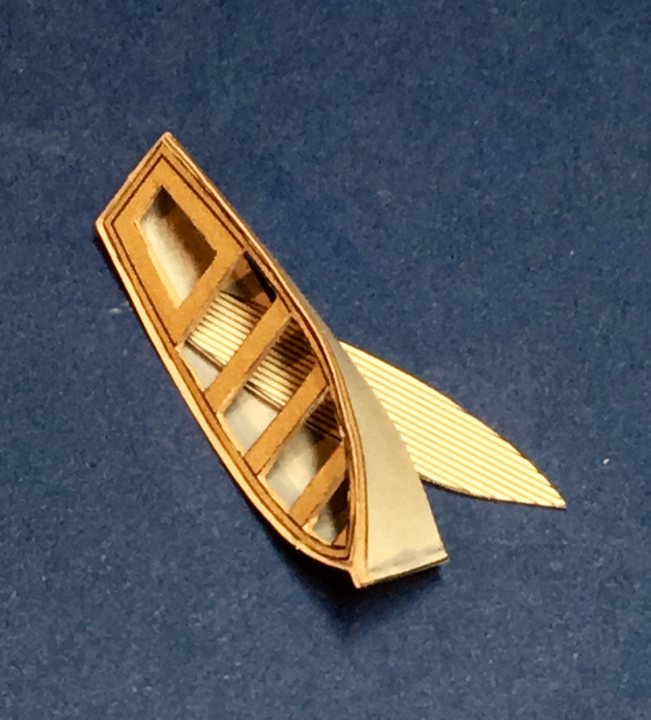 Finally glue the keel, lower deck and rudder, and add oars: 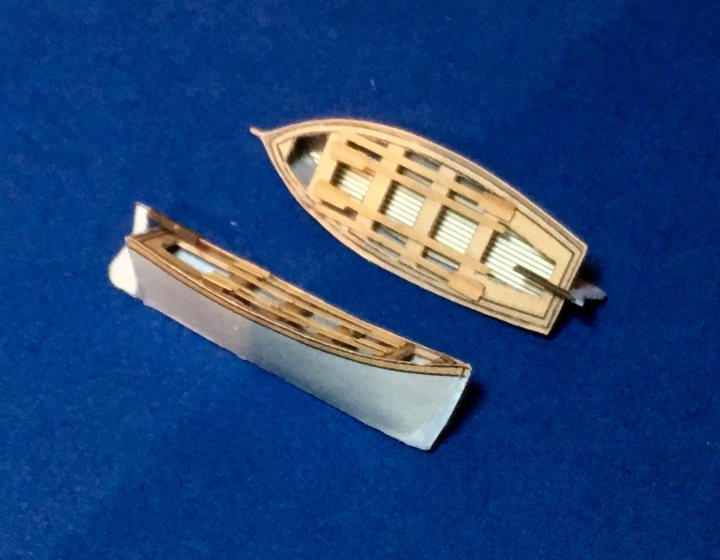 The real problem is that some sides don’t fit their decks at all. The steam launch is massively out: 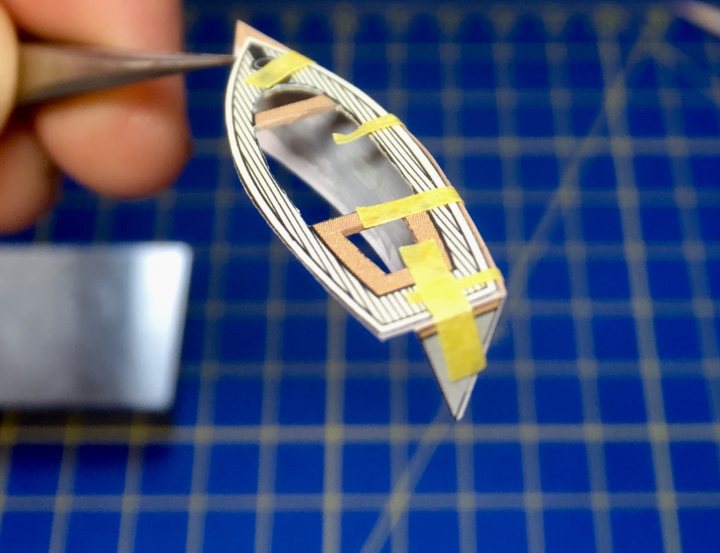 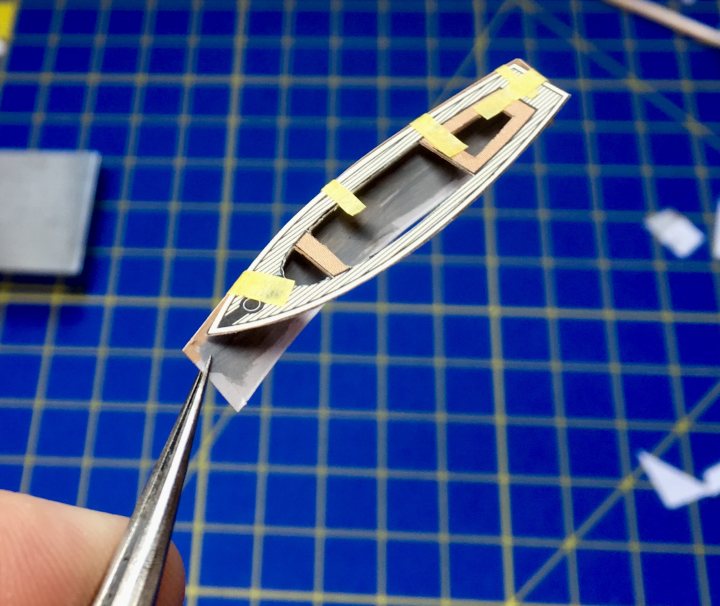 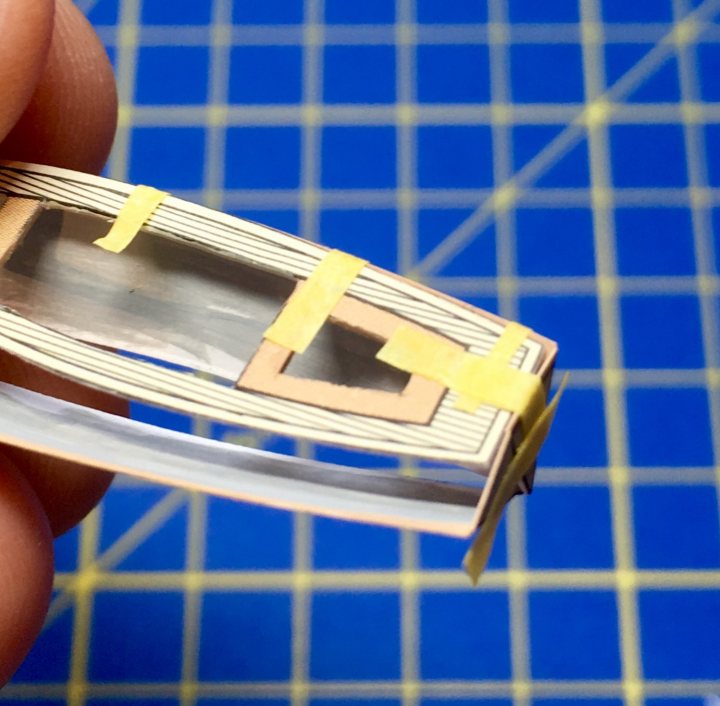 I’ve tried to modify one, but messed it up, so I guess I’ll have to try and source another kit and try again. Which is annoying. I always seem to end up buying two kits these days! 
|
|
#162
11-18-2018, 04:48 PM
|
|||
|
|||
|
So I built the remaining #127 boat using a different method, and it’s still way off:
  And this is what happens if the stern is shortened to suit the sides: 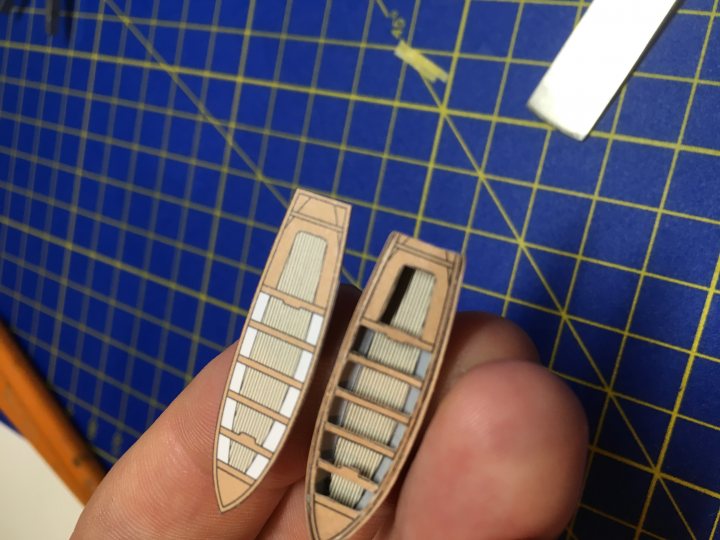 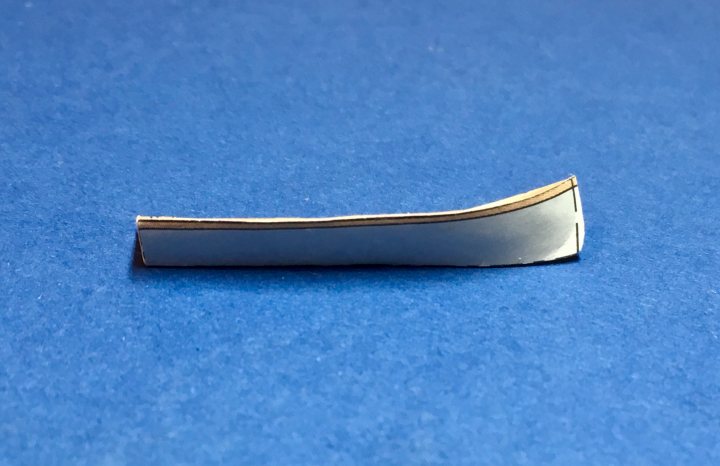 ...looks like it’s horribly warped. Comparison of both methods: 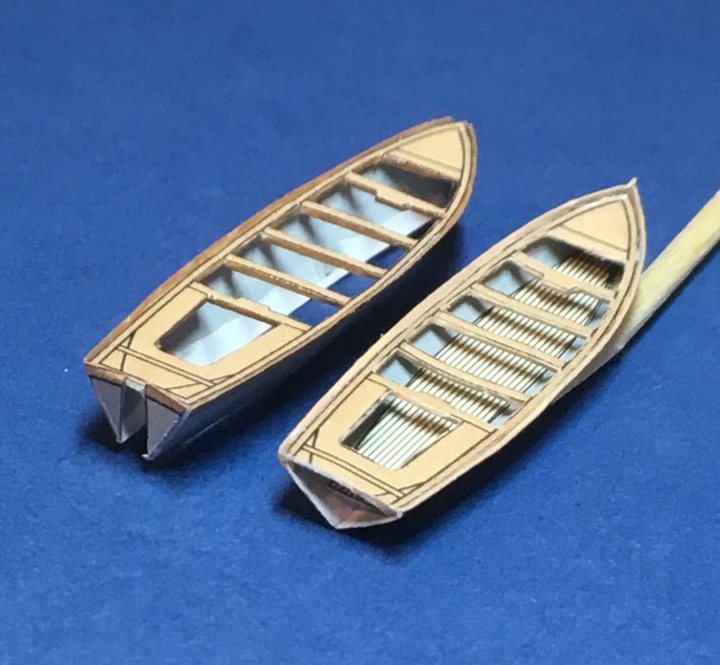 It must be an error in the print. I’d estimate the hull sides need scaling by 1.1x lengthways to suit the deck piece. I’d then glue in a separate transom. It’s been suggested that the deck pieces are intended to sit on top of the hulls, but to me that looks wrong: the benches and decks should sit within the hull. This can’t be correct for the steam launch, since the deck is way smaller than the aperture.
|
|
#163
11-22-2018, 04:42 PM
|
|||
|
|||
|
So while waiting for the the new boat parts, I made a start on adding detail to the funnels. I’ve been putting this off for months because it looked a real pain.
Because they are festooned with steam pipes, horns, and fragile laser-cut rings and rungs, handling them during assembly was going to be impossible. I opted to construct a makeshift fixture out of a v-block (for stability), a piece of dowel, and a hair band (not mine). First off, trim and fit the 14 halves of the circumferential rings: 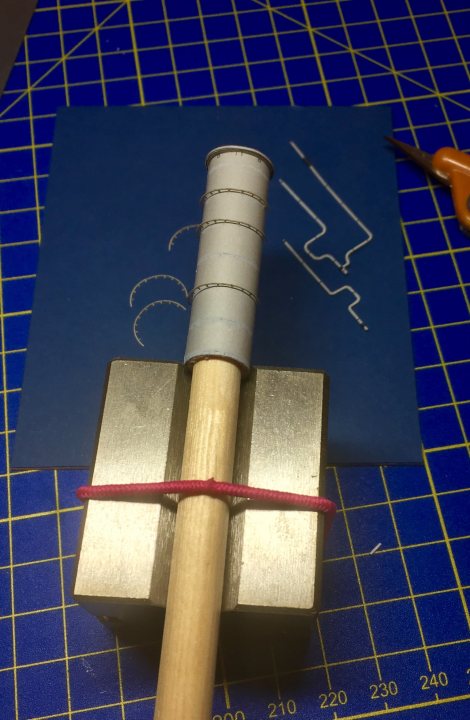 Then add the 19 individual steps: 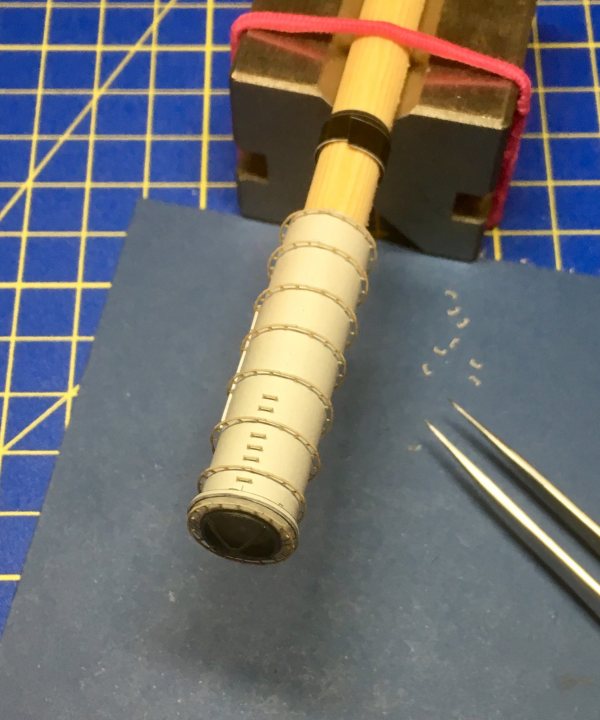 You might notice I’ve now added a ring of black dymo tape. This is to stop the dowel being accidentally pulled towards the v-block during turning, thus destroying the carefully placed lower rings, and causing a lot of foul laungage (again). Then, after a sip or two of dry ginger ale, and more Revells, prod, poke and cajole everything into some kind of alignment: 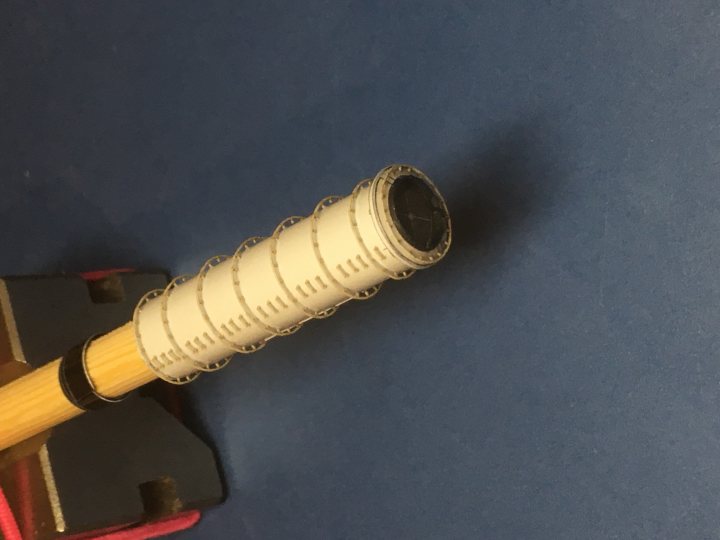 The rotational alignment of the rings is a bit off, mainly because they don’t fit the funnel precisely. Still, they are all pretty well aligned longitudinally, so it’s not too noticeable. I suppose I should have thought how to remove the finished thing from the dowel...
|
|
#165
11-23-2018, 05:15 AM
|
|||
|
|||
|
Quote:
Ha ha thanks - I'm also learning all the time! I doubt I could make any money from models - I even lost £22 on a Lego Technic crane this week simply by not waiting until Black Friday!
|
| Google Adsense |
|
#166
11-23-2018, 07:18 PM
|
|||
|
|||
|
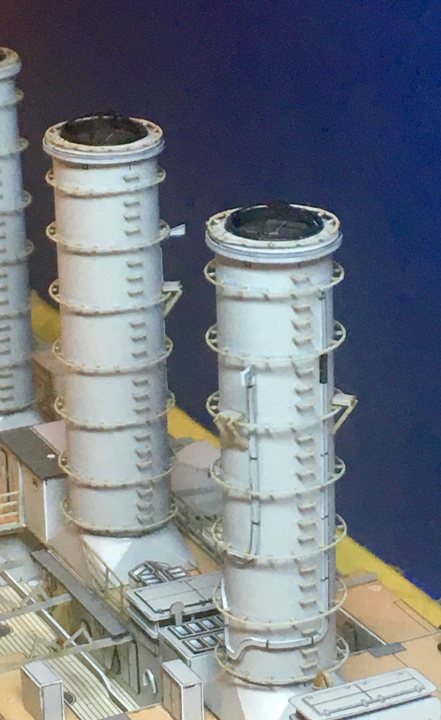
So on to the next funnel - the front one, which is a bit smaller in section, and circular rather than oval. It also has a much more complicated steam pipe structure, which needs careful alignment:
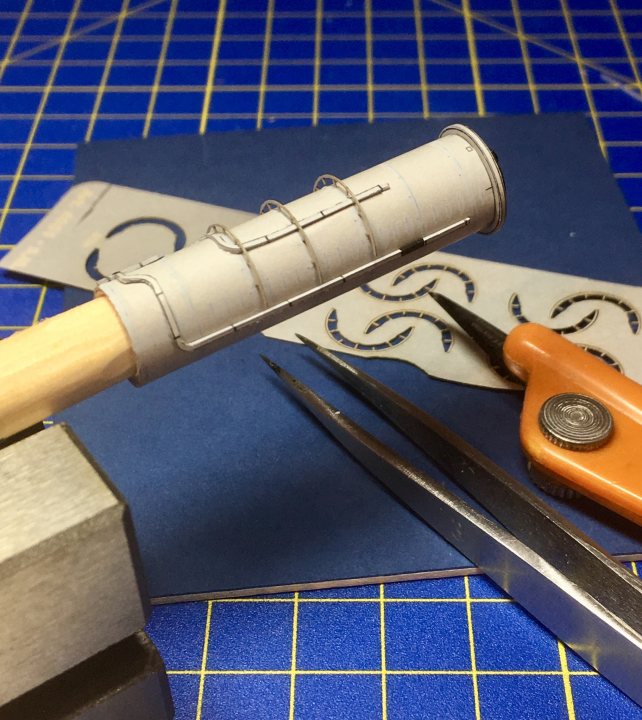 I put some painted strips down the joint lines to neaten them up a bit. I used standard printer paper because it’s thinner than the kit paper: 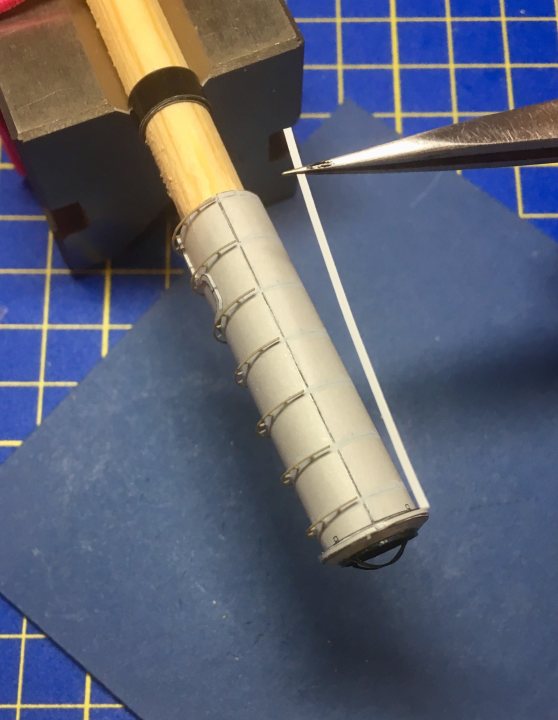 Then, after fitting the 19 individual rings (quite easy really) on to the circular rail that fits around the top of the funnel: 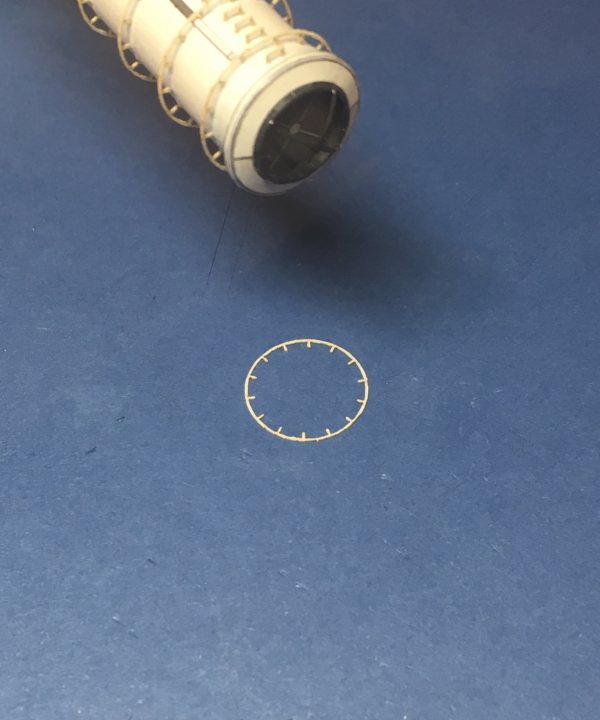 I opted to bend the stubs downwards a bit with tweezers: 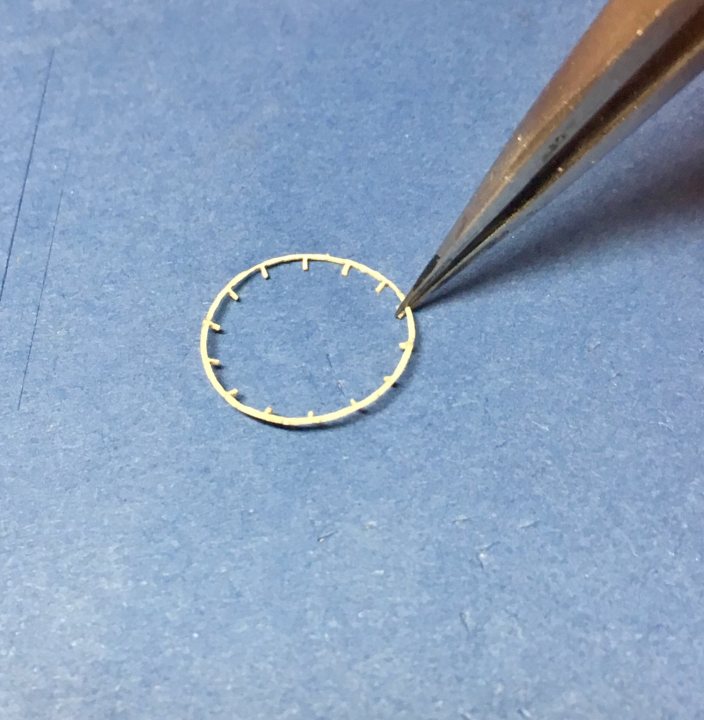 I think it looks better like that when fitted. So two funnels down, one to go: 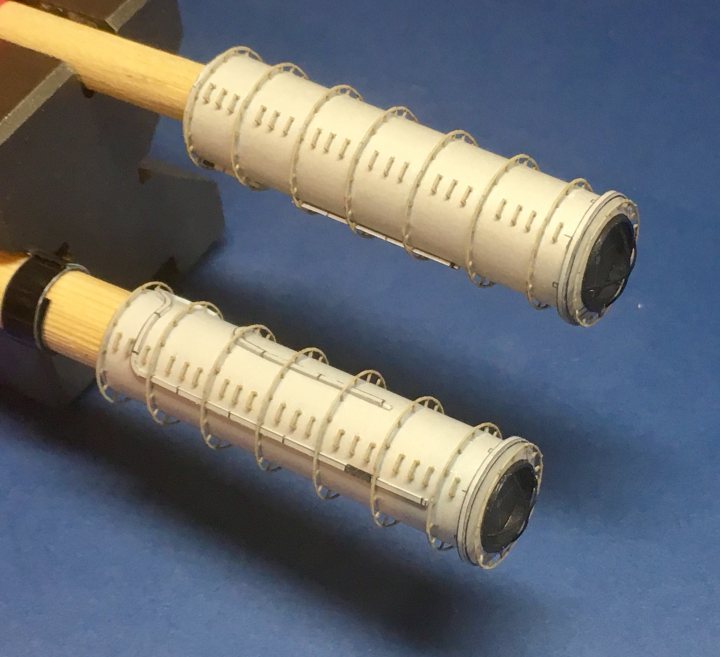
|
|
#168
11-24-2018, 03:06 PM
|
|||
|
|||
|
Quote:
Thanks Don! So today sees all three funnels ready for fitting: 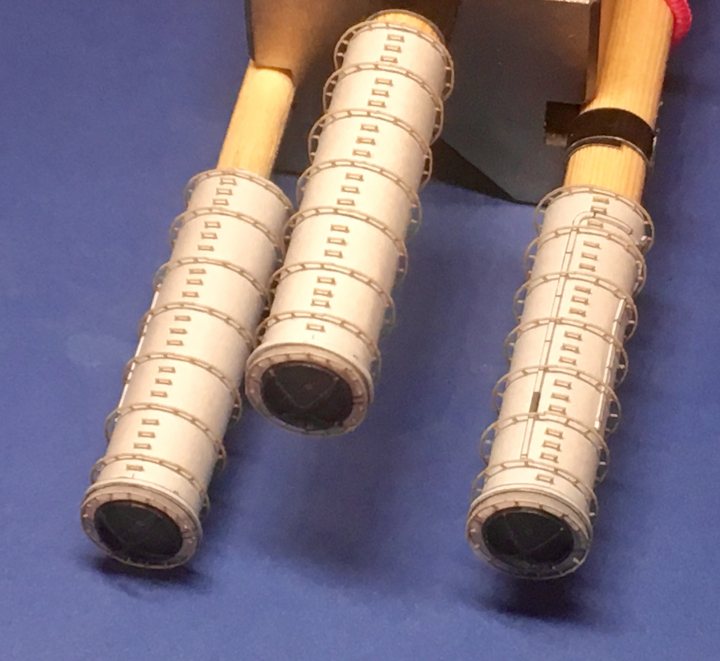 There are a few platforms and spars still to be added, but Ill do that once in place so that I get get overall alignment correct. BTW for painting out the printed-on rungs and rings, I used Vallejo Model Colour, approx. 30% Light Grey : 70% Off White; 2 coats was enough to be able to still just about see them as a placement guide: 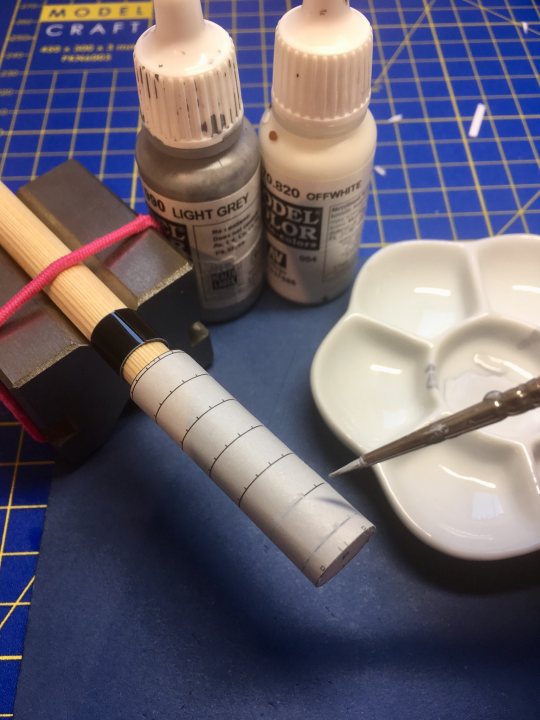
|
 |
|
|


 Linear Mode

