


|
|
|
#101
 01-14-2020, 03:20 PM
|
||||
|
||||
|
Quote:
__________________
S.F.C. - Bernie 
|
|
#102
01-14-2020, 03:44 PM
|
|||
|
|||
|
Quote:
|
|
#103
01-14-2020, 03:53 PM
|
||||
|
||||
|
scarfing joint...is referred to as bogarting the joint in 'merica.
__________________
SUPPORT ME PLEASE: PaperModelShop Or, my models at ecardmodels: Dave'sCardCreations
|
|
#105
01-15-2020, 04:37 AM
|
|||
|
|||
|
The closest approximation in engineering terms would probably be a "Single V Butt" joint - as applied to welding.
In general terms, "Bevelled Edge Line" (BEL?) joint would probably describe it accurately enough: The edge of the paper is bevelled (a bevel is effectively a chamfer that covers the entire depth of section, as we have here), and, in theory, it's a line that's being bonded (as opposed to a face).
|
| Google Adsense |
|
#106
01-15-2020, 07:53 AM
|
||||
|
||||
|
okay, gotta squeeze in two more...then I'll stop...
1. "butt joint" -had one of those in wallet for months. 2. I suggest we all agree and call it "jointy-mc-joint-face"
__________________
SUPPORT ME PLEASE: PaperModelShop Or, my models at ecardmodels: Dave'sCardCreations
|
|
#107
01-15-2020, 10:49 AM
|
|||
|
|||
|
BEL sounds good. Count me in as an early adopter....
drg did you settled on any specific glue for attaching decks and hull skins to the frame so they wouldn't wrinkle...? I think Krylon " Spray Adhesive " is an excellent glue but in spray so it could be difficult to apply with precision. On the other hand who cares if you over spray. All internal structures are hidden from the praying eyes anyway...I think I'm going to test this idea with my next project.
__________________
Paper Lab
|
|
#108
01-15-2020, 03:37 PM
|
|||
|
|||
|
Quote:
Yep - UHU, based on advice from Ben at Fentens. Next post should explain it, I hope when everything is set and cured it stays as it is, because so far it's worked - no wrinkling at all despite using a fair amount to secure the decks...
|
|
#109
01-15-2020, 03:38 PM
|
|||
|
|||
|
So the time has come for deck fitting part deux.
There was a slight warp in the deck, so I chased it around with various rulers and weights until it was around a secondary turret hole. I the sliced the deck locally through the hole and could then see the extent of the mis-match: 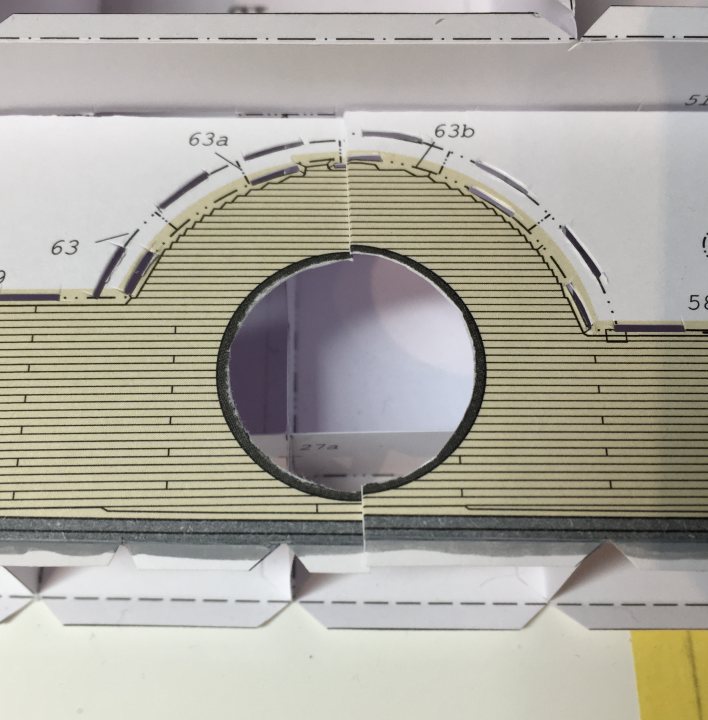 Then marked and sliced it using the bevelled edge technique: 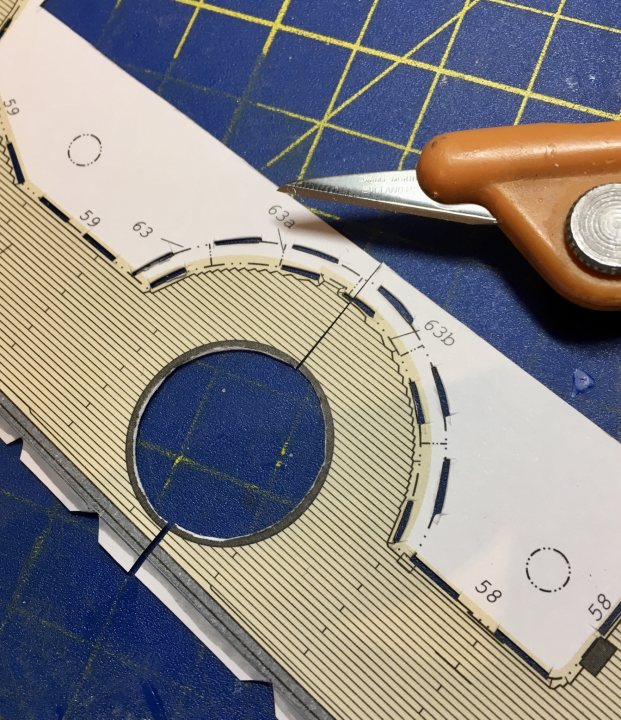 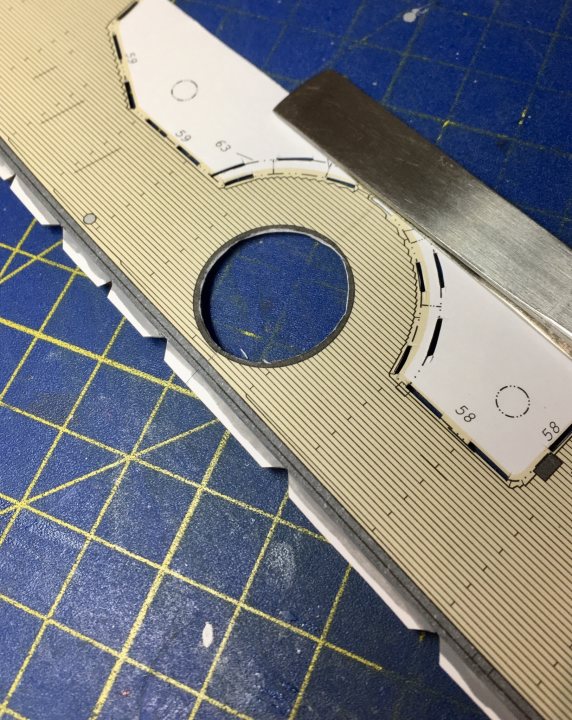 Backed up with plain printer paper: 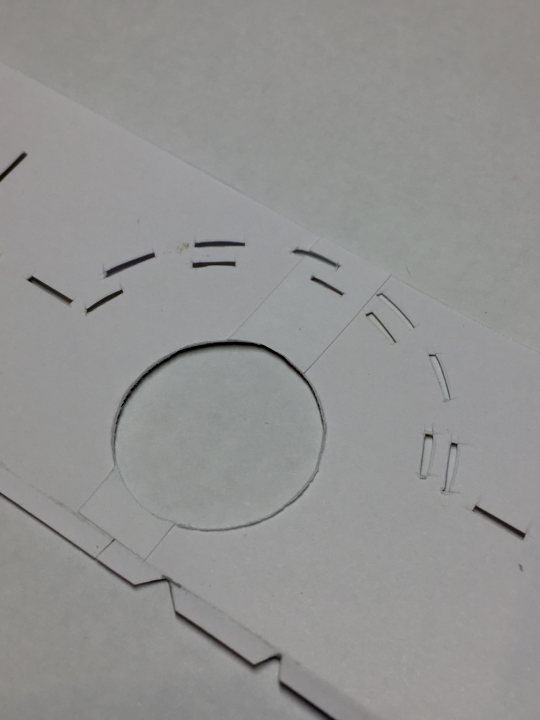 Not forgetting to add the deck steps: 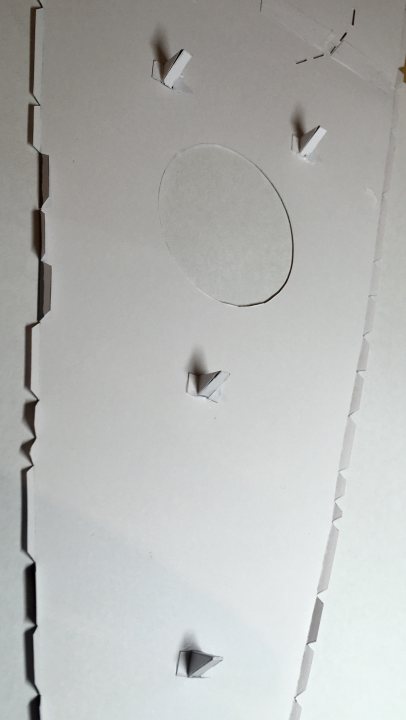 Then crunch time - sticking the deck, this time with UHU. I worked middle to edges, front to back in stages: 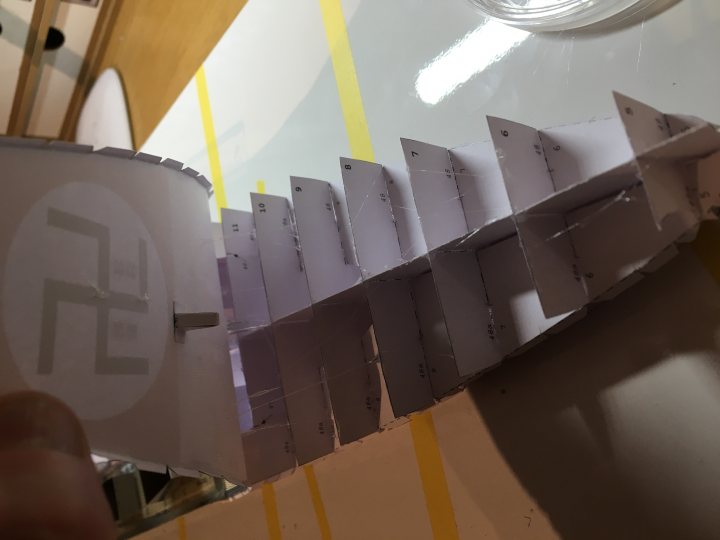 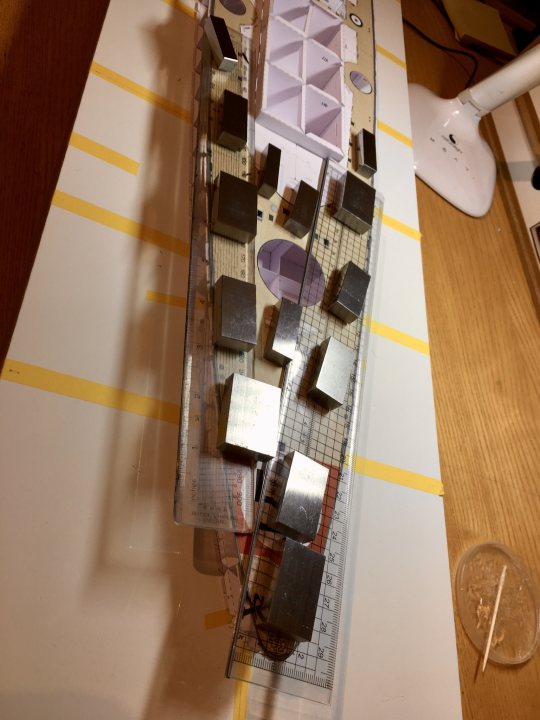 Despite daubing the substructure in glue with a cocktail stick, no wrinkles! 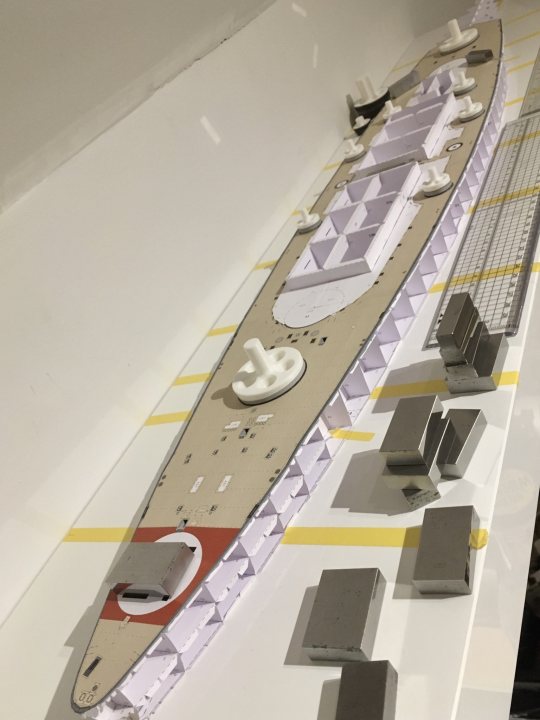 I re-reamed the modified deck hole so it was circular again, and temporarily fitted the turret mounting cylinders with their jigs: 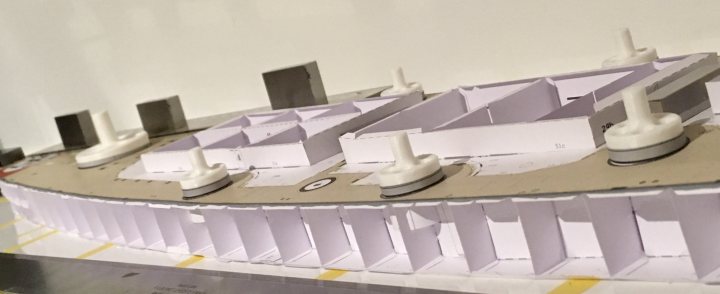 Still to add the front two bits, but should be a trivial task. The cut-and-shut didn’t fully get rid of the warp in the end, but it’s in a fairly unobtrusive place, so it’s manageable now I think.
|
|
#110
01-16-2020, 10:42 AM
|
|||
|
|||
|
I think your main deck is almost perfection. Very nicely done. I'm surprised you used BEL joint for two flat segments. I thought this is something best used on edges meeting at less than 180* as well as other folds. But as long as it works congrats.*
__________________
Paper Lab
|
| Google Adsense |
 |
|
|


 Linear Mode

