


|
|
|
#111
 01-16-2020, 10:53 AM
|
|||
|
|||
|
Quote:
Thanks! I see what you're getting at with the 180* (flat) joint - as I mentioned, it's a very weak joint, and needs backing-up somehow, which allows you to fill the resulting triangular gap on the underside of the joint with glue. Of course if it's less than 180*, it becomes more of a mitre joint (a per your diagrams now I come to think of it). On my first attempt at the deck, I was a bit disappointed by the unsightly deck joint lines - especially at the sides and stern, and since I was doing it again, I wanted to experiment with 'seamless' flat joint methods. It's almost seamless, at least better than a standard straight cut-and-shut with a chamfered blade. I'm going to try it with the hull side vertical joints too. 
|
|
#113
02-26-2020, 06:55 AM
|
|||
|
|||
|
I’ve 90% figured out the area between the two main superstructure blocks. It’s a complex assembly of faceted plates and cantilevered overhangs that somehow form a roof over the gap, with the catapult off to one side:
 Here are some of the parts: 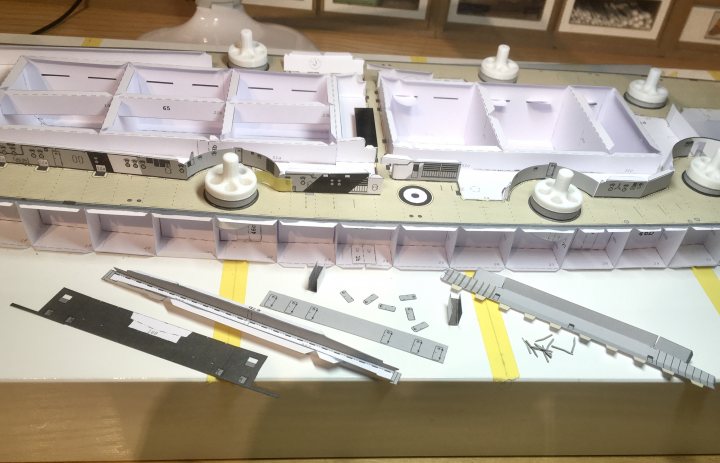 I’ve cut some of the more complicated z-folds out of their original parts - makes alignment easier. Also painted the exposed edges, and used the first bits of laser-cut card: bulkhead stiffeners.
|
|
#114
02-26-2020, 02:17 PM
|
||||
|
||||
|
Yes, the HMV Bismarck is a very difficult built, I stopped building it, my next attempt for building Bismarck will probably be the Halinski Bismarck model.
But I wish you a lot of luck, and so to see you will manage !! looking good.
|
|
#115
02-28-2020, 11:10 AM
|
|||
|
|||
|
Quote:
Thank you!
|
| Google Adsense |
|
#116
02-28-2020, 11:10 AM
|
|||
|
|||
|
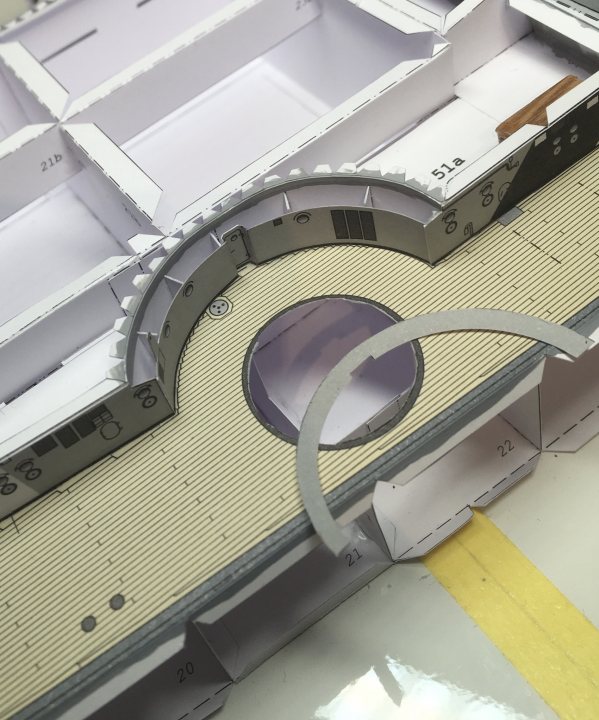
Here’s a fairly typical problem with tolerance stacks and paper models: the first piece of the superstructure wall needs to fit exactly on its footprint on the deck, butt up to the catapult trough, and match up with a curved piece, which is itself part of an assembly. All need to match precisely with the roof of the superstructure , which is one piece, so can’t easily be adjusted:
  Trouble is, the superstructure wall piece is about 1mm too far back, so won’t match the curved piece. This will throw the whole lot out. I’ve glued a wood strip to the back of the wall, and another to the deck. I’m hoping to put some glue on the mating faces and force the wall forward slightly until the glue sets.
|
|
#117
02-29-2020, 05:12 PM
|
|||
|
|||
|
Assembling the secondary turret recesses with their double skins, radial stiffeners and conical cappings, while still maintaining alignment for the top deck, is a brutal modelling job if you don’t like mis-matched edges...
|
|
#119
03-08-2020, 06:55 AM
|
|||
|
|||
|
I’ve replaced the horizontal tabs of the decks with doubled paper pva’d into their slots. Their absence made deck fitting easier, but the structure lost a bit of stiffness. All back now. Now adding the first superstructure sides, inch-by-inch:
  Alignment with the next deck is all over the place (see the door between the metal blocks, and how it’s deck plate is offset), but that’s how it goes with paper models of this complexity... Also, part numbering can be hit and miss, which can get confusing: 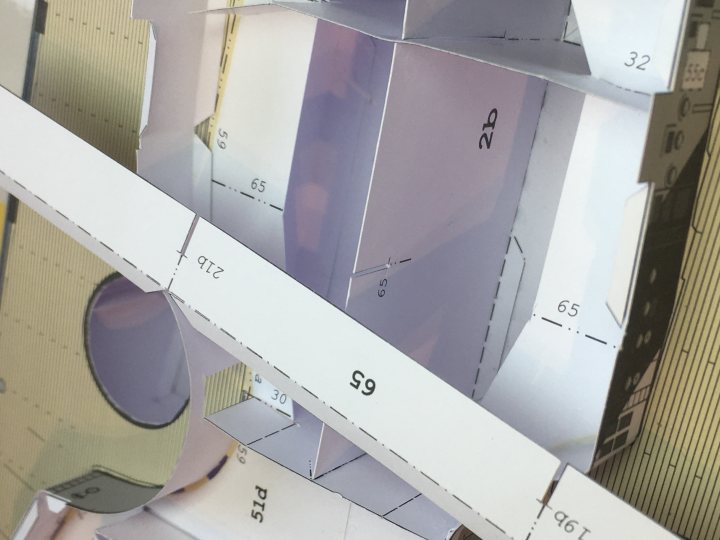 Should be part 65B.
|
 |
|
|


 Linear Mode

