


|
|
|
#171
 01-24-2022, 12:29 PM
|
|||
|
|||
|
Quote:
Thanks for your advice, and I'm super psyched to start mine 
|
|
#172
01-24-2022, 01:35 PM
|
|||
|
|||
|
Quote:
|
|
#173
01-24-2022, 03:28 PM
|
|||
|
|||
|
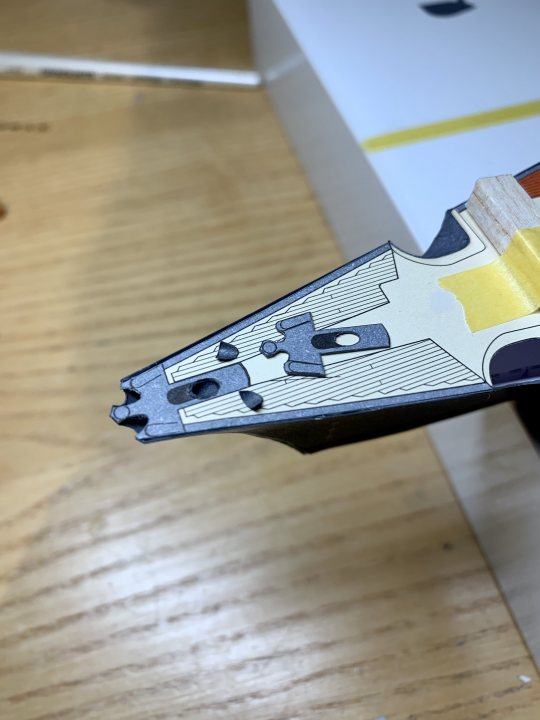
Moved on to the bows, and the anchor recesses. These are made up of two curved and faceted parts:
 Took a lot of figuring out that 79b and 79c are marked wrongly on the instructions:  After cutting out, scoring, and painting the edges, I followed usual procedure and taped and glued the recess in place:  Followed by the stiffener (should form a radiussed edge, but I guess one of the approximations required for design in paper):  Then the hawser pipe, which rolls to oblique ends:  Its going to take some fiddling and luck not to loose it forever on installation:  Still a lot of doubled-up parts to get right, around the recesses:  Other side should go quicker now Ive figured out how it goes together.
|
|
#174
01-25-2022, 04:09 PM
|
|||
|
|||
|
Continued with detail work on the bows - fitted the hawser pipe, and formed the small cutouts at either side:
 There is a doubler plate that fits over everything, eventually: 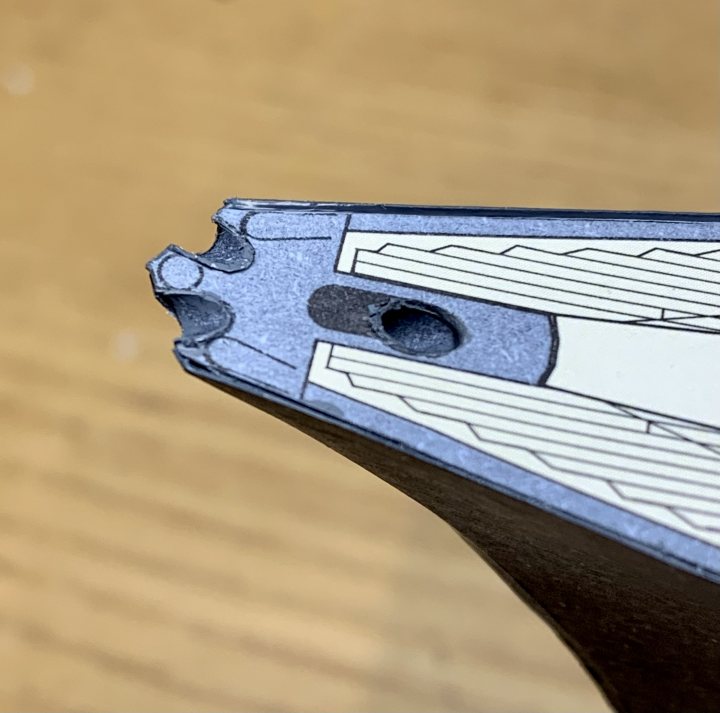 The pipe fitted ok, and kept itself fairly round. Good job, because the front anchor shank and shackle have to pass through it eventually: 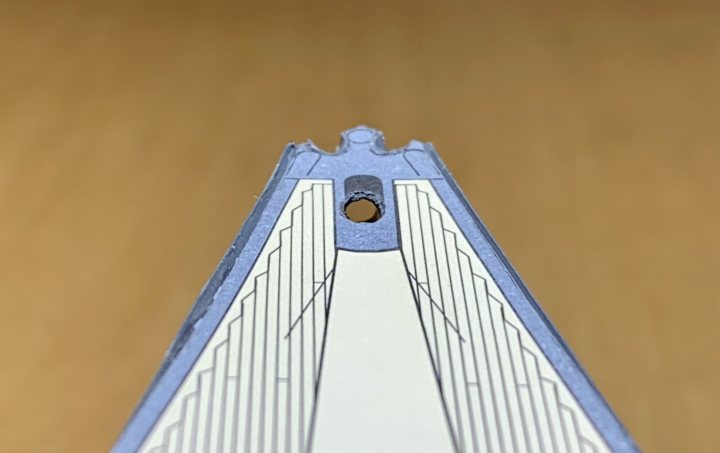 Also started on the port side anchor recess. Began by painting out the location lines:  The fillet piece will cover any gaps in the structure behind, but Ill do that tomorrow when the first parts are secure.
|
|
#175
01-26-2022, 05:03 PM
|
|||
|
|||
|
Continued this evening with some of the bow details. There's a separate panel to make the deck double thickness under the main anchor chains, and then a further two doubled pieces to reinforce the area around the anchor recesses. There's also a small doubled panel that fits around the hawser pipe bell mouth:
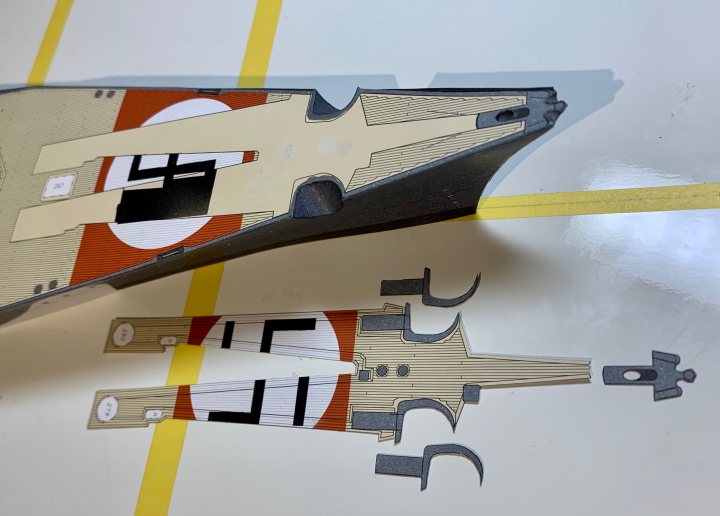 I applied cyano along the visible edges of the cut-out reinforcements, to get rid of the laminations, then painted grey: 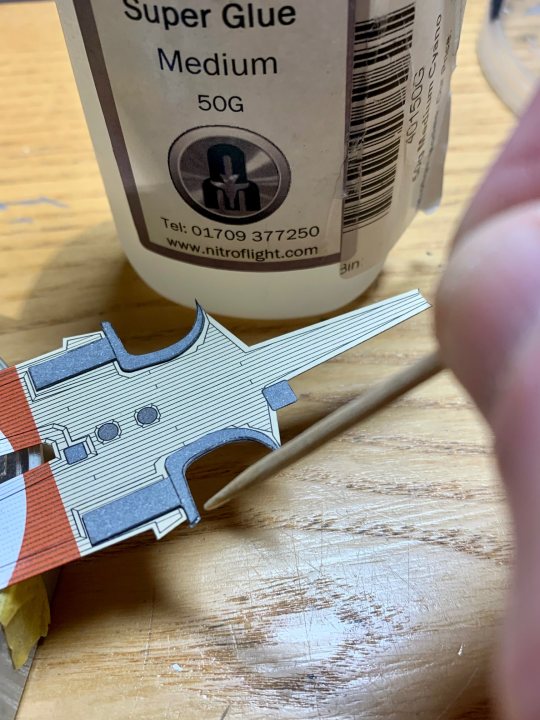 Then attached to the deck doubler plate:  Then, after carefully aligning the deck doubler (and the missing swastika I painted on), dotted PVA underneath, and weighted down with slip gauges: 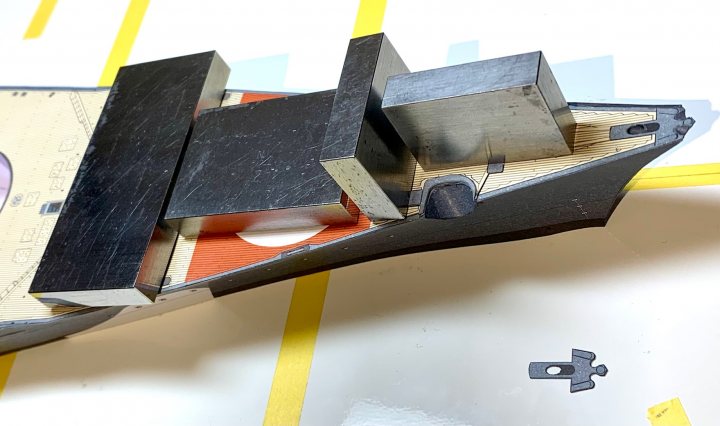 And wicked dilute PVA around the periphery to stop it lifting; 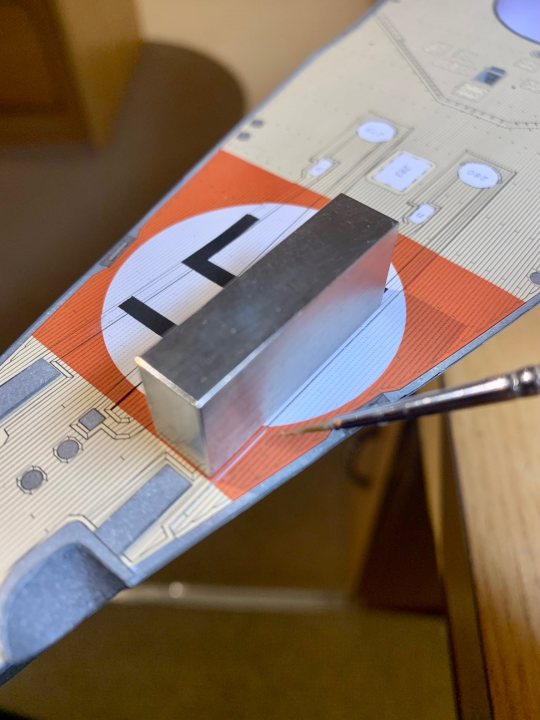 Then added the hawser doubler:  That pretty much covers the basic structure of the bows: 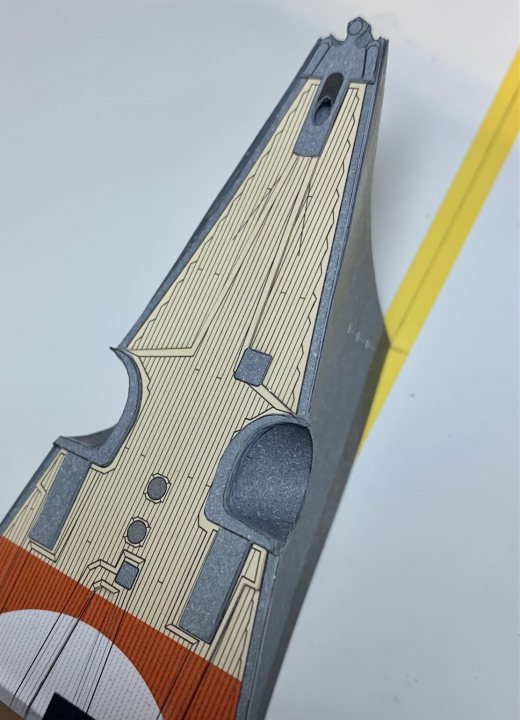 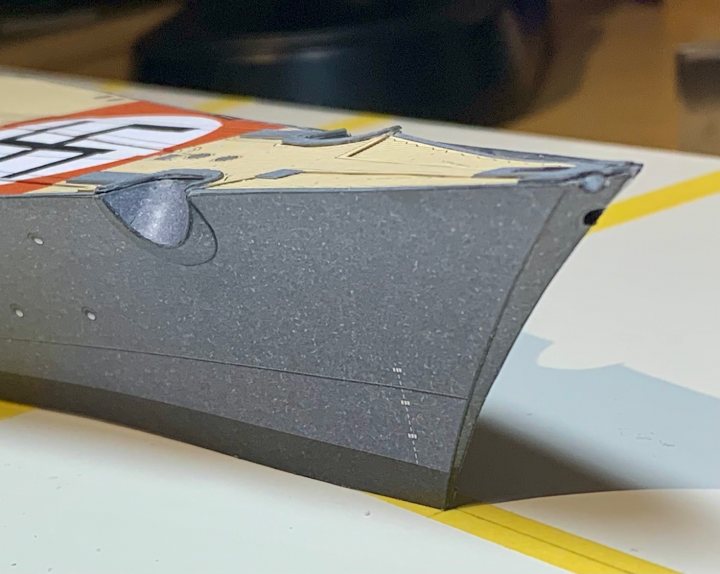 The main anchors will cover the small gaps around the recesses. Might add some more PVA anyway, but no big deal either way.
|
| Google Adsense |
|
#176
01-27-2022, 01:30 AM
|
|||
|
|||
|
Wow!
This is very precise modeling! Thank you for the detailed description of your methods. I really admire all you battle ship modellers here. Great work! Rgds, Radek
__________________
On the Ocean: Koga Elbląska, Mayflower On the Rollfield: Horten GO-229 In the Shipyard: Neptune, Een Hollandse Tweedekker In the Garage: PANHARD AML20
|
|
#177
01-27-2022, 08:01 AM
|
||||
|
||||
|
These step-by-step images and explanatory narrative are a pleasure to view and read and will be of enormous help to anyone building this model. There is also a lot to learn that would be applicable to other projects.
Many thanks. Don
|
|
#179
01-28-2022, 02:49 AM
|
|||
|
|||
|
Thanks for the kind words guys. I can assure you that the closer I get to a perfect finish, the more errors I begin to see. For example, I noticed some water staining on the rear deck recently, that will take some correcting, but I can’t un-see it now. Also, if one join is perfect, an adjacent imperfect join is more obvious! Anyway, I just need to get on with it now that the hull completion steps are almost done. I will post some examples of how I’ve ended up with fit errors, and problems due to not getting the deck flat. This is why it takes me so long - if I rush, the errors would be worse, and more frequent, and it takes an age to correct them! Cheers!
|
|
#180
01-30-2022, 01:35 PM
|
|||
|
|||
|
Fitted the secondary armament bases. Started by painting around the bottom of the flanges in black, so that any gaps wont be as obvious:
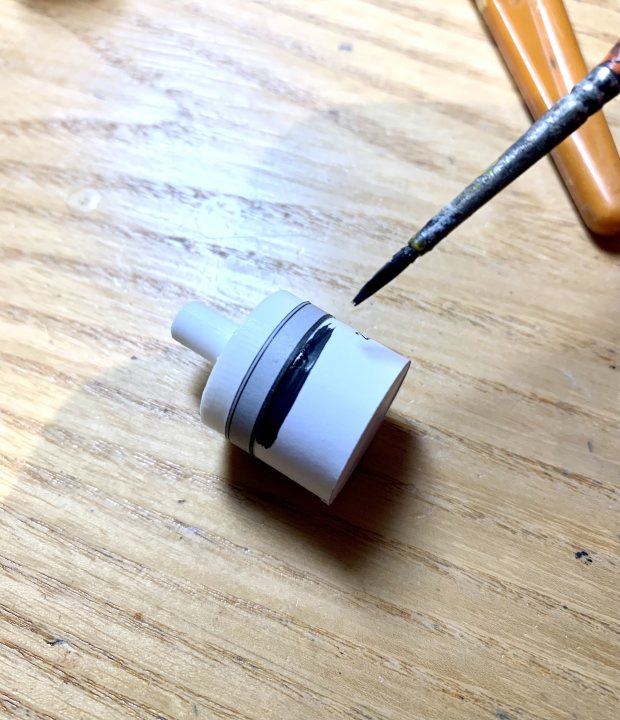 Fitted initially using the 3D printed taper plugs, then weighted in position with slip gauges:   Then reamed out the A turret aperture:  Painted around the A and D turret bases:  Glued in place:  D turret wad more problematic, because the deck wasnt perfectly flat. I shored it up with balsa:   Still fiddling about with the fit:  Also visible is some water staining - no idea where it came from, but will take some careful paint mixing and brushing to get rid of it. Also got rid of the white cut lines on the armour return: 
|
| Google Adsense |
 |
|
|


 Linear Mode

