


|
|
|
#12
 11-04-2009, 12:42 PM
|
||||
|
||||
|
Those are good tips. I like the white card and as a back drop to reflect the soft light. I always seem to take pictures that are either too dark or are whited out by too much flash. Now I know! Thanks Lehcypher.
CT 
|
|
#13
11-12-2009, 01:12 PM
|
||||
|
||||
|
Part 2 of this report: Wilmington is now finished.
I enjoyed putting this model together, and will be building it again, seeing as how I learned so much the hard way building it. I've been building paper kits for years, but mainly airplanes, and fairly simple ones at that. This was the smallest scale I'd worked with in awhile. A couple of things we found during the build was the the formers need to be VERY precise; there are some hull imperfections where I cut them either too wide or too short. The hull sides ended up being a little short of the deck, but I printed extra strips, trimmed them and patched gaps that way. I kind of like the patchwork effect, given that Wilmington was built using scrounged materials from non-naval sources. CT has increased them in size based on the test-build feedback. Wilmington's casemates and hatches were designed with very low profiles and this made for some tricky building. I couldn't get the casemates base edges to match up with the printed deck interior, but I don't know if that's my building rather than the design. The kit gives you an option of open or closed gunports. I made some both ways, but you really can't see into the casemates; the gun ports are so small (but in scale). That's a shame, because CT provides the builder with really well designed carriages for the two Brookes rifles. I used bamboo skewer segments for my gun barrels. you also get a choice of gunport covers (finished and plain iron plates bolted together) and I put both kinds on, but at my camera's resolution, I really can't show you the difference. CT mentions in his kit documentation that there's almost no info available on what Wilmington's deck furniture would have been, since it was destroyed before ever getting that far. He provides paper parts for anchors, davits, and two generic long boats, along with suggestions for placement. I ended up bending a simple anchor handling davit our of light wire and making a grapnel-type anchor, also out of two diameters of wire. I chose to mount the boats amidships on skids rather than on chocks (again, taking into account the ship's circumstances of construction) and bent davits out of florist's wire. Yes, they are different sizes port and starboard- the ship was being built and equipped out of whatever they could find, so having davits of two different sizes and makes would not be out of the realm of possibility. Lastly, I added some additional detail to the stack- two bands of ordinary printer paper colored gray, and a florist's wire steam pipe with a wrapped-paper relief valve to cap it. As I mentioned earlier, the parts are beautifully drawn; as good as anything you'll see from any source. I will be the first to admit that I didn't do this kit justice, but CT has waited a long time to see the finished ship in the light of day. For a better idea of the kind of results you can get from a CT's Paperclads kit, check out Major Davenport's build thread on his CSS Fredericksburg. I hope in the near future to update this thread with another, better-executed build of this kit. Many thanks to CT Ertz for the opportunity to build this, his first ACW ironclad kit. Now, the photos:  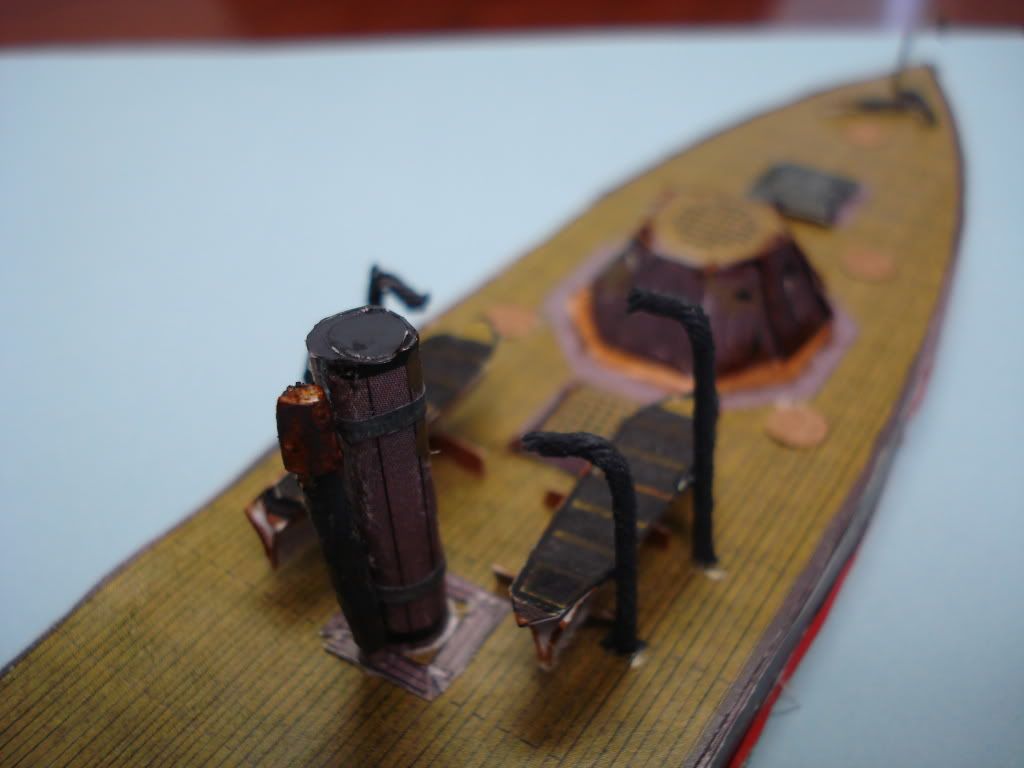 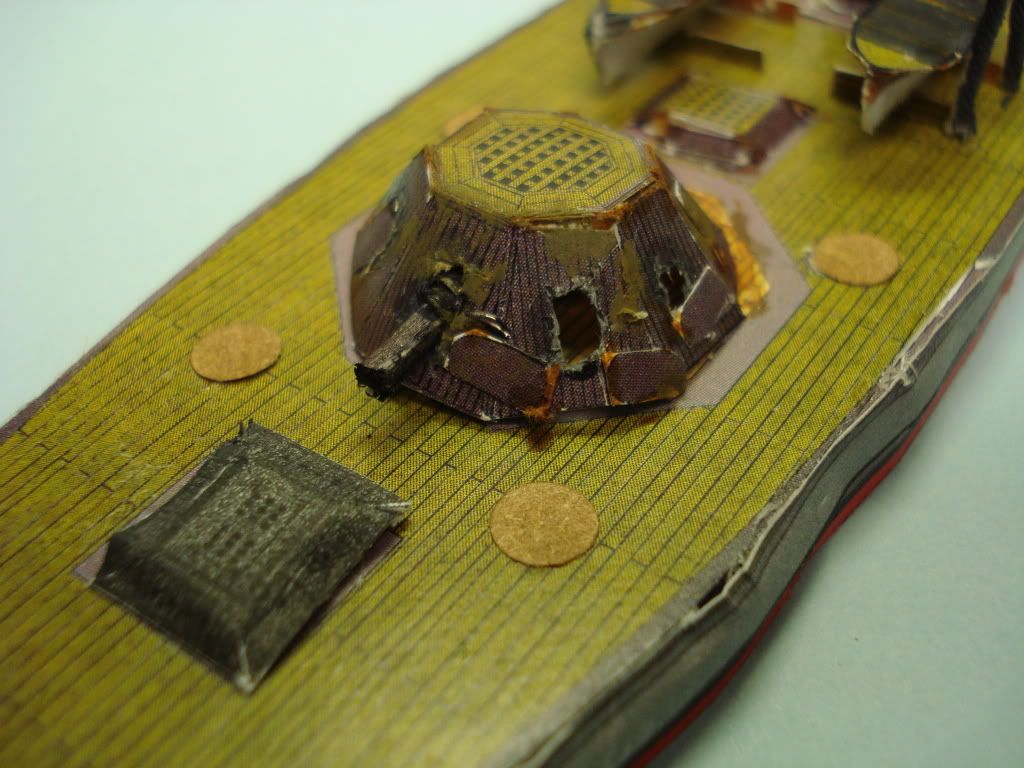 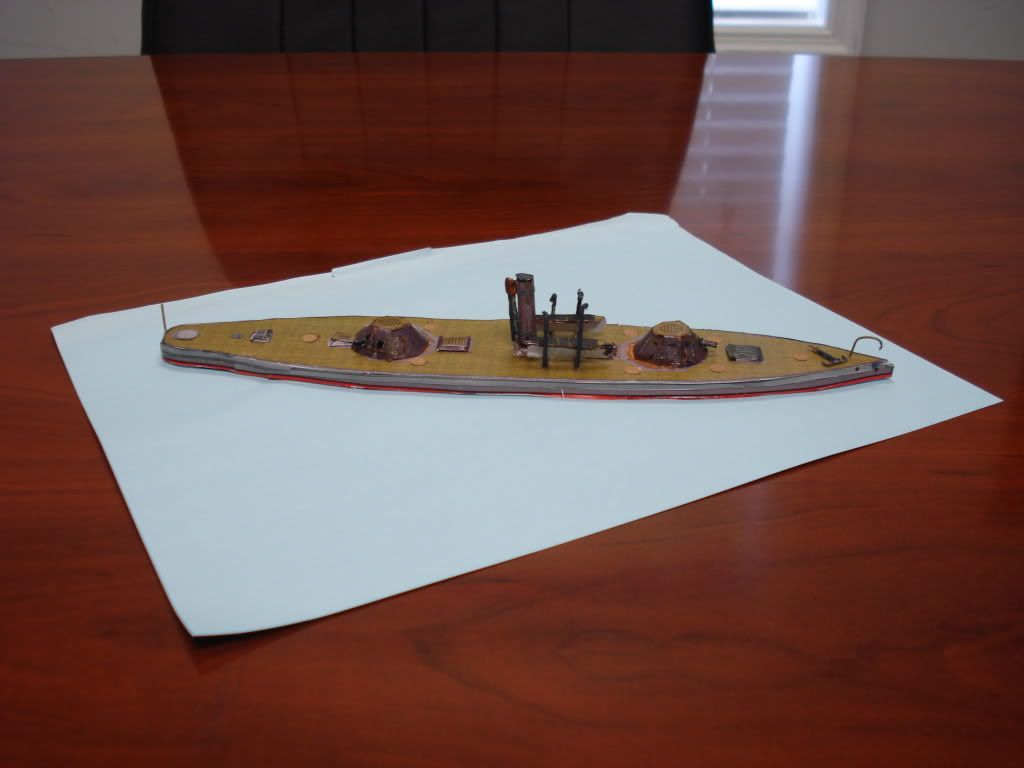 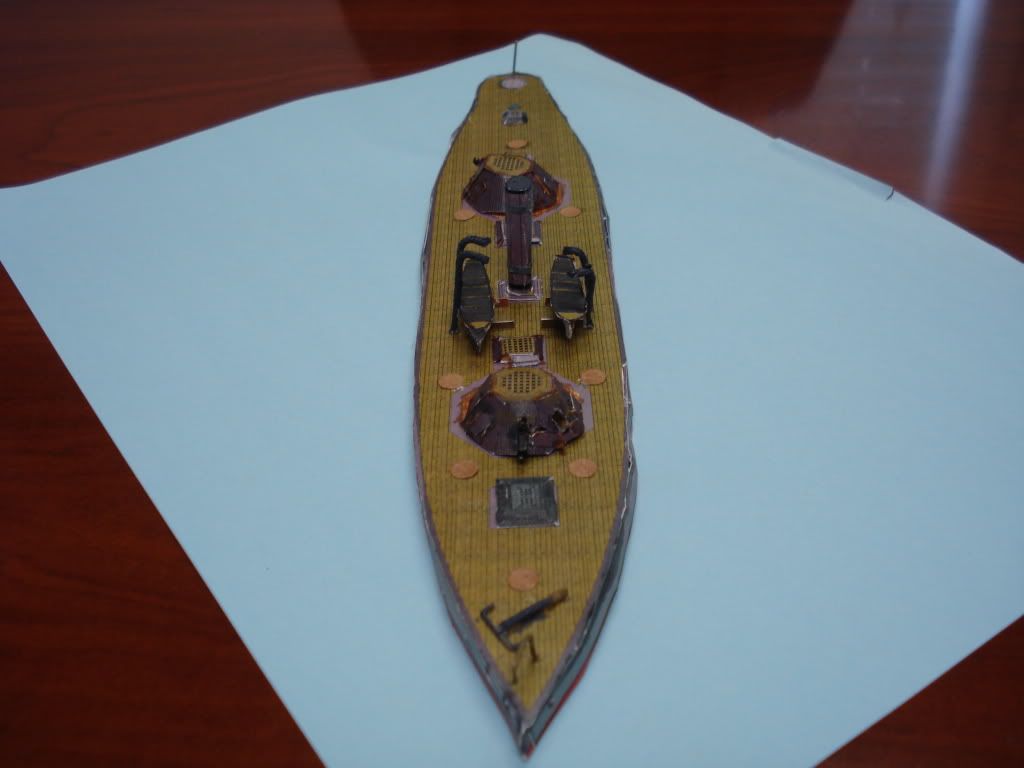  Wyvern
|
|
#14
11-12-2009, 04:27 PM
|
|||
|
|||
|
Hi Wyvern;
I'm not up on a lot of civil wars ships but you did a very nice job of building this one up. Good to see pics to use for later when I want to give it a shot. Excellent!! Jeff
|
|
#15
11-12-2009, 05:09 PM
|
||||
|
||||
|
Thank you for your efforts Wyvern. I will double check the placement rings for the Casements. The sides have been fixed as you mentioned. I like the steam pip/whistle also, I am adding it as an option.
This is one of the ships I plan on up scaling to 1/72 full hull. CT
|
| Google Adsense |
 |
|
|


 Linear Mode

