


|
|
|
#1
 09-15-2015, 08:59 AM
|
||||
|
||||
|
Crafty Products and the Gyro-Cut Swivel Cutting Tool
Many months back, someone on the forum alerted us to a new swivel cutting tool...Gyro-Cut.
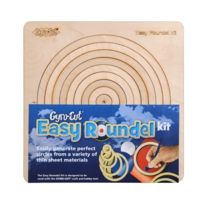
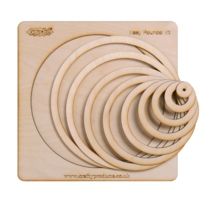
I was intrigued since I, like many other paper modelers, I hate the repetitive cutting of parts...especially circles and discs. And I'm always looking for new approaches to reduce the effort. But, like many modellers, I already have experience and skill with a Hobby/Craft Knife. So, its hard to pull me away from that...I'm looking for easy alternatives, not necessarily new things to master. Years ago, I bought an expensive artist's swivel knife. I can't remember the manufacturer, but it was a metal handled knife...from a proper art store. I used it to cut card and acetate stencils for airbrushing. But I found it very difficult to control and the knife blades were expensive, so I discontinued using it. Since I have some experience with swivel blades, I thought I might like to try the Gyro-Cut. But I don't believe its available here in Ontario (Canada). So, I checked out the manufacturers website and contacted the company (in the UK). Crafty Products UK I suggested the "tool" might be of interest to the paper modeling community and asked for an evaluation sample. Of course, I promised to promote the product (if successful) by posting a review on the forums. Within a very short time, I heard back from Noel at Crafty Products, and was informed that a sample Gyro-Cut was on its way! Along with a set of replacement blades. 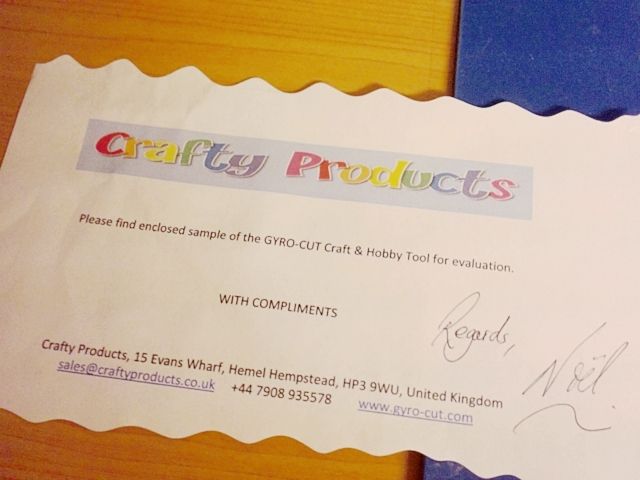 The items arrived a couple of weeks later, and I am finally getting around to a test drive. (Sorry for the delay Noel...life just got in the way.) 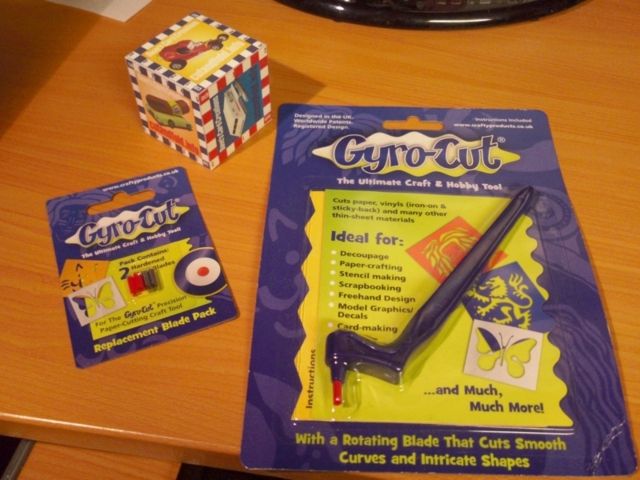 First thing I notice is the packaging which has a very "arts and crafty" look to it. A little bit on the amateur/childish side...not in a bad way ...just suggesting that it might appeal less to more serious hobbyists. Some people are funny that way and will buy a product based on its presentation. But, it is simple packaging...which is what I like. Helps keep the costs down! 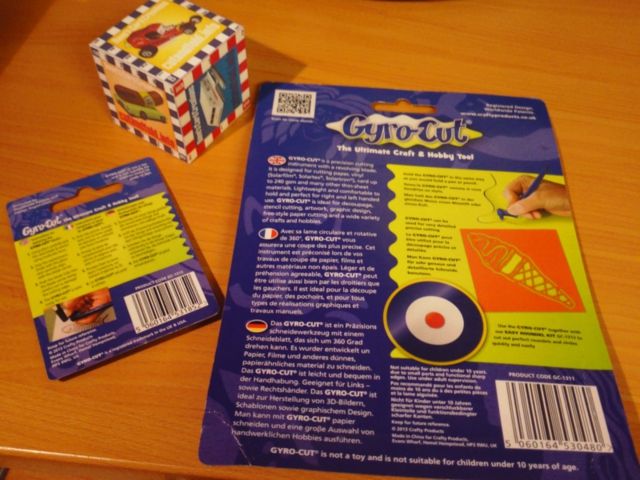 In the Gyro-Cut package you get the tool itself, and a small booklet explaining its basic use in multiple languages. The back of the package also has some basic info. The blade is hidden by a little red tube and thats about all you can see. 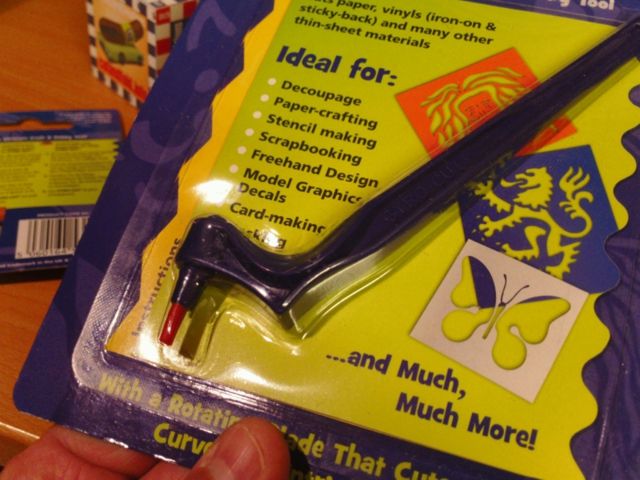 The Replacement Blade pack contains two "Hardened Steel" Blades (uncovered) and two of those little red tubes. 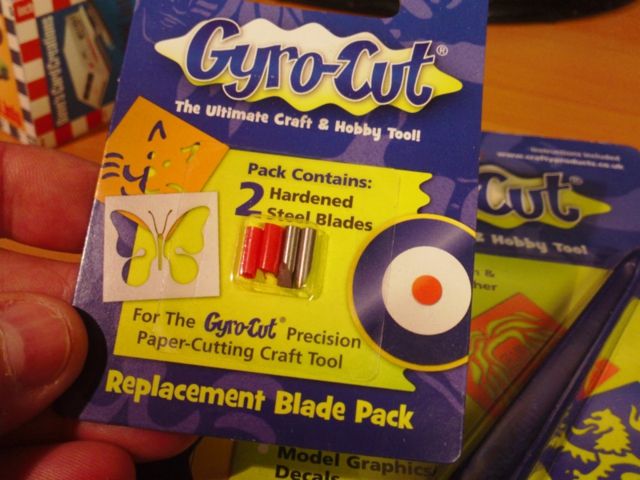 Once out of the package, you notice that the tool has a very plastic look and feel, but its very solid. There is enough shaping and form to the handle to make it rigid and strong and quite pleasing to hold. I don't know who figured out the placement pads for your fingers, but they got it right first time. Its very easy and comfortable to hold and feels solidly located in your hand. It also feels very balanced and controllable...I can't wait to hit the paper! 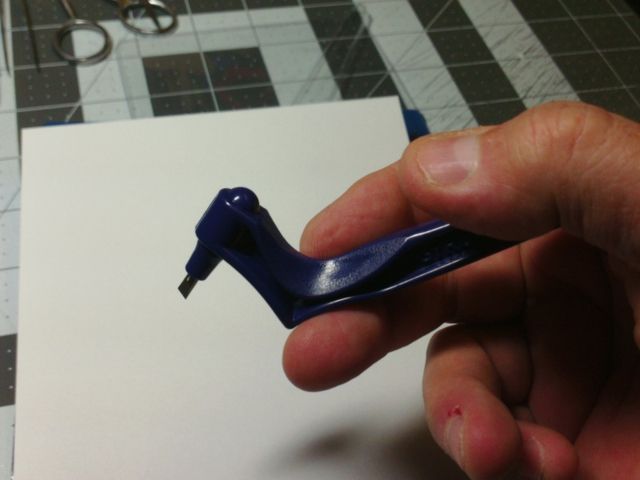 The blade is chunky...you can't miss it. And it looks very sharp. The rotating head seems very smooth and free. Apparently there are two ball bearings inside. 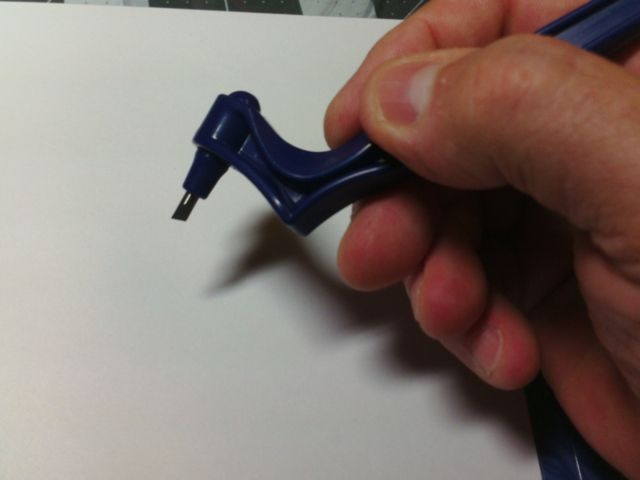 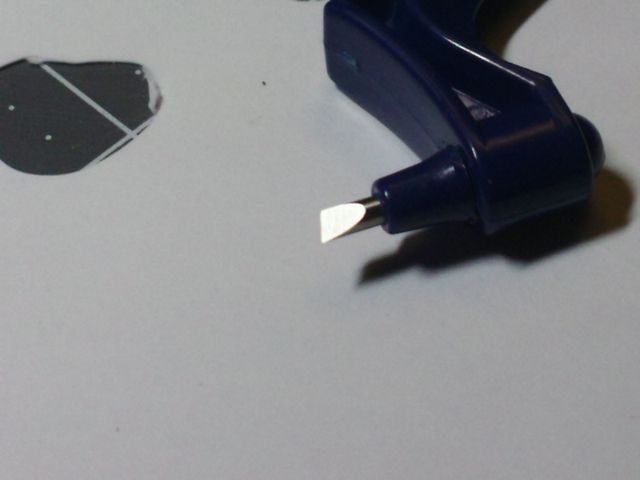 So, I grabbed a piece of 65lb(176gsm) cardstock...the most common thing I use...and tried a few freehand cuts. First thing I noticed is the head swivels very easy and I never felt out of control. It turned easily as I drew out a shape with the blade. However, it did not cut through the card cleanly, as if I had not applied enough pressure. 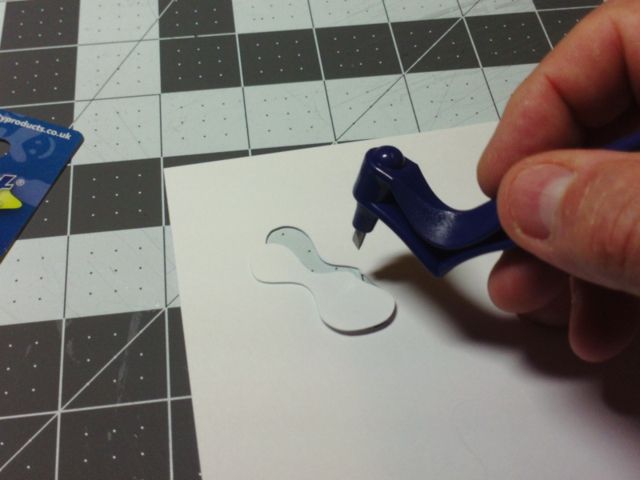 I'm trying to think about how I might use this tool in paper modeling...and it wouldn't involve much free hand cutting. We tend to cut designs and shapes that are already drawn or printed on the card. So, I drew out a simple freehand shape and then did my best to cut out the "part". 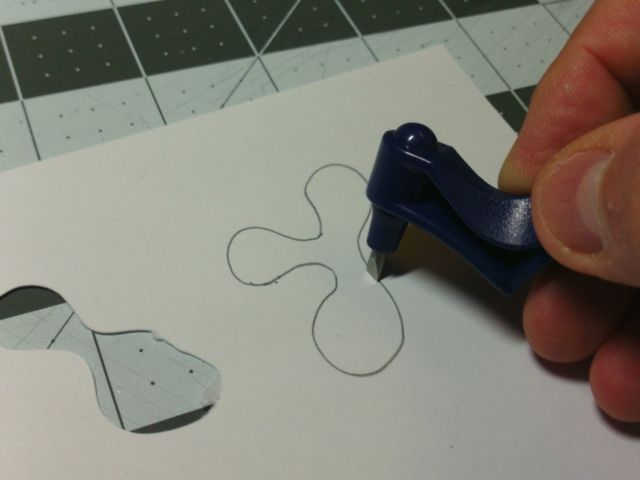 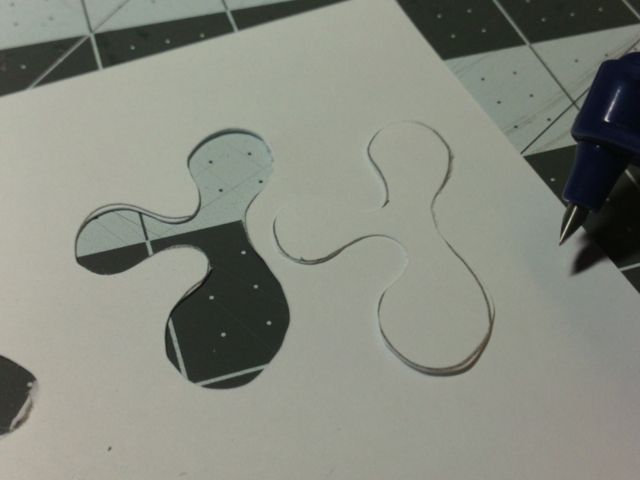 As you can see, I didn't do too bad...my only issue being the size of the blade. It blocks your view from certain angles, as you trace around the shape. And so, here and there, I lost my way and deviated from my lines. I did however, cut through cleanly, having learned to apply a lot more pressure. I notice that your cutting pressure changes, depending on the direction you are pulling/pushing the blade. Pulling a straight line towards me cuts well...but when I change direction horizontally, and slightly away from me, my strength decreases...as does the pressure...and the card is not cut. 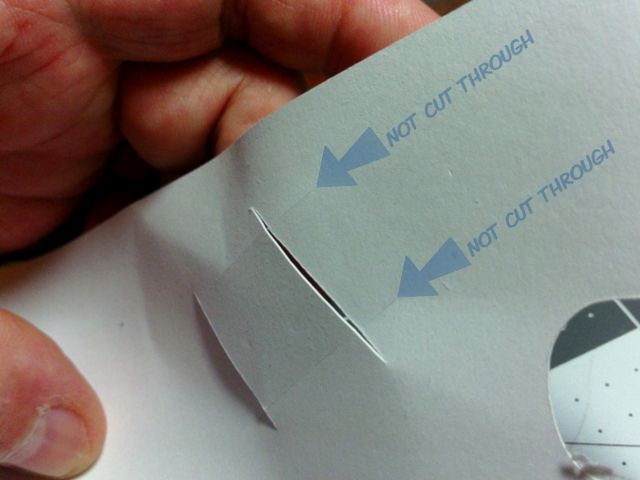 I was hoping this tool might be a solution for cutting circles and repetitive disc parts, and I was really hoping that Crafty Products would send their "Easy Roundel" kit with the tool. (I didn't ask for it...I didn't want to be pushy. But I did mention that paper modelers are forced to cut a lot of circle parts.) From the photos I have seen, the "Roundel" templates appear to be laser cut wood ...fairly thick. 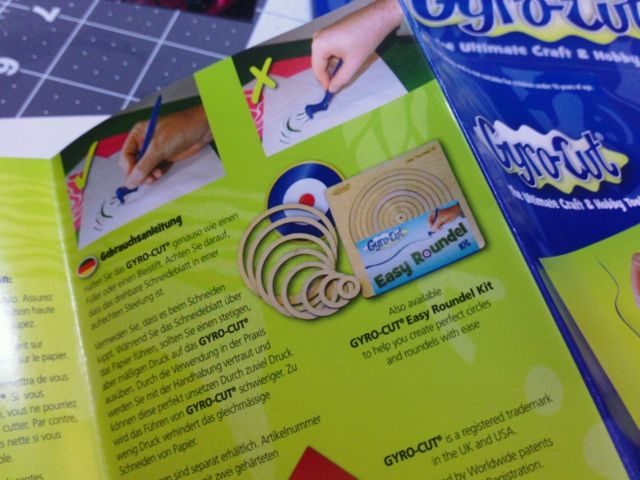 Instead, I dug out one of the circle templates I use in my model building. This is actually a steel drill size guide. I use it for small circles and holes, carefully running my Hobby Knife blade around the metal holes. The Gyro-Cut blade is a bit bulky and would benefit from a deeper template. (The steel Drill Guide is fairly thin.) The Gyro-Cut Roundel templates appear to be much thicker which would allow the shaft of the cutting blade to ride more smoothly against the sides of the template. 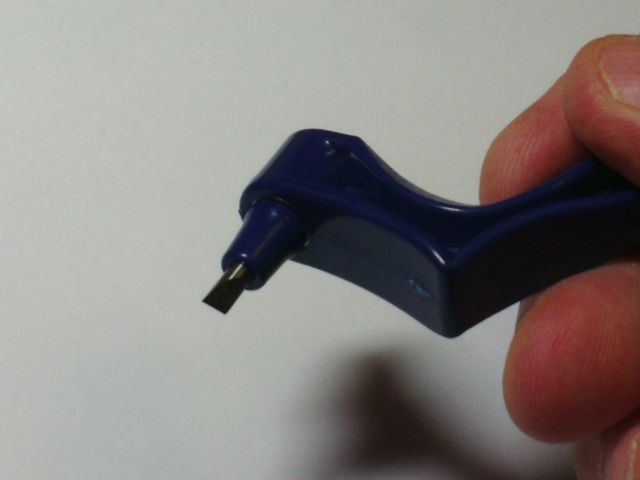 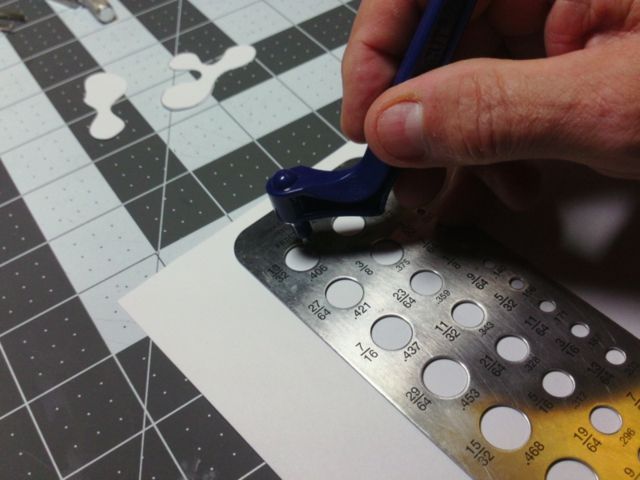 But, after a couple of tries, I got the hang of cutting some discs (using the metal Drill guide) and it worked quite well. Once again, I had to concentrate on maintaining pressure, as well as guiding the blade around the template hole. Every now and then, I didn't complete a circle, but at least the circles were round! 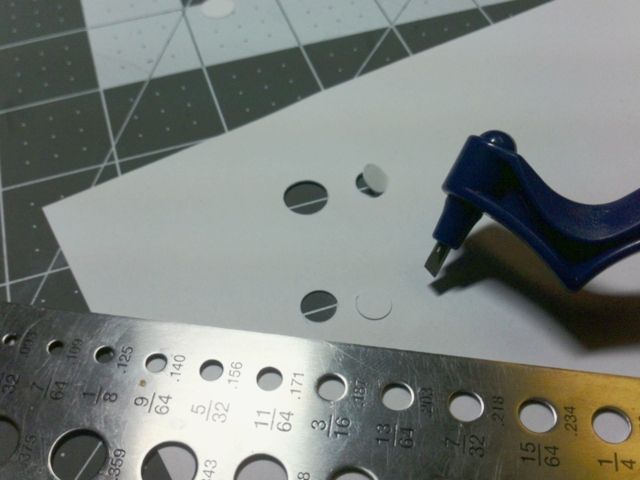 Because of the bulky size of the blade, and the offset inside the template holes, the smallest hole I cut cleanly was the 3/8" (.375 inch)...about 9mm...hole. I noticed that the cut hole/part was a fair bit smaller than the template. Once again, the blade thickness causing this. For larger circles/holes this isn't as noticeable...but the smaller the hole, the greater the offset percentage. This just means compensating with a larger template hole for the part you need to cut. 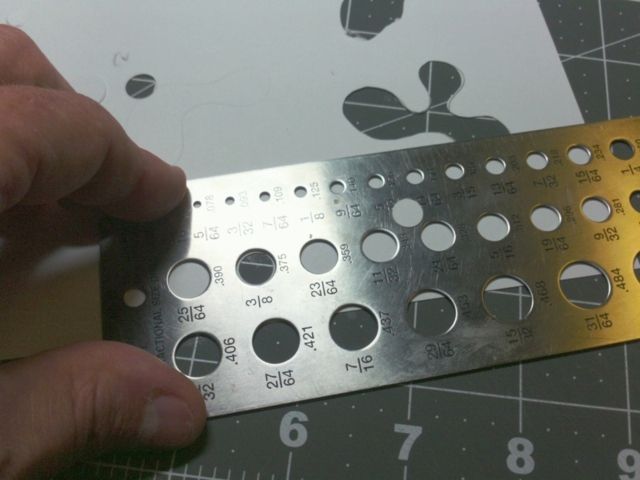 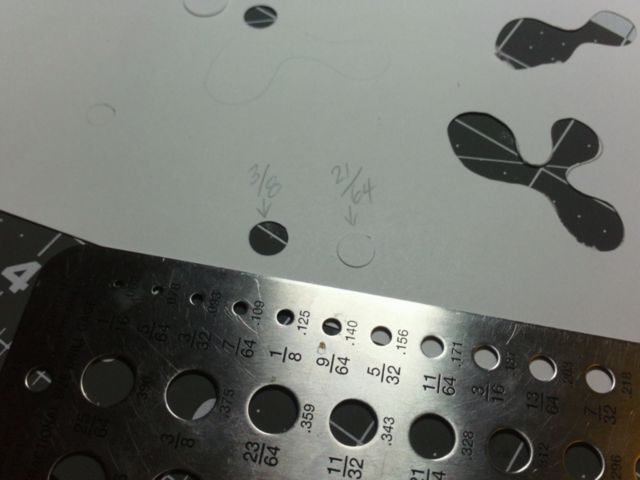 The tool came with a small red tube over the blade...I guess this is the protective cover which the Instructions recommend you retain to protect the blade. But I found it was just a stretched out tube of thin plastic that didn't want to stay on the blade anymore. The Pack of two Replacement Blades comes with two more of these tubes. Maybe they'll fit better. 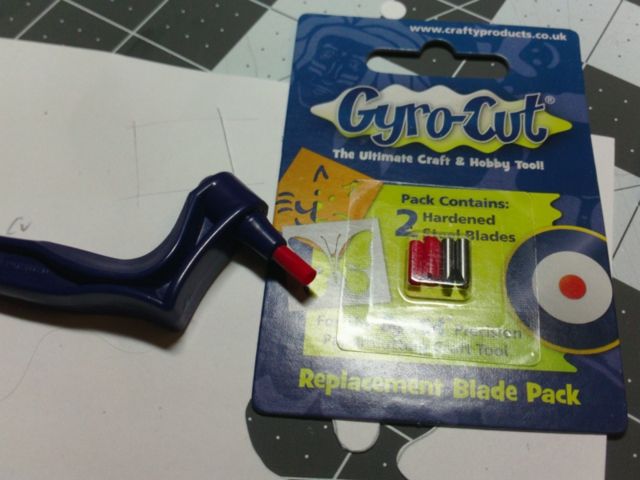 My biggest complaint is how well it cuts cardstock. Its not that the blade is not sharp enough...its just that the blade tip is thicker and more angled than a flatter Craft Knife blade. To exaggerate the point, it cuts more like dragging an axe, rather than dragging a fine scalpel. Okay, its not nearly that bad...but its definitely takes more pressure to cut the cardstock and the width of the blade causes severe offset when using a straight edge or circle template. I do love the feel and balance of the tool...its easy to use...and with some practice, I could see using it to cut a few circles. I'll need to focus on guiding the blade when using a circle template and step up the size to allow for the blade offset. If I can find some thicker circle templates, that might help. I don't think I will risk freehand cutting on a printed model, since I can't control the cutting accuracy well enough. How long the blades last is the only unknown. The blades are obviously different in shape and size to my normal craft blades. And the Blades require a little more pressure to cut through my normal cardstock. How long that relates to the life of a blade will be an important question. The blades do not look easy to resharpen. Since the Gyro-Cut is not sold in Canada yet, I can't comment on its price here. On the Crafty Products website, the Gyro-Cut retails for £12.95 (UK Pounds), plus P&P. That seems a bit high to me...if I was to convert to Canadian Dollars, thats over $22. (To be fair, retail price conversion doesn't usually work that way. This item would probably sell at $12-$14 here.) I would pay that...if it already included one or two spare blades. I would be reluctant to pay another £6 for the Replacement Blade pack. Gyro-Cut is advertised as a good cutter all kinds of materials including Vinyls. The blade design is very similar to the cutting tool on Vinyl plotters/cutters. So, I'm sure it would work very well on that type of product. To be fair, paper is one of the worst things to cut. It tears and fights back. It dulls cutting blades faster than any other product. A cutting blade needs to be very flat and fine to cut cleanly through paper and card, but as a result will wear out very fast. It also doesn't have the strength to swivel and change directions without snapping and breaking. Thats why a swivel blade has to be fatter, shorter and stronger. I like the Gyro-Cut...but, like any tool, it won't satisfy everyone. I wish I could have tried the Crafty products Roundel Kit. That might have made a big difference in my opinion. If I ever see it in the stores, I'll pick up a set and follow up on this report. Thanks Crafty Products...and Noel...for giving me the opportunity to test drive the product!!
__________________
SUPPORT ME PLEASE: PaperModelShop Or, my models at ecardmodels: Dave'sCardCreations 
|
| Google Adsense |
|
#2
09-15-2015, 01:26 PM
|
||||
|
||||
|
Thank you Dave for the interesting information. I'll keep this knife in mind and your demo. Again, thank you very much. Nothing say loving like an old fashion craft knife I guess.
|
|
#3
09-19-2015, 06:46 AM
|
||||
|
||||
|
Just wanted to follow up a little bit.
Noel from Crafty Products has seen my review and sent me a few more details. I thought it best to copy them here... Quote:
Quote:
But I'll add to this...if prepared properly, a "tacky" surface will NOT leave any glue residue on your models. I use this same approach in airbrushing...to make self sticking stencils. Spray with glue...let dry completely...sometimes a full day...then a quick coat of glue again, and let dry for about 20 minutes. The surface will be tacky, but will not hold anything permanently. It will also not release any glue. After a few uses, it will lose its tackiness...just spray a new dusting of glue to revitalize. You could save an old used cutting mat and prepare in this way. ... And, Noel had a few comments on their Easy Roundel kit and cutting circles... Quote:
__________________
SUPPORT ME PLEASE: PaperModelShop Or, my models at ecardmodels: Dave'sCardCreations
|
|
#5
09-19-2015, 09:11 AM
|
||||
|
||||
|
yeah, I ran the blade around multiple times when it didn't cut completely through on the first try.
As long as the circle template didn't move, the cut was okay. Tough part was keeping the template from moving around on the paper. Like everything else, hold firm, take your time, gets the best results. ... Noel has informed me that he is now forwarding a set of the Crafty Products circle templates. The "Roundel kit". I can't offer enough thanks for the free products and the opportunity to test them out. Obviously this product wasn't designed specifically with the paper/card modeler in mind. But it might be a handy addition to our tool boxes. I'll do my best to offer more unbiased opinion when I try out the circle templates.
__________________
SUPPORT ME PLEASE: PaperModelShop Or, my models at ecardmodels: Dave'sCardCreations
|
| Google Adsense |
 |
|
|


 Linear Mode

