Thanks for your kind words everyone.

Like pretty much everything in life, the final outcome is roughly equal to the time invested. Older FG models
look easy, but they can sometimes be equally as hard to get right as the computer designed and detailed models of today.
Joining the wing to the fuselage was a frustration free step. The wing fits nice and snug into the fuselage cutout. The fairings, always a challenge, were tricky, but came out very nice in the end. They are short, but that's the way Chip designed them.

After rolling a belly in the fairing, I started by gluing it at the trailing edge, where the wing curves back to meet the fuselage. When that was thoroughly dry, I gently coaxed the fairing around and under the fuselage to mate up with the wing center section, and glued it in place.
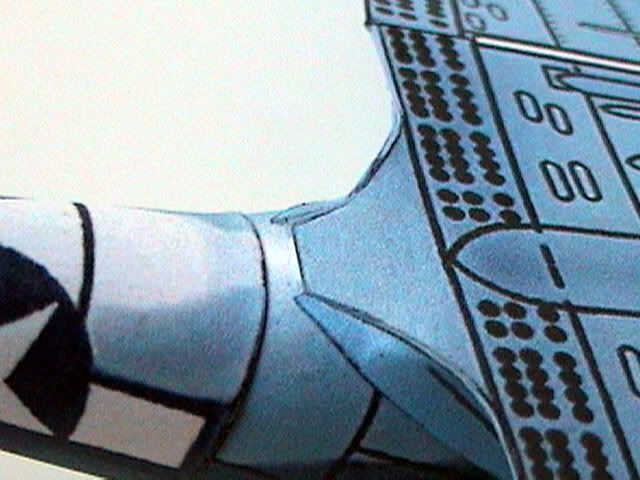
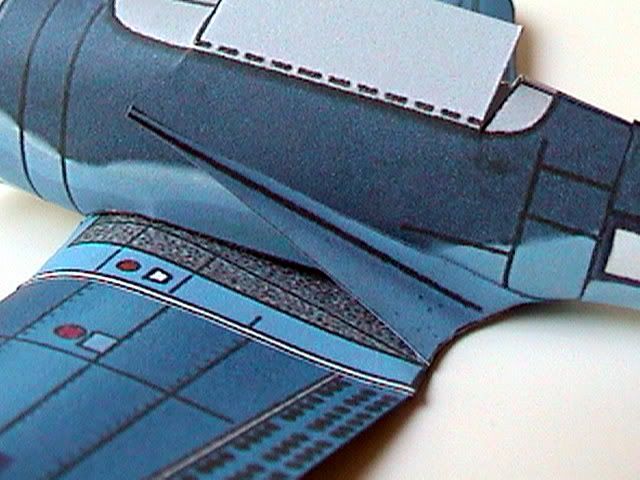
After allowing ample time for drying, I pressed in the fairing all along the wing/fuselage junction and glued it in place. This shot shows how the fairing installation looks before the final step.
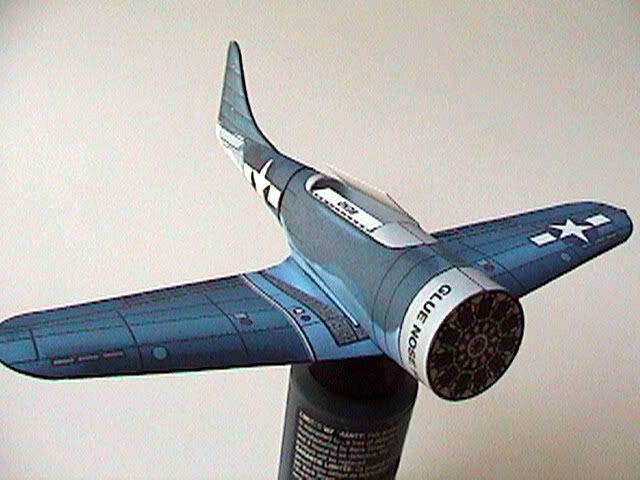
Here's a shot of the installed wing. You can see that the engine blank is also in place now. More to come - maybe not until Friday though - work again.