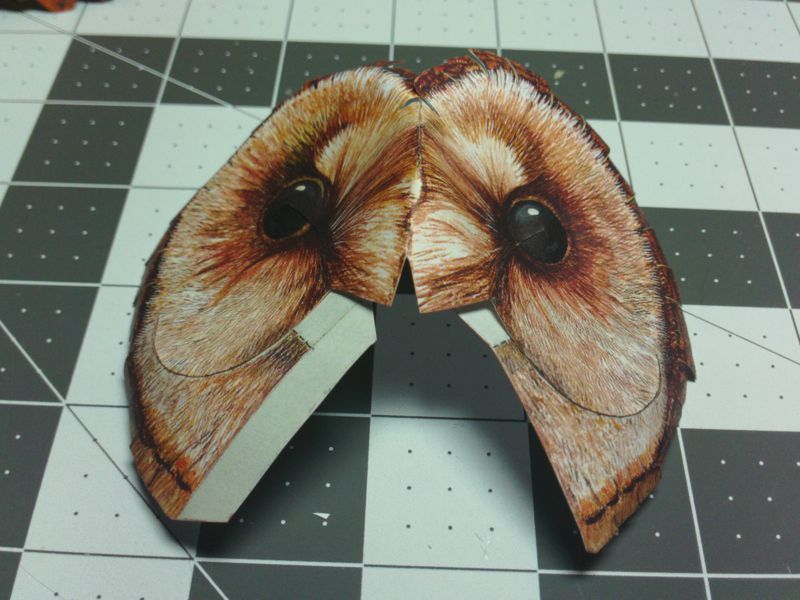
So, the face part is pretty easy to understand, even though it has a lot
of angles, cuts, folds and curves.
Following the sequence shown in the assembly diagram works.
The outside edges are slitted and then curved.
A couple of overlapping joints in the nose area as you fold the face in the middle.
Two cuts, below the eyes, and another overlapping join creating more curve to the face.
...
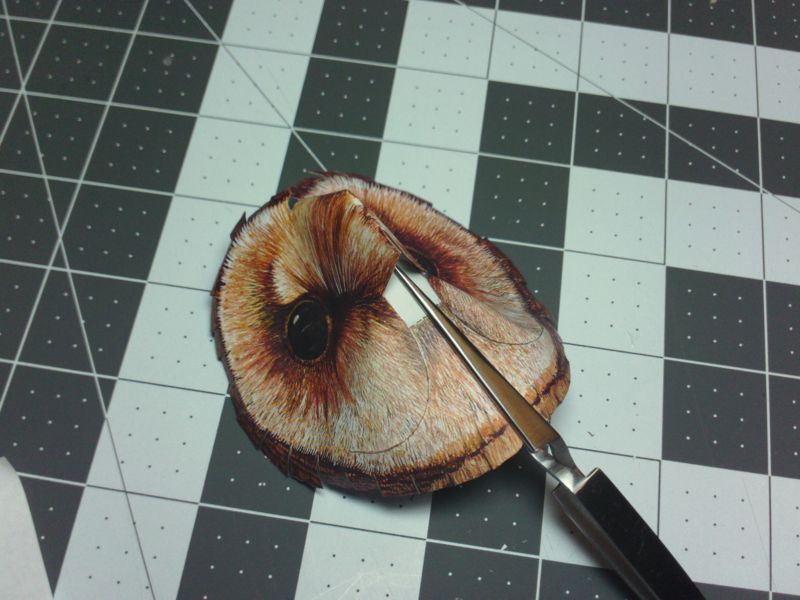
After you get the face formed, you have to push out the eyes.
Turn the part over, and push on the eye balls.
They press out surprisingly easy.
I used a rounded end burnishing tool, but you could even use your fingers.
Shape the eyes as round as possible...
...
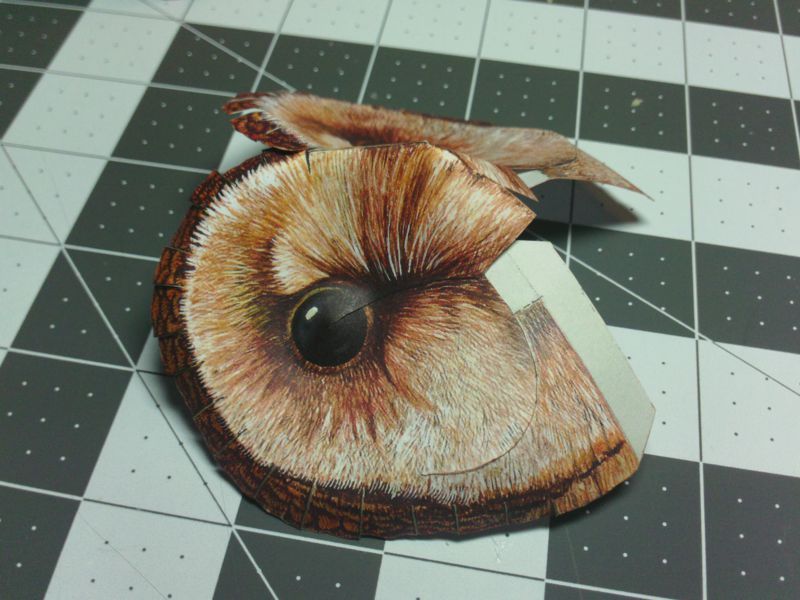
And, this is what you end up with.
Its a very realistic look.
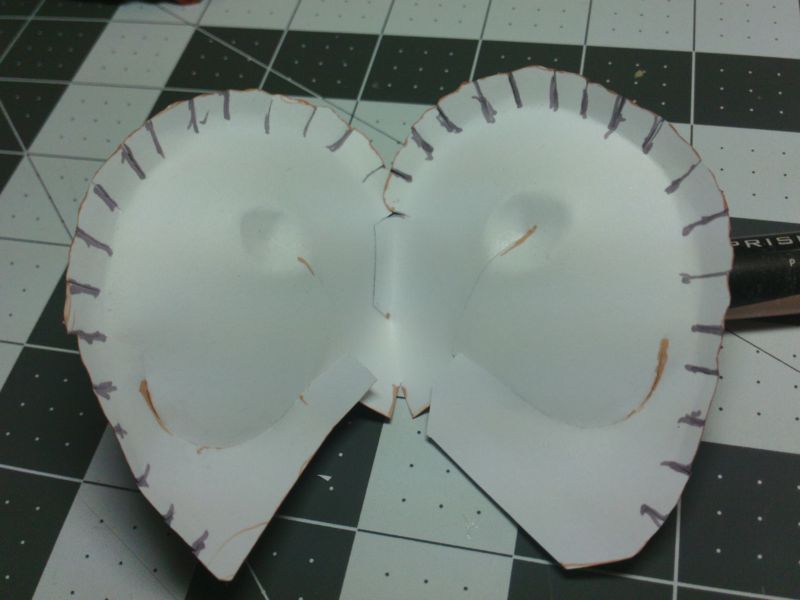
Last thing to do now, is to join the remaining center seam...
this is the trickiest part, because there is now some tension built up
from the nose seam and its connections.
The face wants to fold up and you have to hold it flat until the glue sets.
I also used some tweezers overnight to make sure it stayed in shape.