...
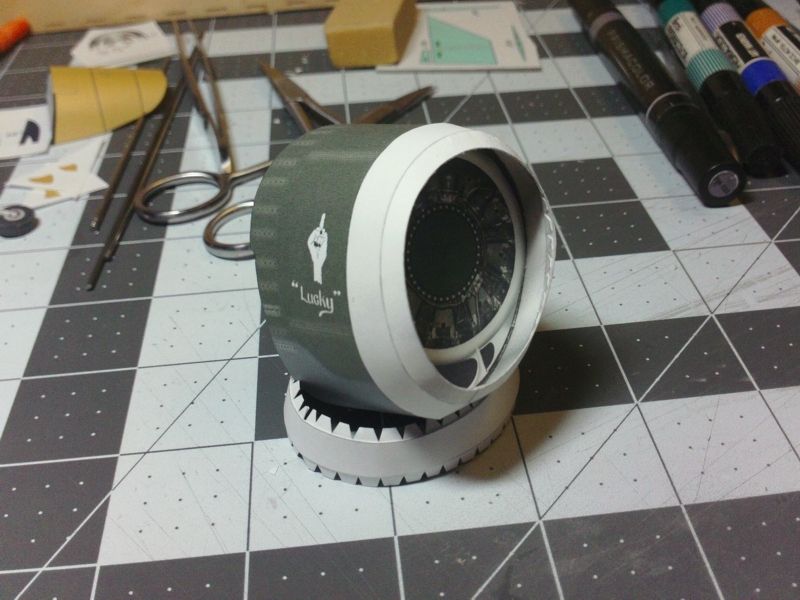
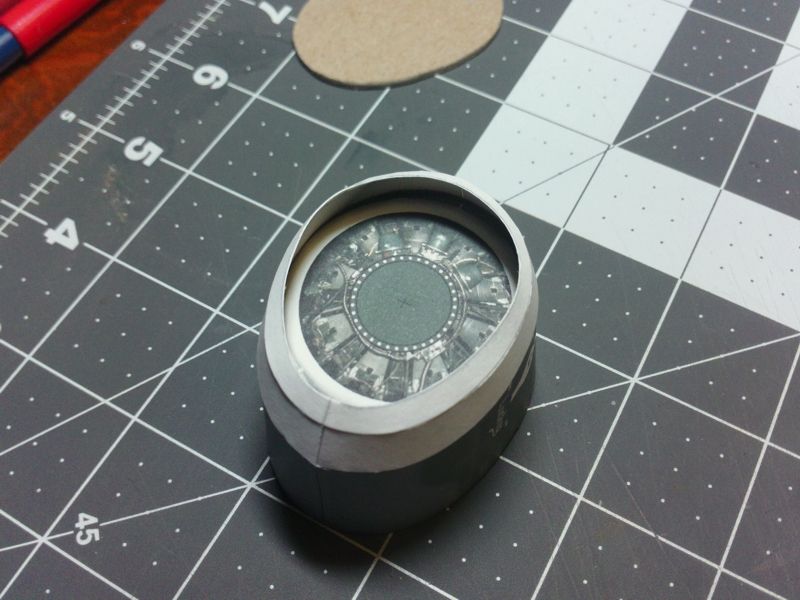
Final steps are installing the formers.
The forward former is also the fake engine, and fits just inside the tabbed glue strip,
at the first seam in the cowling.
It will actually cover and hide the inner ring of tabs.
If you are installing some sort of spinning propellor, you may need to drill a center hole for that.
Its easier to do that before the former is installed.
I shape and sand (with files and sandpaper) the former until it just slips into place.
I don't want a tight fit which can cause visible "ribbing" outside.
But I also don't want it too loose...it needs to form the assembly into the correct shape.
...
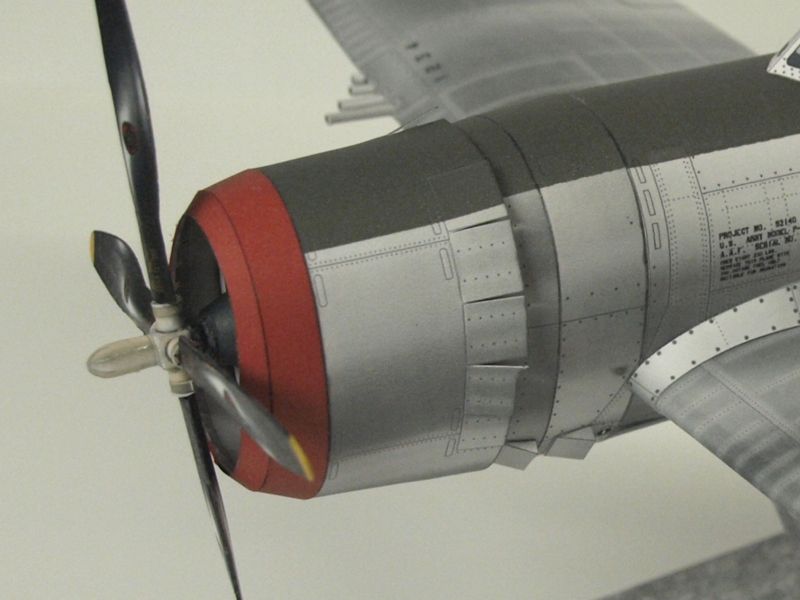
Rear former goes in the same way...
sand and shape for the best fit.
It should fit at the base of the vent flaps.
(The cowl has all the hinged vent flaps marked...you have the option of slittling the flaps so they can fold outwards.)
Its important that this rear former is installed flat and even in the cowling,
so the cowing will position inline properly (not crooked) with the fuselage.