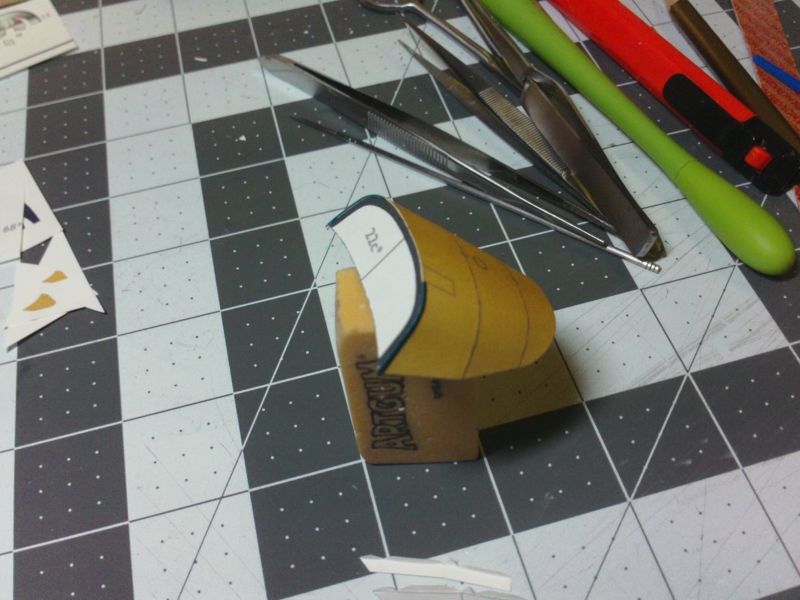
To finish off that cockpit extension part, you need to attach the front former.
It will sit on top of the fuselage, thats why it has been separated from the lower part of the former.
Glue the former in place very close to the edge of the assembly.
Its best to leave just enough for another layer of card.
(There is another flat cockpit part that attaches to the face of this former.)
I start by gluing the top center area...only a few millimetres.
Line up the top center references.
And then work my way down each side, gluing small sections at a time.
Take your time and allow glue to dry until you get to the ends.
If you have lined it up properly, there will be about a 1mm overhang on each side.
...
Back to the Nose again!
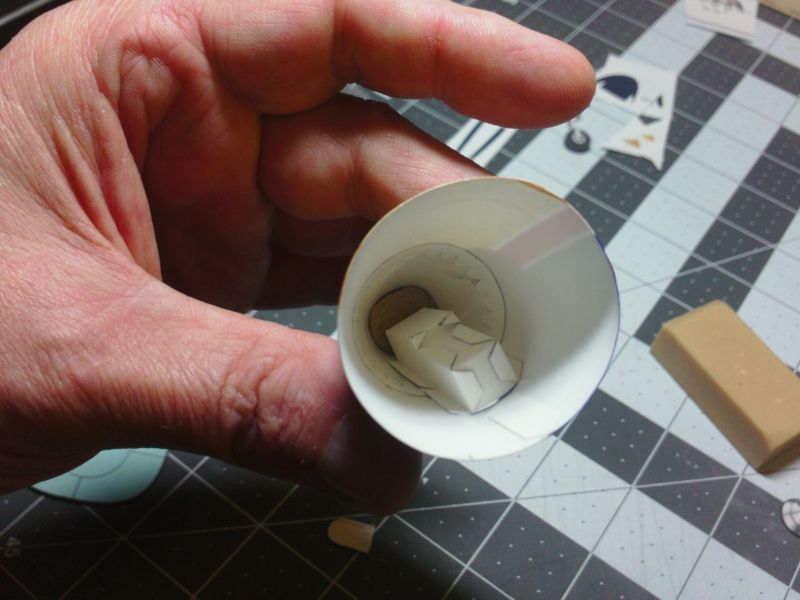
Lets fit the wheel well box.
Its only very slightly oversize to the opening,
so some care must be taken to position it right.
Prefold the mounting tabs, make sure they are tightly folded over and test fit the part.
Once you have a good understanding of how and where it fits and how to hold it in place,
go ahead and glue it in.
...
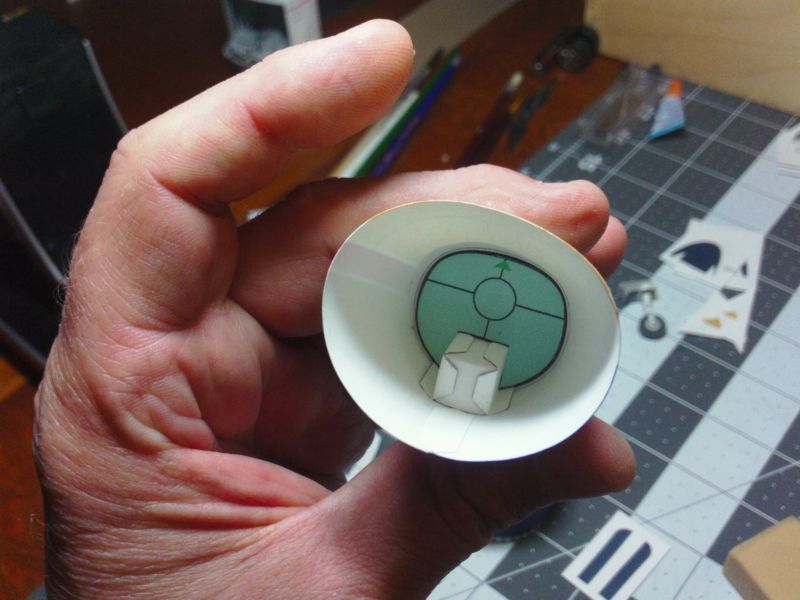
Once I am sure the wheel well box is secure and will not separate away from the fuselage part, I slip in the second former.
My approach to fuselage formers is a snug fit, but not so tight as to cause bulging or "ribbing" in the fuselage.
With this former you need to cut out the notch until it is snug over the wheel box, but not tight fitting.
In fact, the sides can be loose, as long as the top of the notch presses against the wheel box.
The overall former fit in the fuselage should be snug, but not tight...and it has to fit within the tabbed joiner strip.
Doesn't have to be perfectly on the fuselage seam, but close to it.
...
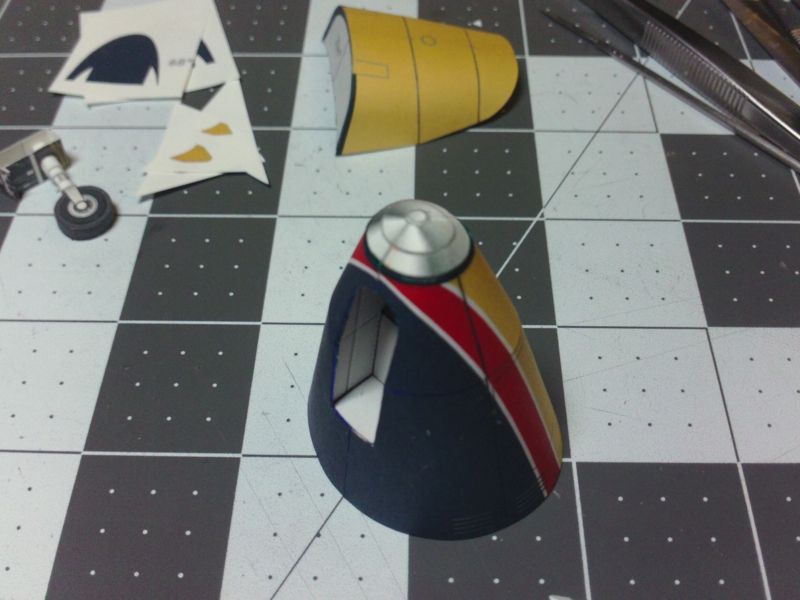
Heres the finished nose sections with the domed "glass" part attached (edge glued to the front former).
You can also see the opening is trimmed as neceesary...I cut out the the last parts before installing the wheel box
but you can probably do it after? (But its probably easier if you do it before)
In the background is the completed cockpit upper extension.
After it has setup for a day or two, I very carefully trim the edges, across each seam, and smooth out any uneveness.
You can also see the nose assembly...we'll get to that later.