almost four years later....follow-up!...
wow, fours years gone by.where does time go?
Everyday I see my green PT Boat kit sitting on the shelf,
and everyday I wonder what this Disruptive paint scheme will look like built up.
I keep hoping someone has built and will share some photos.
But it never happens.
So, the other day, I was between builds of the CL-41 Tutor
and I decied to print out the PT Boat kit and build it myself!
I'm not going to document every step of the build
and I can't say how long it will take to finish,
but I'll try to post some regular reports.
You can get more information on the PT Boat kits and their original design work
in these threads:
A PT Boat from AirDave?
1:48 103 Class ELCO 80 foot PT Boat - Dave Winfield
PT Boats...and more PT Boats!!
More PT Boats from AirDave...
...
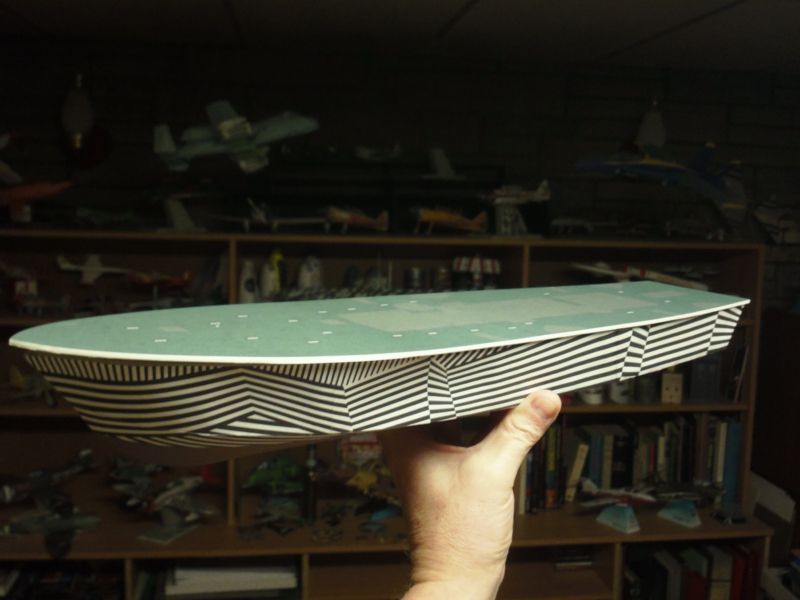
Elco 80ft Class 103 PT Boat in Disruptive Camouflage paint.
First step...and first mistake!
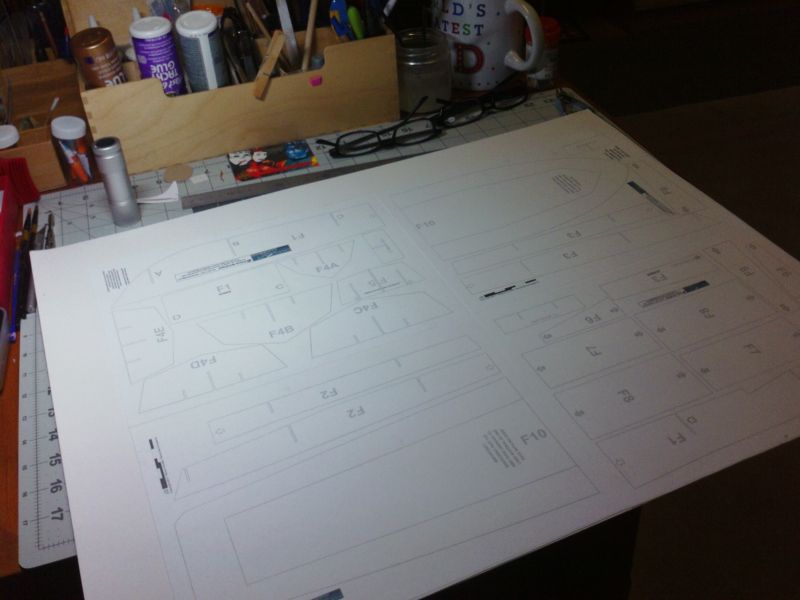
I printed out the four sheets of internal formers and laminated (spray glue) to heavier card.
The mistake was not pre-assembling the large deck plate parts and then gluing them to card as one large part.
Its recommended that you do that.
...
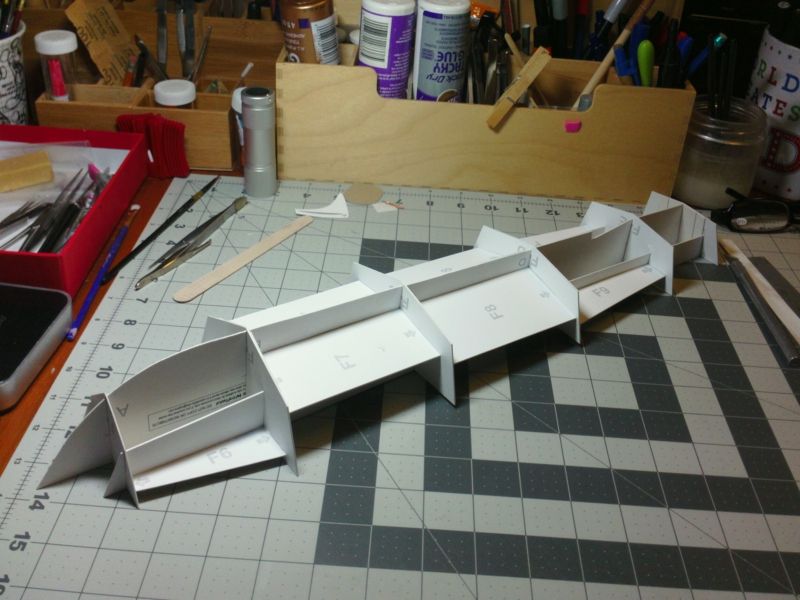
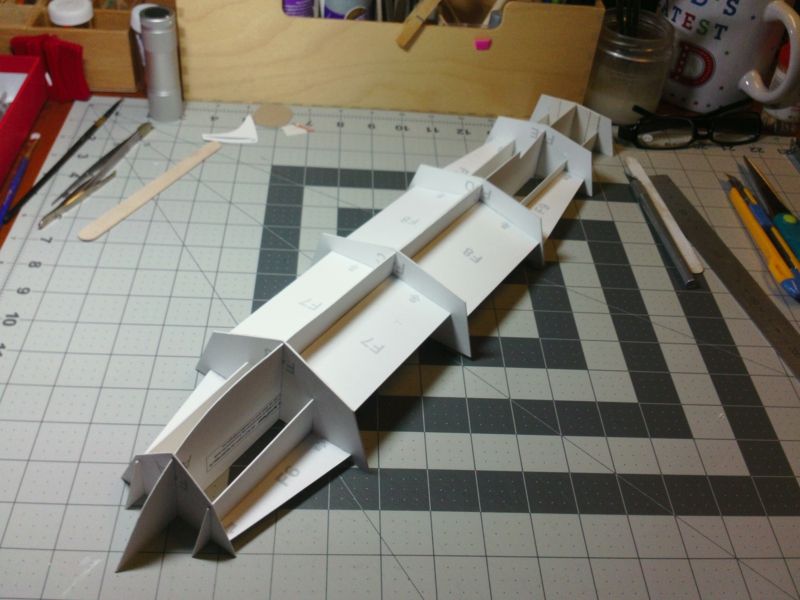
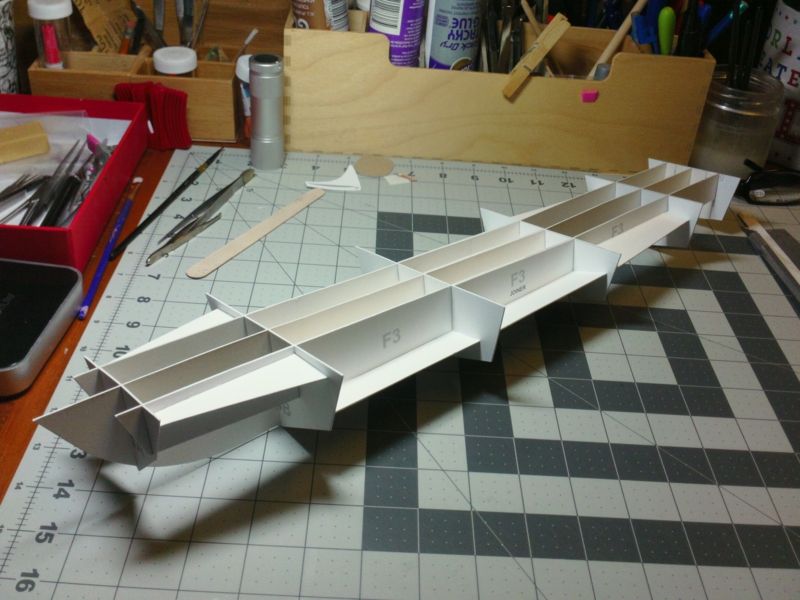
Anyway, steaming ahead, I assemble the Hull inner framework.
Pretty simple really, everything interlocks.
Just flush the top deck edges, don't worry about the bottoms/keel.
The spacers/stretchers are necessary to keep it all squared up.
It was a challeneg to remember how I positioned everything originally.
The instructions don't explain the exact placement of each block and spacer.
but to be honest, it doesn't matter, as long as they all get installed, glued into place, and everything is aligned and square.
...
Next I assemble the Hull (outer) from about? nine parts, plus a number of joiners and overlapping strips.
I started at the front, and assembled the lower parts, then attached the sides (from the front)
leaving the stern plate to the very end.
Its important to cut out the holes in the bottom of the Hull (for the propellor shafts)
and assemble, and install, the recess boxes for the prop shafts.
...
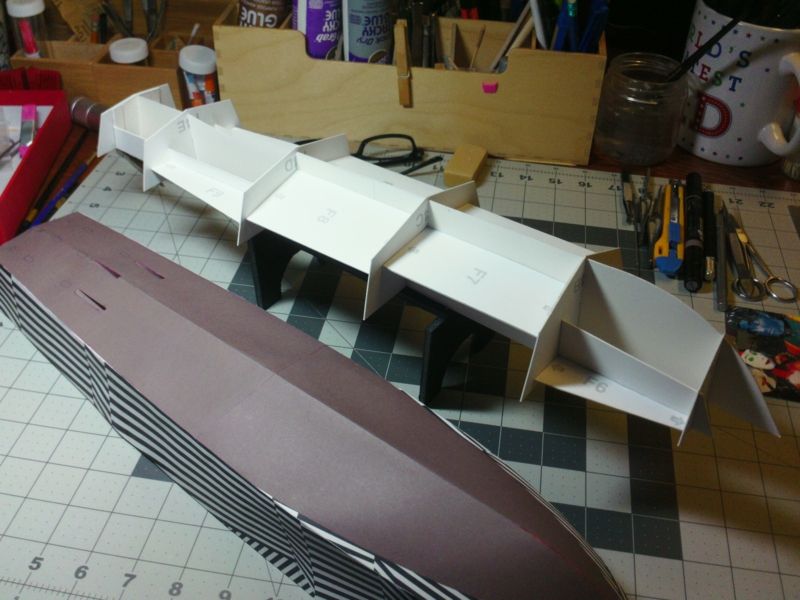
Once the Hull parts are partnered up and glued into place... I glued the horizontal ribs to the Hull skin...
then assemble and install the deck "supporting" plate. (I didn't photograph this part, sorry)
Center it and glue it to the inner structure.
Then glue the Hull skin to the edges.
Trim off excess, making the skin flush with the top of the deck (supporting) plate.
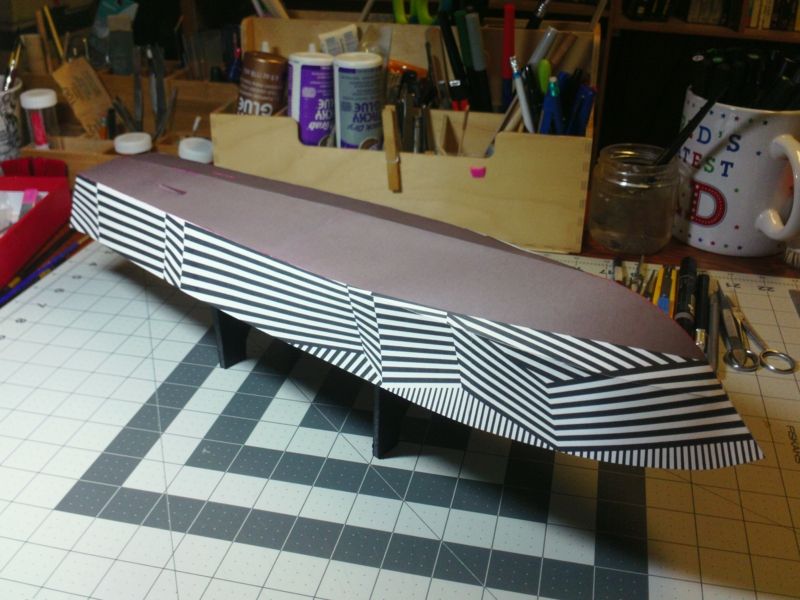
Then install the actual "deck".
The deck consists of a top and bottom layer...each assembled from two parts...
sandwiching a 2mm layer of laminated card.
The entire deck is 2.5mm thick and the edges will be wrapped with thin strips.
It is centered front and sides...the stern hangs out a bit further.