Hello everybody,
so, now I want to start with the nice
Rainbird A-1.
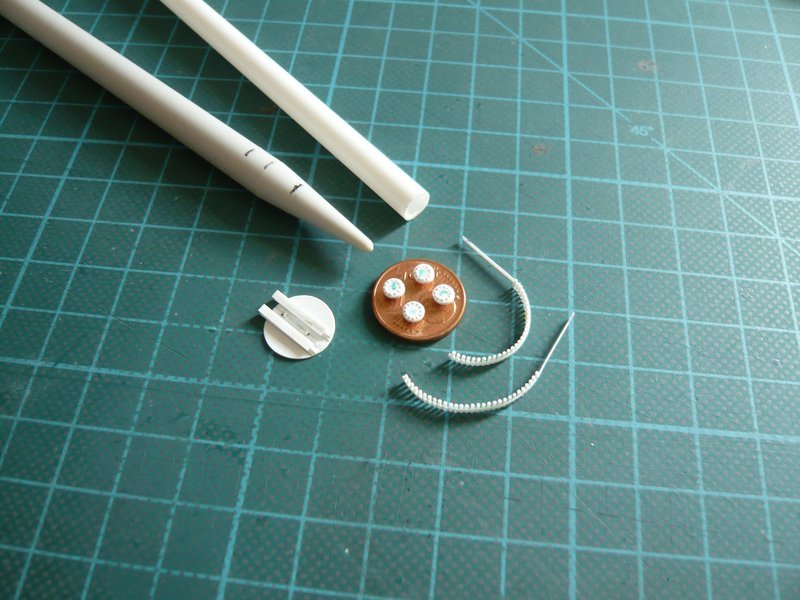
And these are the most important parts of this that I have already prepared. This is the knitting needle for the lower tube (Ø 7.9 mm) with the conical midsection and the upper tube (Ø 6.3 mm), the completed flange covers, the two screw belts, as well as the recently completed flange-tubes.

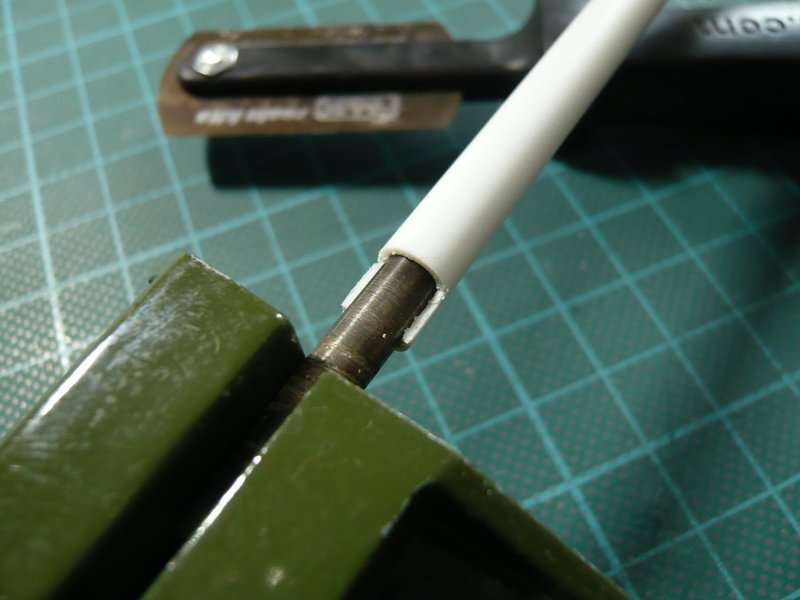
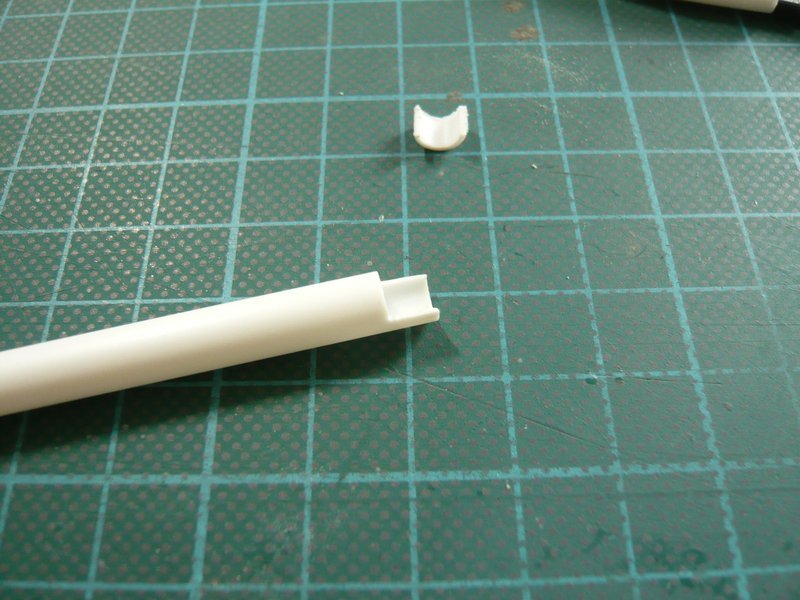
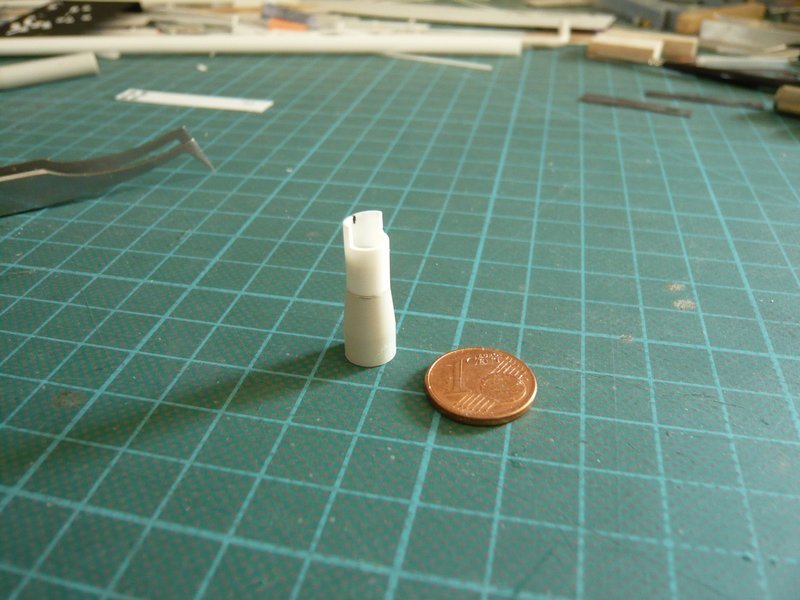
First, I've cut out the opening in the top tube, which was this time a little easier because it extends across the half tube.
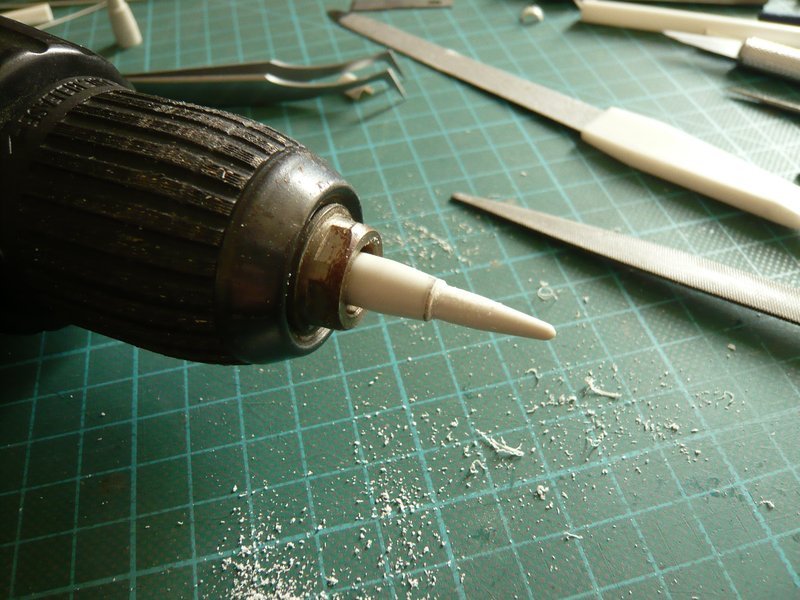
After that I marked out the length of the conical part of the knitting needle and tried to trim it onto the inner diameter of the upper tube (Ø 5.9 mm) by using a cordless screwdriver, because a small turning machine I have unfortunately not (yet).

But with the cutter-chisels as turning tool did not work, because it is too weak and too resilient.

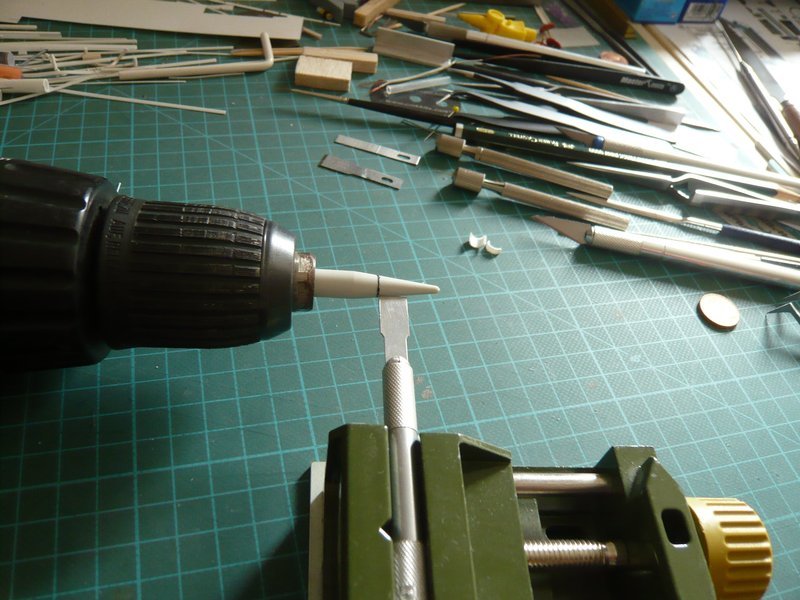
So only the rasp has worked well, a somewhat rustic technique, but quite successfully.

Consequently some of rework was necessary, but ultimately I reached the required diameter,
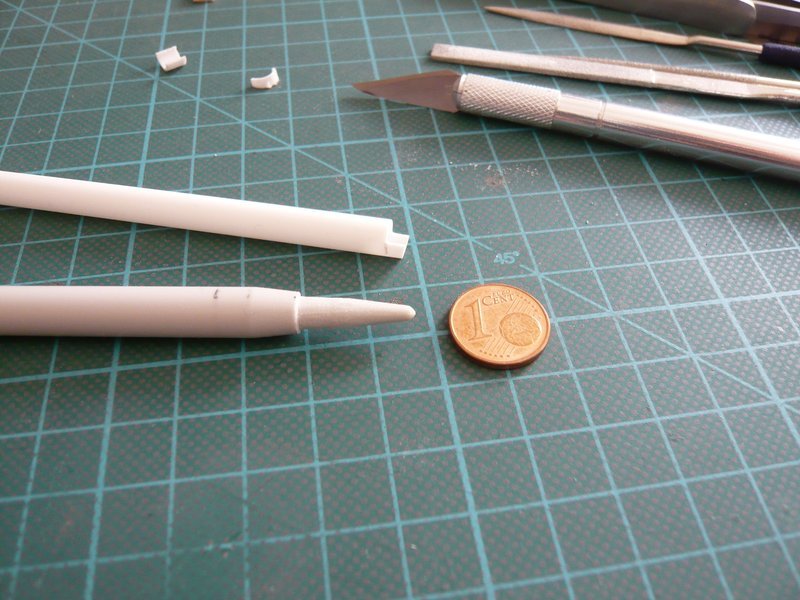
and so I could test the tube.

Now the reference length was marked at the rear end and then was made the slope (8°) for the cover,
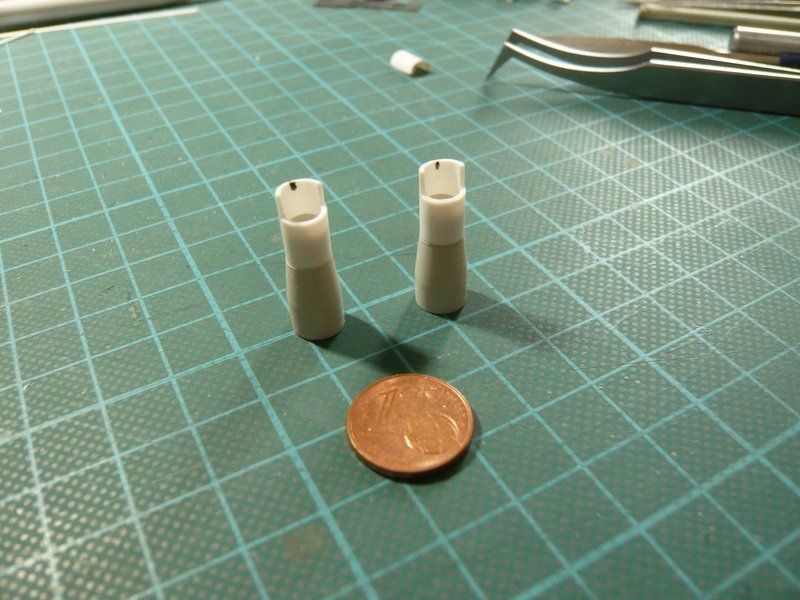
and the same procedure again for the rear
Rain Bird A-2, so that it is also well worthwhile.
Finally, both parts were still glued together.
Wait a minute please.