So, lets run through the basic construction of the Engine covers.
I have changed the design a few times, and the photos are mixed from varied attempts,
but it should illustrate the basic assembly.
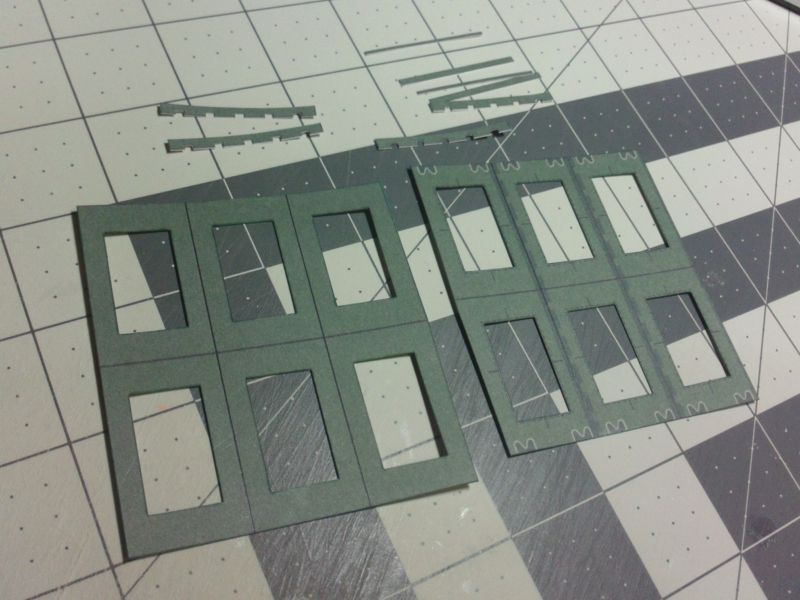
The Covers themselves are cut out as a single part...six covers.
You can separate them if you want...or score down the center to form
two banks of angled covers (3 on each side).
Two layers require you to cut out the top and bottom sides
and glue them together.
Because of the underside panel lines, I couldn't rely on a solid colour
panel for the underside.
I will edge colour all the parts at this point.
Also note: the strips that are the overlapping parts between each cover.
...
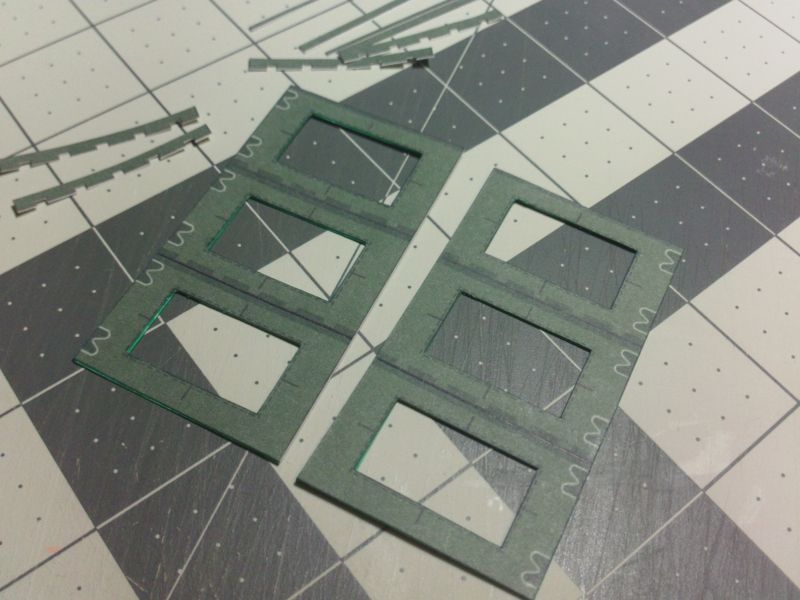
After I glued the top and bottoms, I will trim the edges again.
Make sure all those slight overhangs are gone.
And then I will edge colour all the parts for a second time.
As you can see, I cut the panel in half, right and left engine covers.
I also scored the lines between the engine covers.
The topside are covered, but the underside panel divisions are still seen.
...
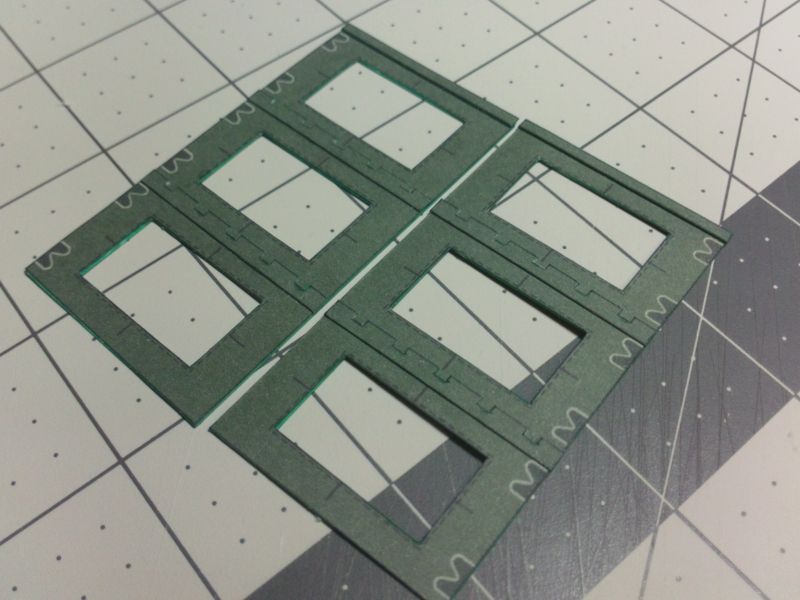
After all the overlap strips are attached.
The notched strips glue flat to the covers.
The straight strips at the end are spaced with an additonal thin strip.
I have since eliminated this spacer.
So all overlap strips now glue flat to the panels.
...
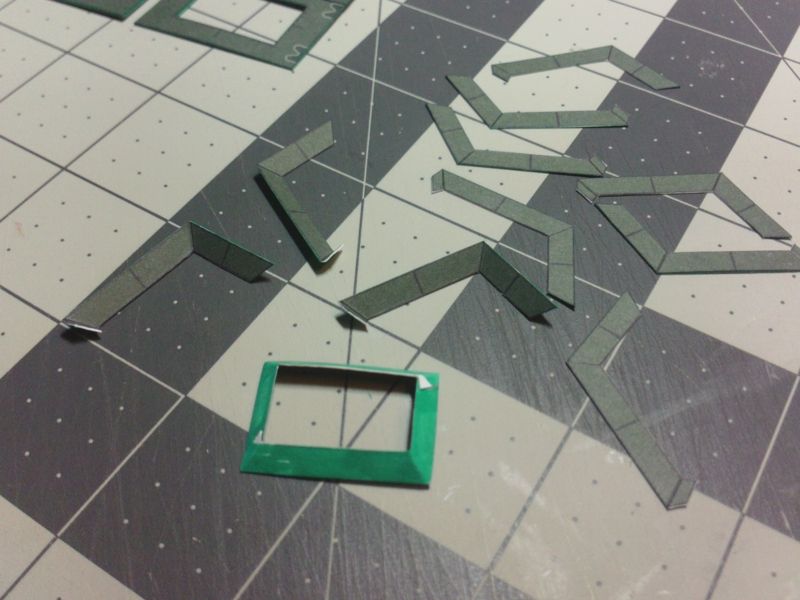
Here I am assembling the angled box baffles that go on each opening (on each engine cover).
Two strips...scored and folded...make up each baffle assembly.
The insides are visible from underneath, thats why they are coloured.
I started to colour the unprinted topsides, but realized they are completely hidden underneath
the Caps that go on each cover.
...
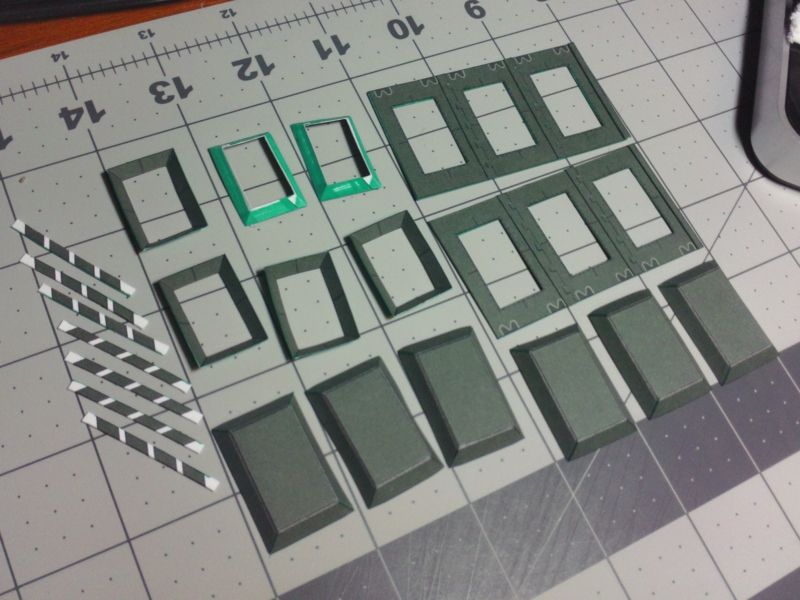
Here are all the parts, ready to assemble, including:
the small supporting brackets for the Engine cover Caps ...and the six Caps.