Did a test build of fenders today...and all went well.
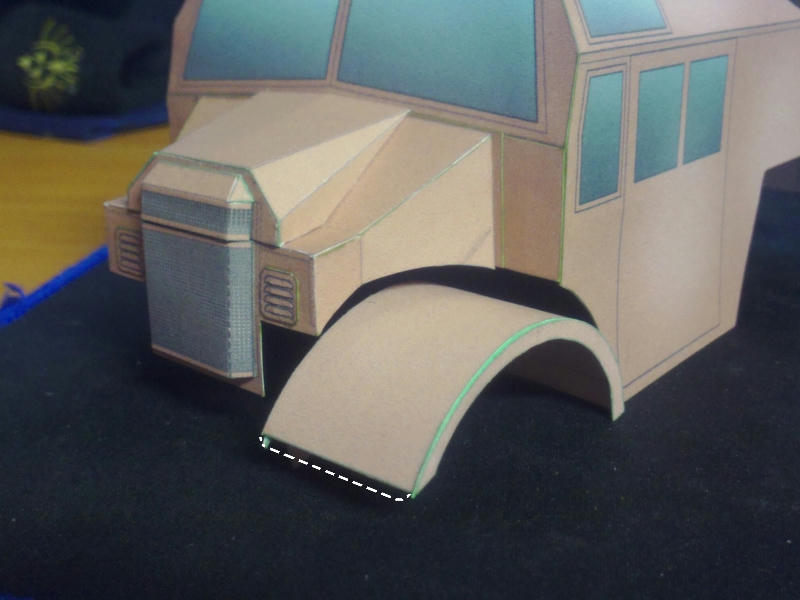
First, the assembled fender fits the cutout that I created in the body.
This was an unknown I had to deal with first.
I also needed to see how the fender will attach...
the odd shaped cut-out provides enough support across the fender, that edge gluing it in place will suffice.
But, I am going to add some glue tabs to the bottom edge of the engine cover just for extra security.
The assembly was straight forward...the fender itself is two layers (inner and outer).
I eyeballed the curved shape of the two parts, rolling them on a dowel, and then glued them together.
It wasn't difficult to get the right curved shape...but, I may add a template in the kit that the builder can use.
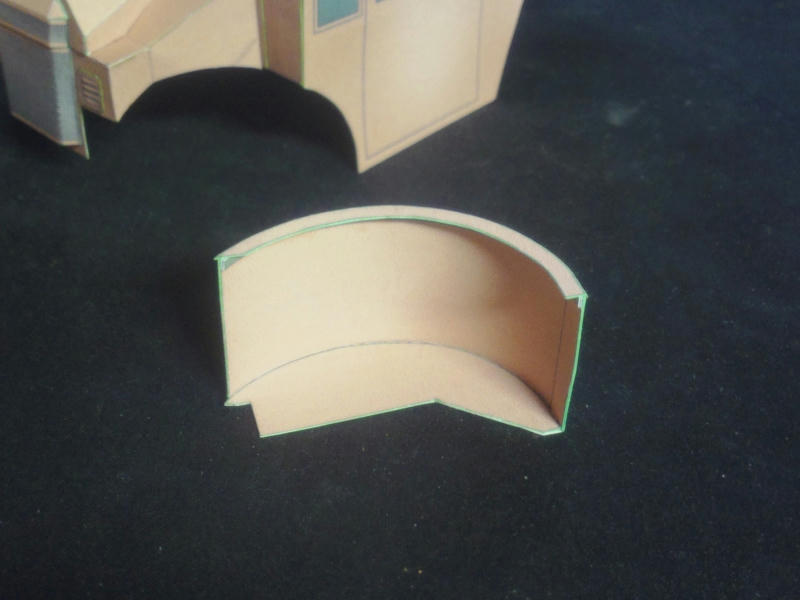
I attached the inside panel with small tabs, but i decided to add a second layer for stiffness.
Not needed for anything, just makes the fender a bit more rigid.
The outer fender lip requires a bit of patience to fit into place...just glue one end and work your way around the fender slowly.
I glued about 2-3 cm at a time, shaping the fender with each section, and working my way along.
I decided to add two very thin strips inside the edge of the fender creating a thicker gluing edge for the lip.
The strips are well hidden under the lip edge.
As you can see, I need to extend the length of the fenders a bit at the front, and I will add the radius corners.
(I wasn't completely sure of how long they should be until this test build was done.)