Hello everybody,
now I will start scratch building of the
LH2/LO2 Umbilical plates, which look quite nice on the drawing, but in
1:144 these are only about 7 mm x 5 mm small plates, for which I have used
Styrene (1 mm). Normally, 1,5 mm thickness would be more correct, but it should be remembered that the upper part of the
Umbilical Plates protrudes into the orbiter openings, whose recess I want to avoid, because this place will not be seen later anyway on the shuttle Stack. That's why I'll use 1 mm thick platelets on which then the orbiter rests flat.

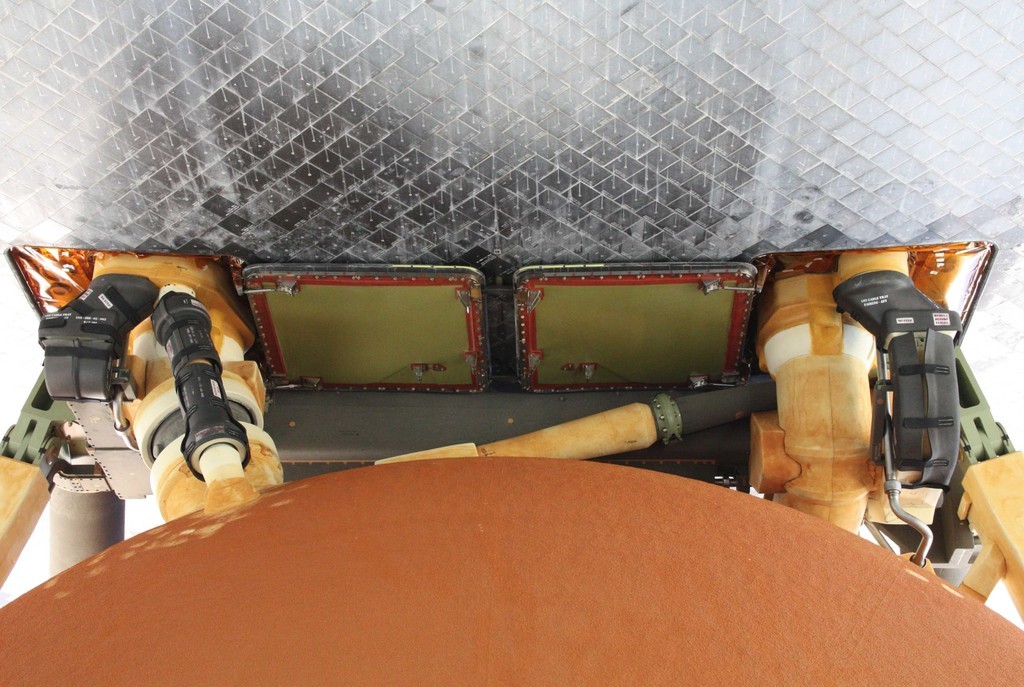 Source: NASA
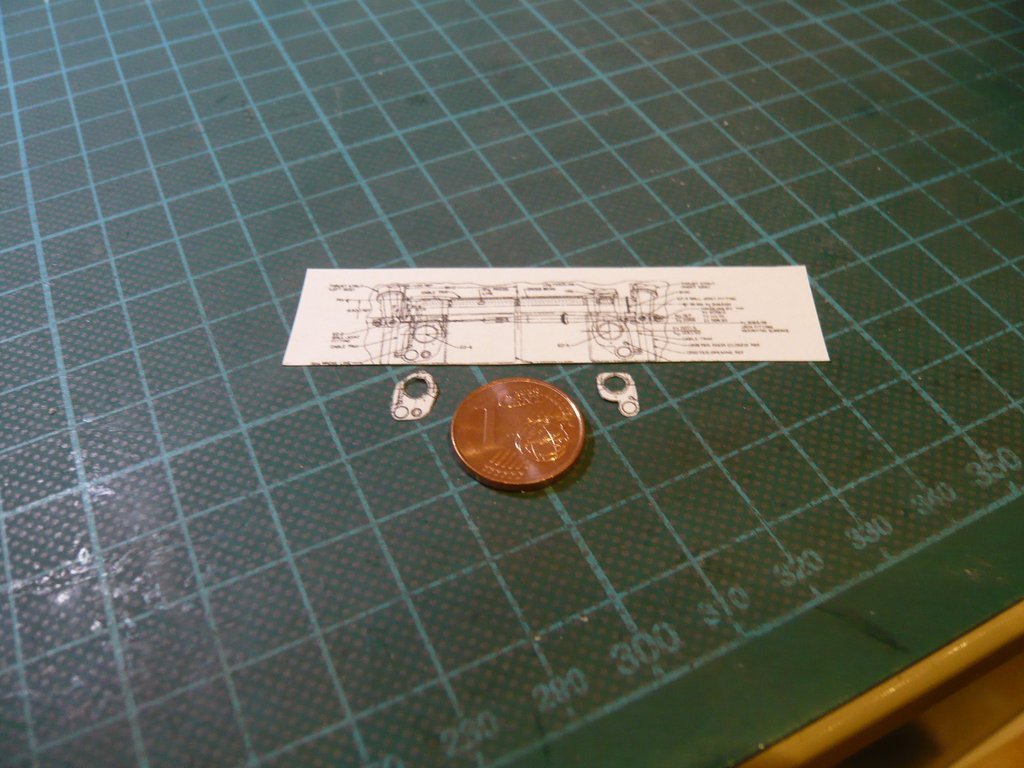
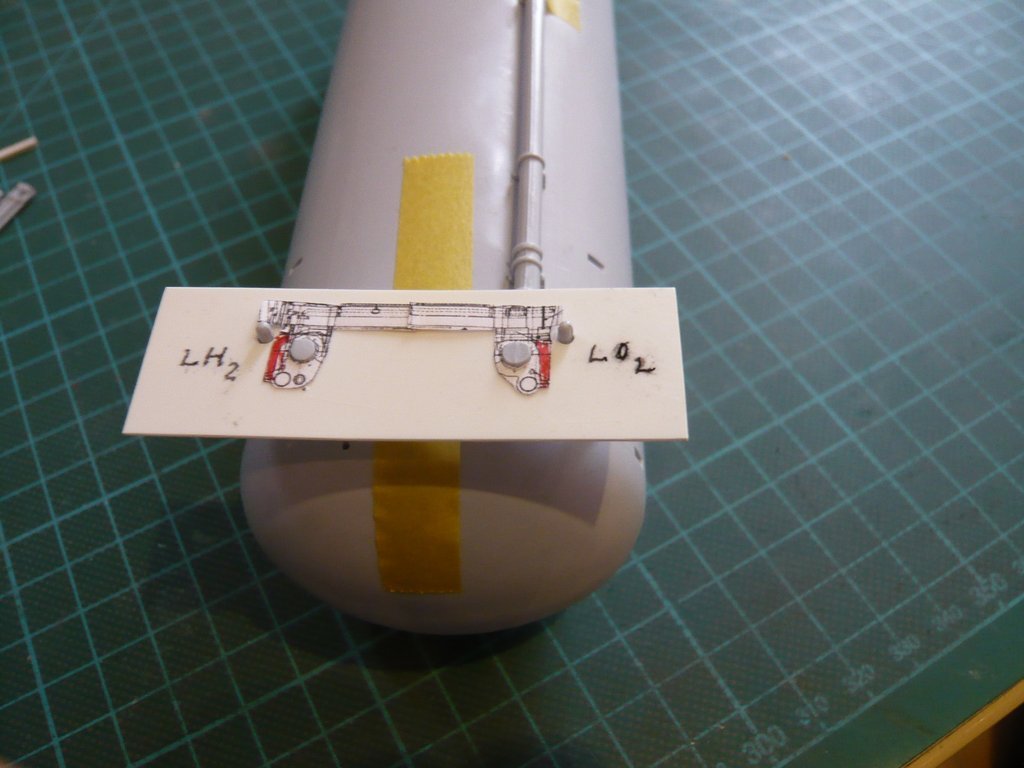
Since I have to take into account the distance to the
Orbiter during testing the small
Umbilical plates and tiny
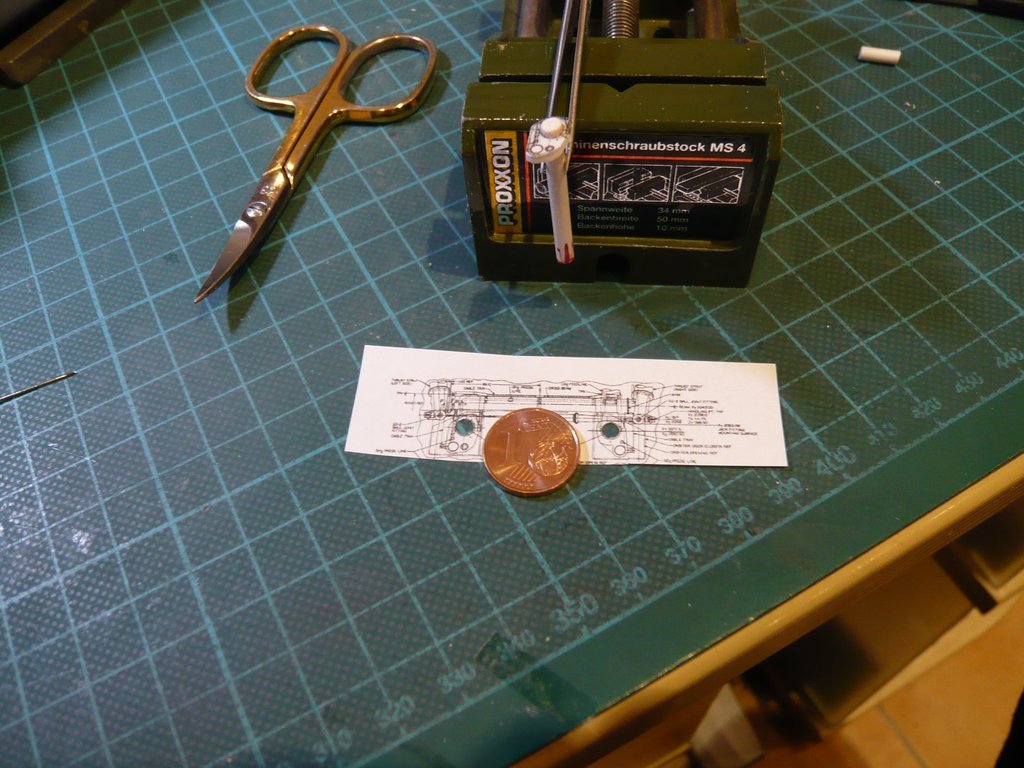
Cable trays, I've considered a small stencil (1 mm Styrene, which is much easier to handle.

On this stencil I have drawn the openings for the
ET/Orbiter Attachment as well as for the two
LH2/LO2 Feedlines from my scaled down drawing (1:144), as well as have cut out small paper stencils of both umbilicals.
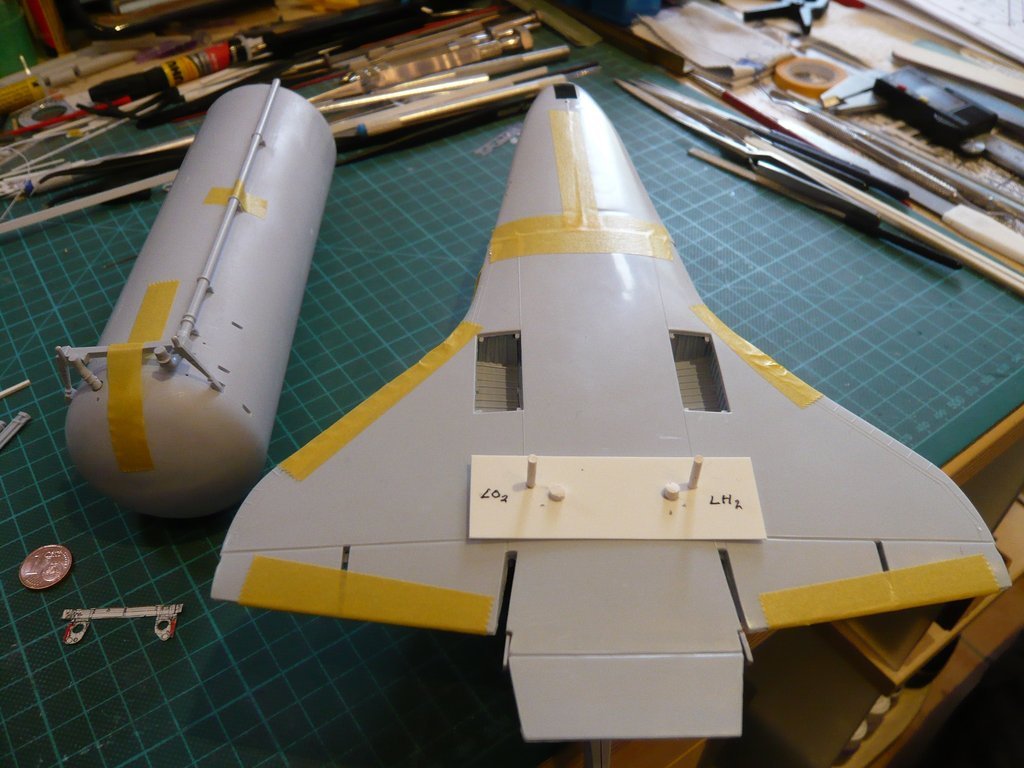
After the plate fits quite well already (the red ones are the
Cable trays),
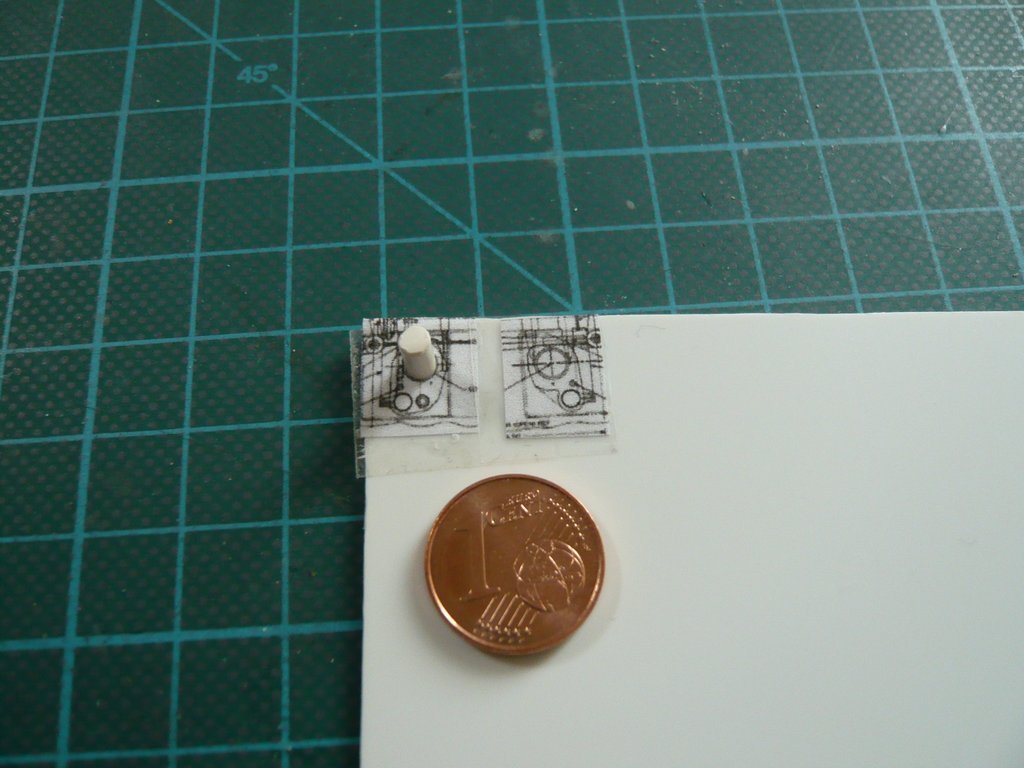
now follows the production of the two
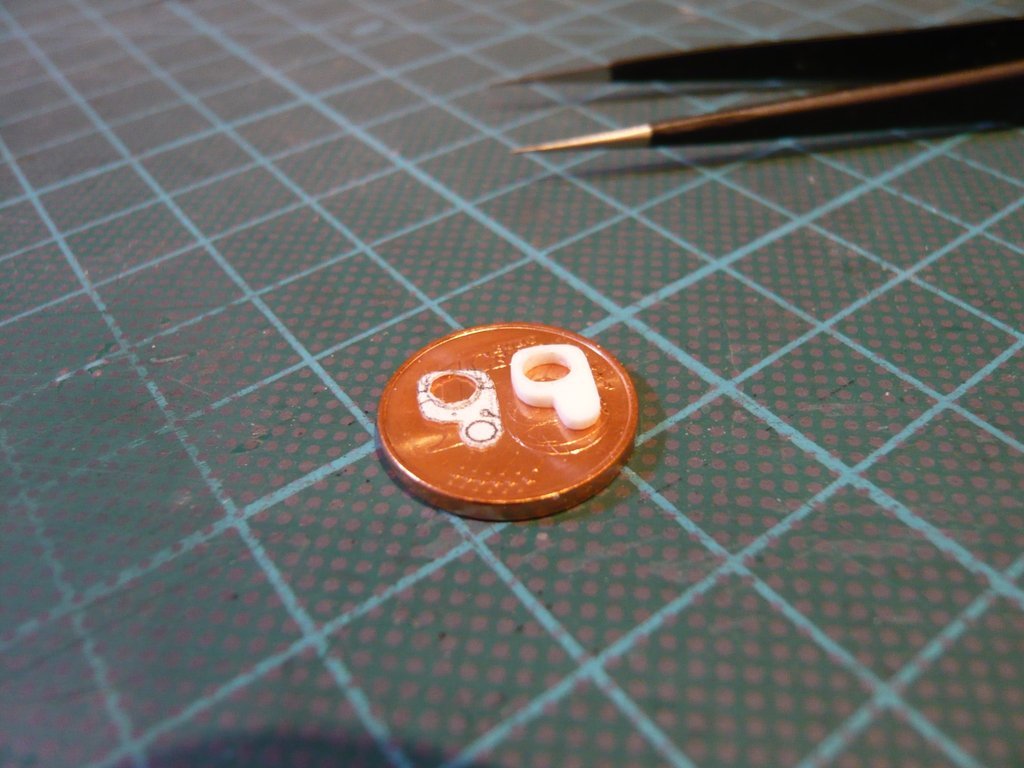
Umbilical plates, whose drawings I have glued with transparent tape on the 1 mm Styrene plate.
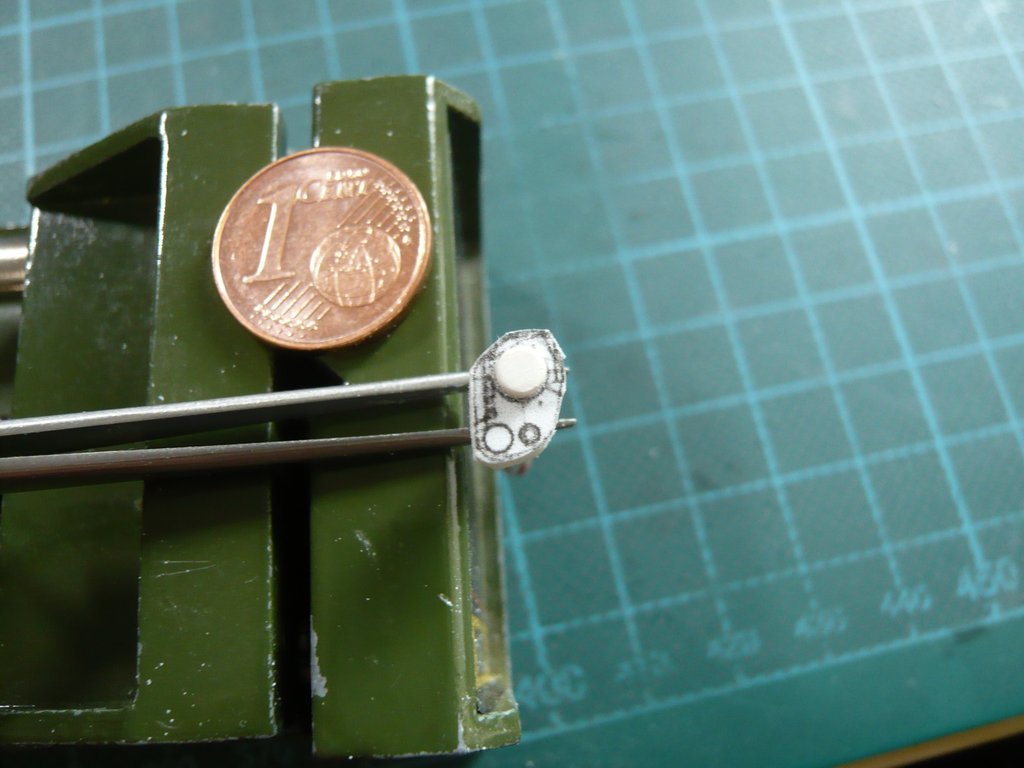
In order to be able to cut out and file the small plates, I first drilled the holes (Ø 3 mm) for the
Feedlines and plugged in rod plugs, so that the templates can not slip during handling.
And then I cut out the little plates, whereat I've always compared it with the contours of the two umbilicals in this larger photo, because the parts are really tiny and also difficult to hold, which was much facilitated by the inserted holding rod.
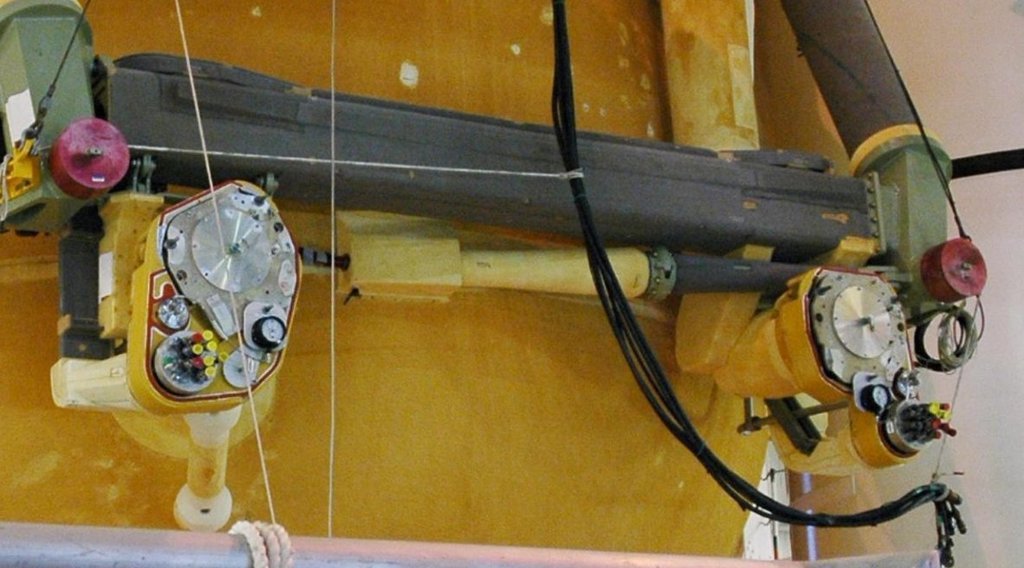 Source: NASA
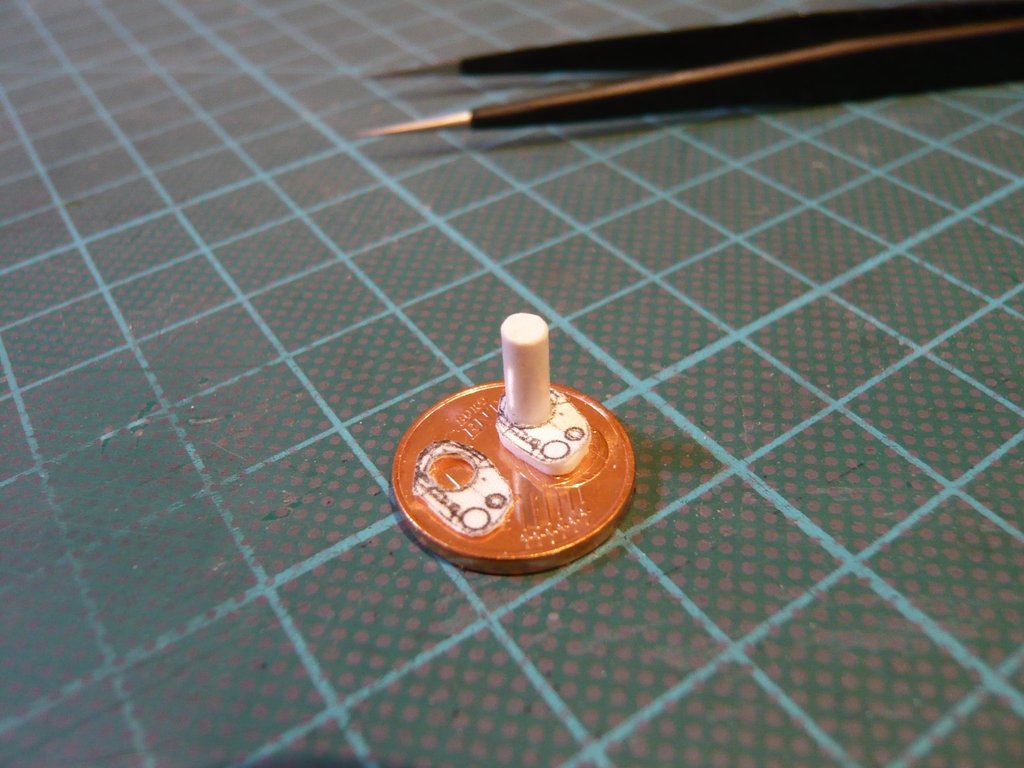
And then I've carefully cut the contours of the stencils with the diagonal cutter and then gradually filed and ground the final shape all around, which was quite tedious.
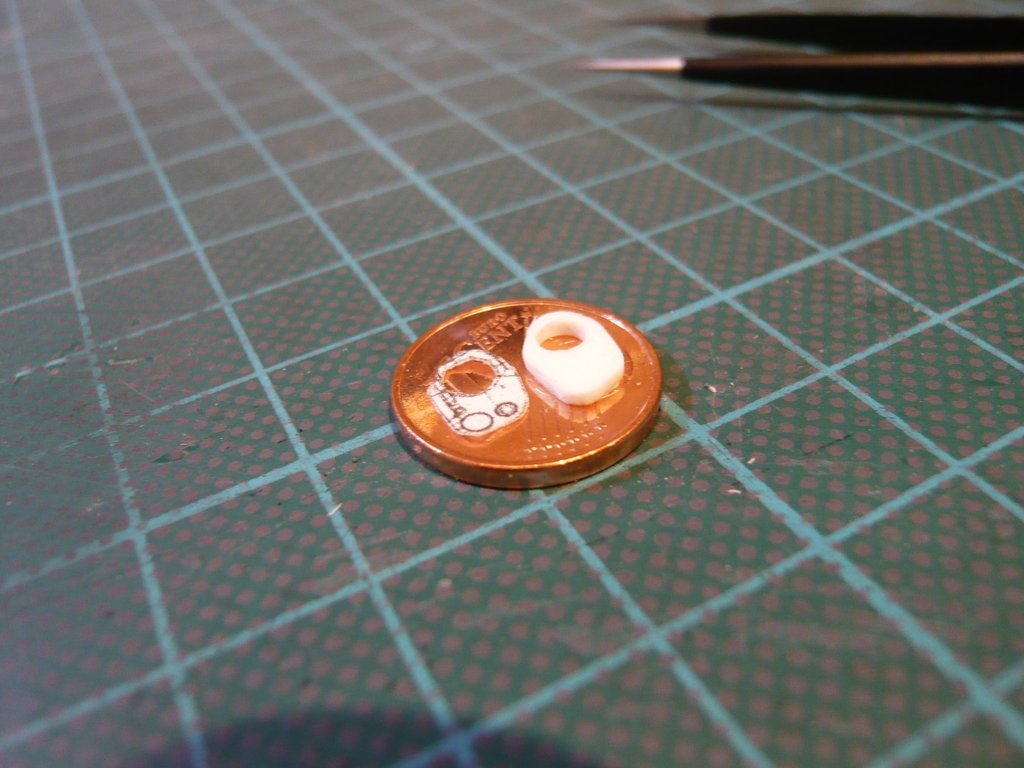
I started with the
LO2 Umbilical plate.


Then the holding stopper could finally be removed,
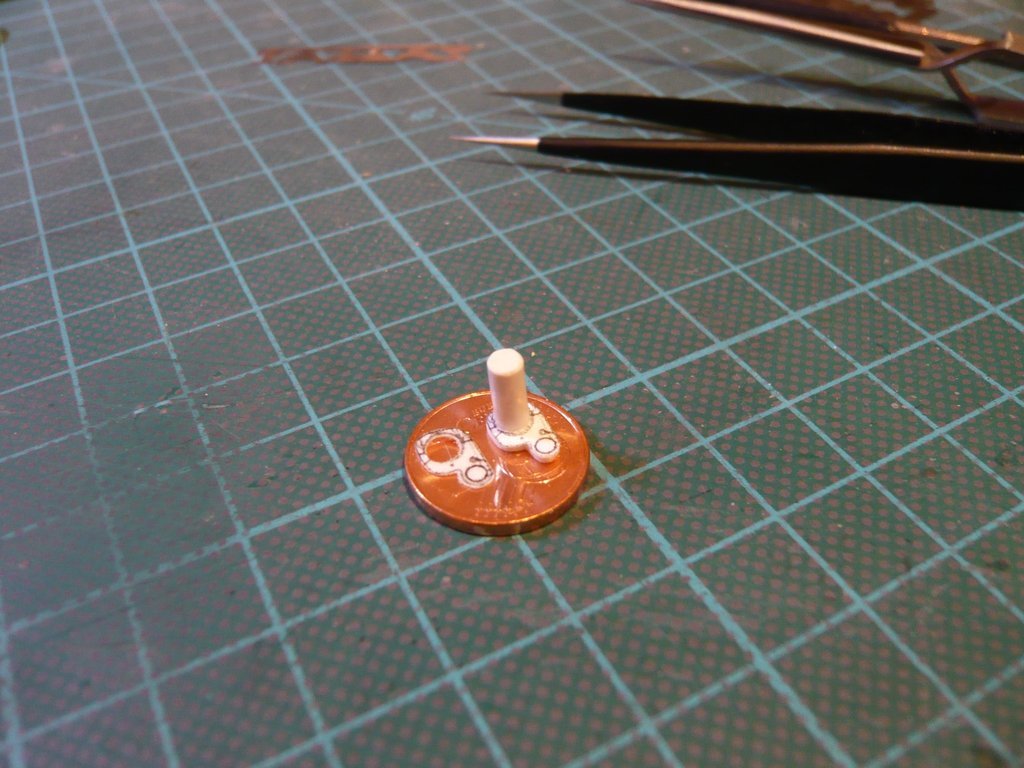
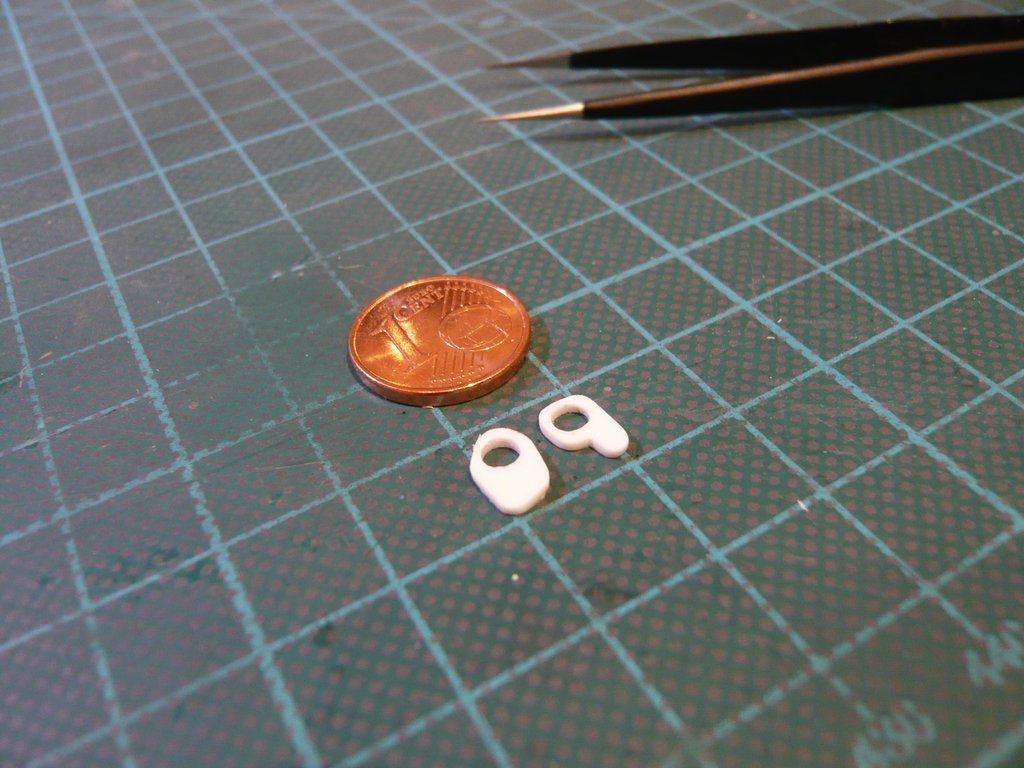
and this is now the finished part.

And in the same way followed the production of the
LH2 Umbilical Plate.
And these are the two finished
Umbilical plates,
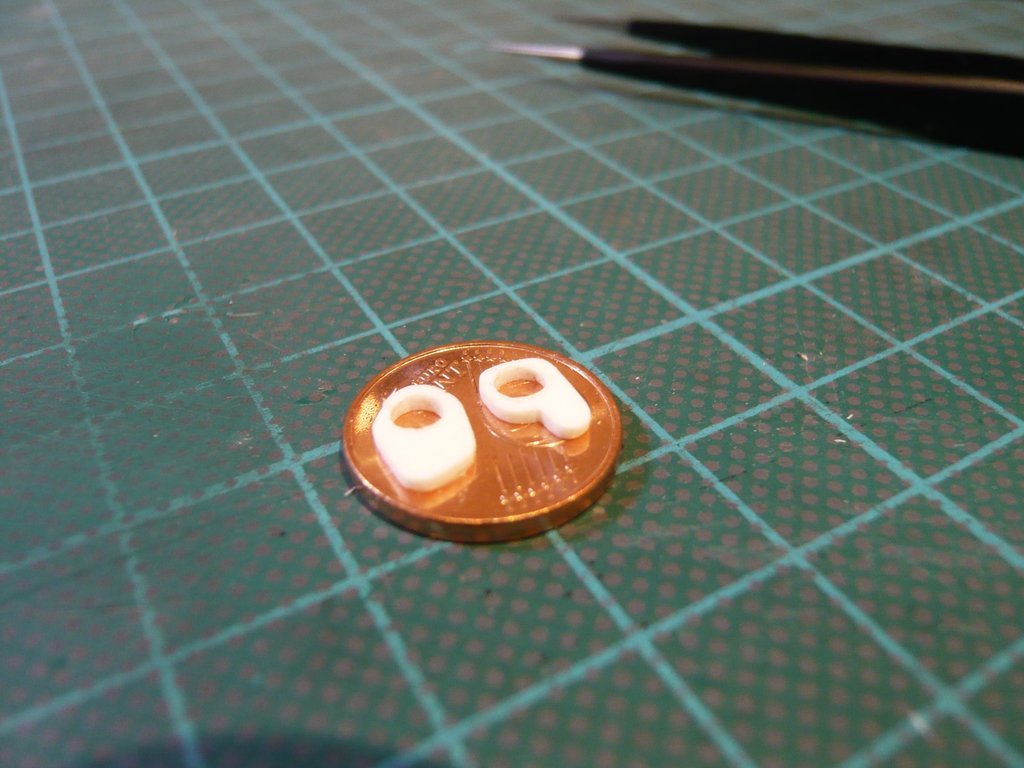
which can now be test fitted on the
Attachment.