Thank you guys!
")
After I finished with engine compartment detailing, I had several options to continue:
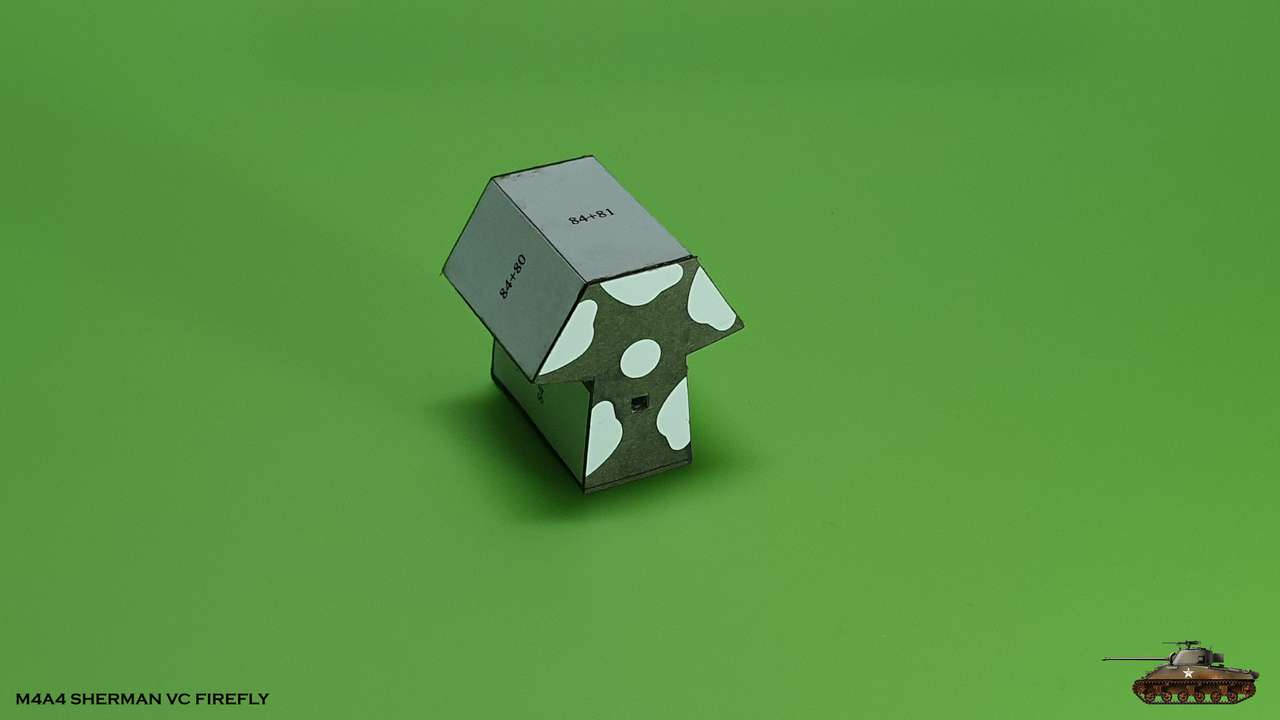
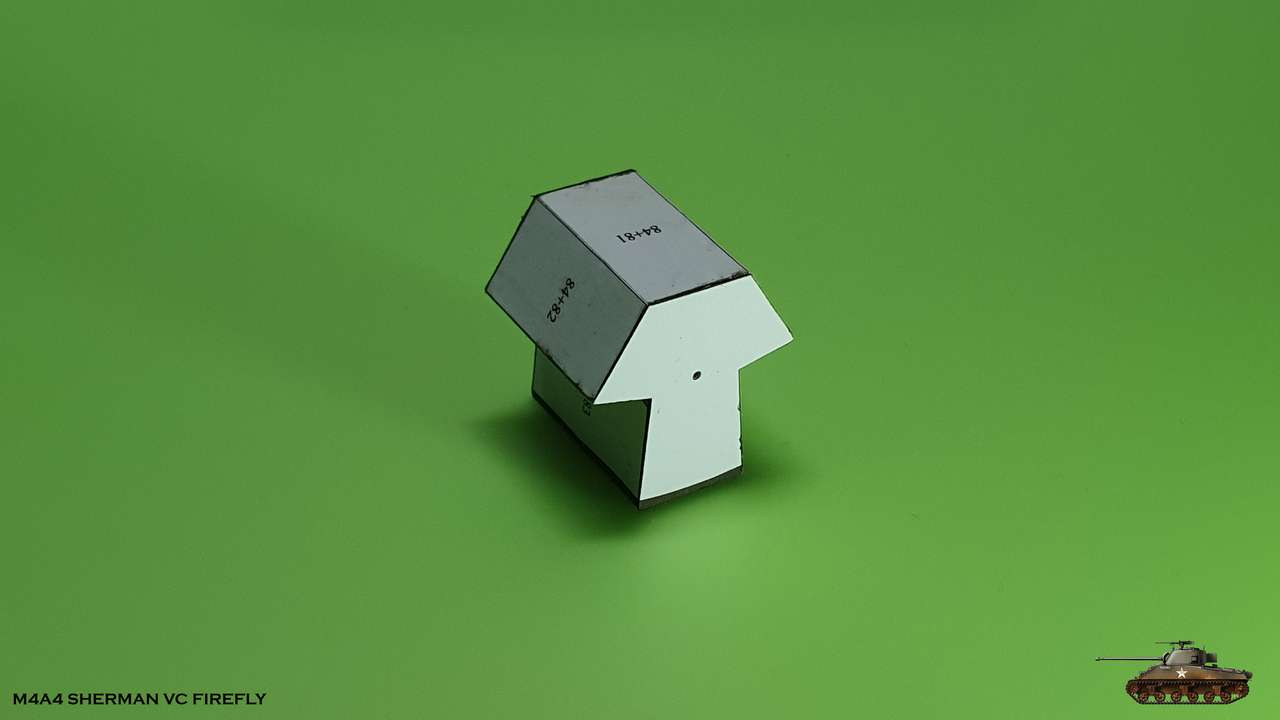
Continue by numbers and assemble the front wall of the engine room
Assemble the fuel tanks and install on the sides, as a continuation of the equipment of the engine room
Start assembling engine
I chose the last option - to assemble the engine, because I realized that such a complex unit would be difficult to push into place,
and if I continued and closed the engine compartment or installed the fuel tanks on the sides, it would limit access to place the engine
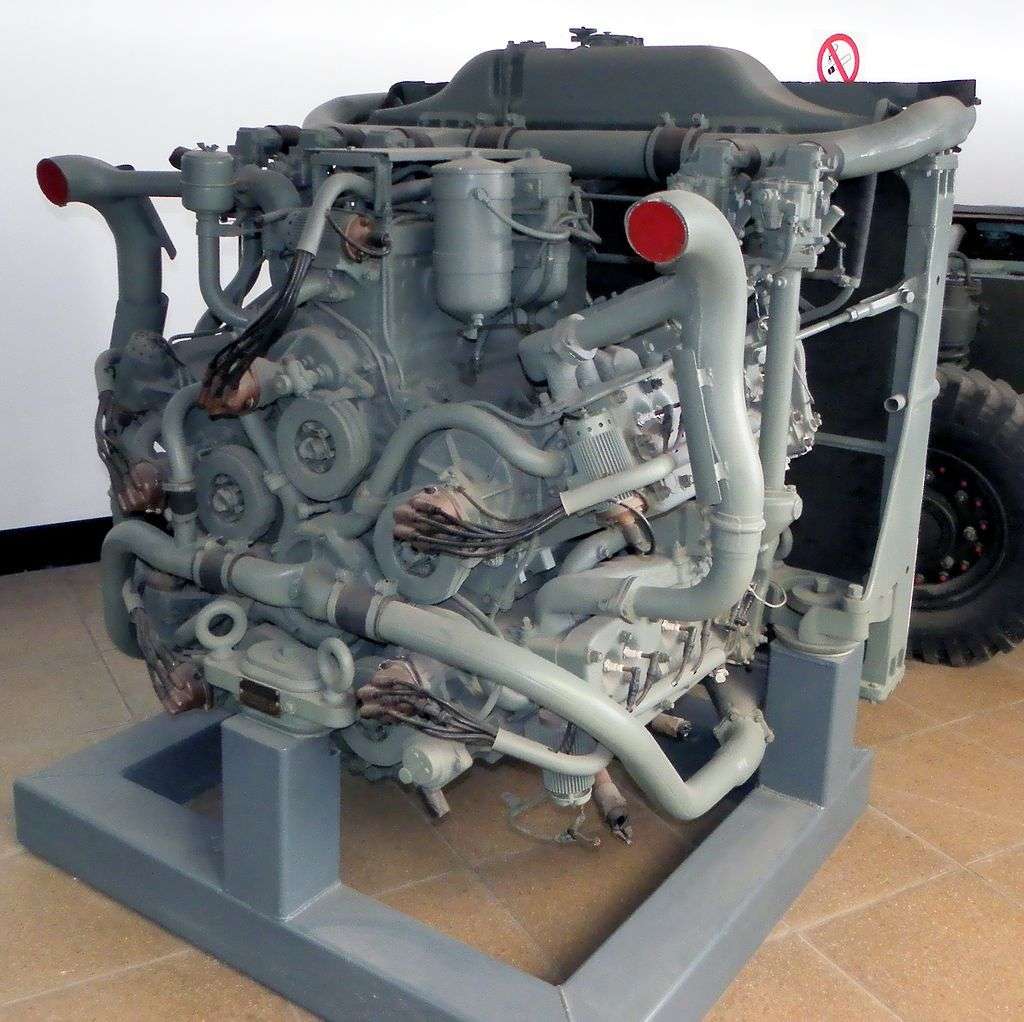
That's why I start the model inside the model, and this is the Chrysler A57 engine,
which consists of five blocks of 4.1, so the entire engine was 20.5 liters and produced 470 horsepower.
These engines were installed in M3A4 Lee and of course Sherman Firefly
This is how the engine looked live
And that how it should turn out of paper
The developer tried to detail it as much as possible, given the paper and scale limitations,
and I am happy to assemble such a masterpiece, even if at the end half of the engine will be hidden.

Engine drawings spread on whole two pages!
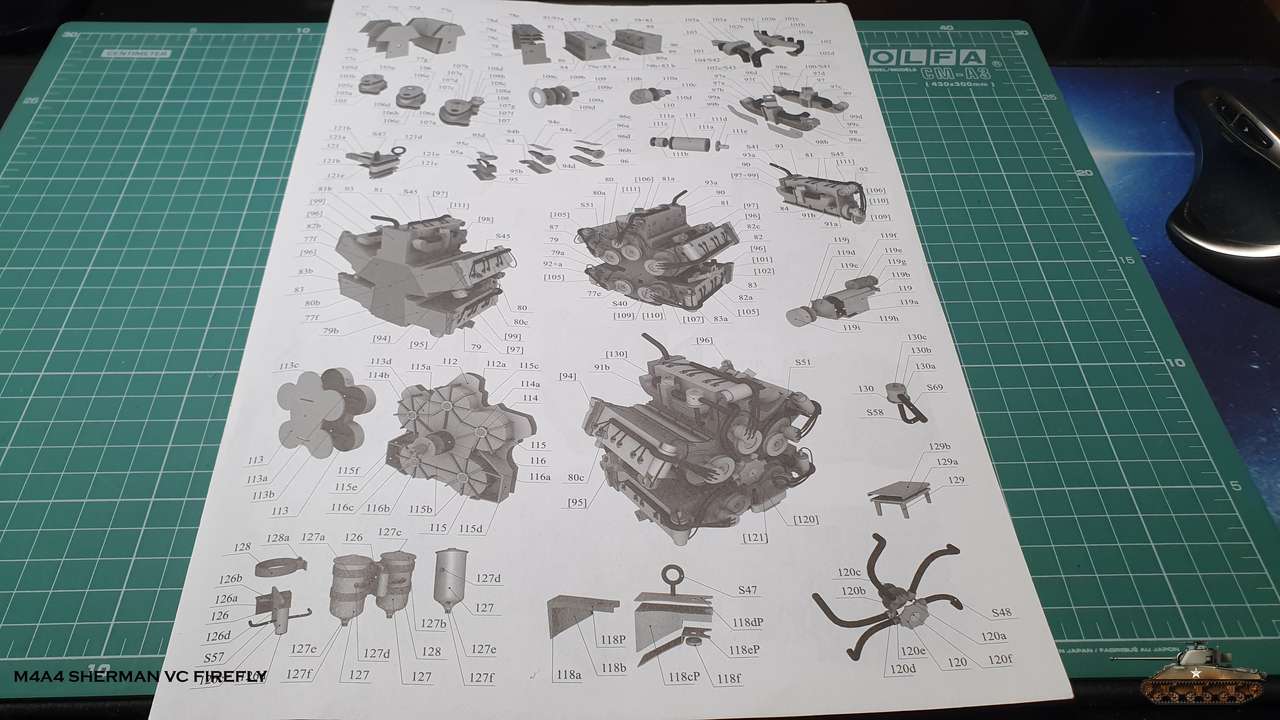
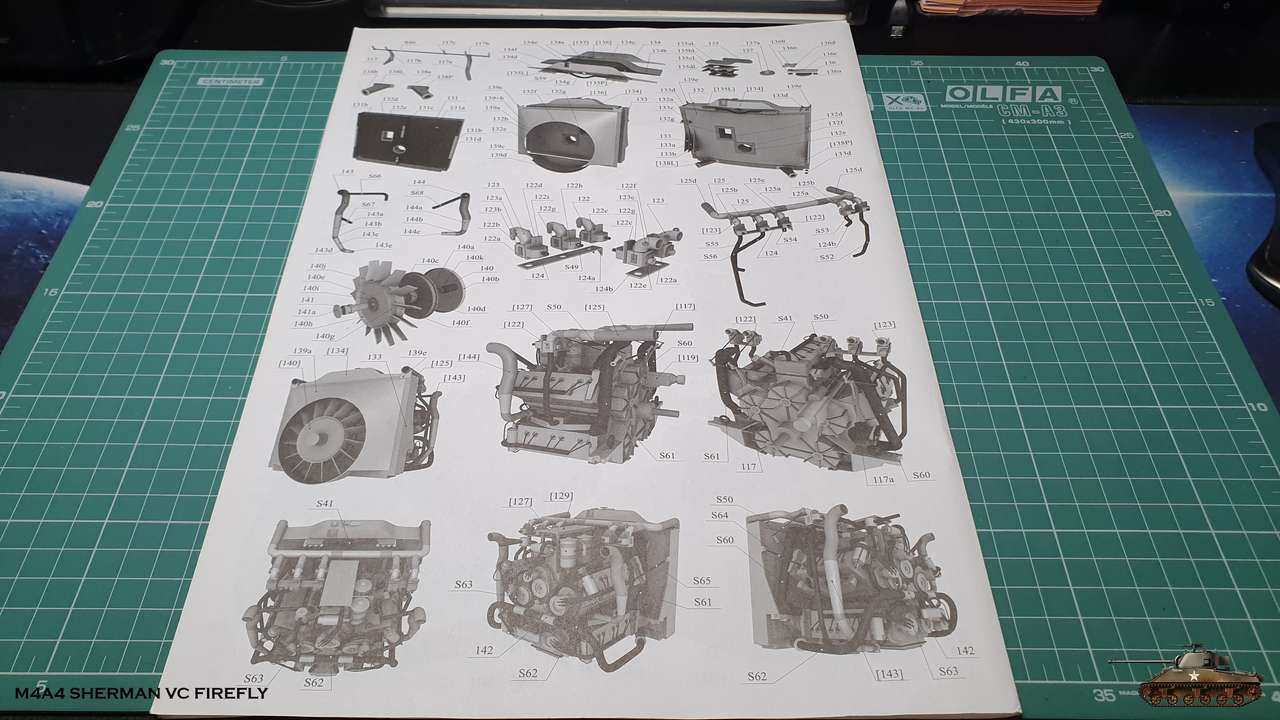
There is a great number of parts as well - a page and a half heap crammed + a lot of frame details
I had to prepare before assembling and collected all the parts from the book. It was relatively easy, because even here everything is thought out and most of the details are concentrated in one place and with the numbering in order
I glued the details of the frame to the cardboard and already managed to use four kinds of thickness:
0.2 (empty space on the page from the book)
0.5 (old cardboard card)
1 (specially ordered cardboard)
1.5 (cardboard from the store for building layouts)
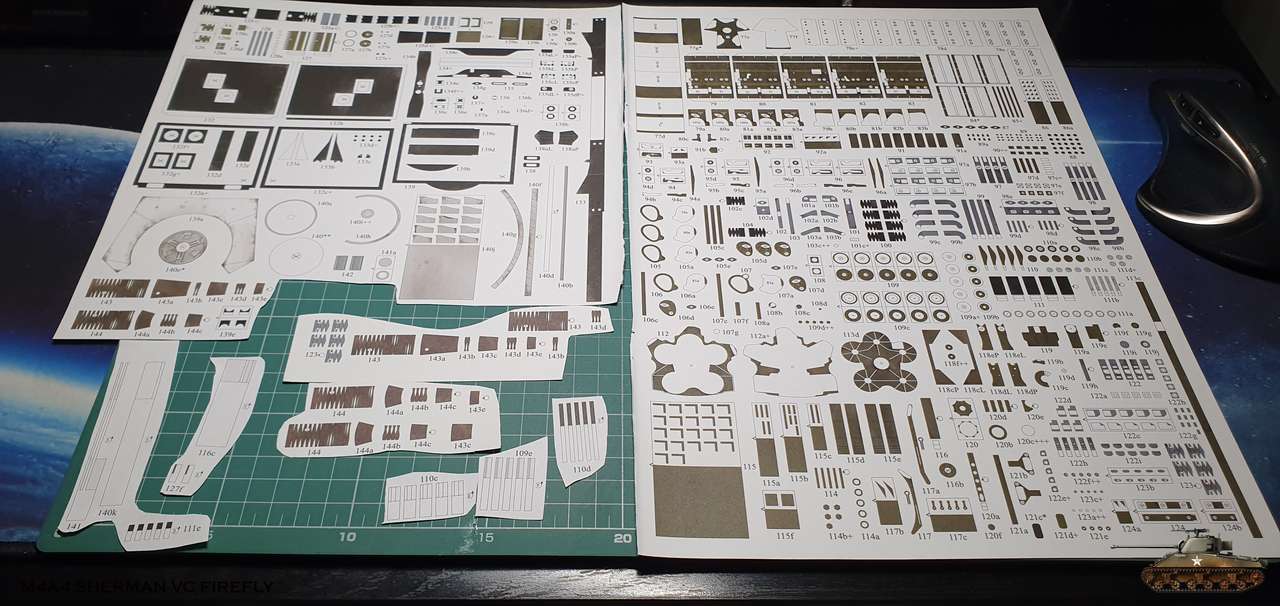
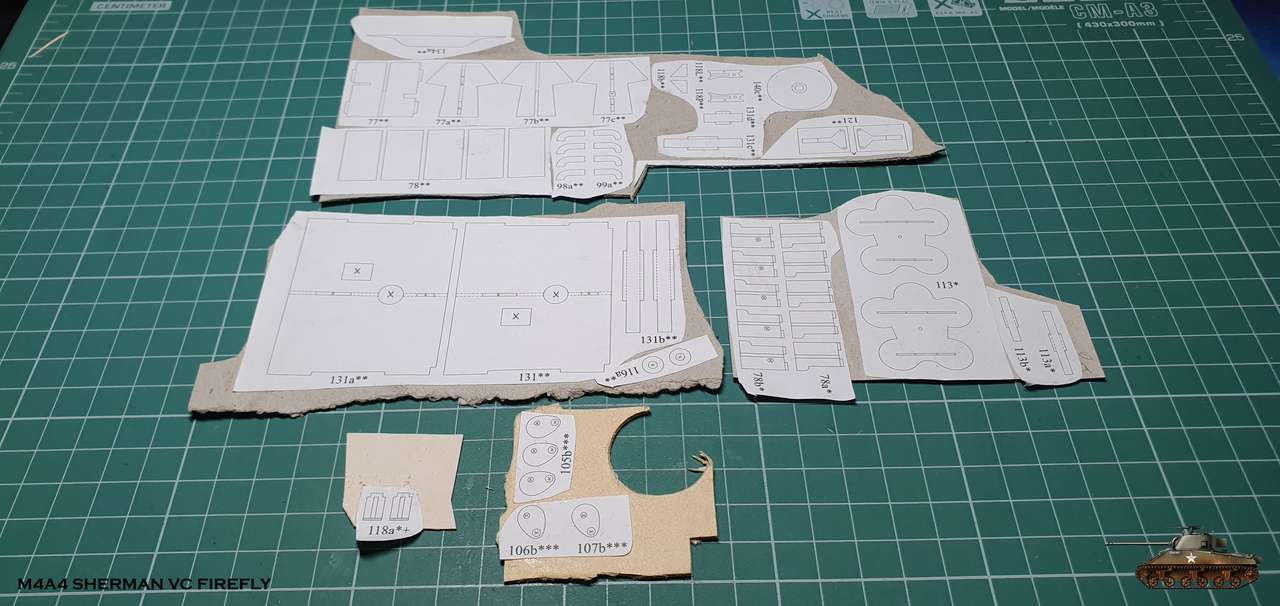
Of course, later some printed parts also will be reinforced with cardboard.
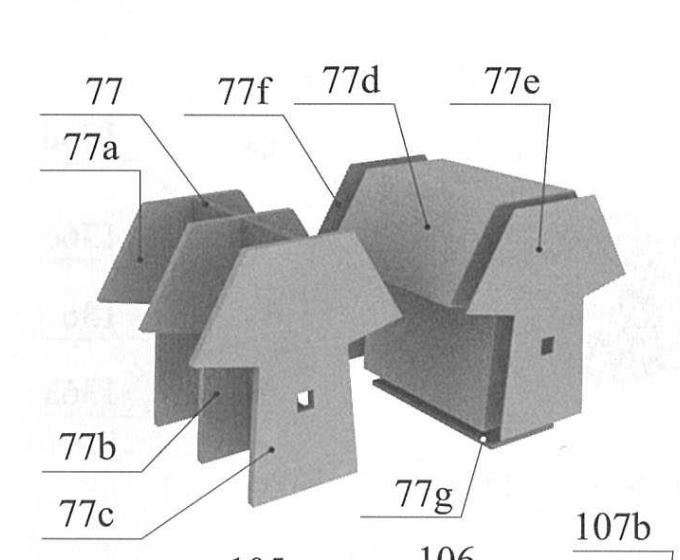
First of all, the heart of the engine is assembled and because it is the basis for all - the power frame is assembled, on which the casing is put on.
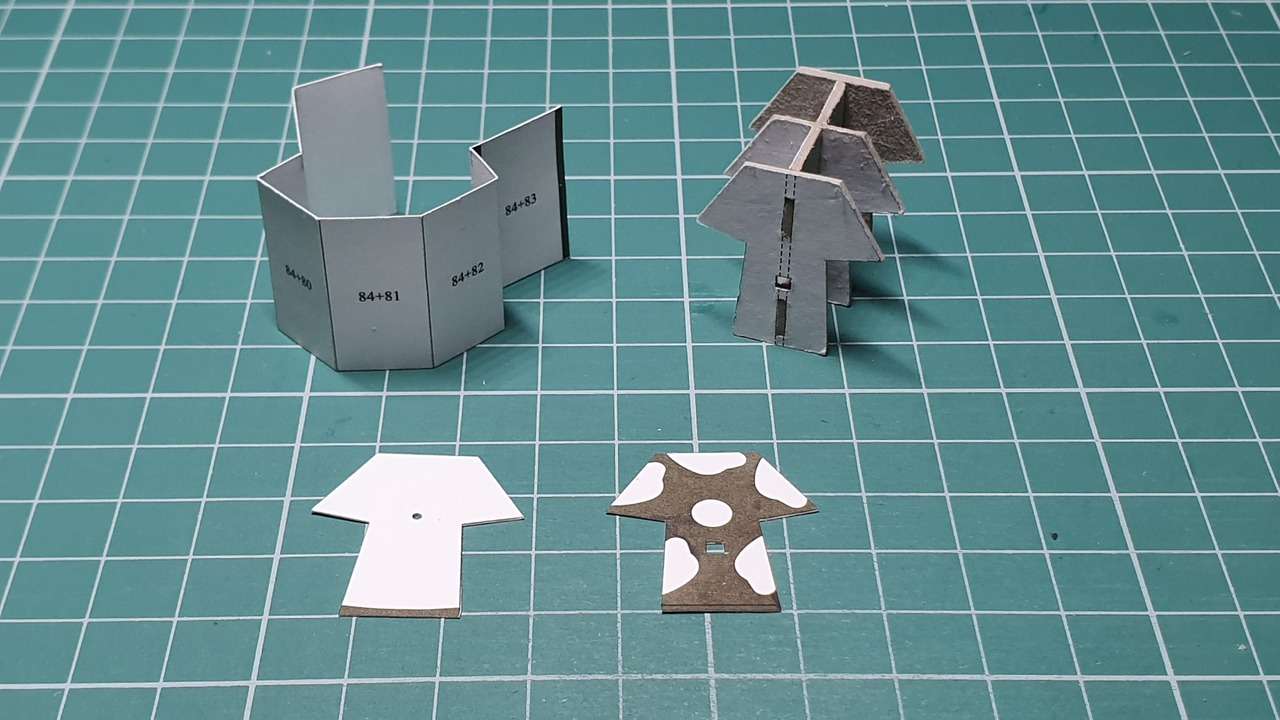
At the end of the assembly, it looks like this