From underneath the platform fitted into the Guides...
next step is to glue the Frame brackets.
As you can see, there is access from underneath and from the sides to glue them in place.
...
The Frame brackets are just pushed up to the frame and glued.
Then the sides are glued down.
...
Everything in place...time to seat the Gun for the final time.
...
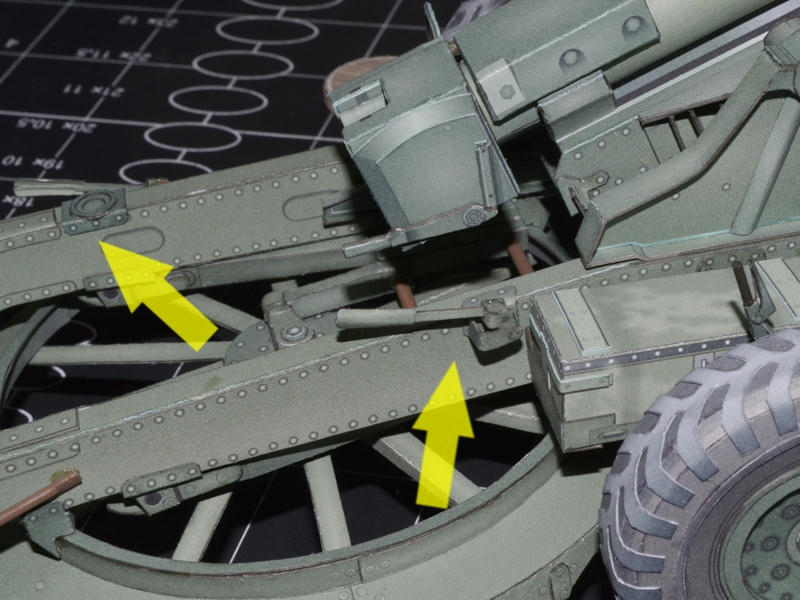
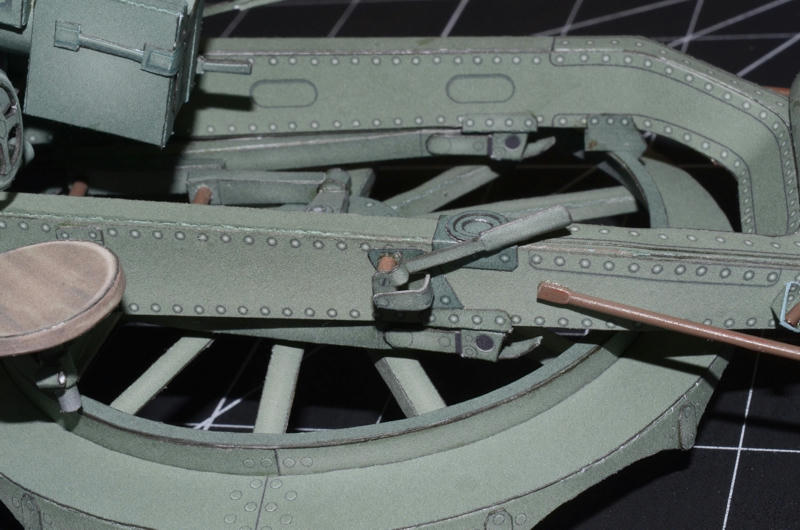
A couple more frame details added.
There are two (right and left) lifting and locking handles.
These connect to the Platform via some chain links and threaded rod, and lift and lock the platform for transport.
I'm not going to try to recreate the connectors in paper, I just stuck with the Handles and mechanisms.
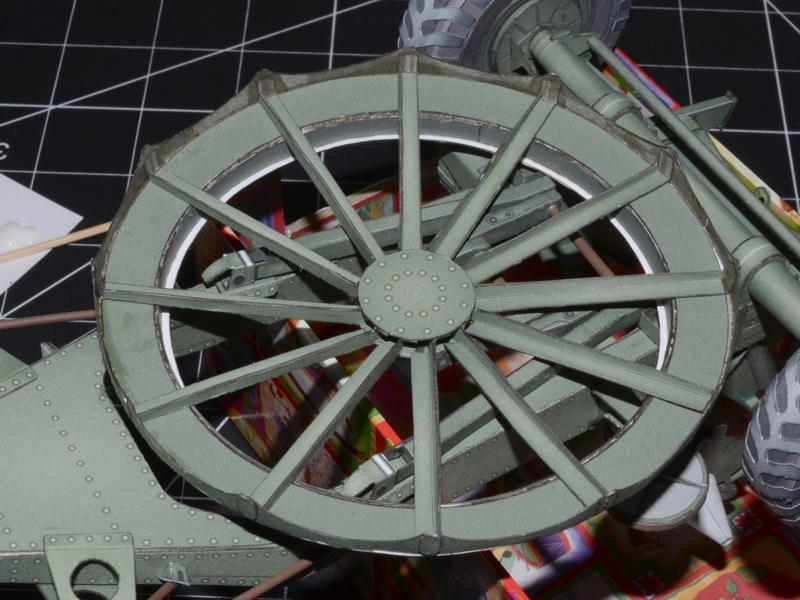
At the very top right of the photo, you can see the caps installed that lock the gun in place.
...
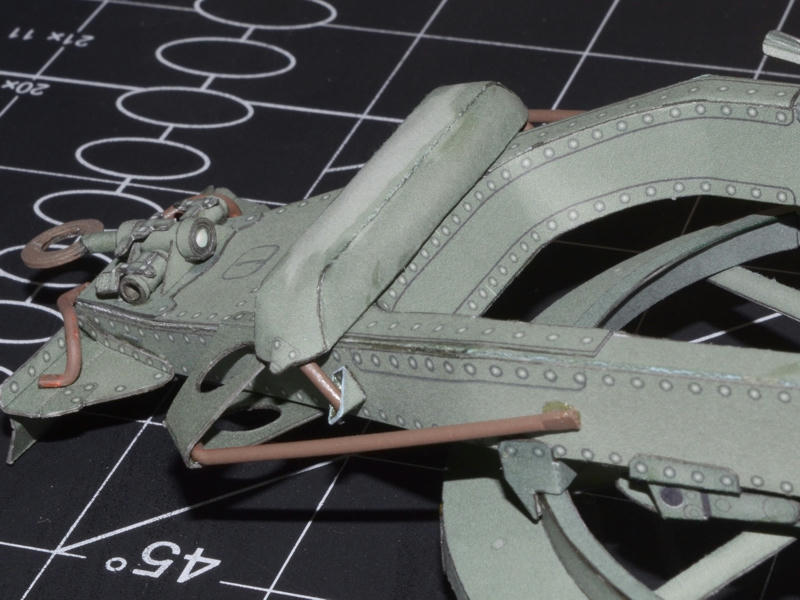
The opposite side lifting handle.
...
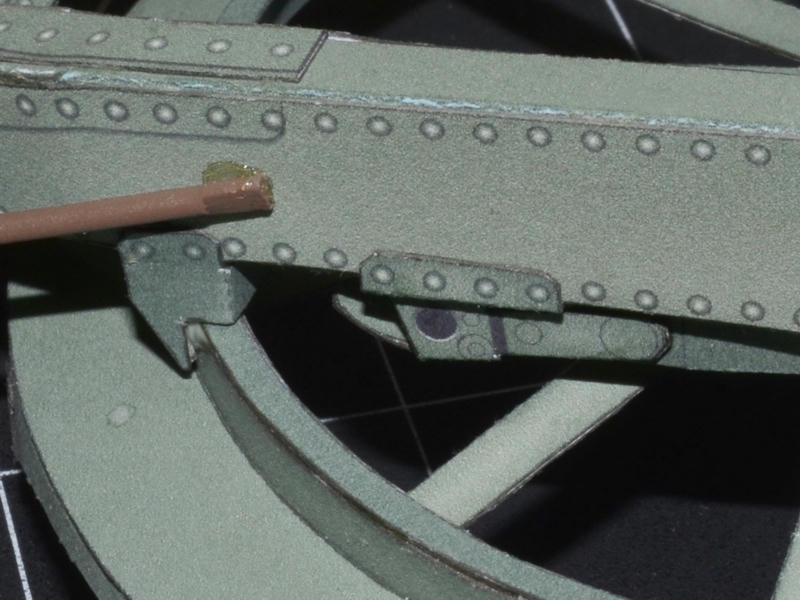
This is a skid tray...that is carried in this position and is used under the tail plate when the Gun is on its platform.
It acts like a sled under the tail plate allowing the gun to swivel and slide easily on the ground.
I have not attached this part, but I will include it in the kit.
...
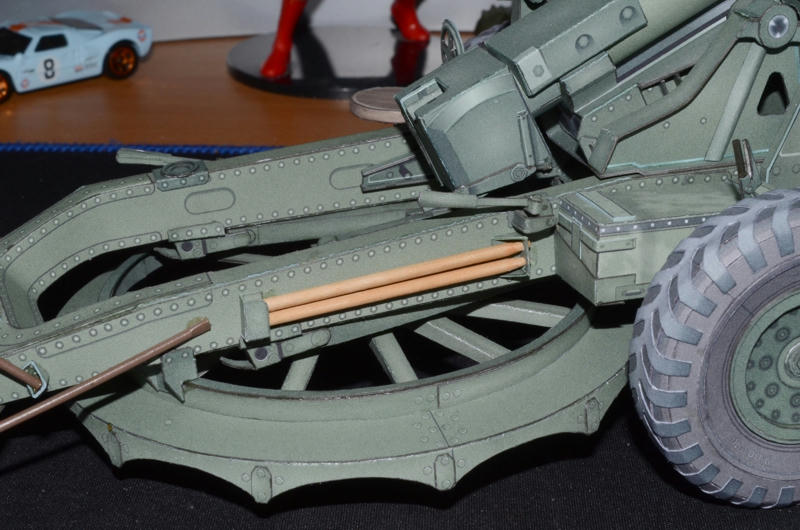
One more Frame detail and thats about it.
There's probably more things I could add, but I have to stop somewhere.
Time to focus on completing the Instruction pages.
...
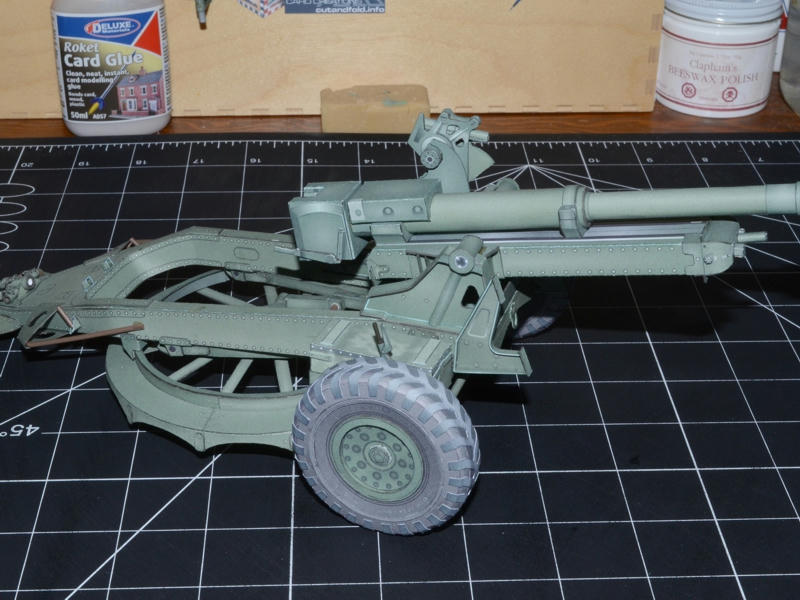
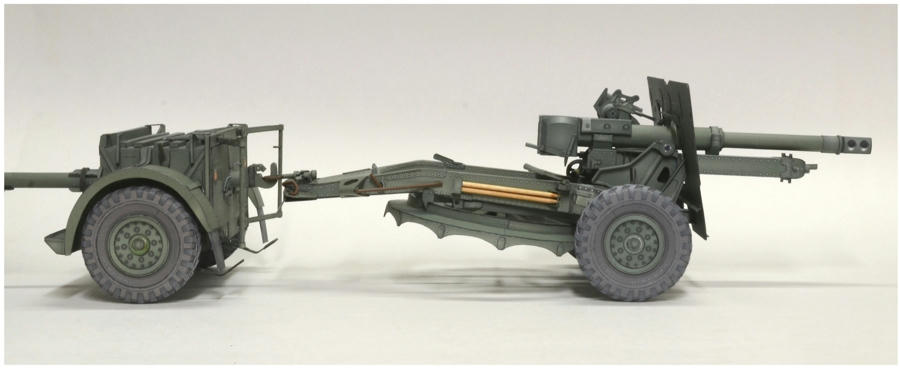
The Limber and 25pdr in 1/16 scale.
In a straight line: 50cm (19.5") long.
This will be the second kit...standalone, or as an accessory to the Ford Tractor.
...
Next: take some photos of the Tractor, Limber and Gun all together.
Have to find a spot big enough to do that!@!