Hello everybody,
first of all the good news of the last week's
Health check that my gut feeling has not deceived me. I didn't want to go under the knife, and after getting a second opinion, no shoulder surgery is necessary either!!!

The orthopedic surgeon I've consulted in the Stuttgart clinic first asked me about my concerns and how I was feeling. And after I've shown him my easygoing windmill-arm rotation, he said, to my surprise, short and sweet:
Well then, Goodbye!!! Oops, sorry?

Only then he has looked at the
MRI-CD and showed me the defect (1 cm x 1 cm) on the
Supraspinatus tendon that the radiologist had found and explain it to me on the model . Accordingly, the term [color blue]Complete rupture[/color] of the first surgeon would be appropriate, but would only apply to this small area behind the enthesis. On the other hand, the tendon would be present all around, so it is more of a "hole" and not a torn tendon, which I initially thought.

In short, he said that he would not operateon me, especially since I have no restrictions on freedom of movement or a loss of strength in my arm, which finally convinced and reassured me.

And so I was able to go back to my Pad construction site completely relaxed and again turn to the two lamp shapes with and without a shade/reflector on the
MLP-Side 1,

 Source: NASA
whereby it was again about the three circled lamps without a lampshade.
In the meantime I had adapted the splitting of the circuits a little bit more to the local conditions in order to be able to achieve the easiest possible relocation of the lamps.
 Source: NASA
In my first attempts I had still experimented with tiny glass beads, which is rather tricky and should be much easier to implement with the help of the new
UV adhesive, like my first attempts with the larger lampshades have already shown.

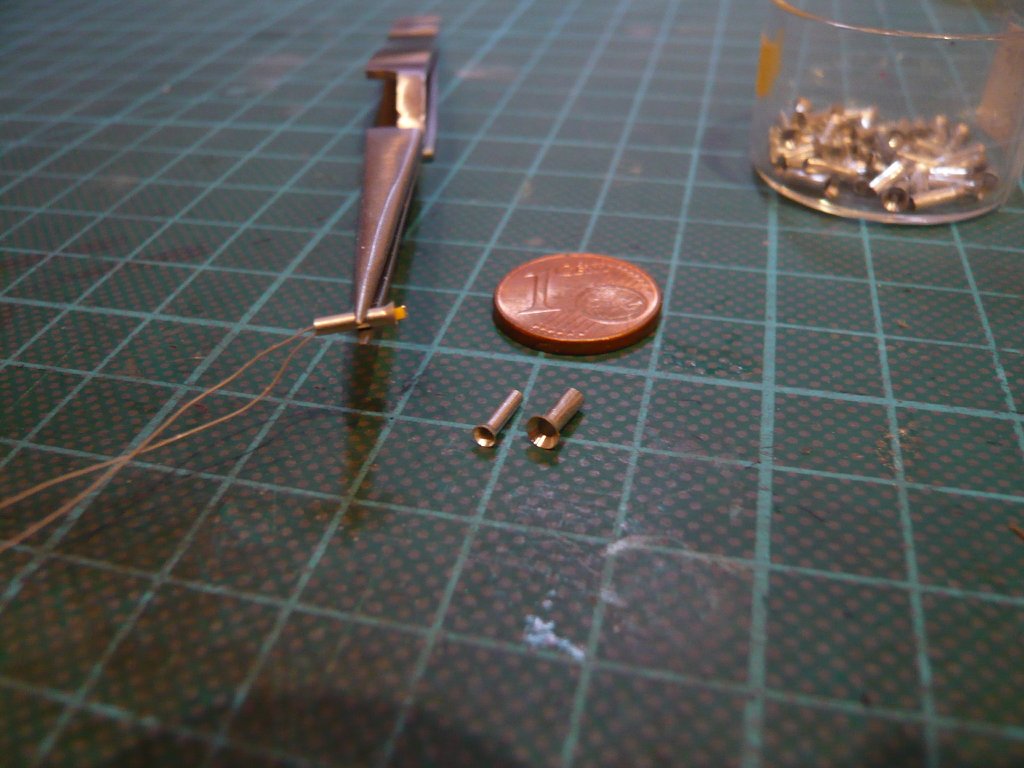
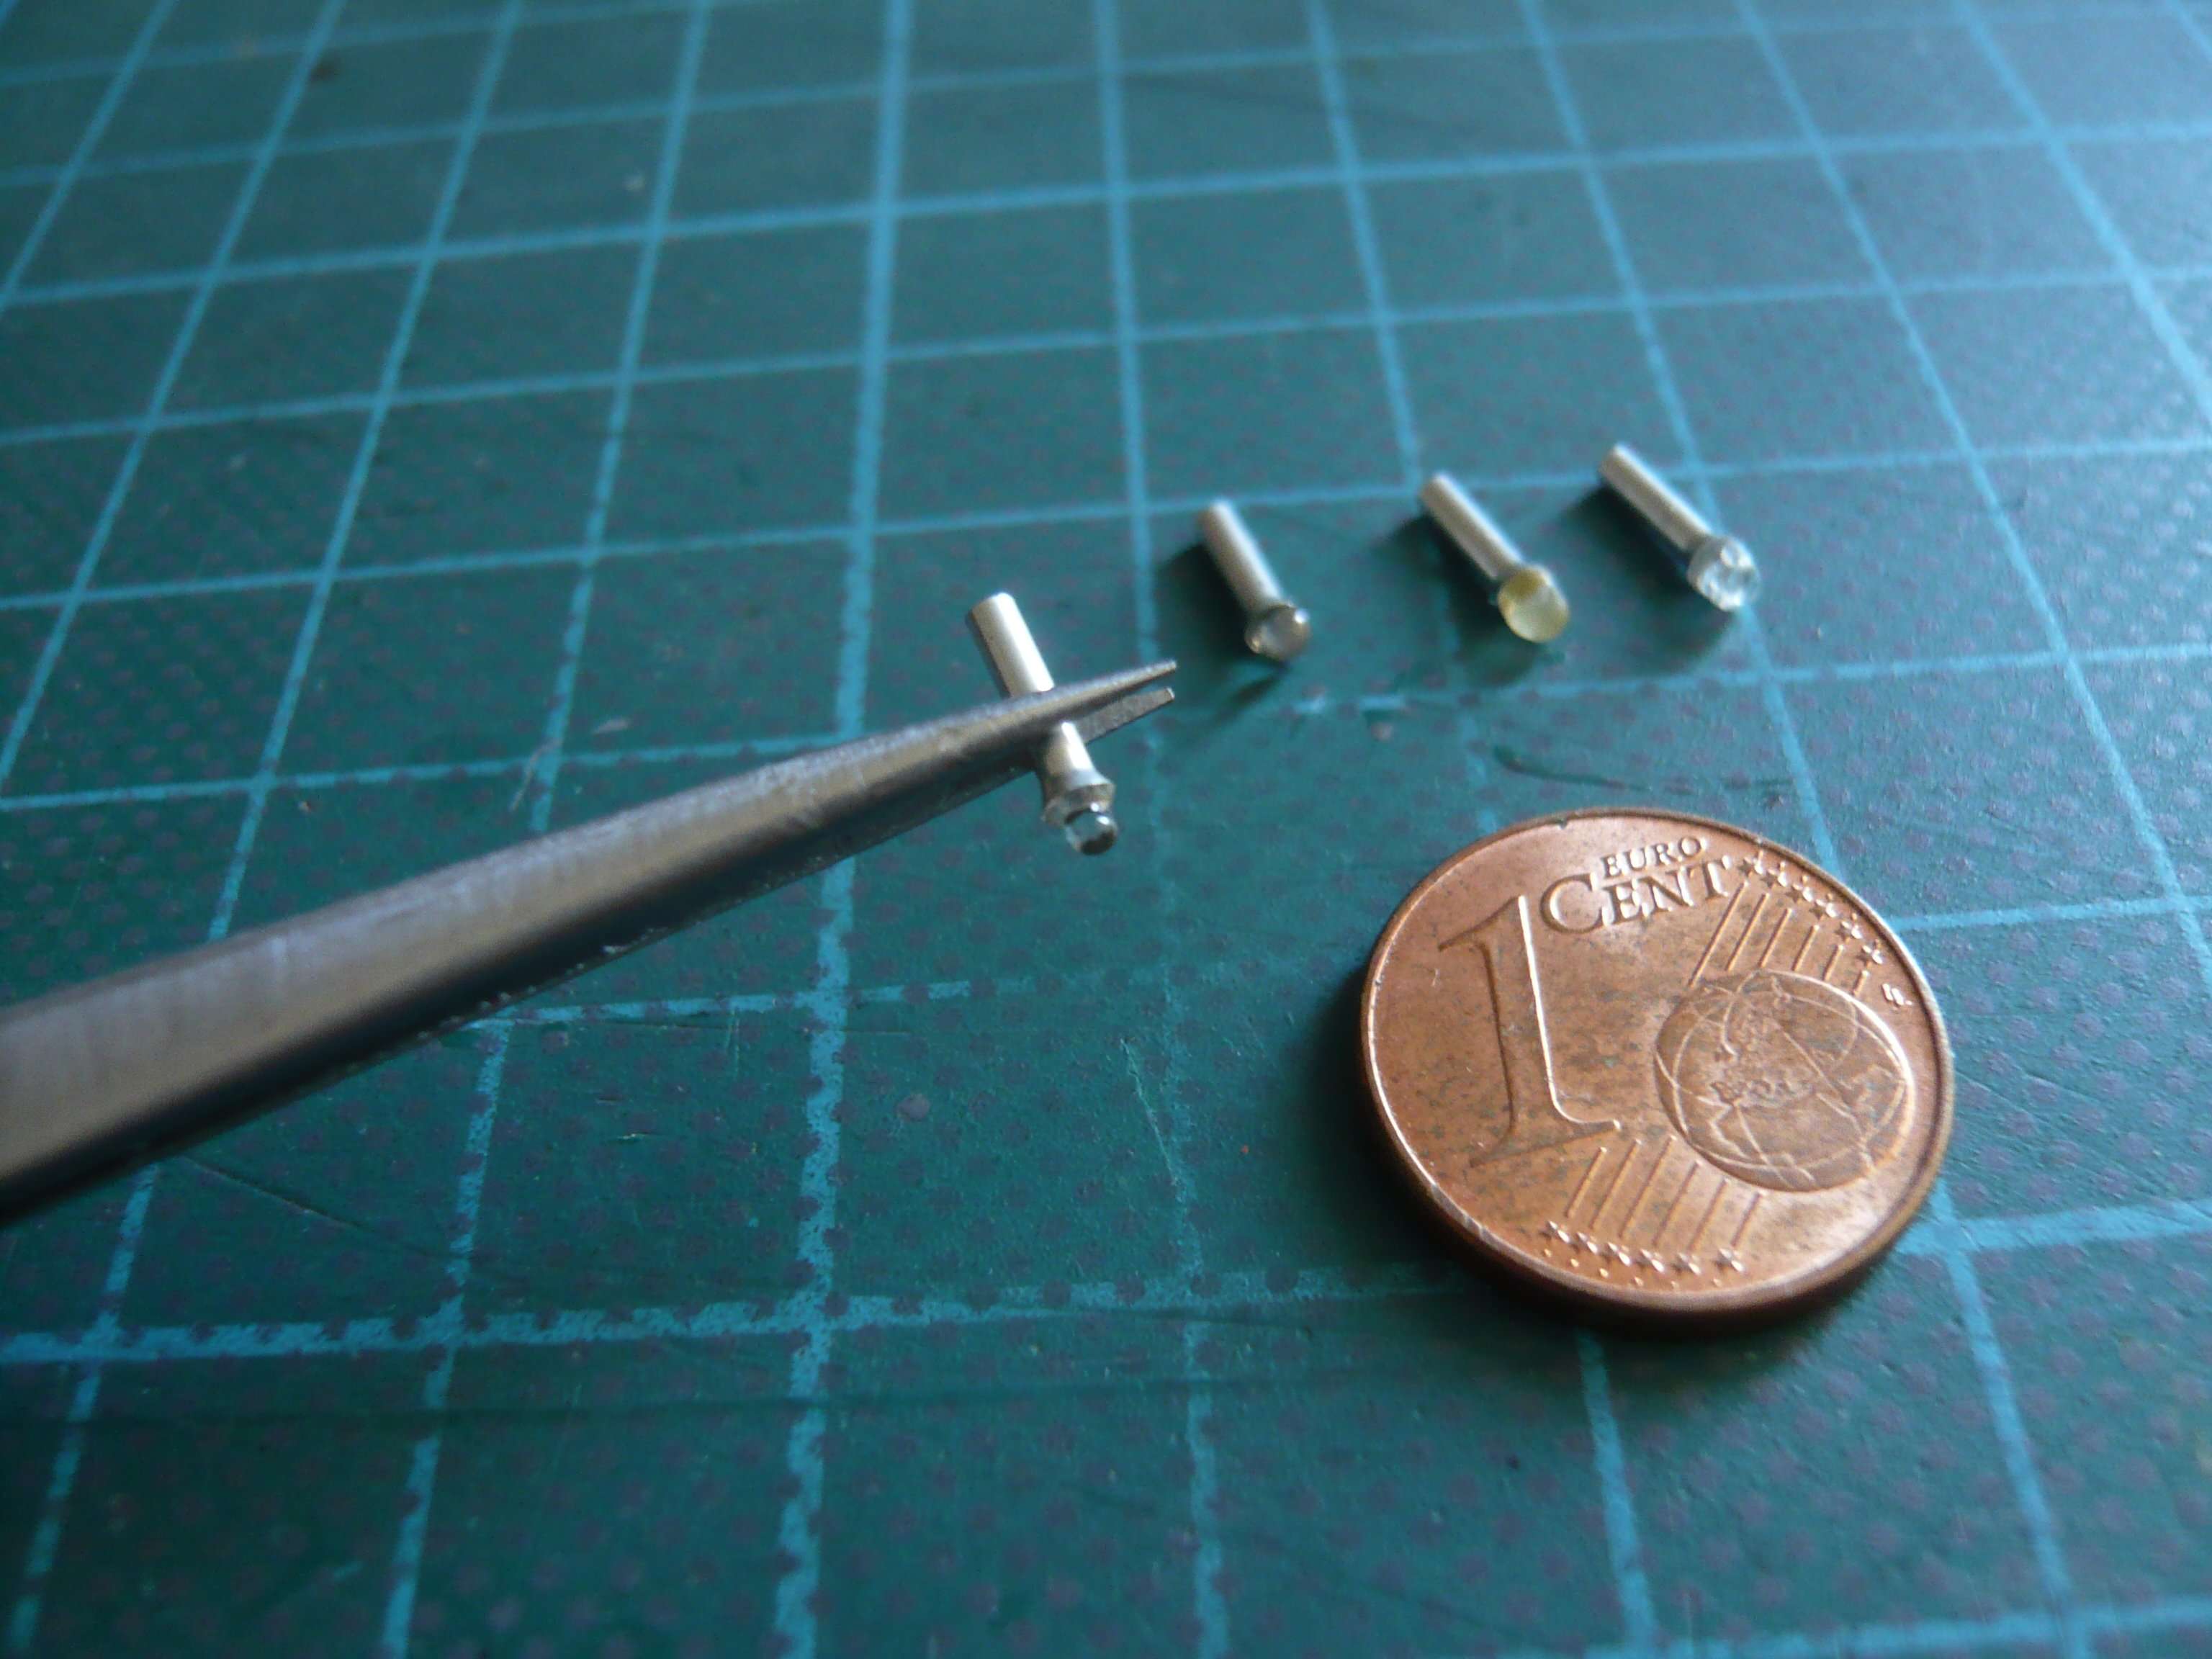
For these three lamps without reflector I used the smaller
ferrules (0,5x6), which have an inner diameter of 0,8 mm, through which the LEDs of the design
SMD 0401/0402 can be threaded through, as one can see in this image with a
LED Sunny White, with the LED standing upright and protruding relatively far out of the small shade.

Here one can see the size difference between the LEDs of the types
SMD 0401/0402 (left) and the
SMD 0603 (right), whereby the last one is too bigfor the smaller ferrule, but is fitting the larger ferrule.
Here one can see for comparison one of the larger
ferrules (1,0x6) for the other lamps on the
Side 1, the shade of which I have widened from a diameter of 2,4 mm to 2,8 mm.
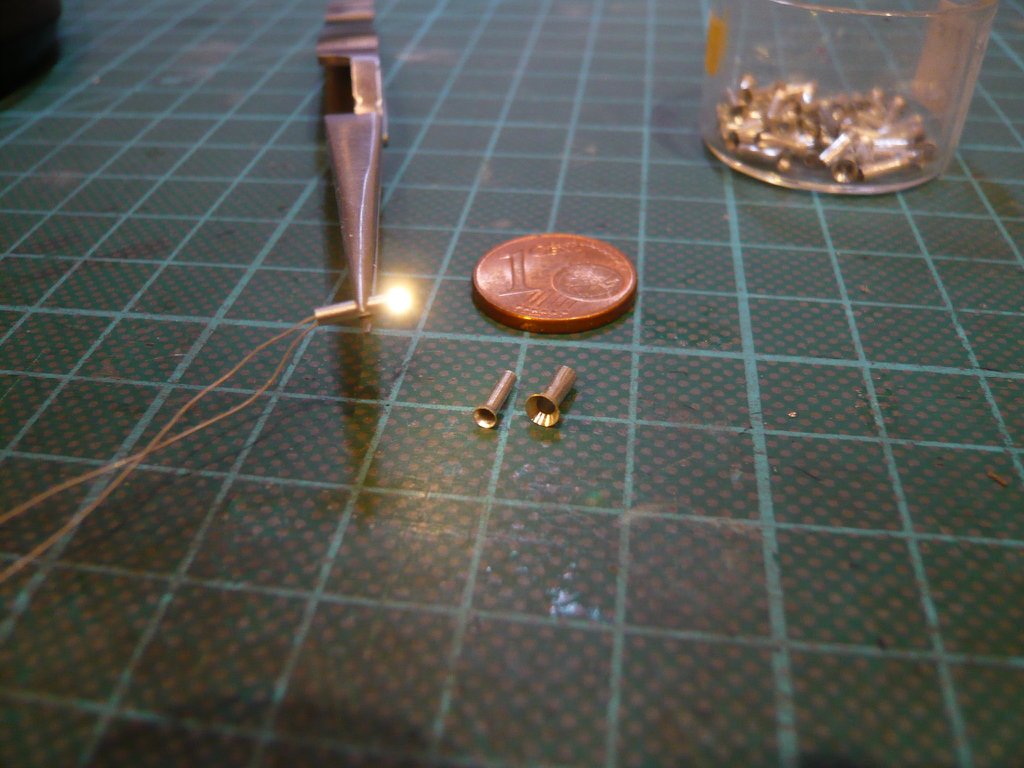
Here the switched-on LED (0401) shines in its warm white color.
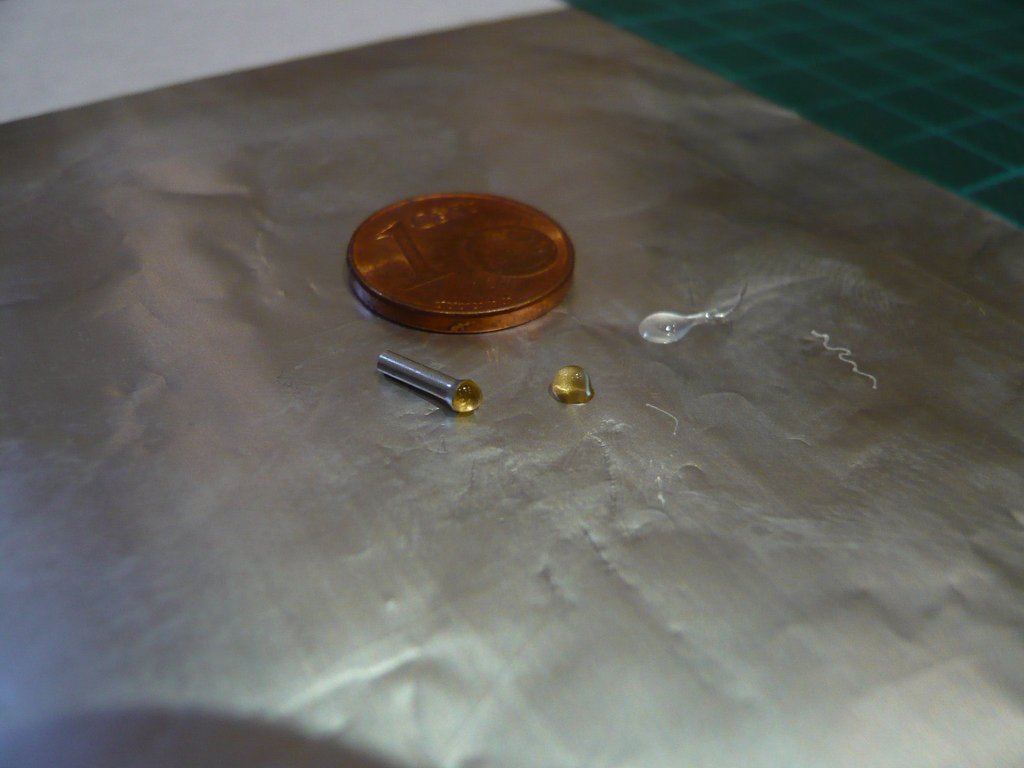
In the meantime I've got another
UV adhesive. The whitish drop on the right is from the
Revell Fix-Kit, and the other is an UV adhesive called
BONDIC, which looks a little yellowish, but otherwise has similar properties.
At first I only tried without LEDs to create a glass body by building up the adhesive in layers, which is quite feasible with a little practice. One just doesn't have to drip too much glue on, because otherwise it will run too wide before one can irradiate it, causing it to harden, so layer by layer.

One can also make clever use of the force of gravity by turning the sleeve immediately after the glue has been dripped on and allowing the drop to be shaped a little for itself, and only then irradiate it, which initially looked like this.
And with a little practice I managed to create this beautiful glass body.

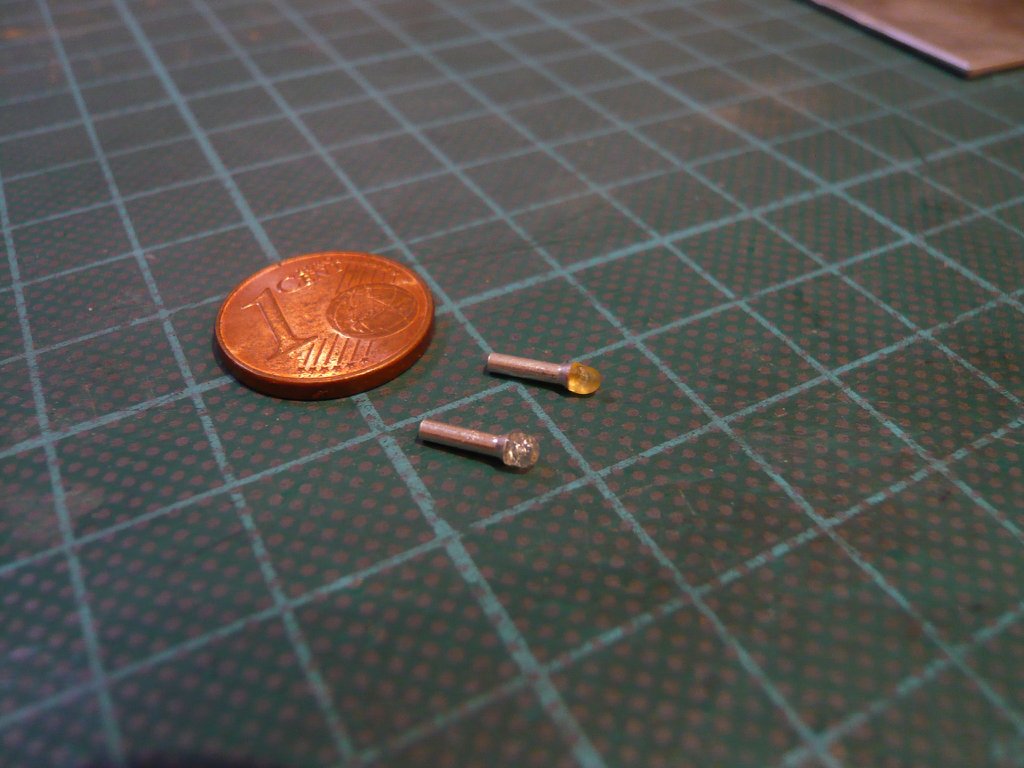
Then I've repeated the same procedure with an upright standing
LED Pure White (0401), so first a drop was dropped for fixing the LED,
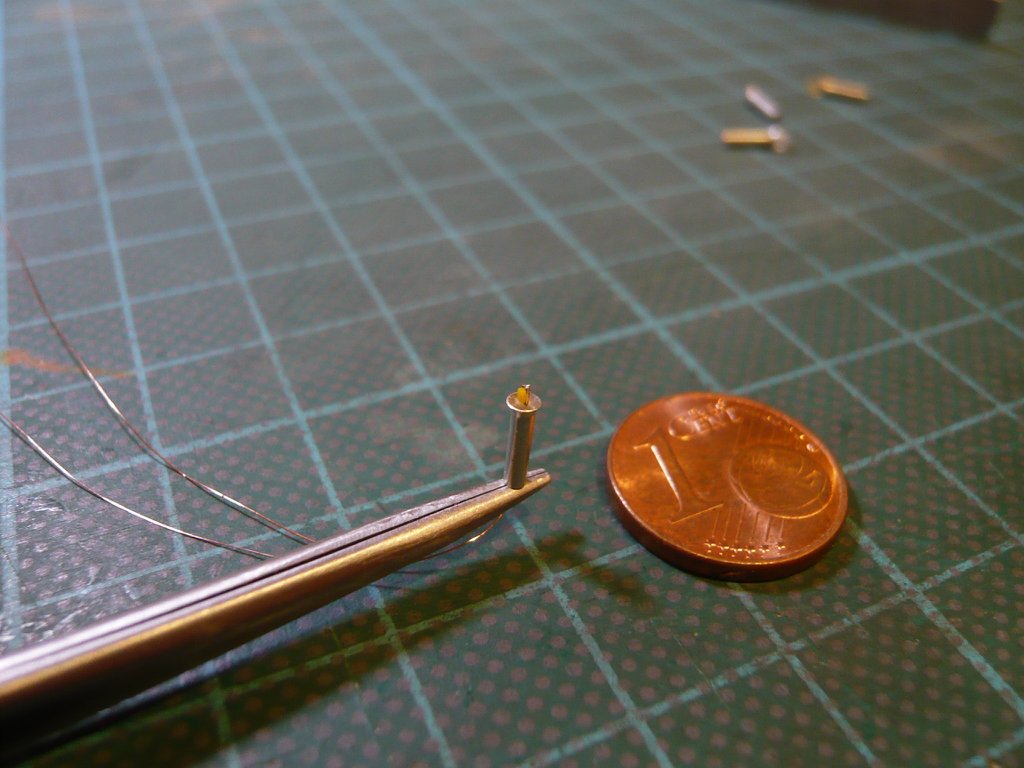
which was then cured with the
UV Pen,
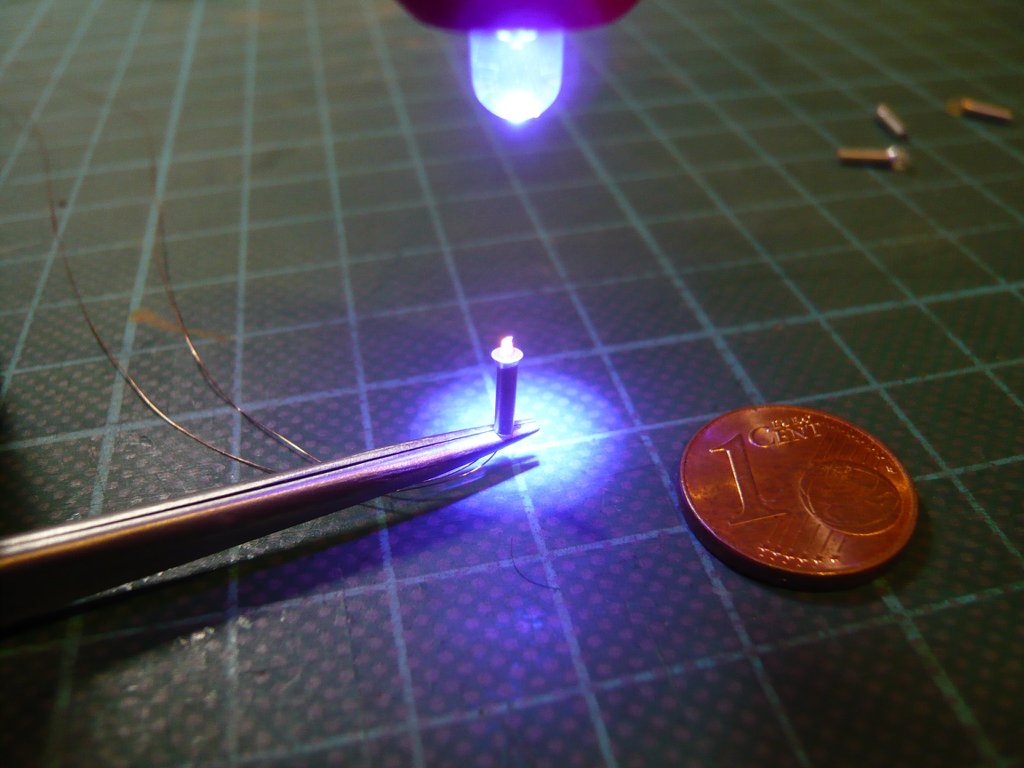
here with a finished glass body.