Hello everybody,
in the meantime I have started building the
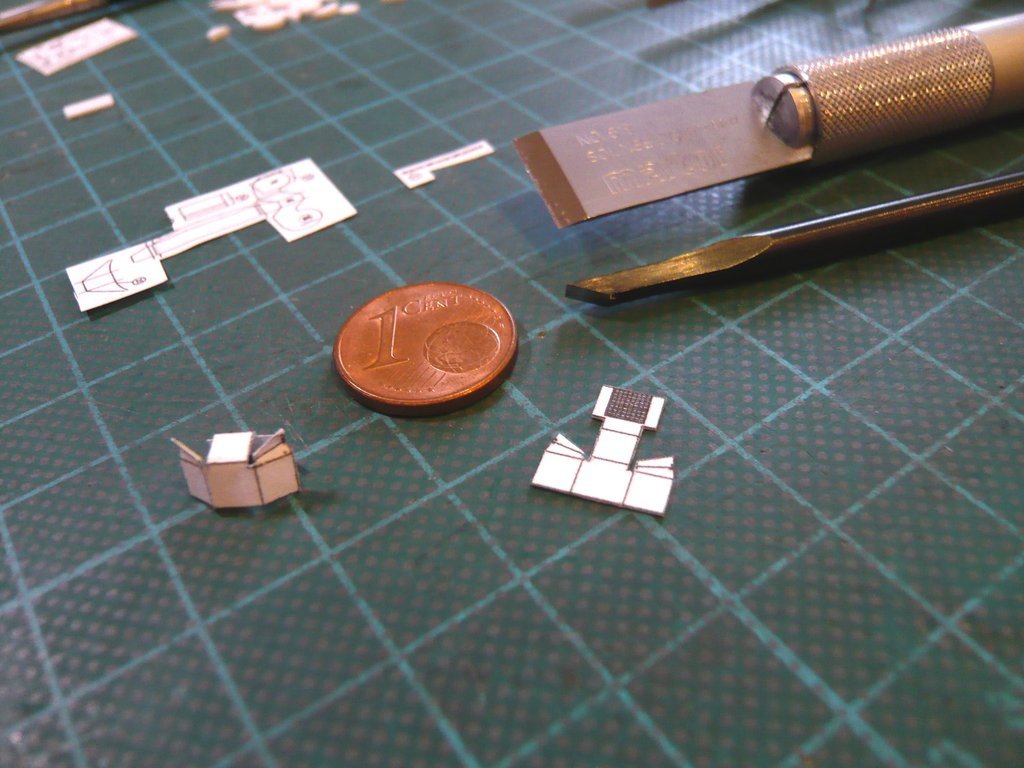
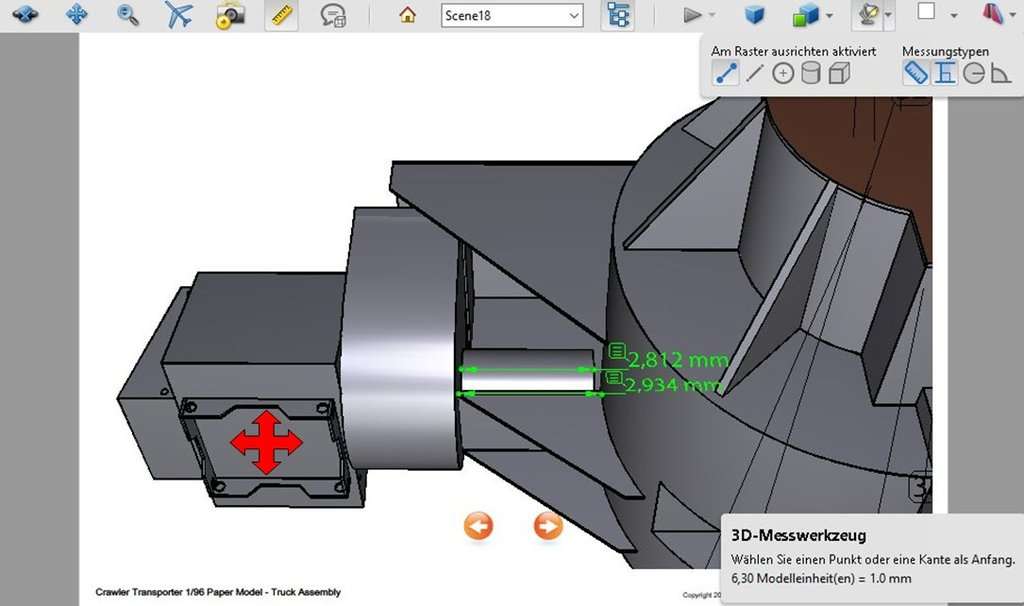
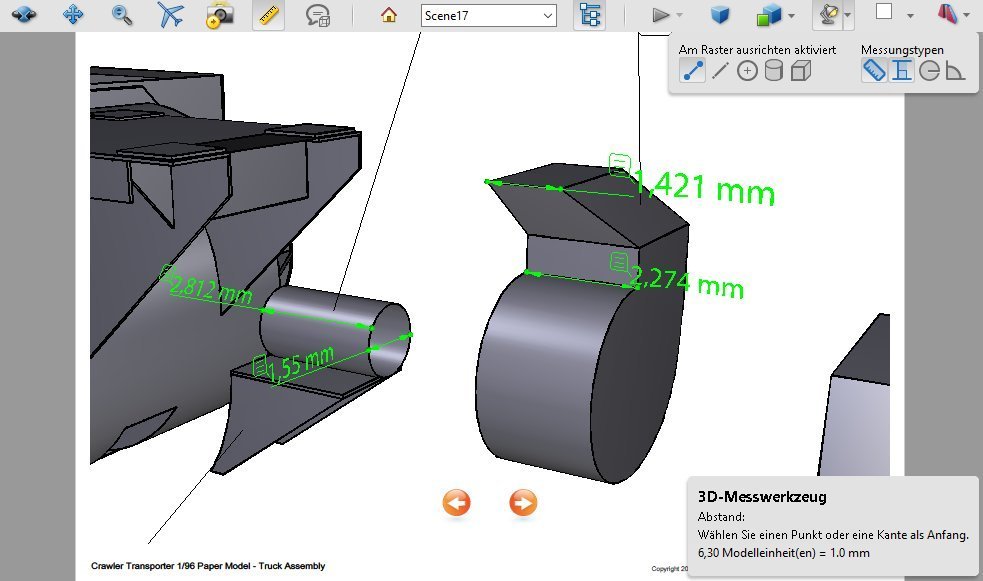
Fan unit (Parts 21-25), for which, as I said, at first I had a lot of respect, because the whole assembly is quite small and has an idiosyncratic and complicated shape, which is why I pondered for a long time about a workable solution that is still feasible, especially on my small scale (1/160).

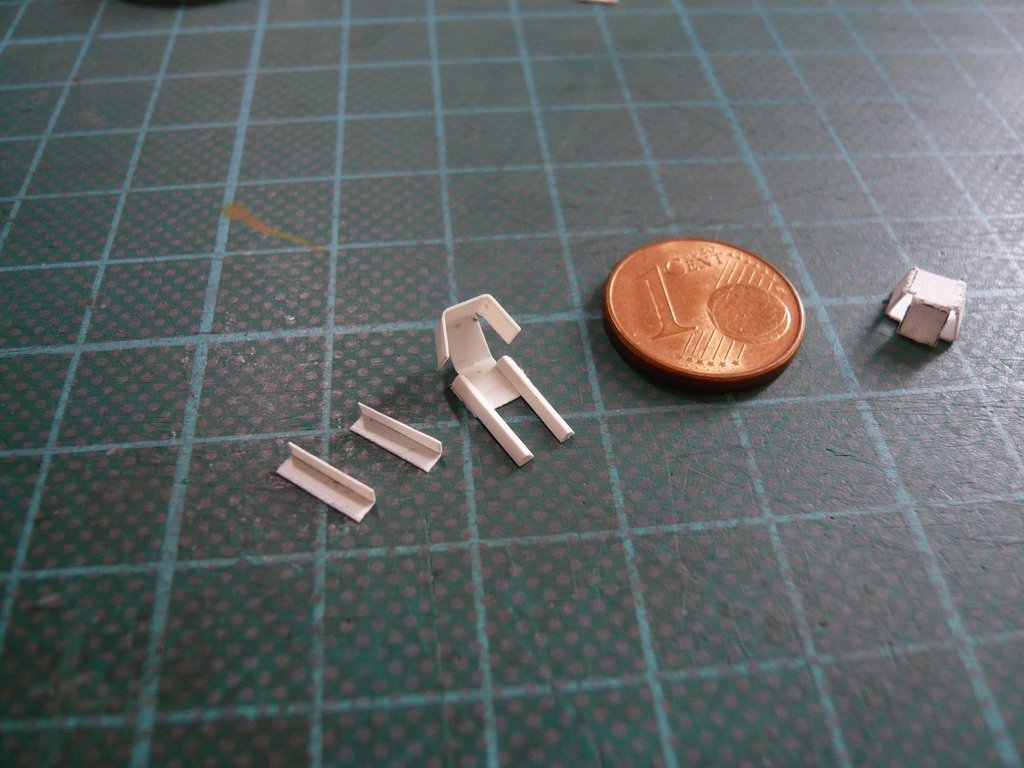
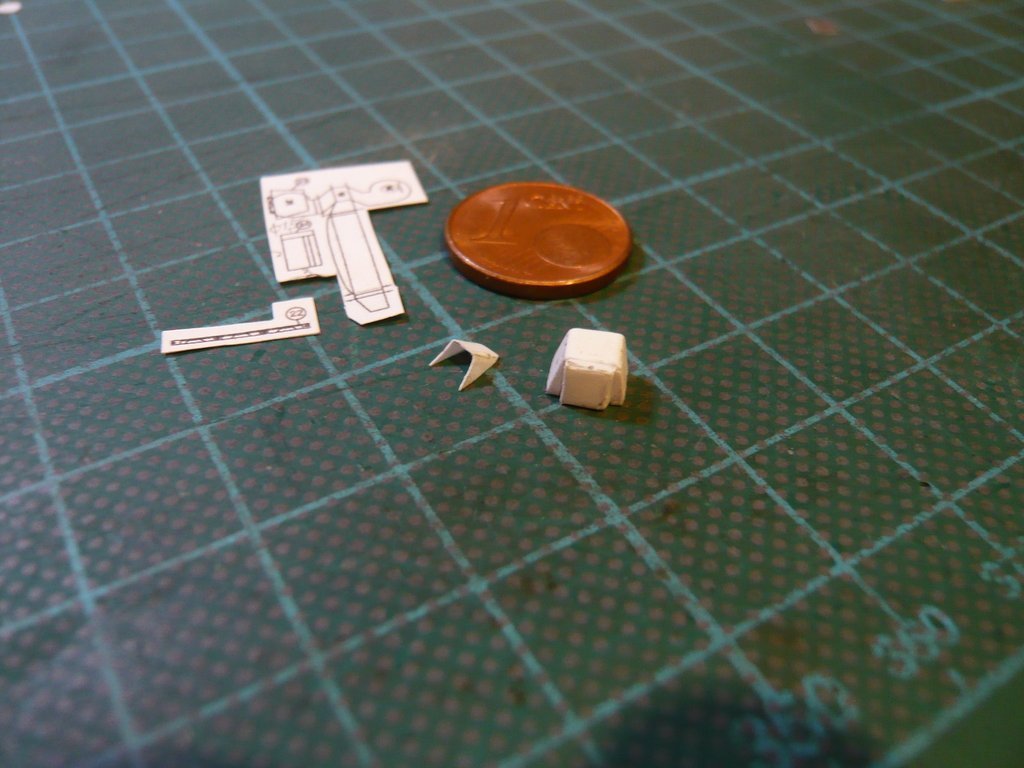
First I've started with the simpler-looking front
box (Part 21) and tried to fold it in the classic way out of paper and glue it (left in the image), but quickly noticed that the tiny angled corners would let hardly be glued cleanly, which is why I discarded this variant.

Then I glued the part onto
Styrene (0,15 mm) and punched it out.

But this
Paper/Styrene variant has also proven to be too complicated and unsuitable, since exact edges were even more difficult to fold, and the glued-on paper began to tear and peel off, wherefore I haven't even used the prepared angles for the corners.

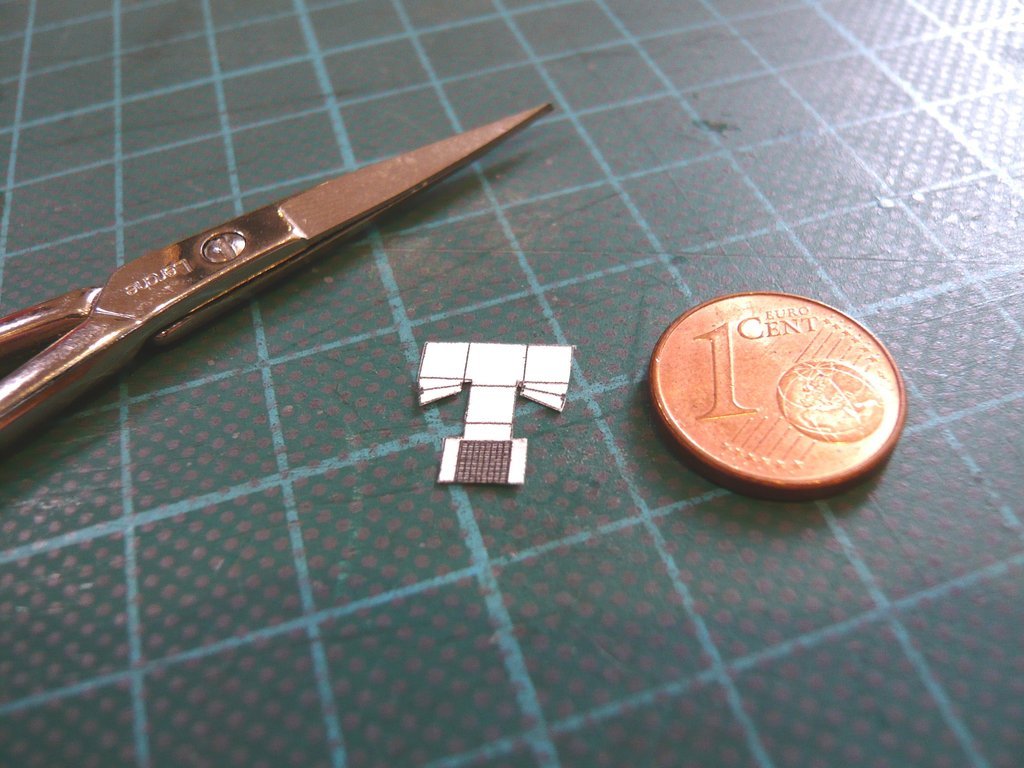
But famously there isn't just one way of doing it, and that's why I have omitted the sloping corners in the
3rd variant. As already with the
Gear case I've then again pierced the corner points of the paper template on
Styrene (0,15 mm), traced with a pencil and then carefully punched out the part.

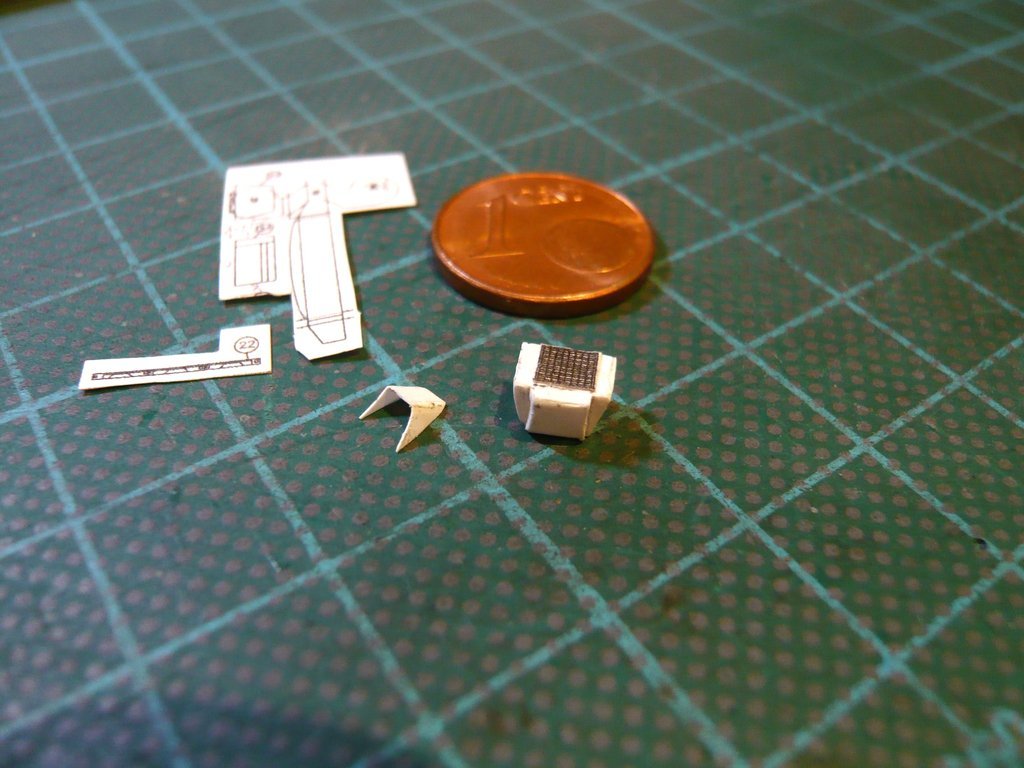
Then I carefully folded the main edges and glued in small triangular profiles to support the gluing of the sloping side walls, what has proven itself again.

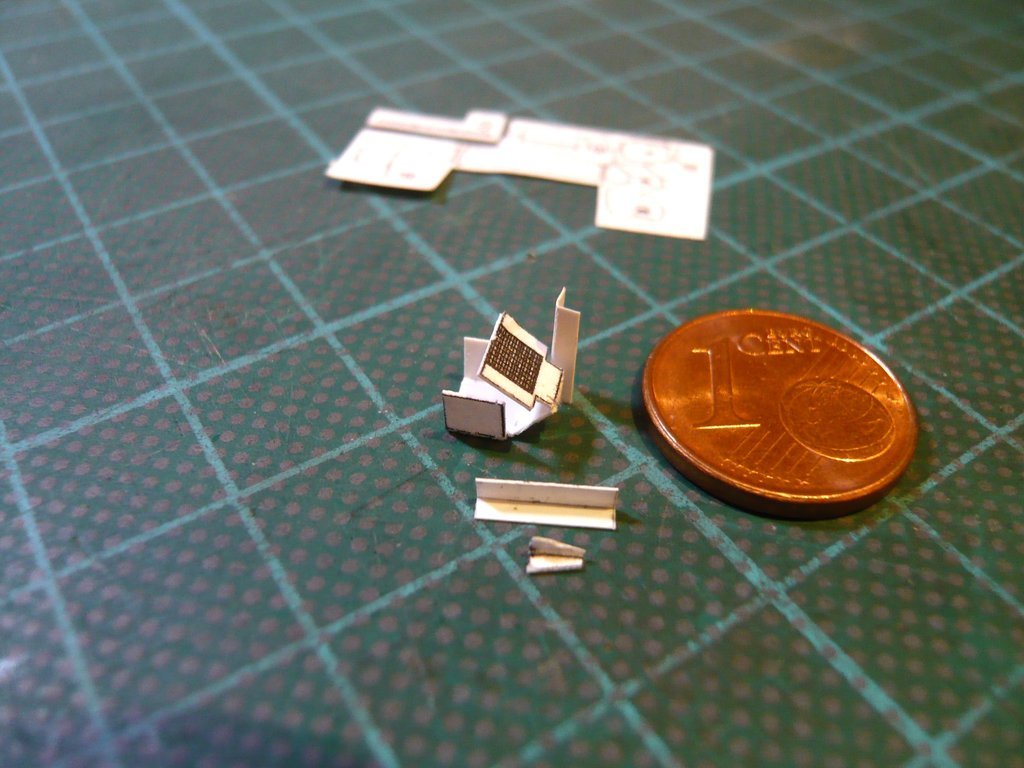
Then the two angle strips could be glued into the front corners with sufficient overhang for handling, for which purpose the box was fixed again with super magnets.

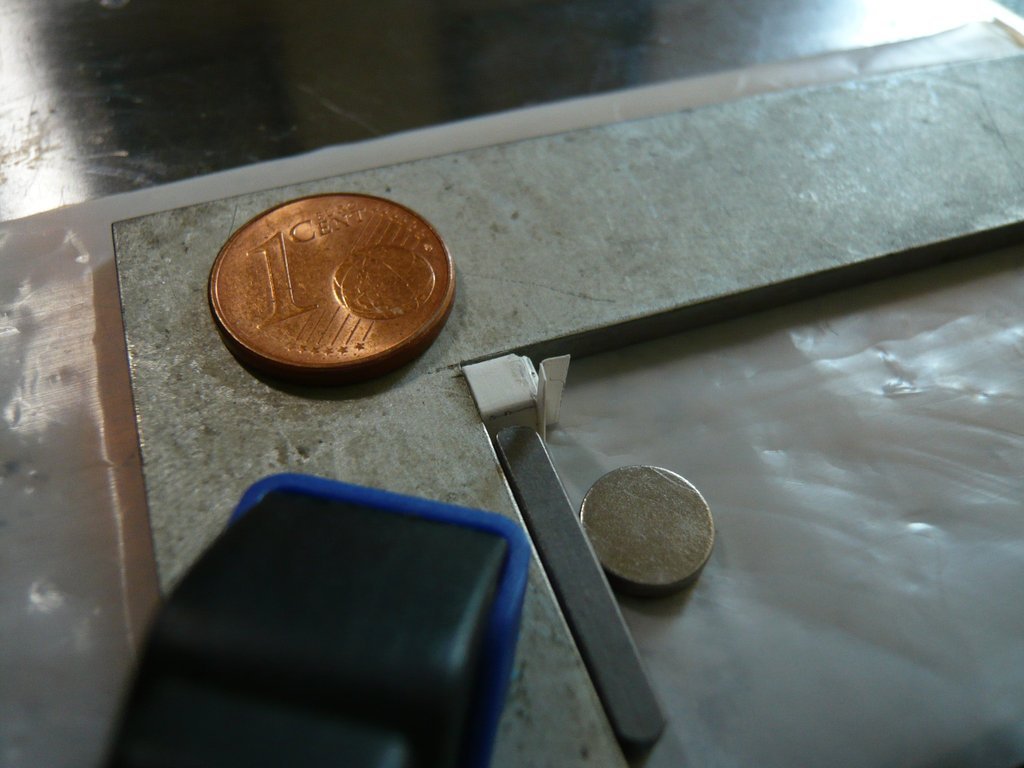
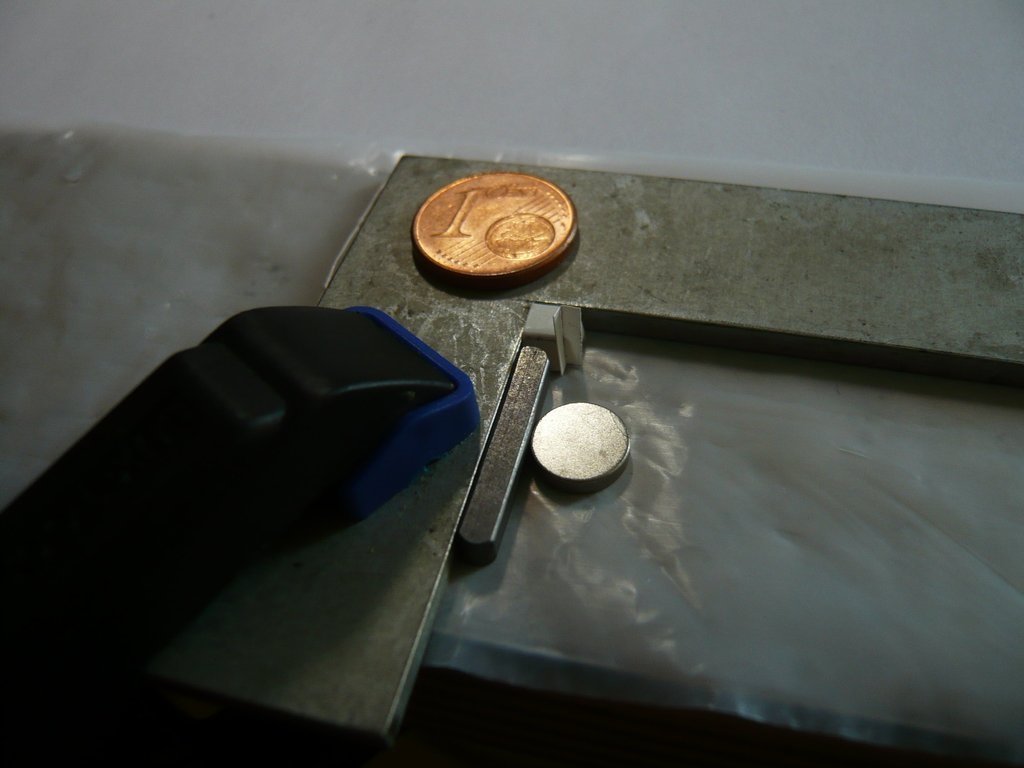
For gluing the other angle I had to change the clamping accordingly.
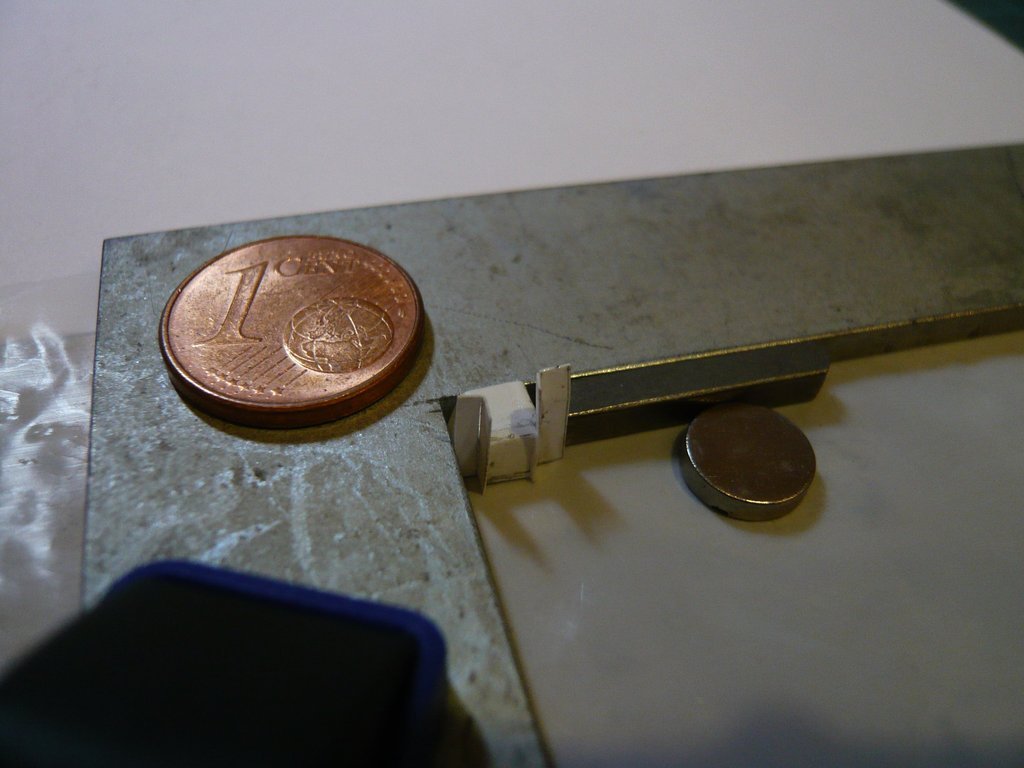
Finally, the protruding parts of the angles were carefully cut off with the razor blade and the edges smoothed.
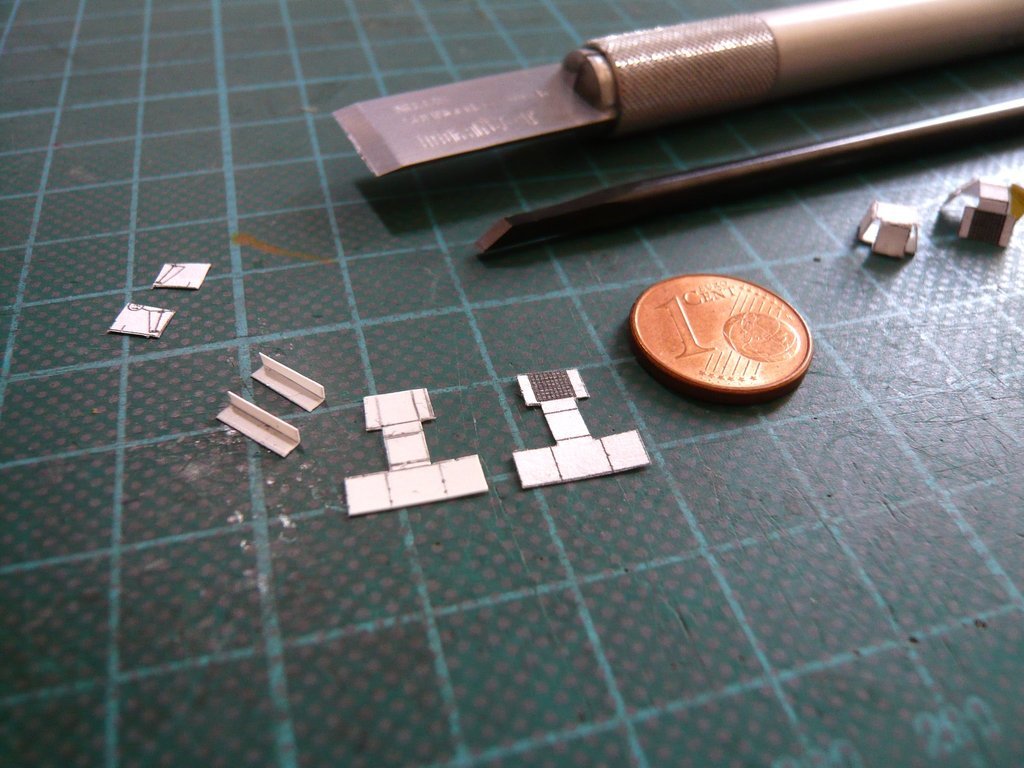
last but not least, I also still glued the inlet grid to the underside, for a better look.
Now only the narrow edge strip around the grid is missing (
Part 22, red arrows),
 Source: Micro Artwork, Mischa Klement (cyana)
which I will glue later, when this box is connected to the tricky
Part 23, which is next in line, because it would only interfere during the final assembly.
 Source: Micro Artwork, Mischa Klement (cyana)