Hello everybody,
after longer being busy with different
Crawler assemblies now a change of scene, and thus after several earlier attempts back to the
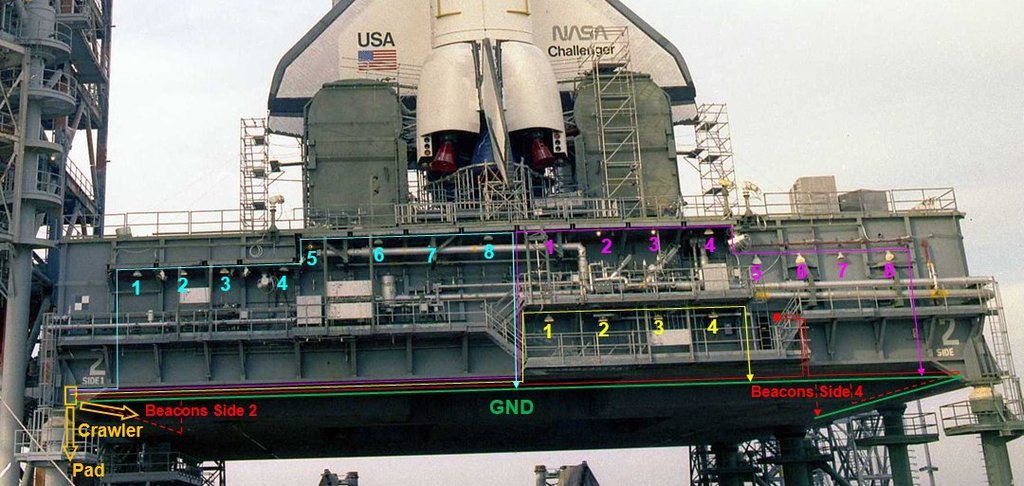
lighting of the MLP to finally bring light into the darkness on the
Side 1.

After I finally had decided on the cabling interface between the
Pad and Crawler at the
Pedestal 6 next to the
FSS tower, I've defined once again the last division of the
LED circles more precisely, based on my
STS-6 reference photo.

 Source: retrospaceimages.com (STS-6)
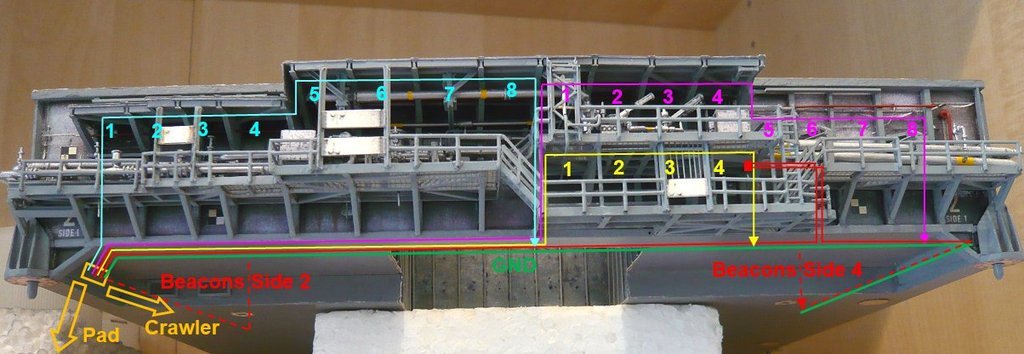
And this is exactly how it looks on my
MLP.
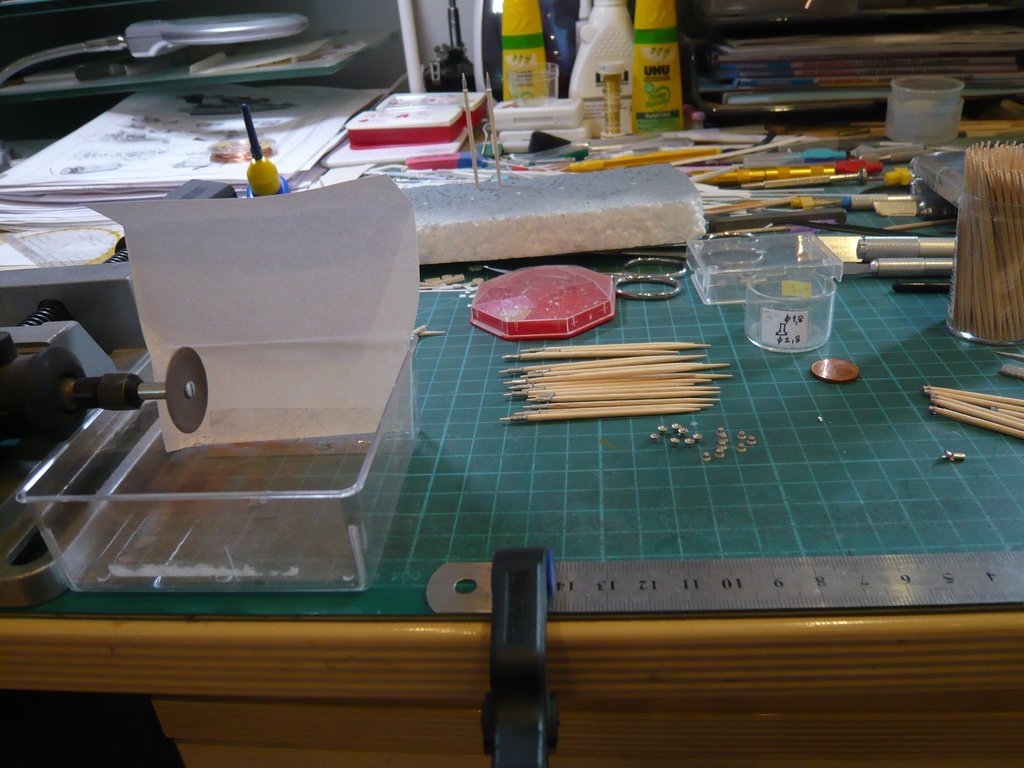
So I've rummaged out the utensils from that time and tried to gradually recapitulate the handling steps, which took some time.

At first, however, I proceeded rather naively, held the toothpick with the impaled ferrule in my right hand, held the tip in my left hand with tweezers and then carefully began to separate with a slight advance, which initially led to some losses, Bang - up and away ...

To avoid that, I then put a kind of
collecting cage under the cutting disc and held the tip with a pair of pliers, which then worked better.
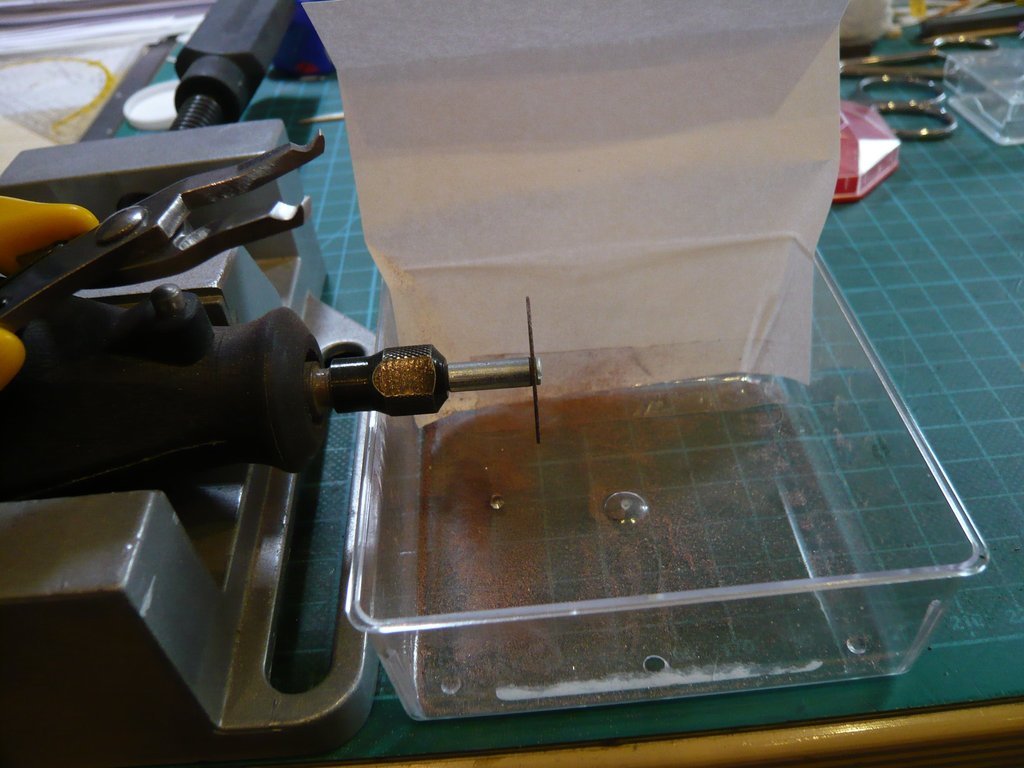
Then I've searched my
URL-Screenshot directory of my
Building-report, which is meanwhile 120 pages long, and came across my
Separation technique from the previous year, which had proven itself, because it was much more solid, but unfortunately no longer in my mind ...

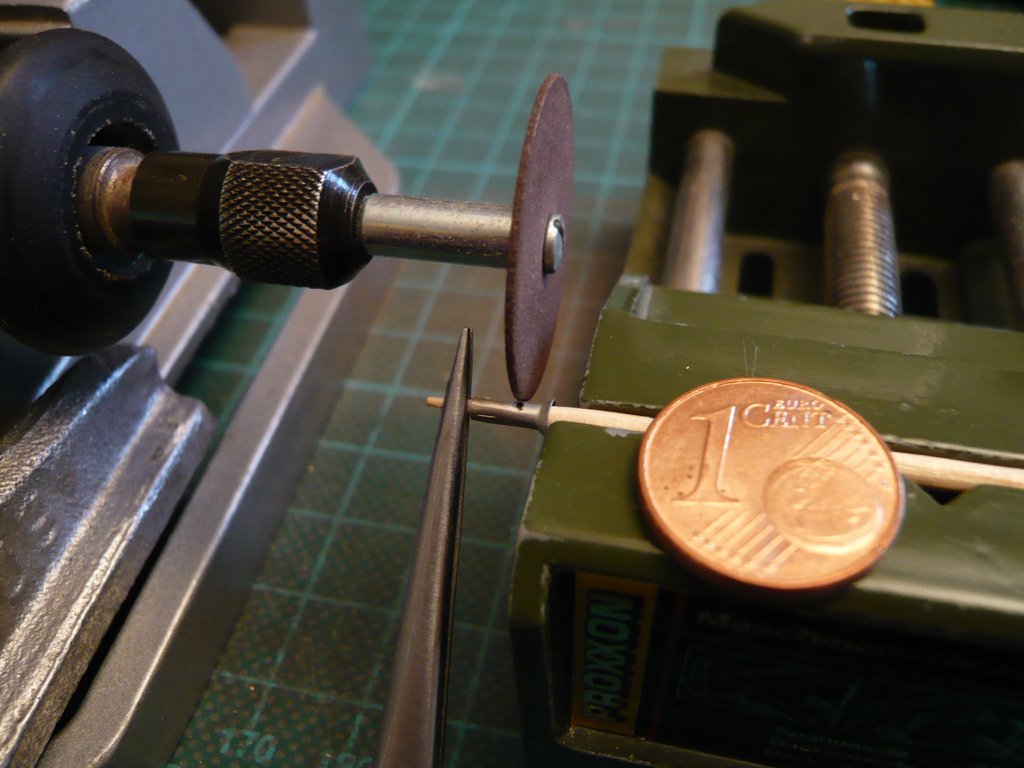
Back then I had clamped the toothpick with the impaled sleeve in a small vise, held the tip of the sleeve with pliers, and then carefully pushed the vise towards the cutting disc, which worked well.

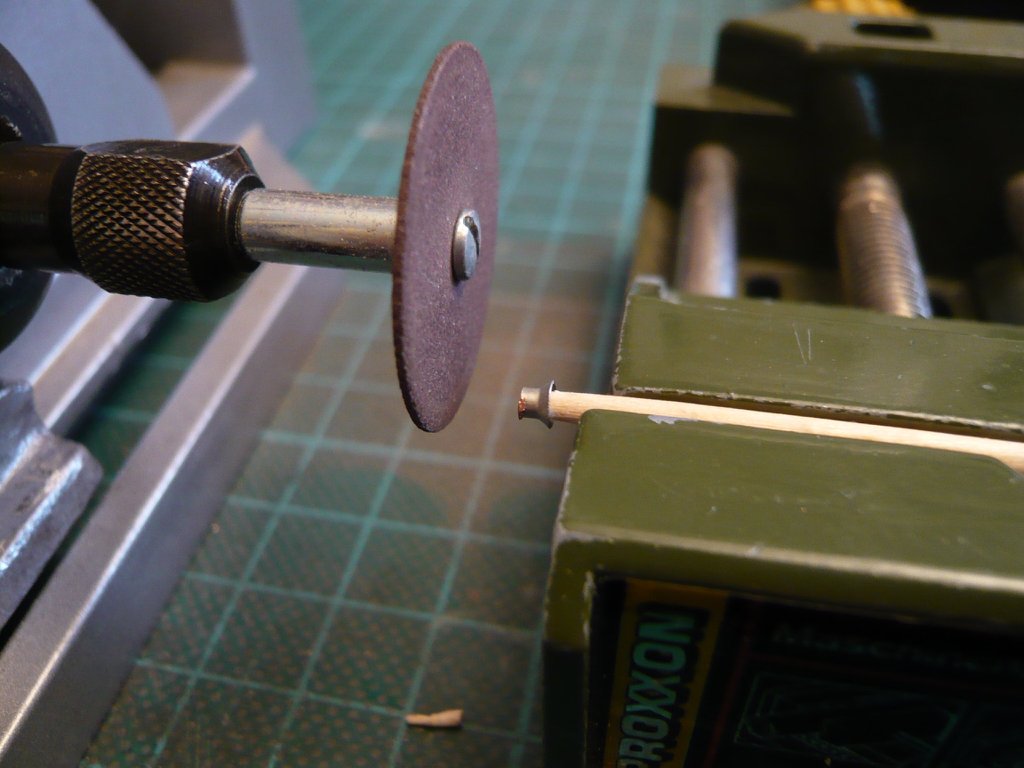
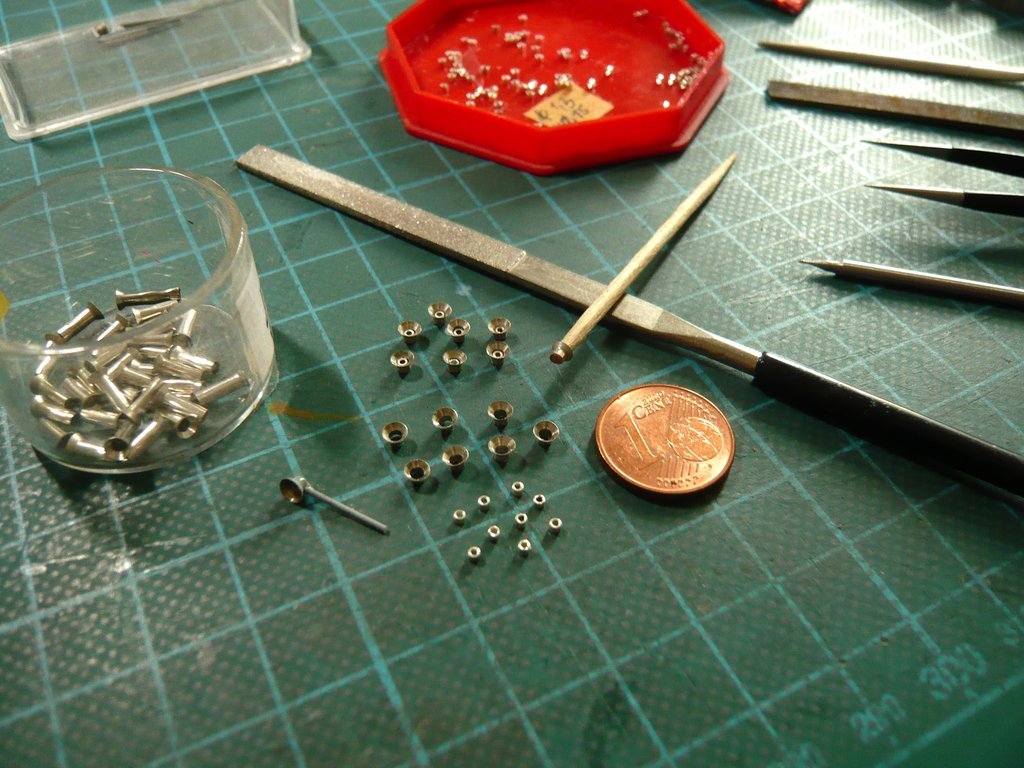
After the separation, the sleeves must then be deburred by carefully sanding.
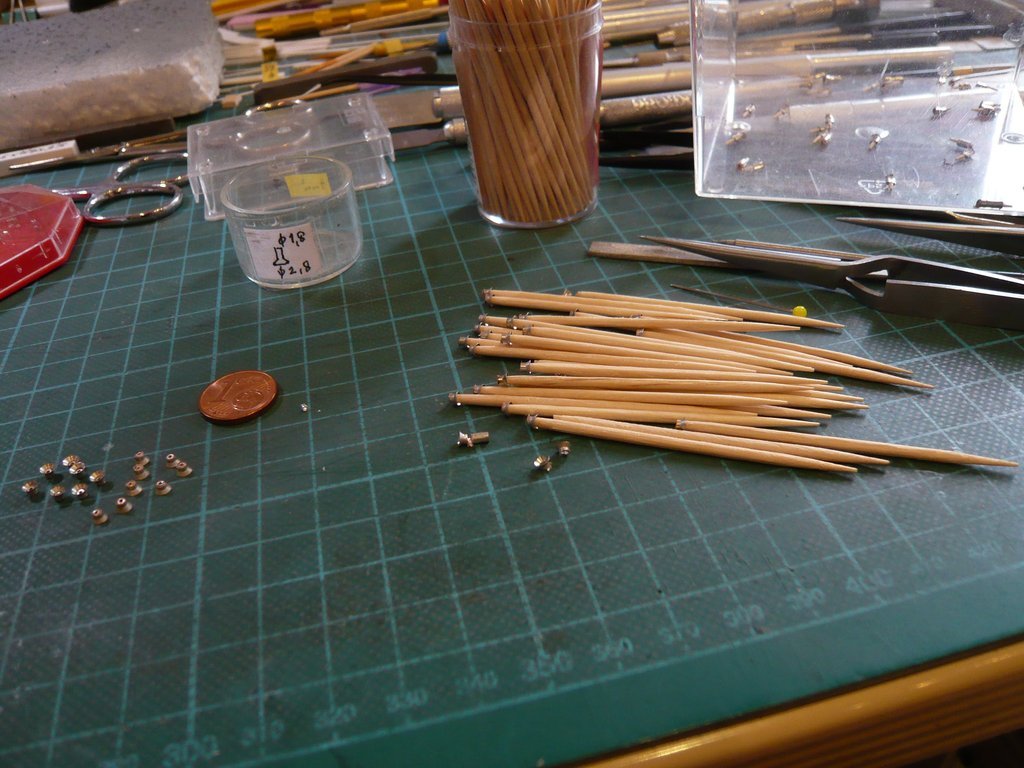
Then a small
bead (Ø 1,3 mm x 1 mm) is glued with CA into each of the shades for better guidance of the LED wires,
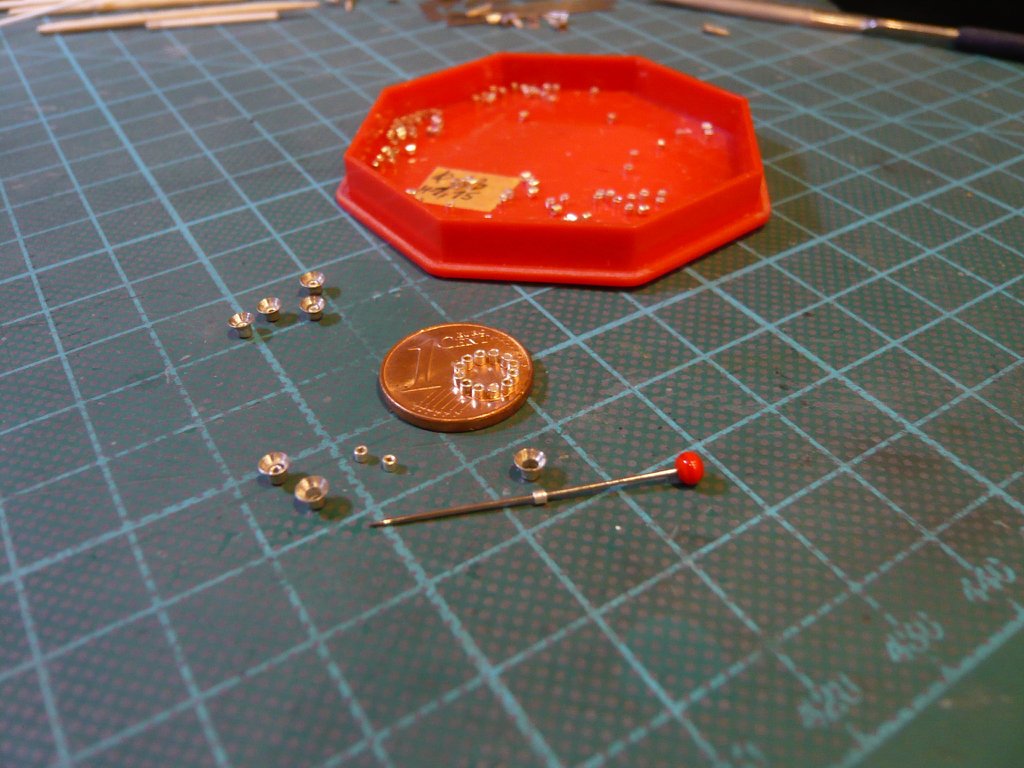
what I'm going to do next.

As a lesson from this dilemma, I have meanwhile begun to add matching keywords to my
URL-Screenshot directory to create an smart
Report-Index, what should need some time, so that I can directly search for it in future research and get to my goal faster.

After painting the
20 lampshades required for the
Side 1, the
LED wires are threaded into them, followed by gluing the LEDs in the shades with
Bondic UV adhesive and thus sealed at the same time.

Together with the appropriate dimensions I then send them to my friend Arno, who will then professionally solder up the
4 LED circles, which I can then lay and test on the
Side 1.

