Hello everybody,
and therewith on to the
Final Countdown!

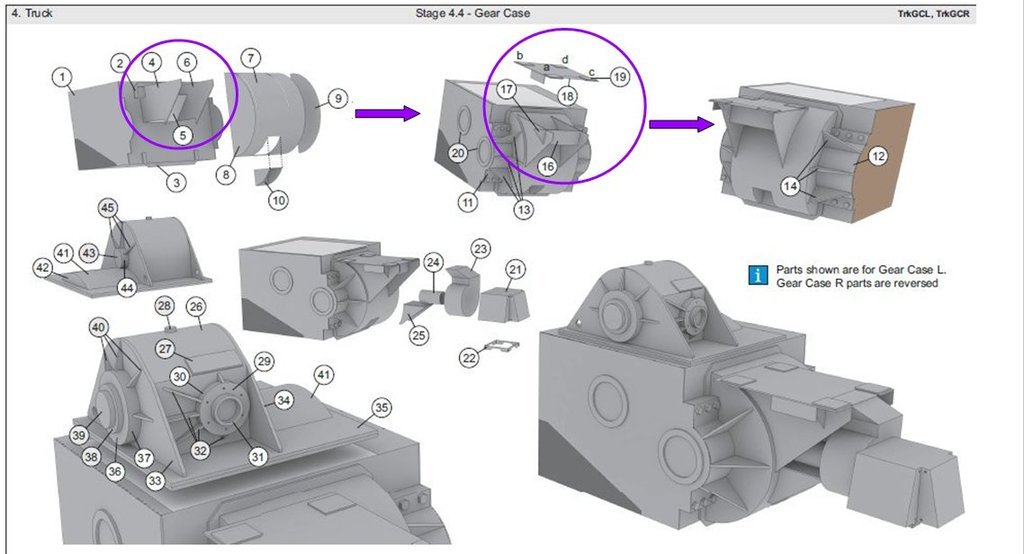
As one can see again in the following image, the
substructure of the platform in the Paper kit is designed as a kind of
plug-in connection, which gives the thin paper a certain stability which I've denied myself because
Styrene (0,2 mm) is stiff enough and slitting the small parts would be difficult.

Likewise, the
Cladding (Part 7) should be slotted and the
Platform supports (Parts 4/6) should be inserted into these slots and glued, which appeared for me unnecessarily complicated.

 Source: Micro Artwork, Mischa Klement (cyana)
That's why I've modified the supports and cut out the contour of the curve so that I could glue it directly onto the cladding.

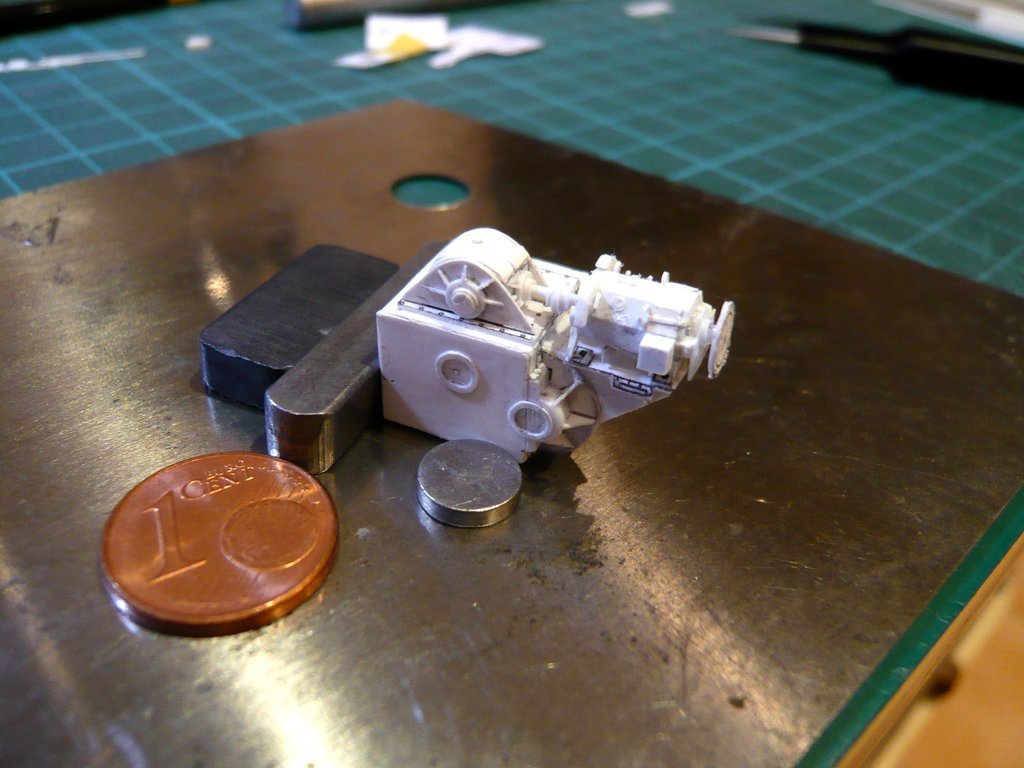
With the
7 Mini disks (Ø 0,6 mm x 0,2 mm) I want to try to indicate the screws on the small side claddings.

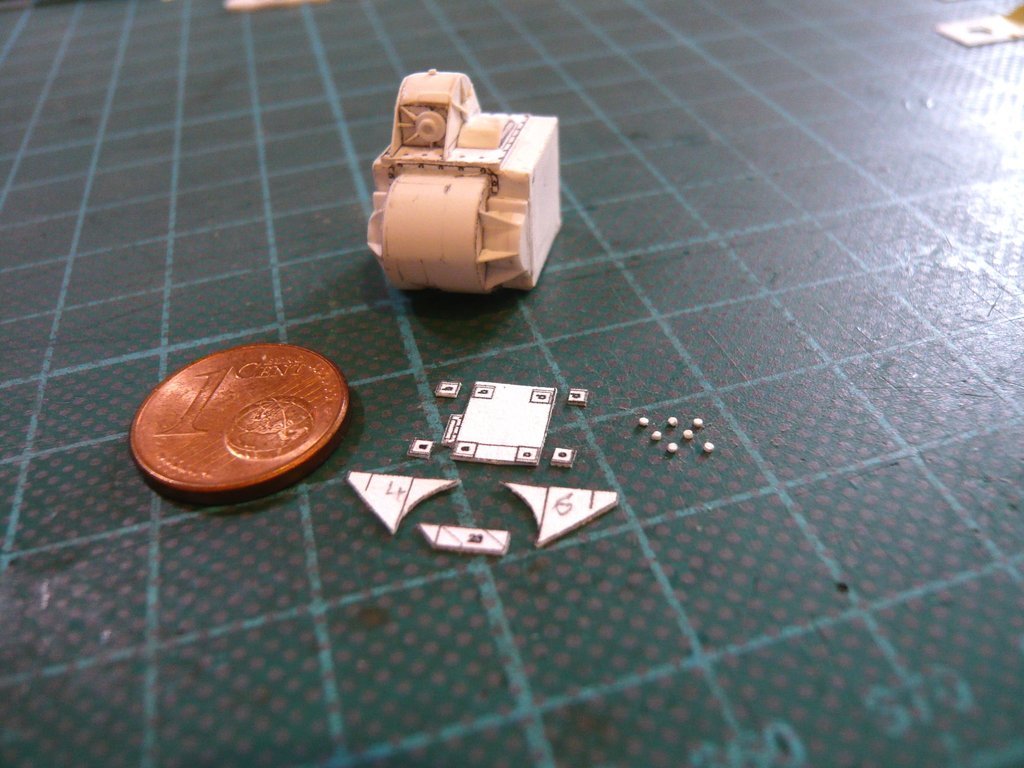
After the 4 small plates for the motor feet were glued to the platform plate, this had to be fixed again accordingly for the secure gluing of the supports,
with which the platform was completed.

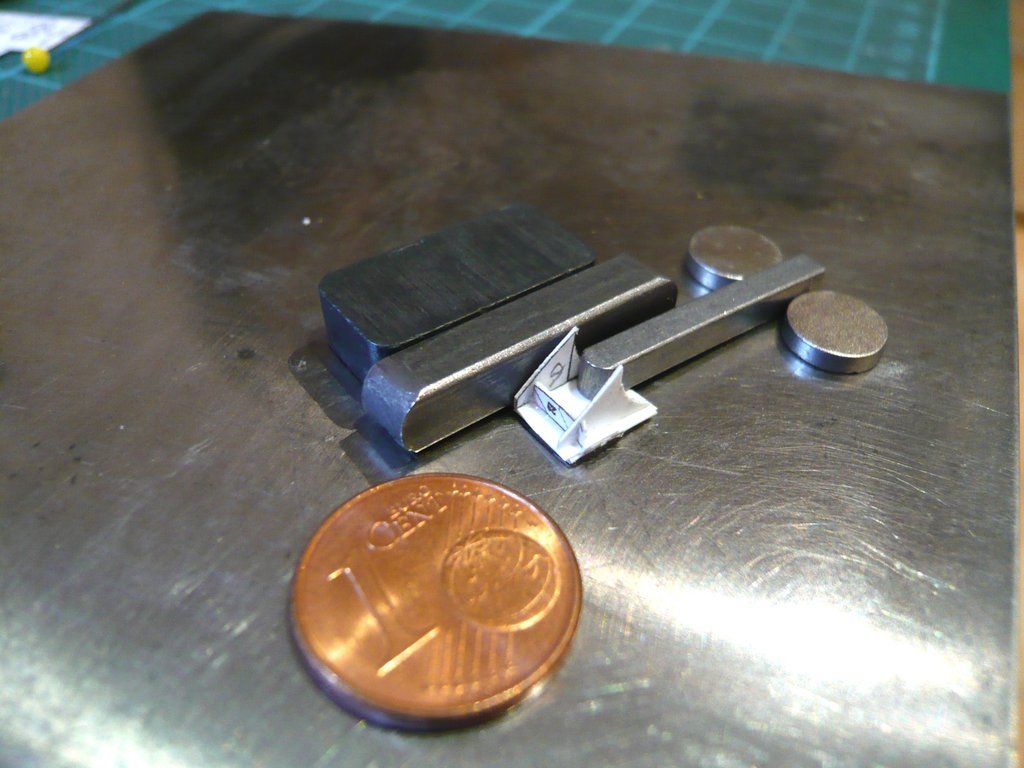
Then the platform could be glued to the case cladding.
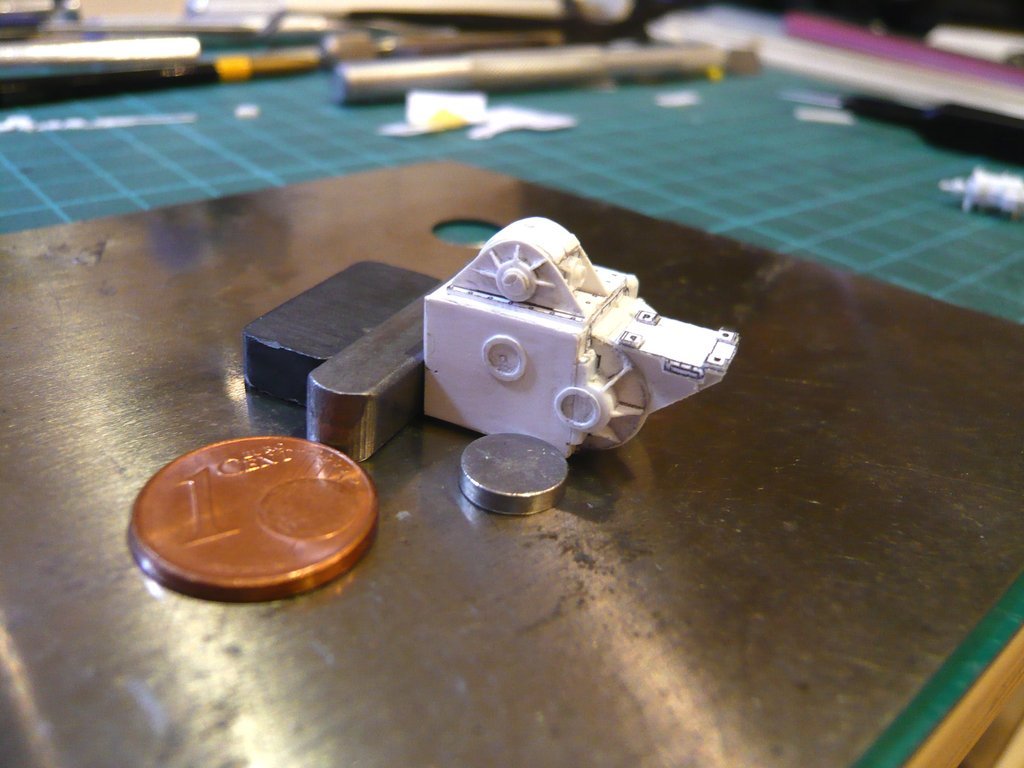
And then came the exciting moment of trying on the
Propel motor on the platform, whose drive shaft, to my surprise, fitted perfectly into the socket of the dome-shaped attachment.

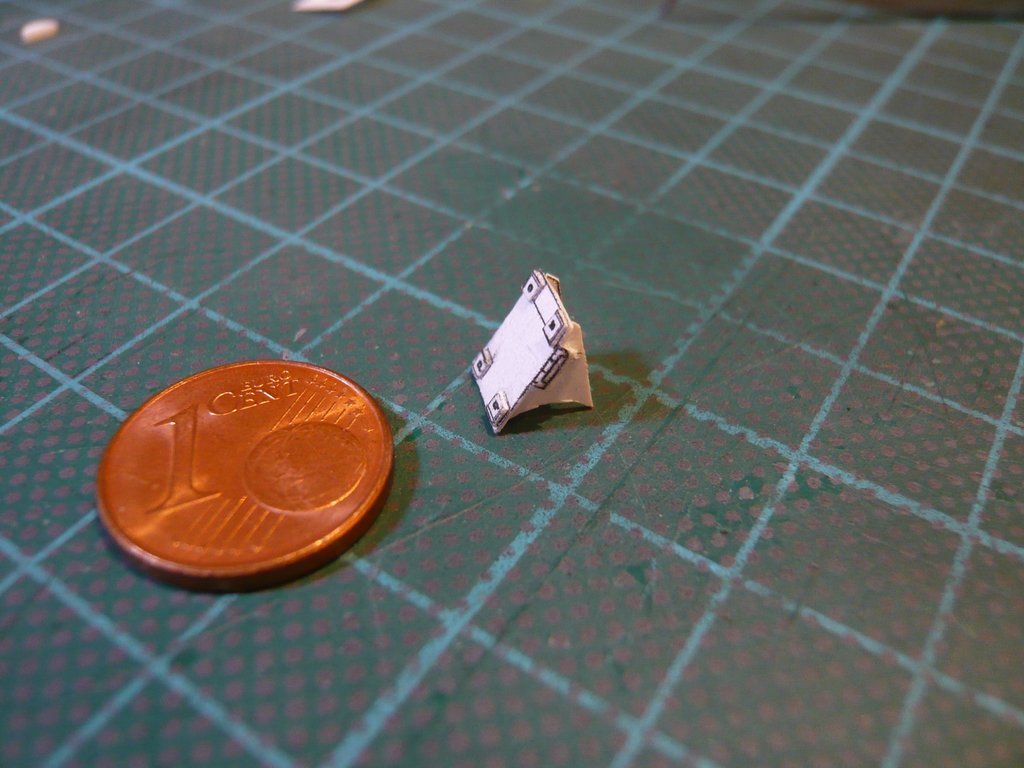
On this image one can also nicely see the
3 screws on the base of the small cladding.

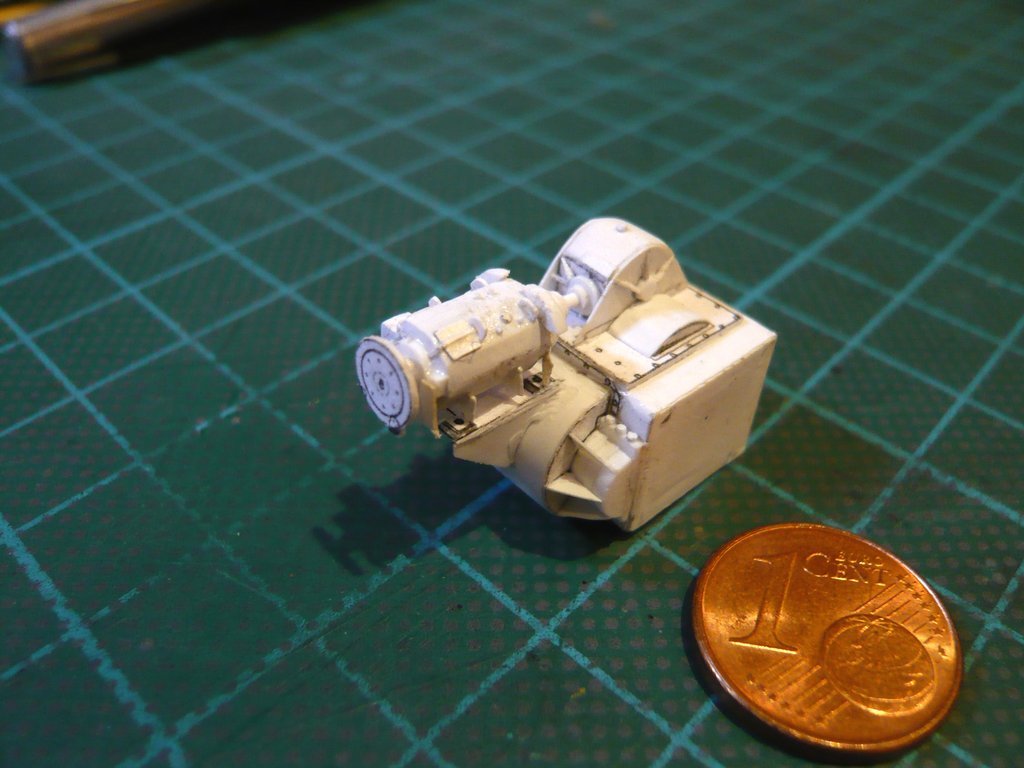
And if I now calmly make me realize the size of this imposing couple once again next to the
Euro Cent,

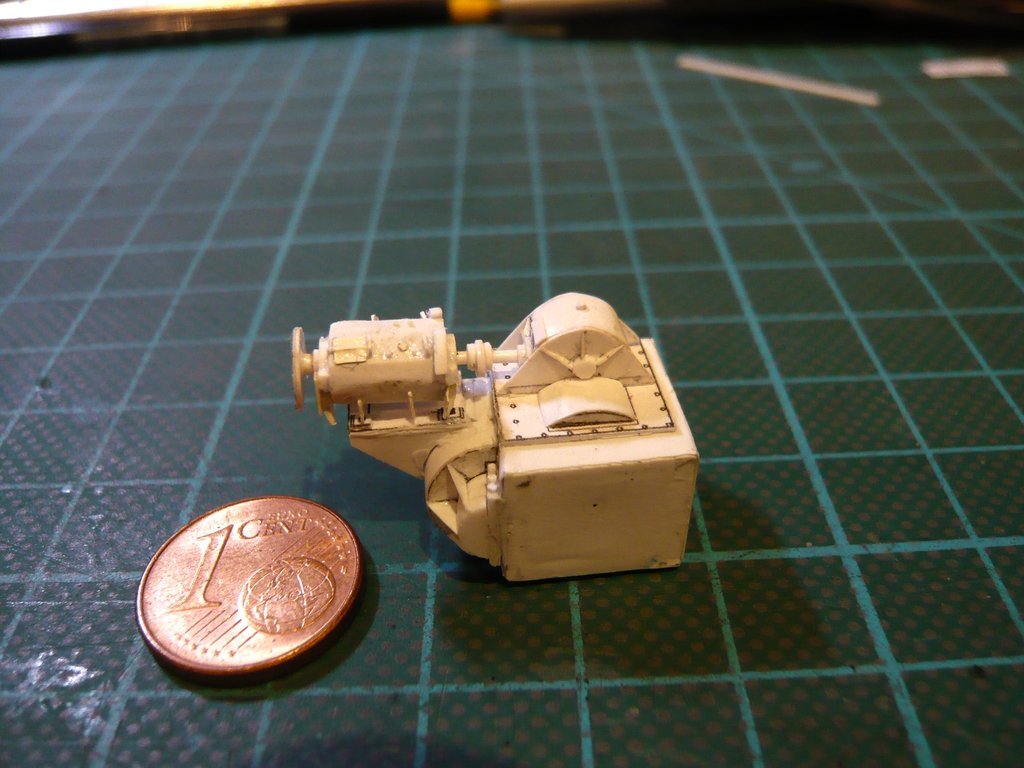
then a small feeling of satisfaction and also proud of the result of my work creeps over me.

