Hello everybody,
the next step was filing down the lampshades, which had been cut off but still sitting on the toothpicks, to a length of
approx. 1,8 mm, as well as the subsequent deburring.

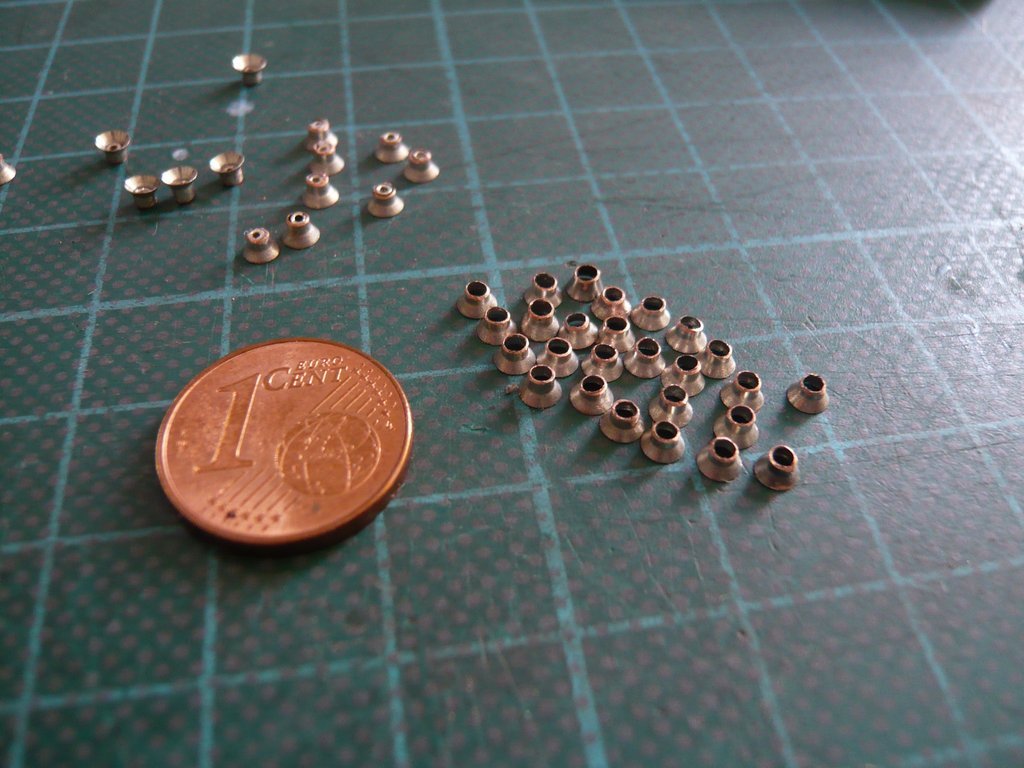
Since the small
beads for protection and better guidance of the
LED wires were glued in with
Pattex-CA, I have put a
Teflon foil underneath as adhesive protection again in the tried and tested way.

The lampshades could only be held in a
scissors tweezer to glue them in,
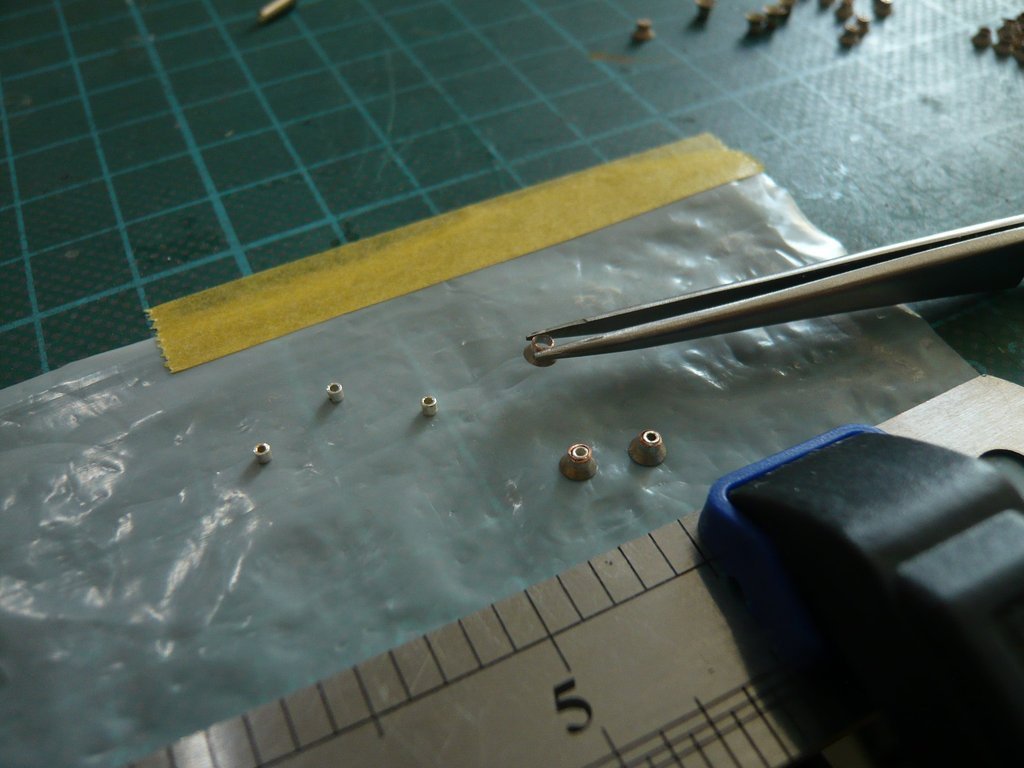
and in this position could be carefully dabbed with CA on the inner edge with a
acupuncture needle,
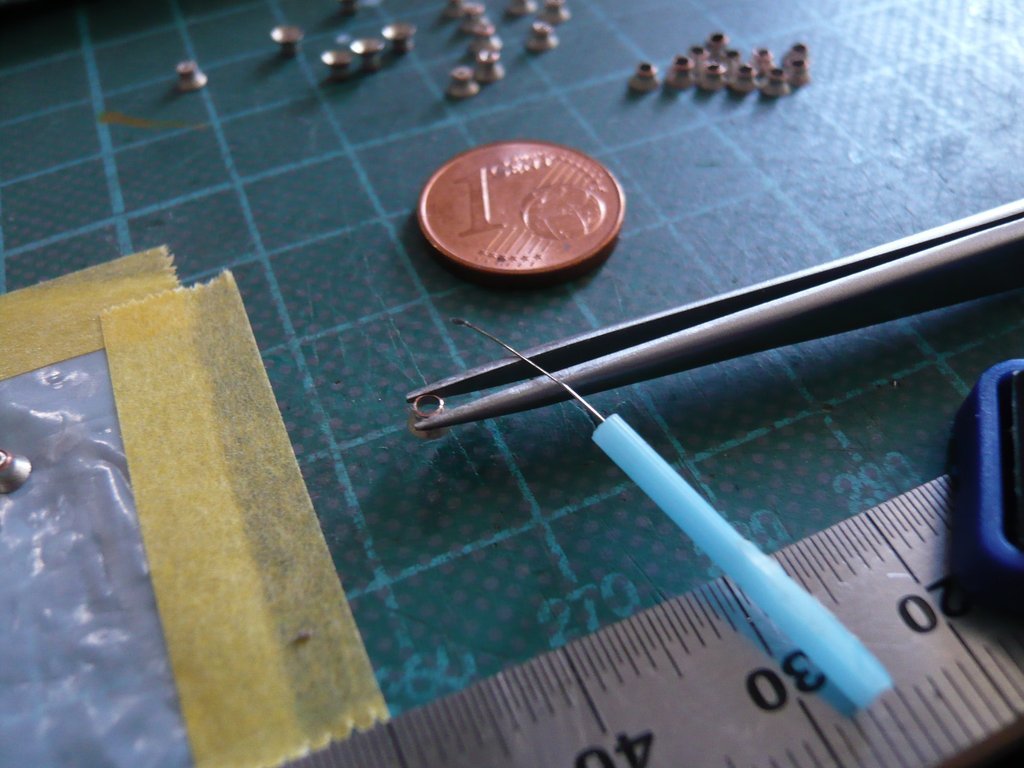
and then to put it over the upright standing beads, what had to work at the first go,

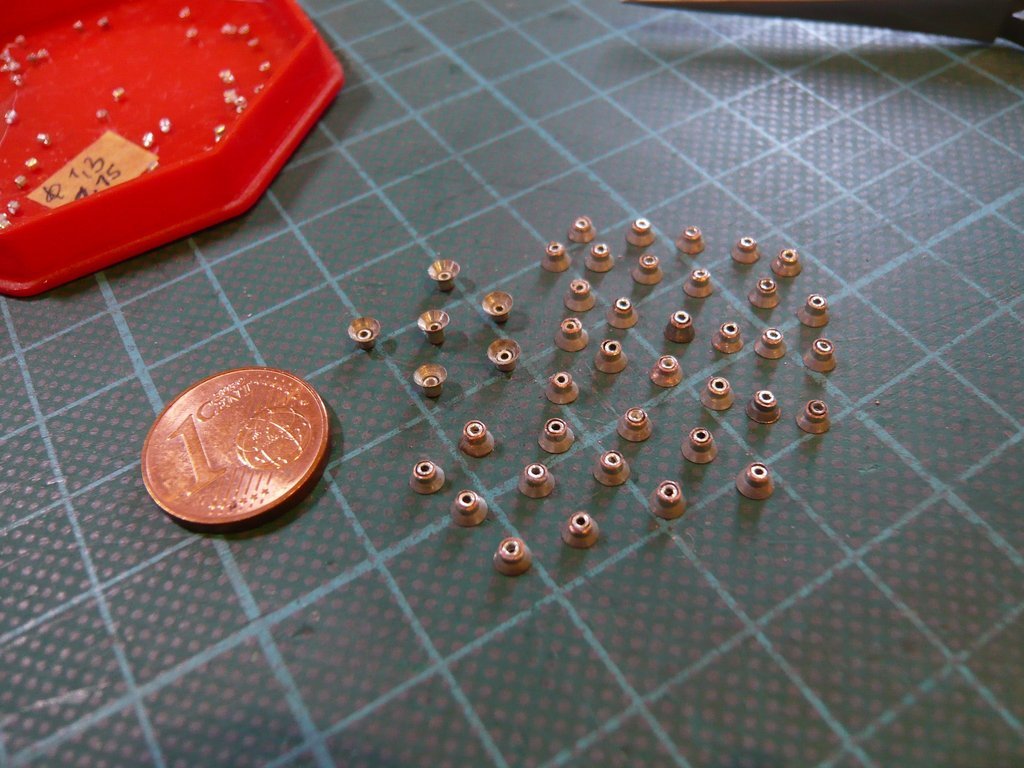
which, with a few exceptions, also succeeded.


Then the shades were turned upside down and pressed onto the top with the end of the cutter holder in order to level out any minimal overhang of the beads.
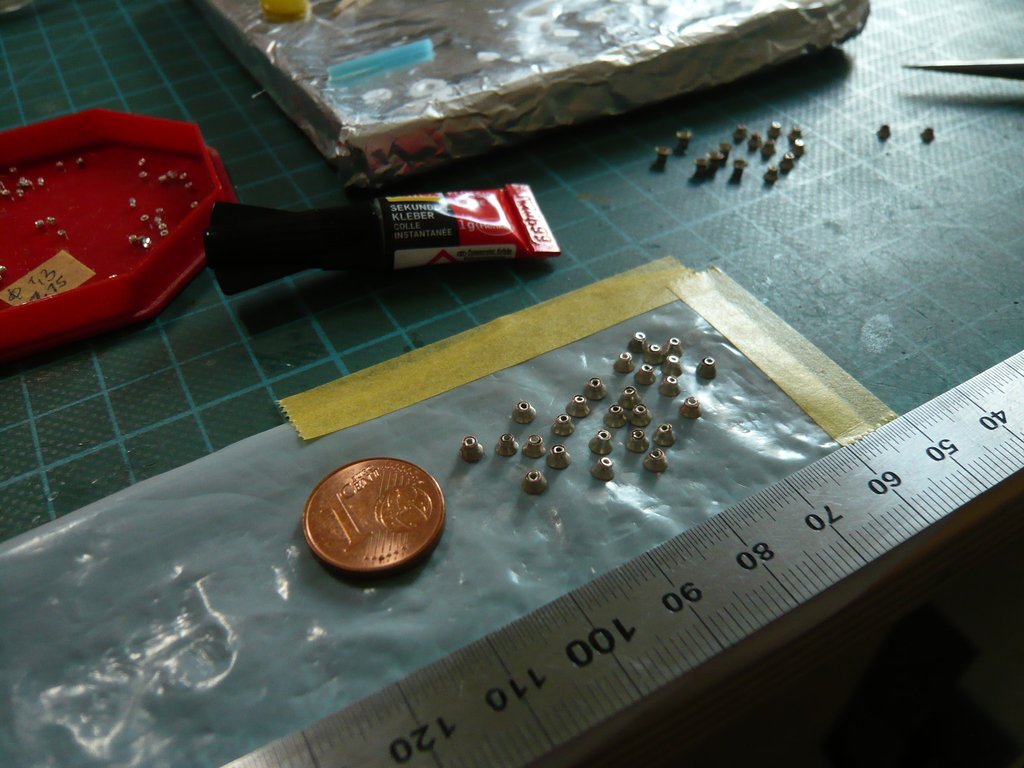
With that the preparation for the upcoming airbrushing was almost finished.
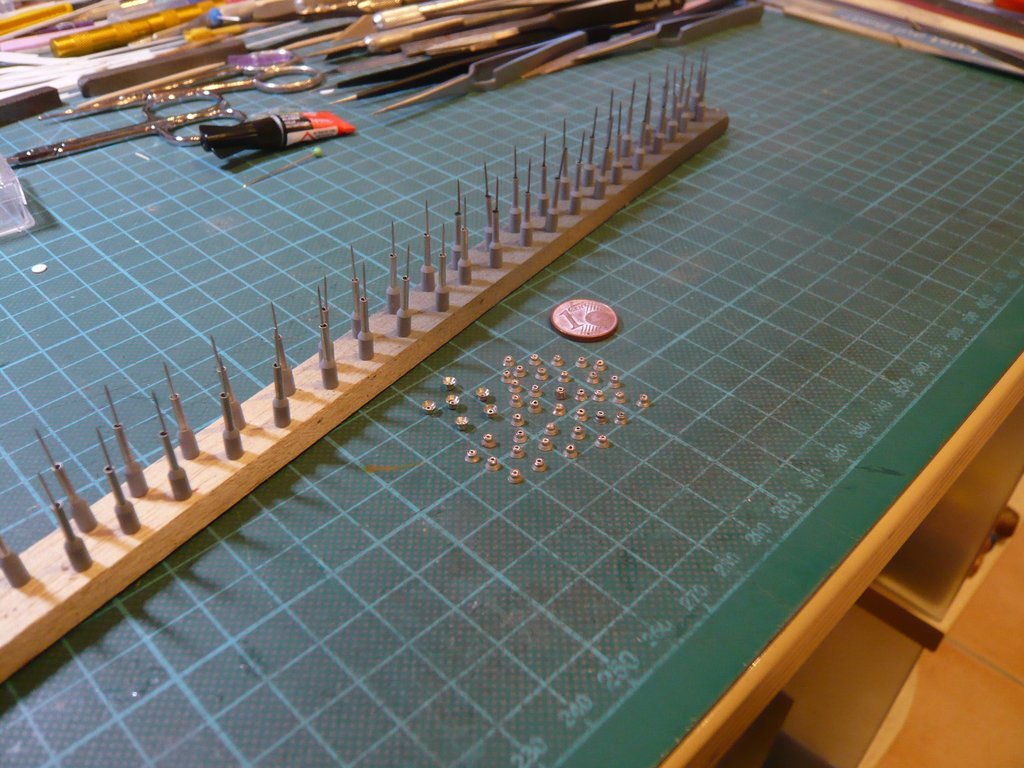
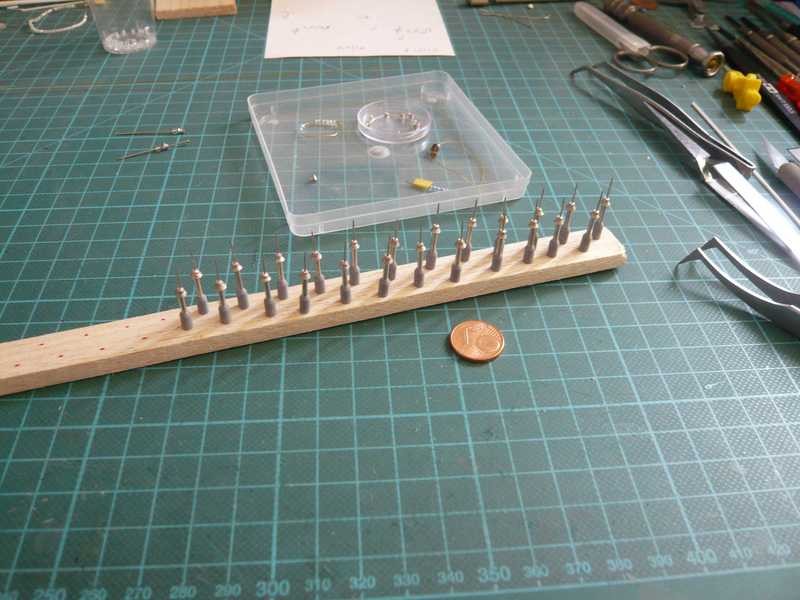
After I had found my well-stowed
needle ledge from the first paint job, only the paint residue on the tips had to be removed, otherwise the needles would not have fit through the beads.
And in a small box of course I've kept the
ferrules with plastic collars,
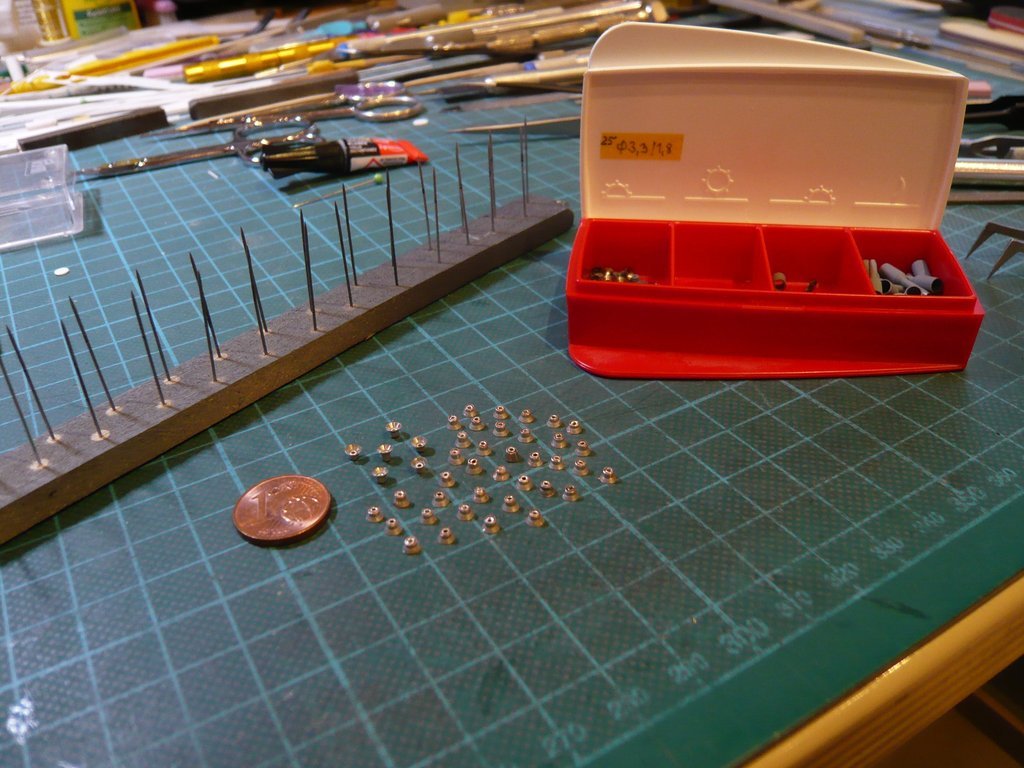
which were now threaded onto the needles as spacers to prevent the shades from sticking to the Balsa ledge.

Since it was already foreseeable at that time that I would have to paint further
lampshade series, I had already marked further slots in wise foresight.

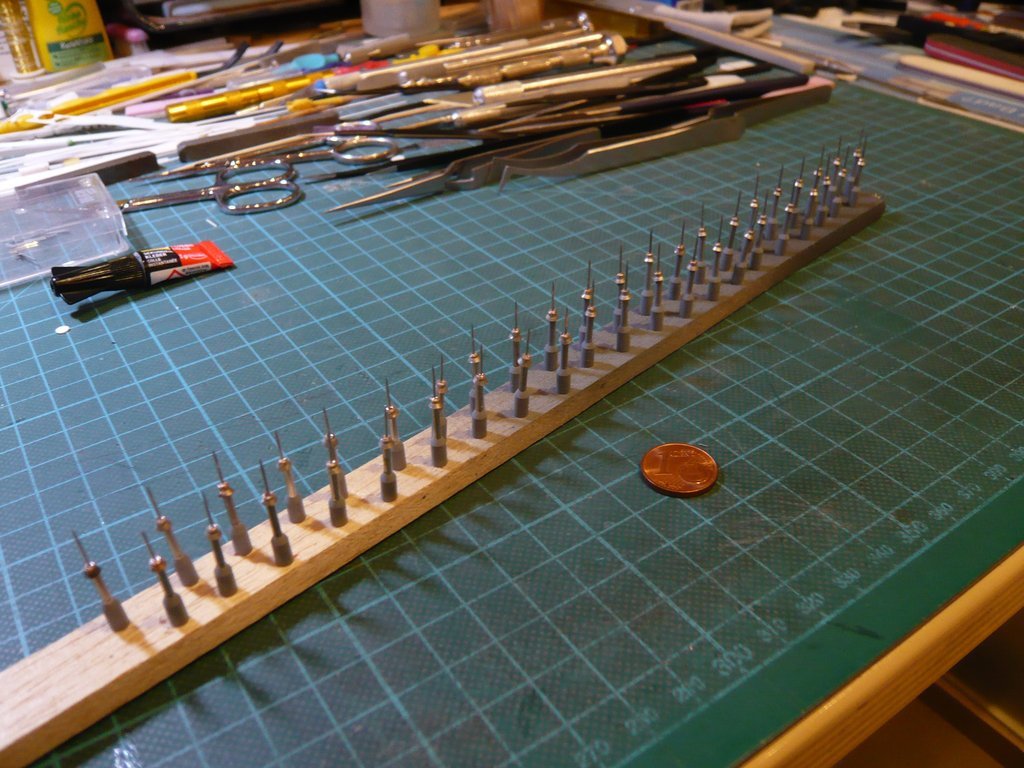
And since I've prepared twice the number of umbrellas this time, I only needed to expand the needle ledge accordingly and found and used both the pins and ferrules that were used at the time.

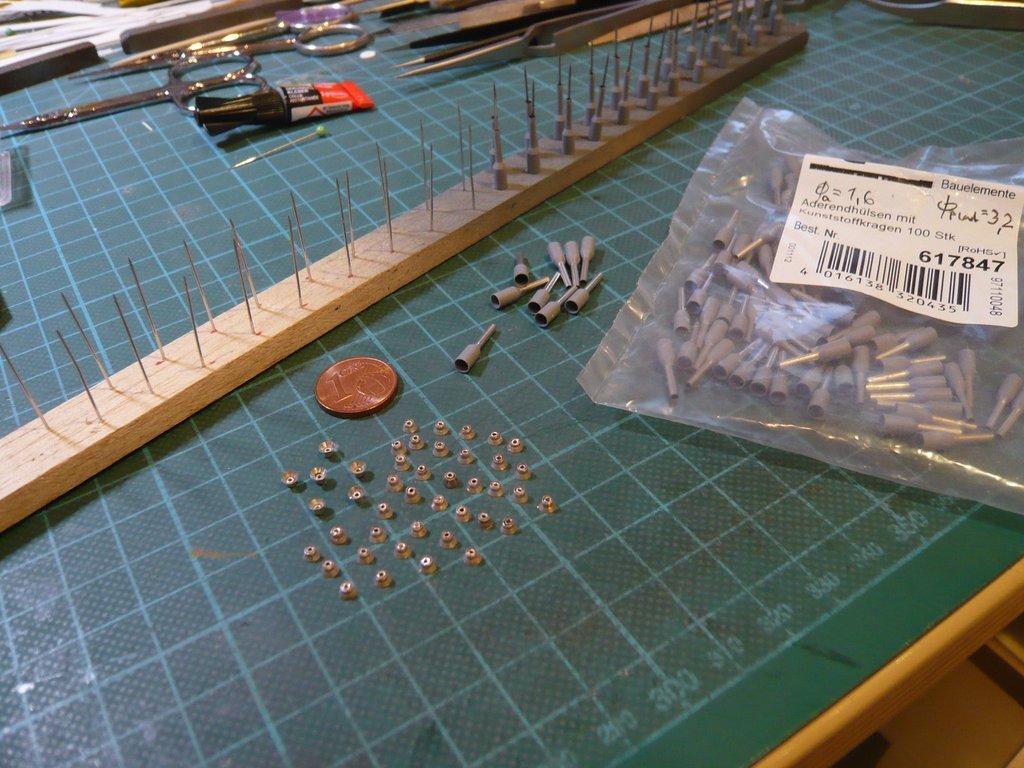
Now only the shades had to be threaded onto the needles.