Thanks Positive Rate!
Continuing with the hull sides. Its a tricky stage on any paper ship build, as I mentioned (probably too often!) before, made worse on this one by the sheer size of the parts, the compound curves and the number of joins. Im aiming for joint line free, smooth surfaces.
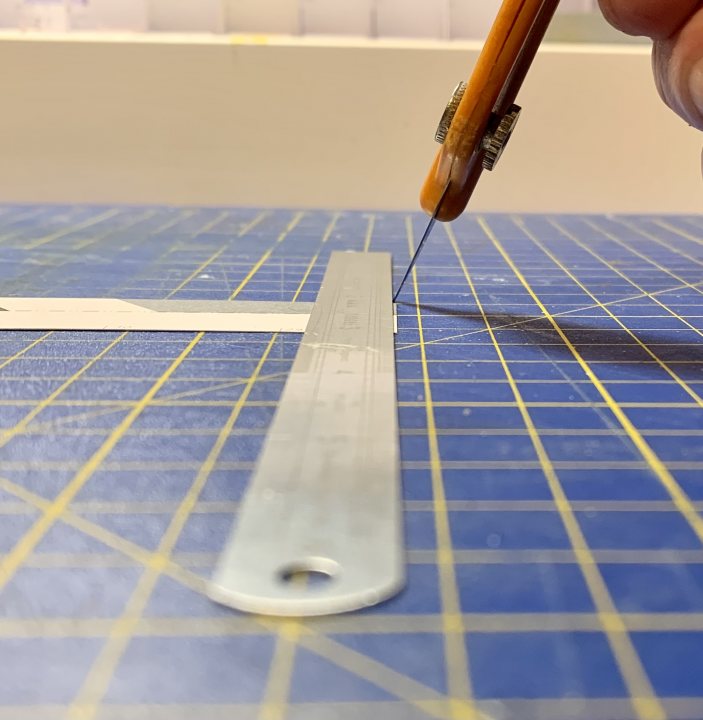
Anyway, Im continuing to use the technique Ive been experimenting with, to get almost invisible joins: once the lengths are confirmed, I cut the edges to be butted together at an angle; the angle must be greater than the chamfer of the blade:
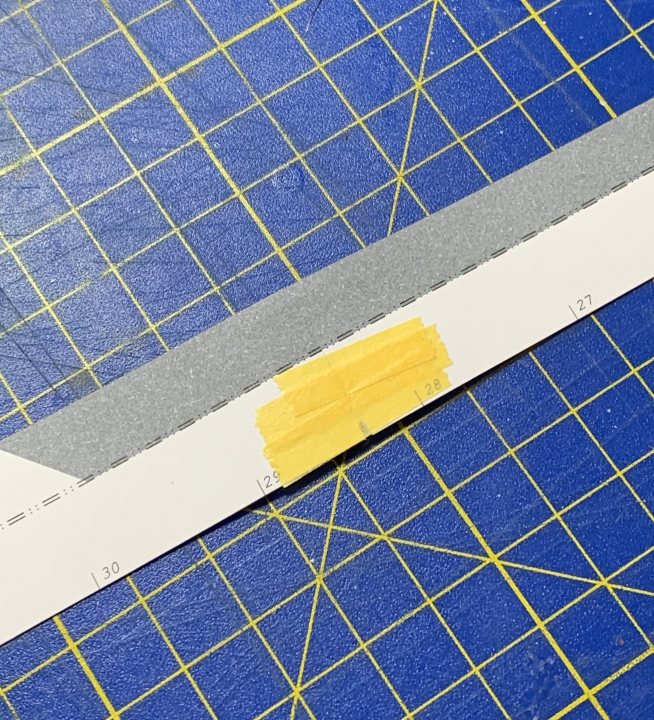
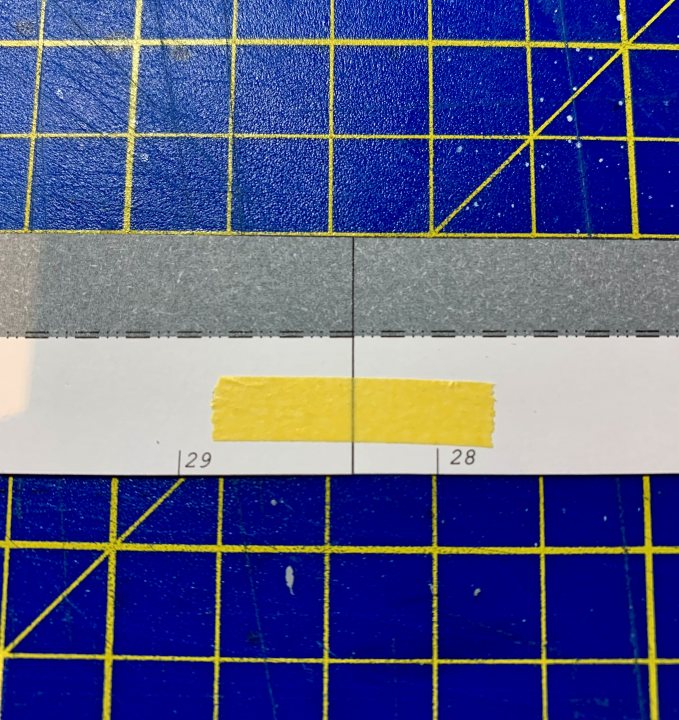
Then temporarily tape them together, and run PVA along the v shaped interface (formed by the cut) on the back side, and double it up with printer paper. The result is this:
And this is the result if you use a perpendicular cut - the v is formed at the outside (corresponding pretty much to the chamfer angle of the blade) resulting in an unsightly line:
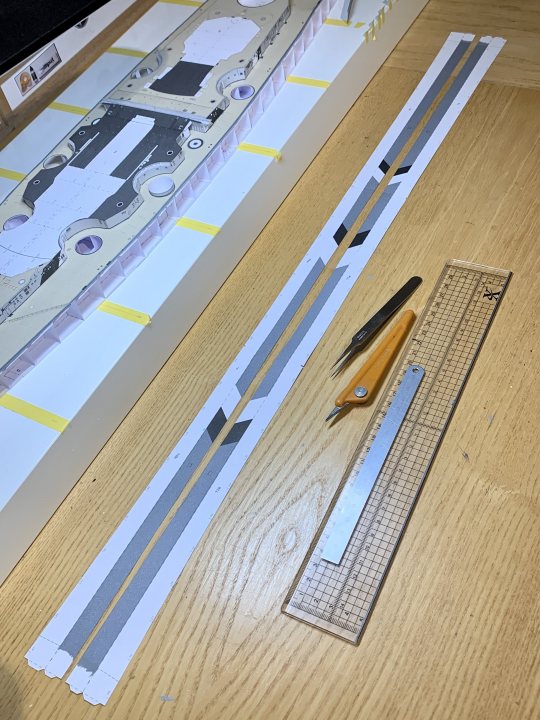
So Ive painted the edges to get rid of the white highlights, and also painted over any dotted construction lines, again I think they dont look good on a paper model. Now ready for fitting, and work continues on the bow and stern pieces, and the waterline armour belts:
One thing I noticed is that the stern camouflage chevrons seem wrong. The width of the black and the white areas are different on the hull and in the superstructure:
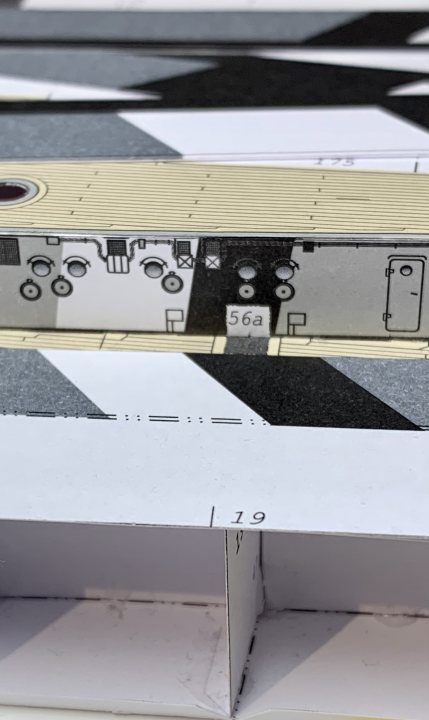
According to my reference book, they should be similar (this is the opposite side, so its a mirror image):

I think I read somewhere there was a colour error on this kit, perhaps this was it? Anyway, a bit of work with the airbrush should sort the widths out.