


|
|
|
#11
 02-29-2008, 10:19 PM
|
||||
|
||||
|
Excellent work, very sharp and I love that you're taking it to another level with modifications of your own.

|
|
#12
03-09-2008, 06:09 PM
|
||||
|
||||
|
Sprockets Done
I finally had time to complete work on the drive sprockets....
Here are all the pieces ready to go Don't they look happy - they are smiling at you :D 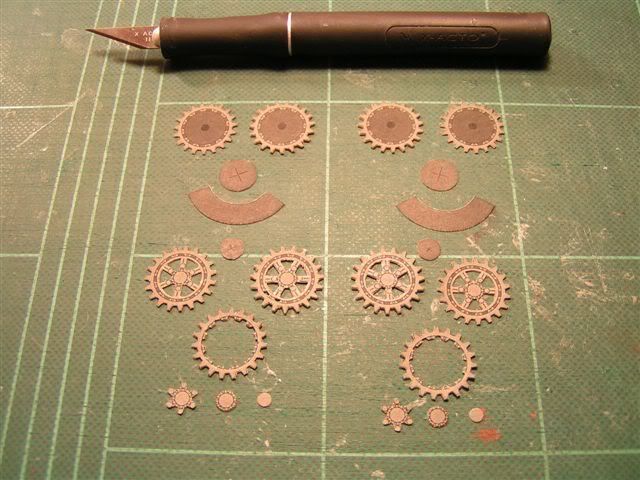 Since I mounted each sprocket onto 0.5mm card stock it was necessary to trim about 1.0mm off of the outside edge of the center hub so that the final assembly would not be too wide to engage the track.  Everything going together.... 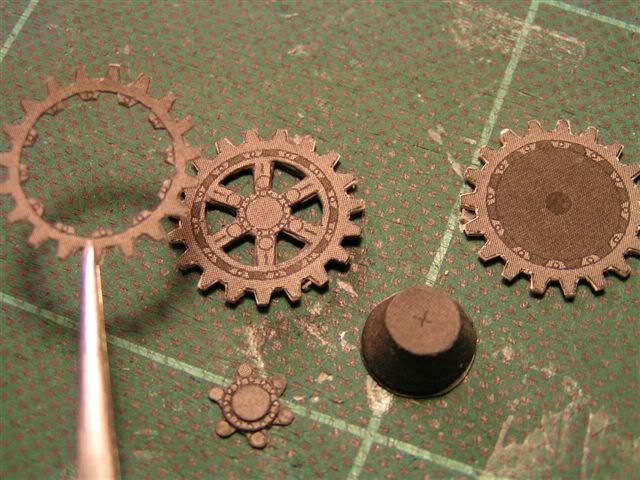 Completed sprocket... Note that I added extra support details to the inside of the assembly. 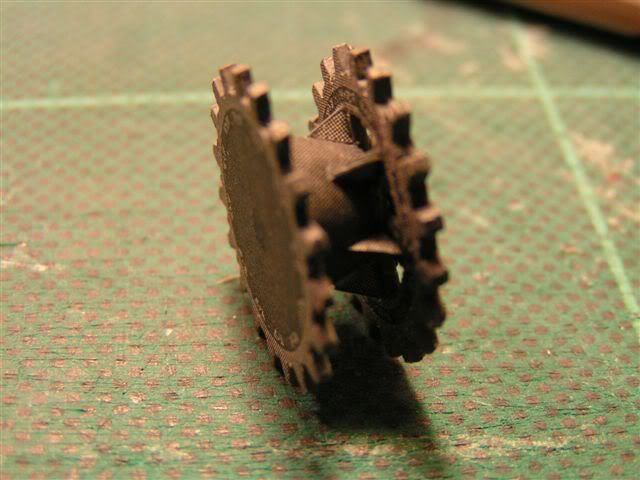 Completed sprockets....Now onto the idler rollers. 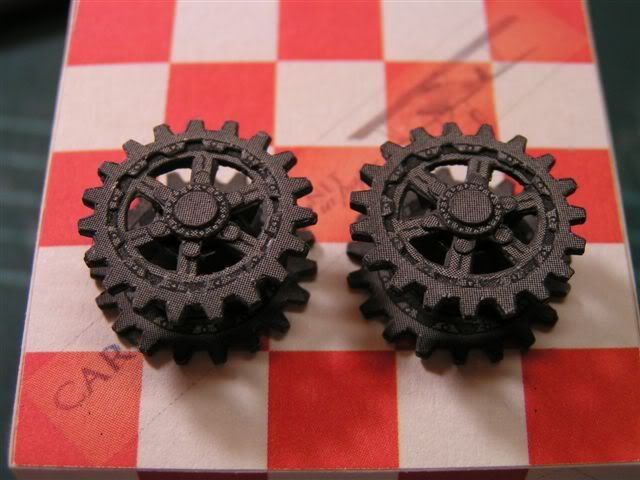
|
|
#13
03-09-2008, 06:33 PM
|
||||
|
||||
|
Nice wheels!!
|
|
#14
03-11-2008, 09:58 PM
|
||||
|
||||
|
Idler wheels
First, I'd like to thank everyone for their positive comments so far.
Recently I've been working on the idler rollers. I had to put a little thought into these because I wanted to "kick them up a notch" from the standard "2D looking" pieces that came with the kit. Anyway here's what I came up with... Cutting out the parts... Here's a helpful hint...I find a single edge razor blade to be very handy when cutting thru heavy laminated cardstock - just align the blade and tap it with a hammer - You'll get a perfect vertical cut every time. (hopefully only paper - not skin and flesh  ) ) Just a quick note: Not shown in the photo - I hold onto the blade w/ my left hand while the right hand operates the hammer. Sorry! It's the only way I could get the picture.... (The wife already thinks I'm crazy enough!) 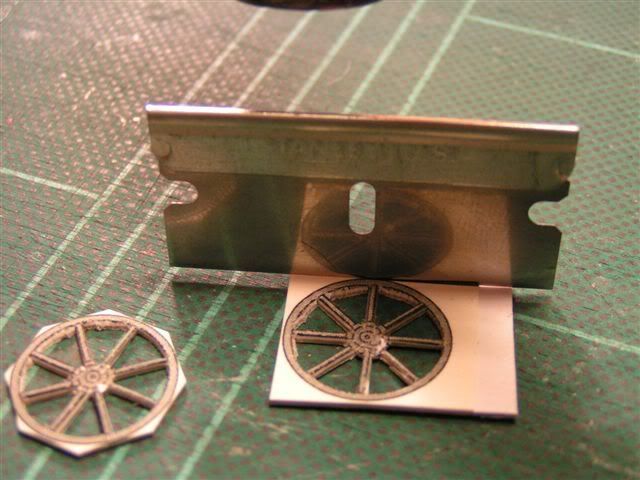 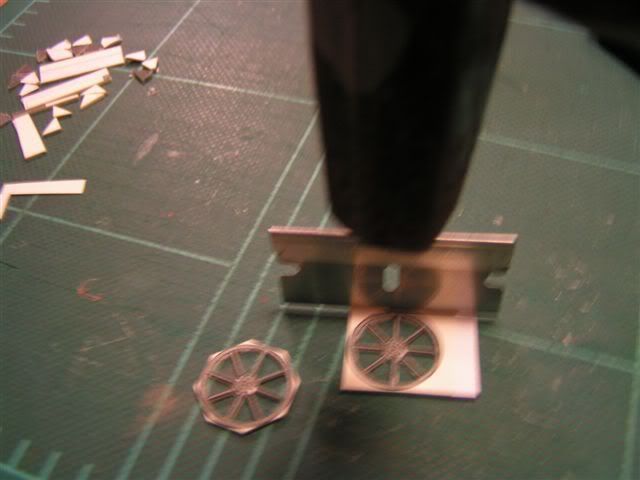 Here is the pile of parts. 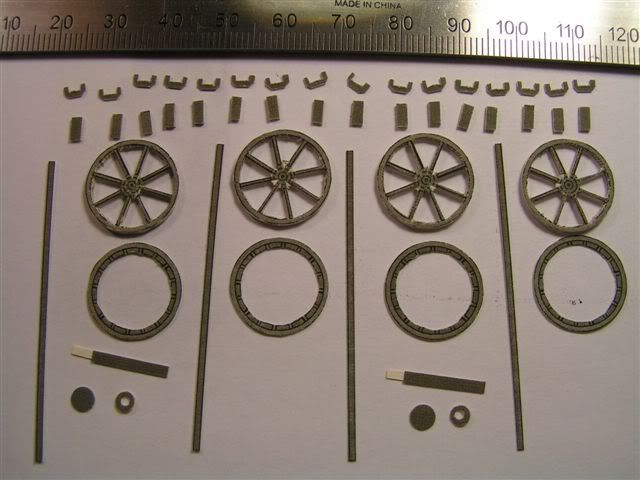 Here are the two halves of the wheel ready to be glued together... Pictured on the right is the outside half - It shows the additional hub cap and the extra rim that has been glued onto the back side. Pictured on the left is the inside half - It also shows the extra rim as well as the center hub and the eight spokes that will eventually attach both halves together. 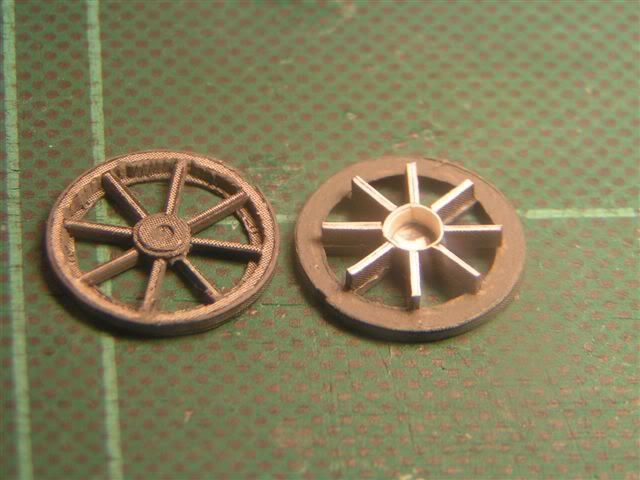 Here are the two halves glued together...only have to add one final touch - The additional supports that go between each set of spokes. 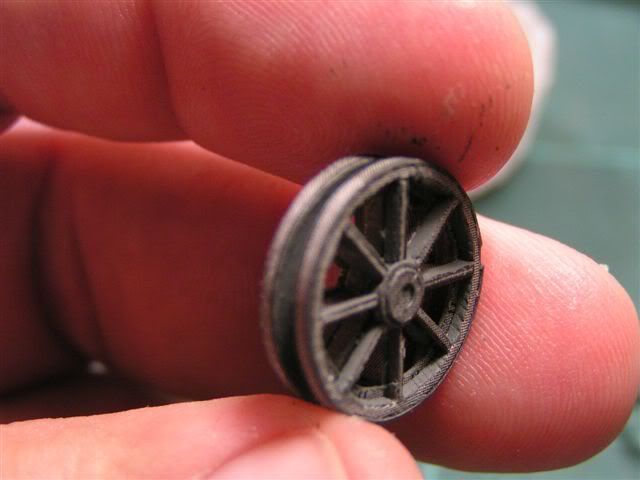 Here are some photos of the finished wheel... 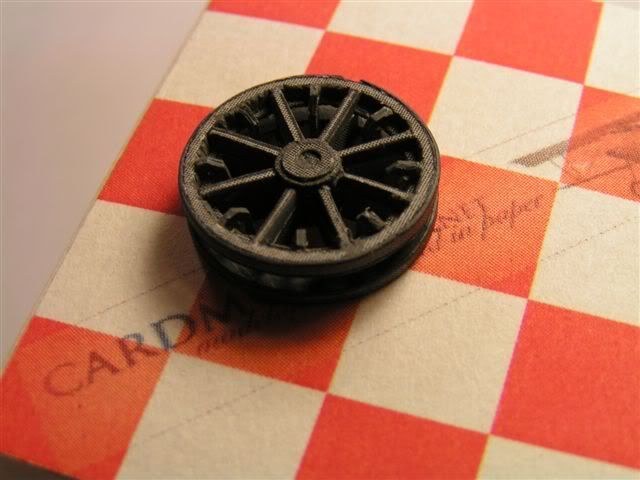 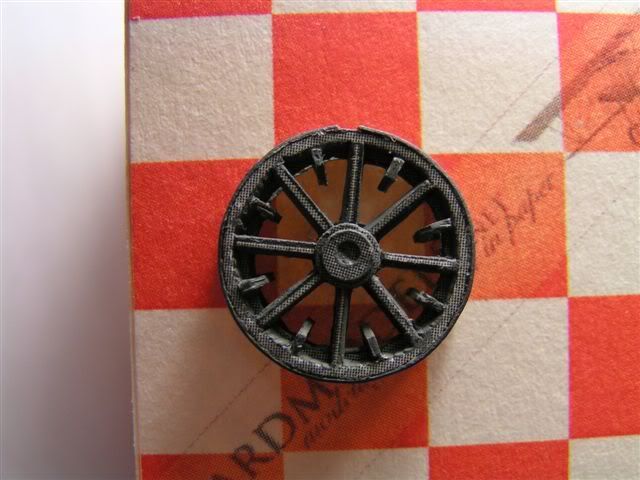 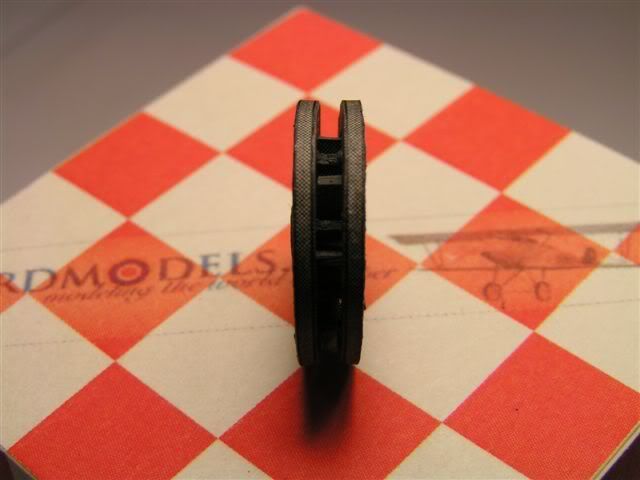 That's it for now... Next, I plan to begin working on the tracks - so I can finally start putting all these little pieces together.
|
|
#17
03-12-2008, 05:02 AM
|
||||
|
||||
|
Excellent work and tutorial on the little wheels. I now remember using the hammer and single edge razor blade trick on balsa in my stick and tissue days but hadn't worked that into my card modeling yet. Nice idea.
__________________
-Dan
|
|
#18
03-12-2008, 05:09 AM
|
||||
|
||||
|
Thats just brilliant!!
After making a couple of wheels on my models,I know what you have done!! I'm impressed!!
|
|
#20
03-24-2008, 10:05 PM
|
||||
|
||||
|
Begining construction of the tracks...
Sorry - I posted the same thing twice:D
Last edited by KCStephens; 03-24-2008 at 10:26 PM. Reason: deleted - duplicate post
|
| Google Adsense |
 |
|
|


 Linear Mode

