


|
|
|
#1
 02-26-2008, 10:07 PM
|
||||
|
||||
|
Panzer IV Ausf D
I'd like to share this build report with everyone here. I began working on this model a few weeks ago as my entry for a contest that is being held on another forum. I'm sure that some of you may have already seen it, but there may be some who have not - this is for you. If you like this model and are interested in building it, the link for the free download can be found here - http://www.pluto.dti.ne.jp/~naka/
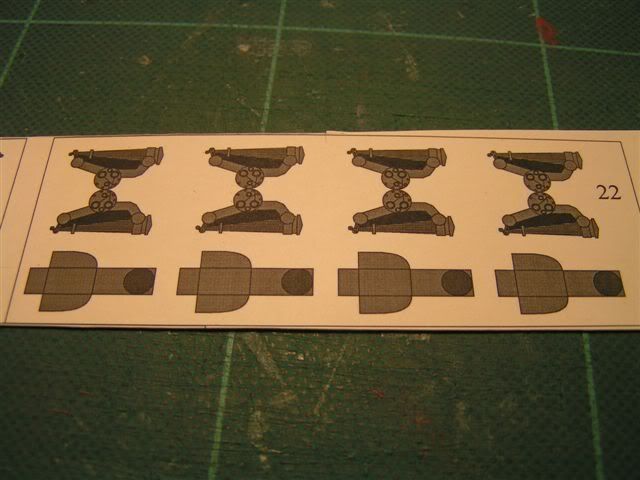
Here are the printed sheets of the kit sealed with krylon matte finish all ready to go - I printed out 3 copies of each so that I can add layering and additional details that would not be there if it was just built as is. 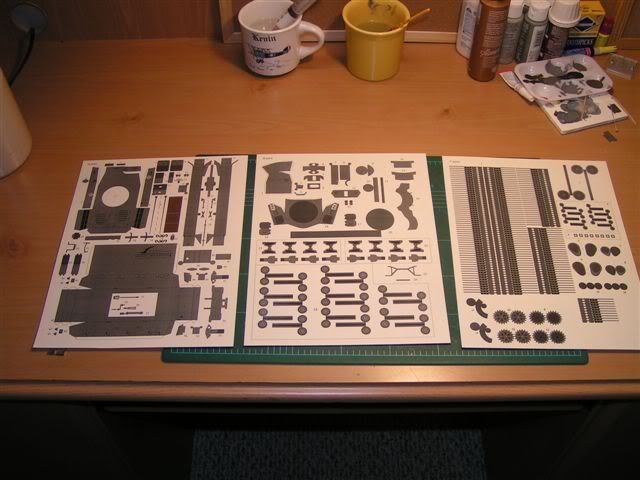 Since I want to add additional details to the bottom of the hull, I decided to remove the pre-printed logo by stripping in a blank grey patch that was taken from another copy. 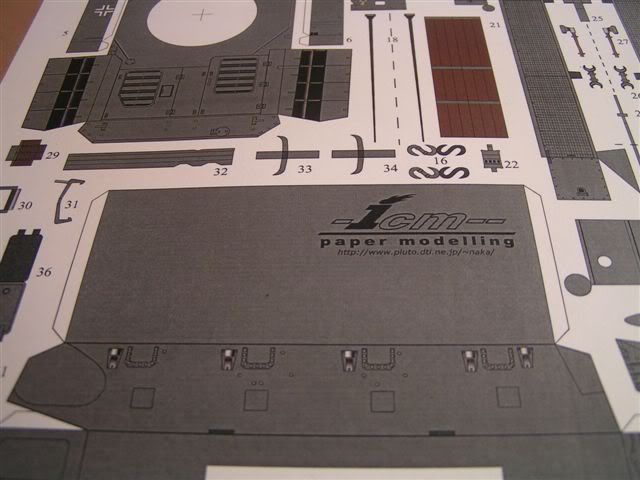 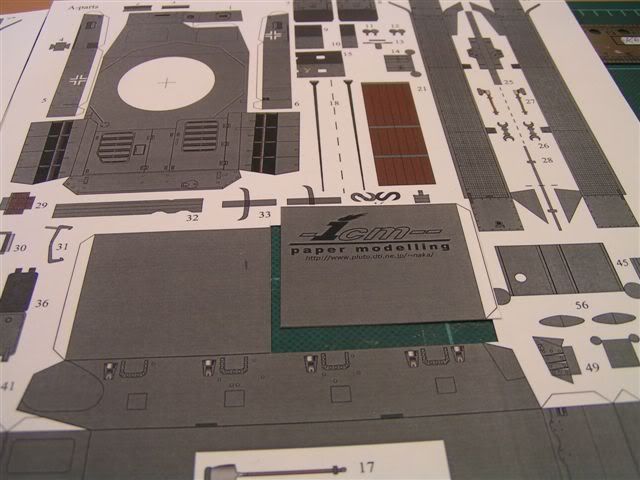 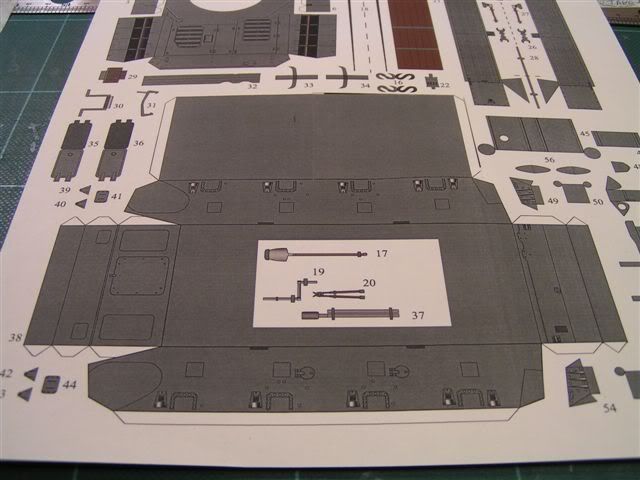 After trial end error, I decided to reinforce the hull with 1mm card stock - it was just too flimsy and out of square without it..... 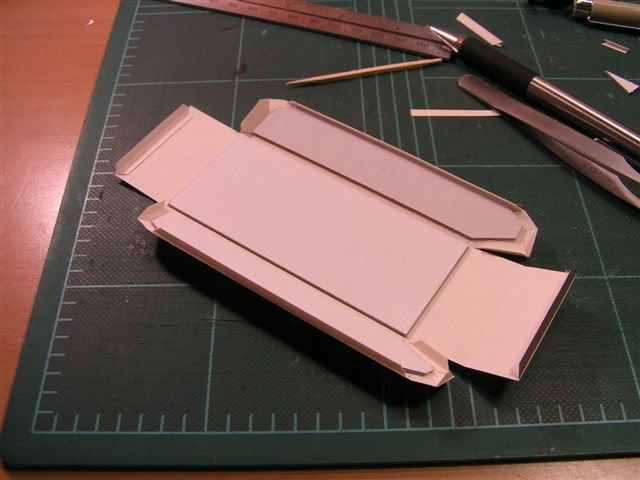 I added the internal bracing and removed the pre-printed glue tabs, replacing them with my own.... 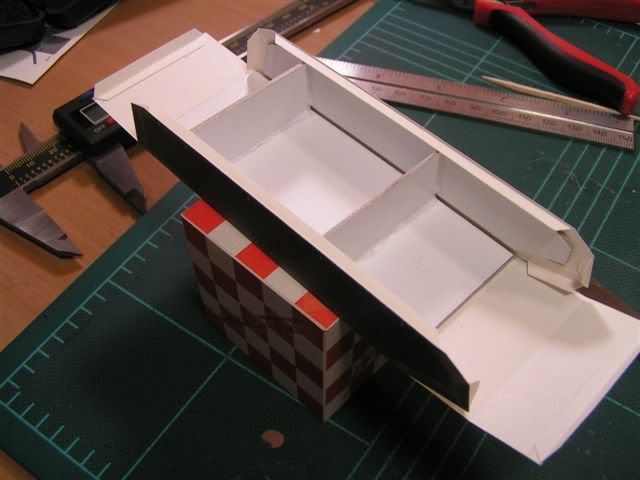 This photo shows one of the "extra detail" pieces that I crafted from surplus grey matter that will be added onto the bottom of the tub.... 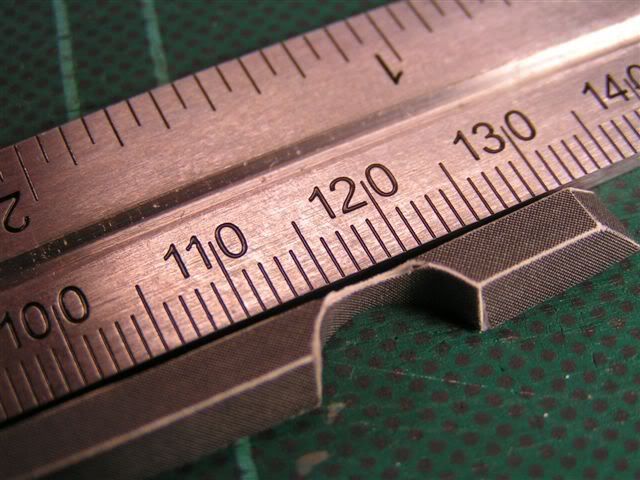 More "extra details" ..... 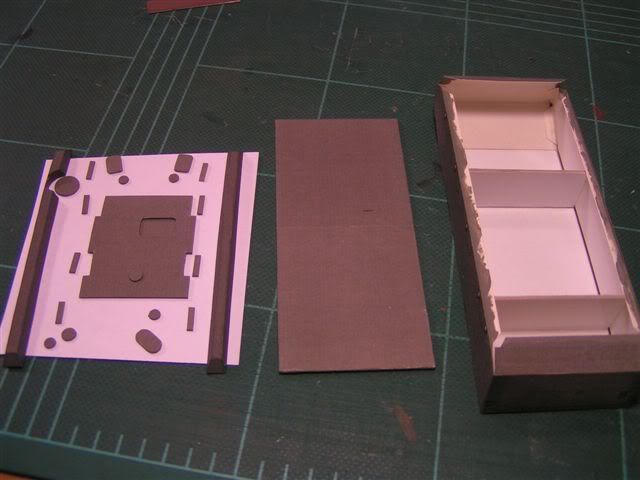 Bottom of the tub with everything glued in place....  Moving right along.. Making bumper stops from other copies 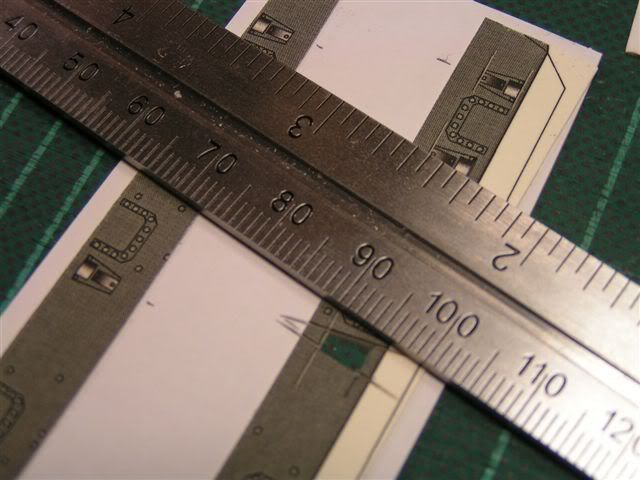 Very tiny pieces -What have I gotten myself into?... 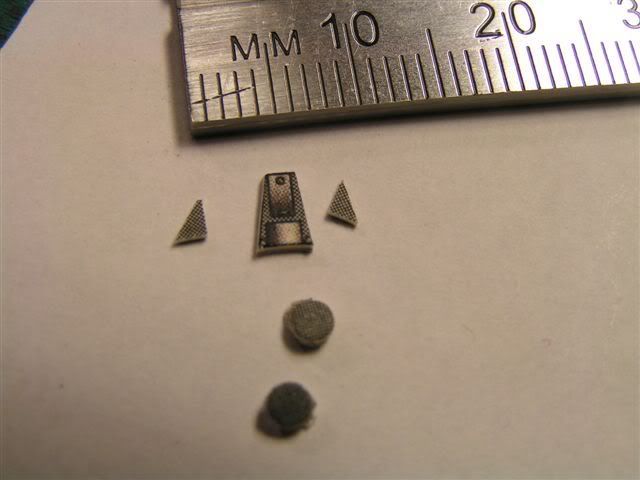 It was wort it - they turned out better than I thought they would. 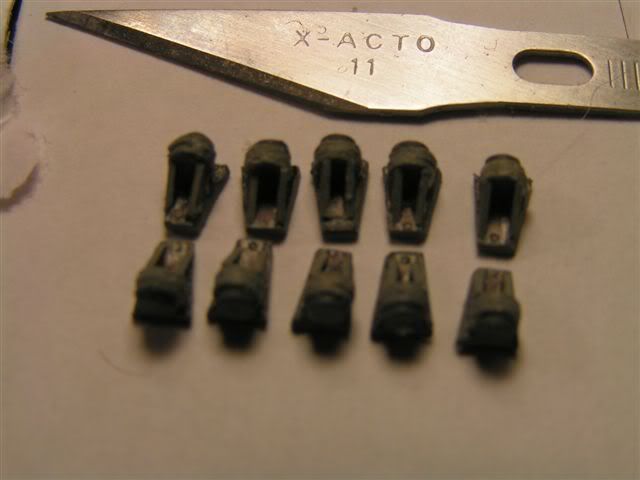

|
| Google Adsense |
|
#2
02-26-2008, 10:16 PM
|
|||
|
|||
|
What a great build! After seeing it mentioned in the news article I was wondering when you'd 'fess up and let us have a look
 I have this one on a CD somewhere. Your idea of multiple printings in order to add detail and depth is quite clever...those bumper stops are outstanding! I have this one on a CD somewhere. Your idea of multiple printings in order to add detail and depth is quite clever...those bumper stops are outstanding!
|
|
#3
02-26-2008, 10:28 PM
|
||||
|
||||
|
Beginning construction of the bogies....
 Bogies were "built up" by layering additional copies that were mounted onto heavier card stock..... 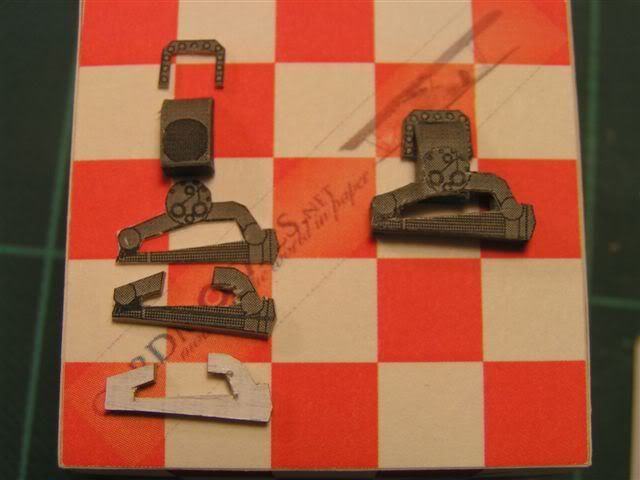 Starting the road wheels.... 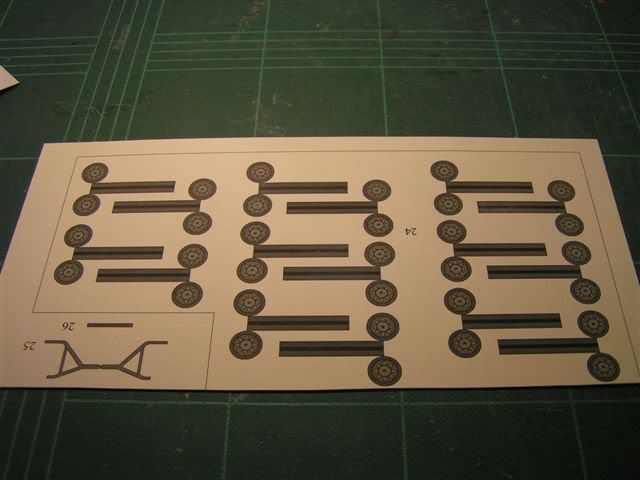 The original plan would have you assemble each wheel by using only three pieces, I decided to turn it into thirteen.. 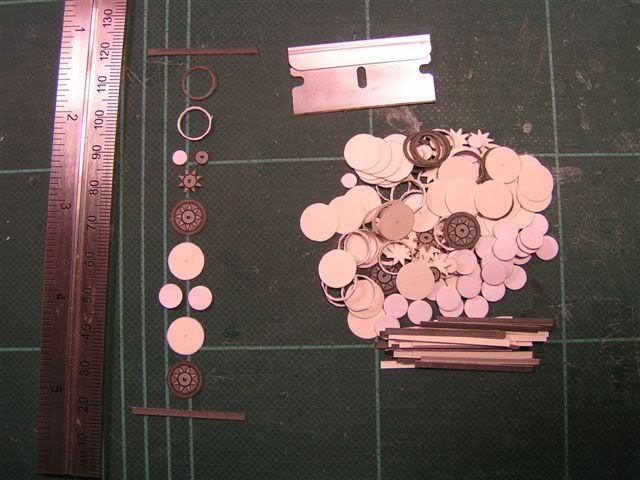 Front half, center spacer hub, and back half ready to be glued together...... 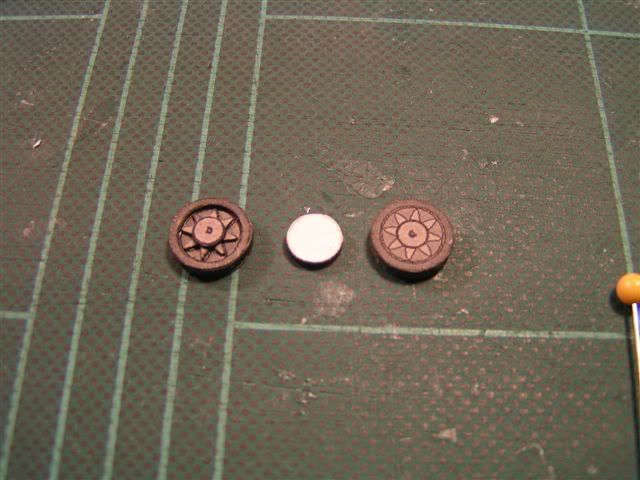 One down...fifteen more to go! 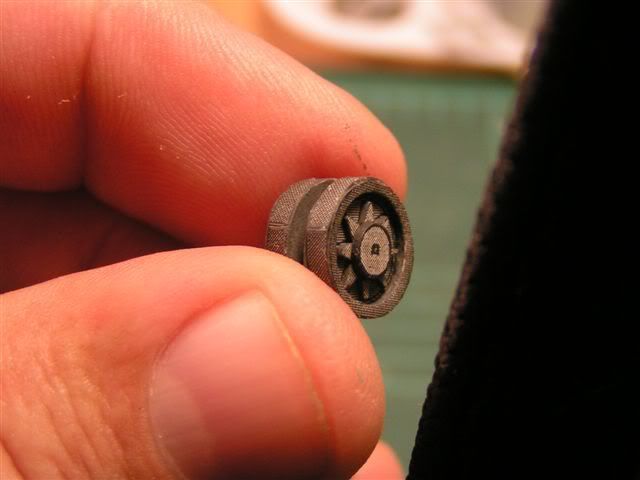 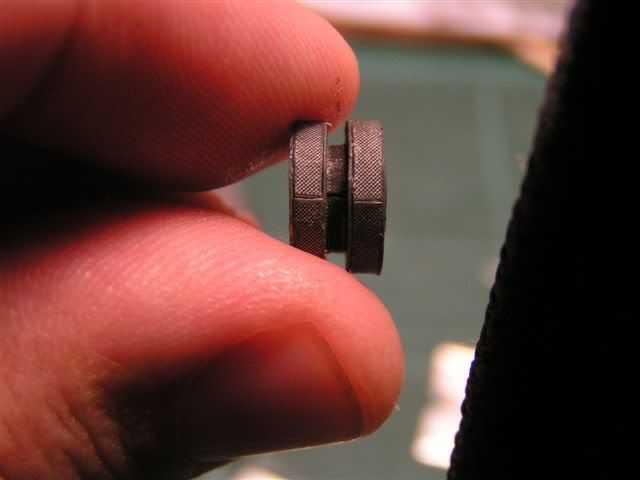 Finally done! 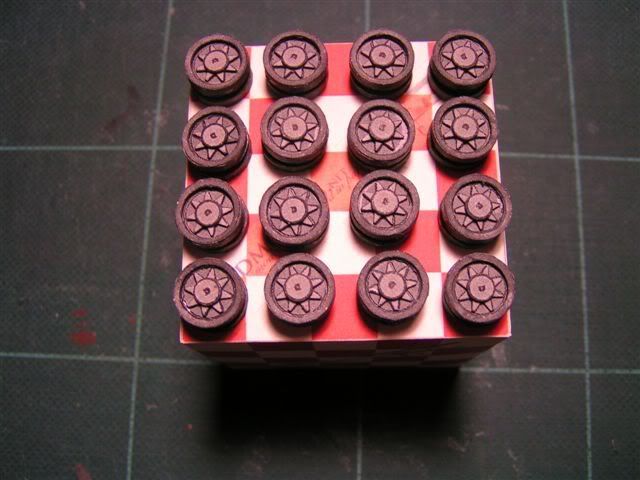 Next I built the return rollers.... 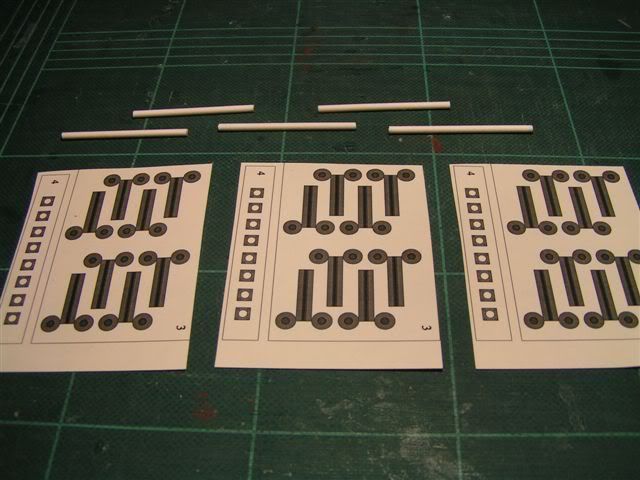 Not quite as bad as the road wheels only smaller.... 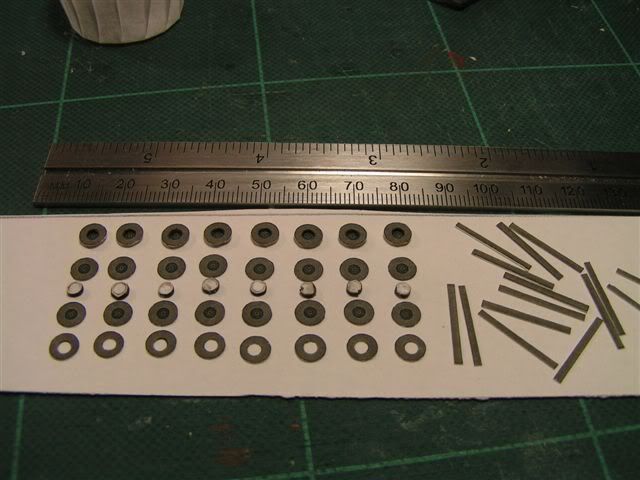 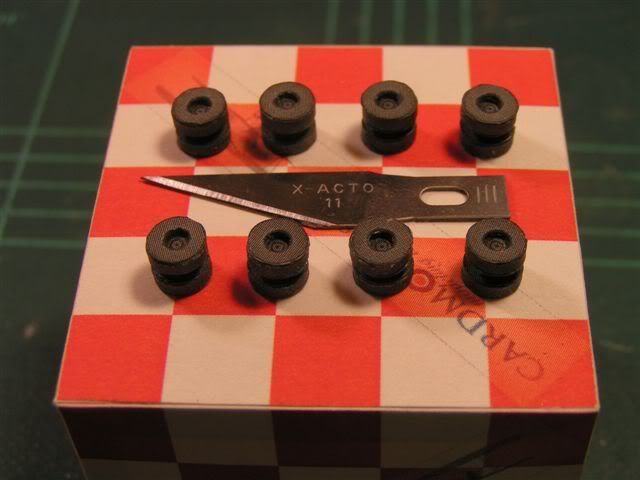 I plan to use the shaft from a Q-tip to attach them onto the side of the hull.... 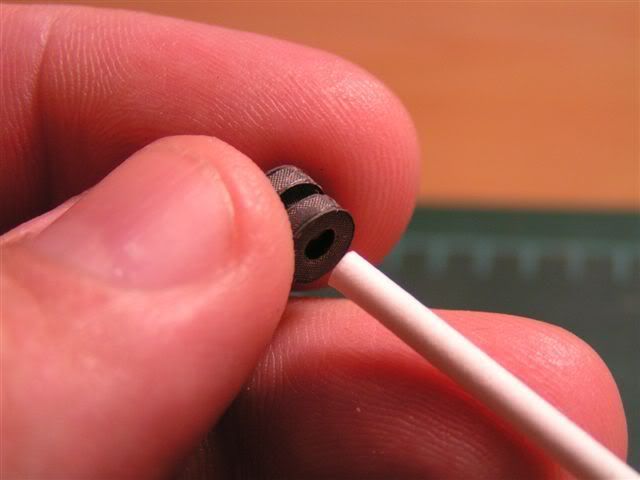 That's it for now. I've been working on the drive gears and idler wheels...should have more pictures soon.
|
|
#8
02-27-2008, 08:00 AM
|
||||
|
||||
|
Awesome build so far! I really love the extra steps you are adding, this is turning into a deluxe model.
I am very happy to see you do this, I have always felt that details should be 3d, not 2d. I am working on some (TOP SECRET) architecture which will be constructed with layers similar to this build and I am following closely...keep up the good work!
__________________
"even though he never learned I hope he showed you some concern"...
|
|
#9
02-28-2008, 09:09 AM
|
||||
|
||||
|
Great work!!
I have the P-IV in 1:16.......
|
 |
|
|


 Linear Mode

