


|
|
|
#91
 11-09-2019, 02:49 PM
|
||||
|
||||
|
Radiator consists of three parts: main body, top and pump cooling tubes joints
The body - you can see the thoughtful design here: first of all you build a power structure and then dress it in skins and details. If you do everything right - it is really easy This radiator has interesting shape with hole. Square hole is for an auxiliary fan motor and round one for fan axel 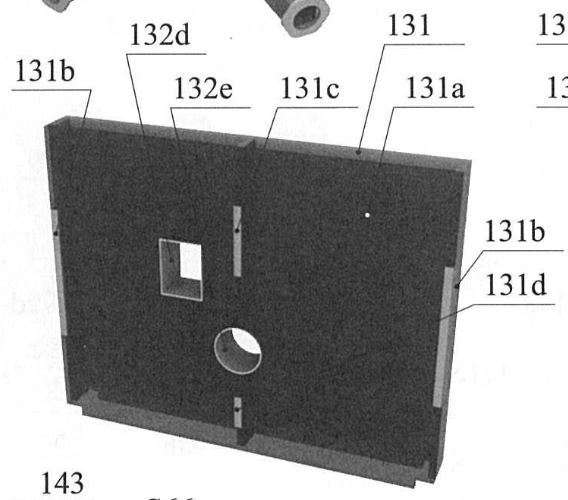 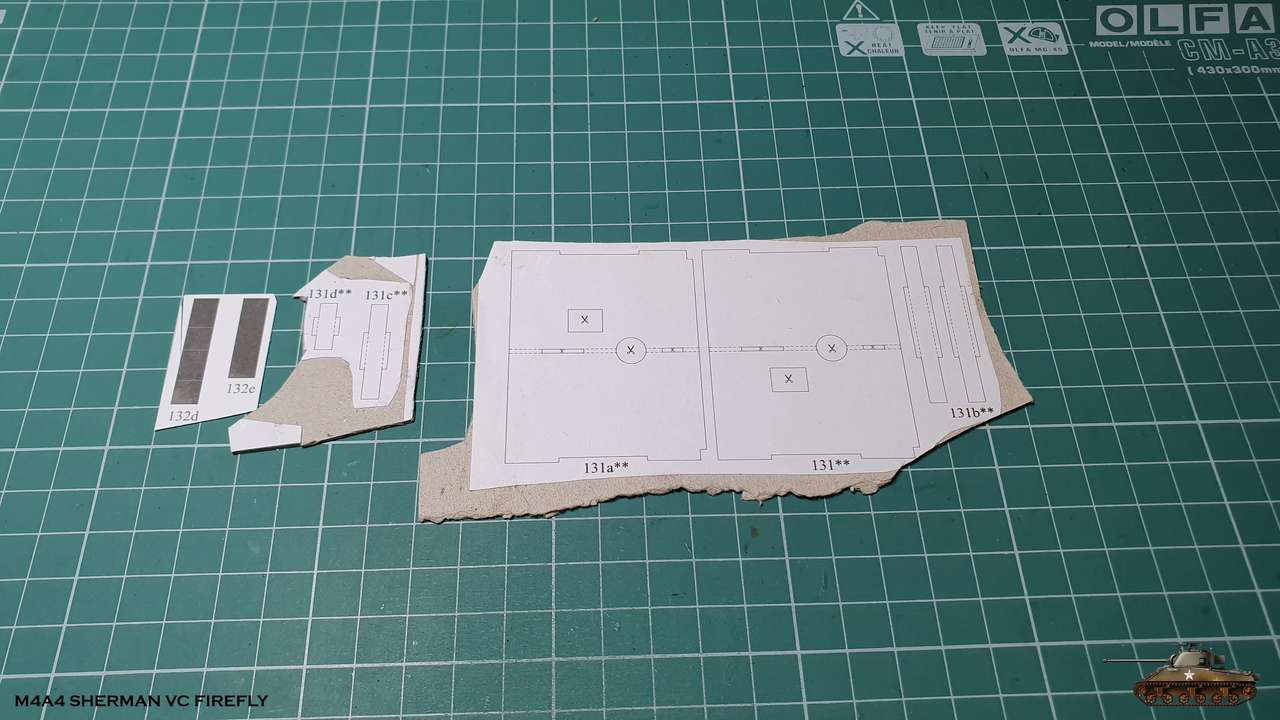 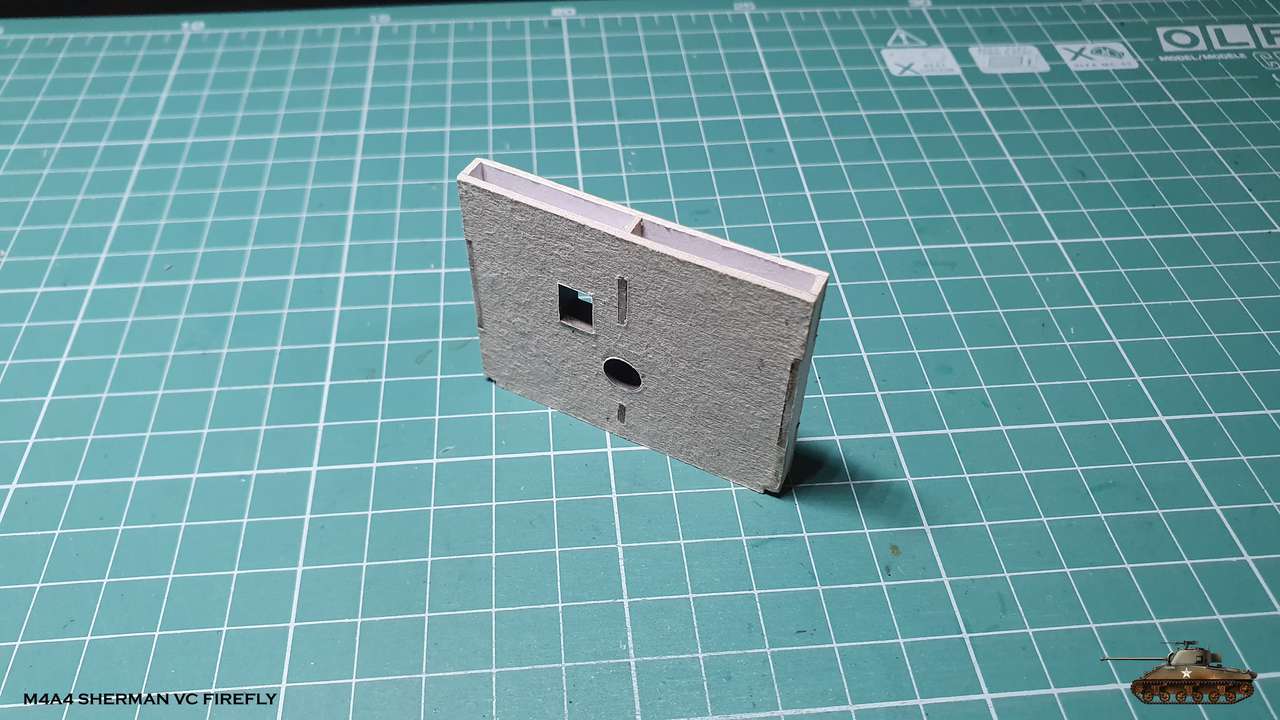 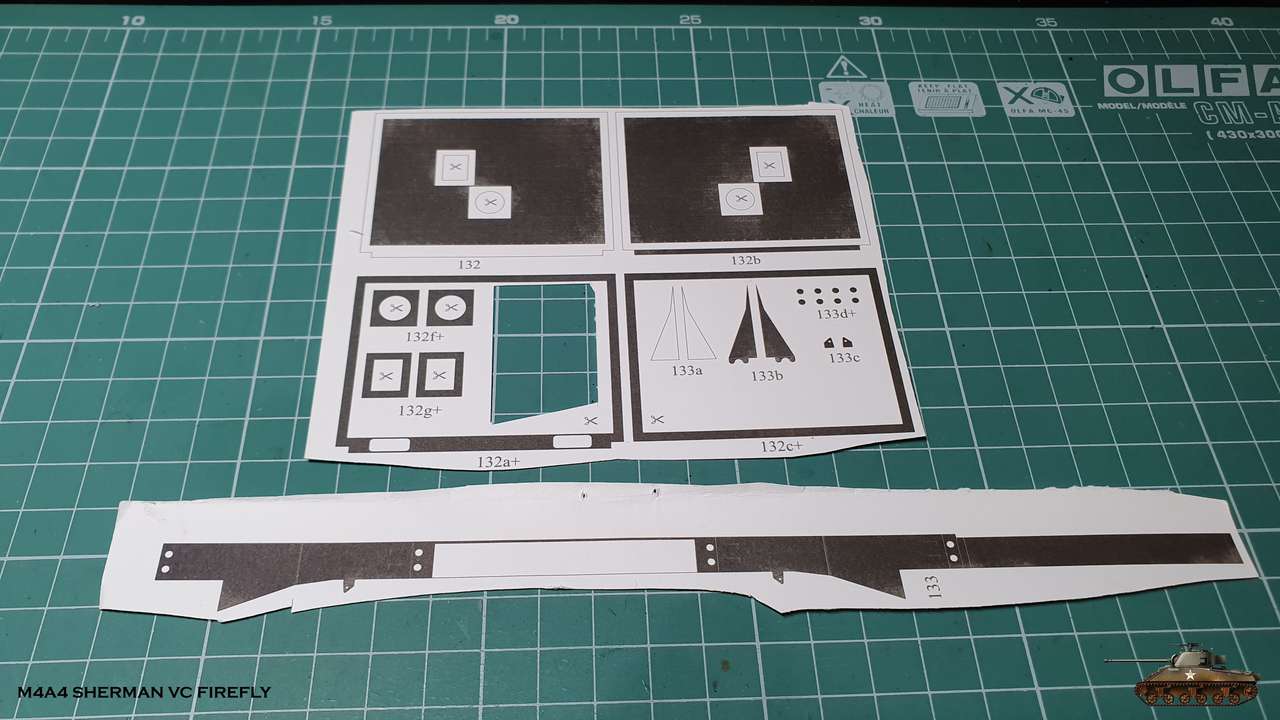  The top - here is the same, power structure and skins 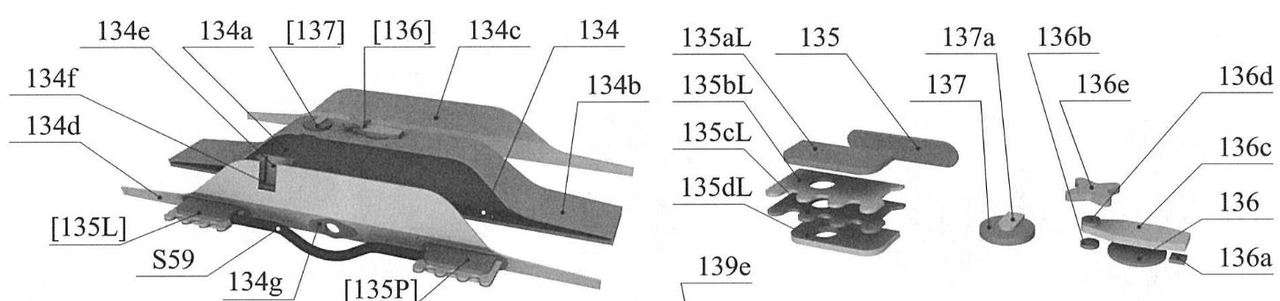  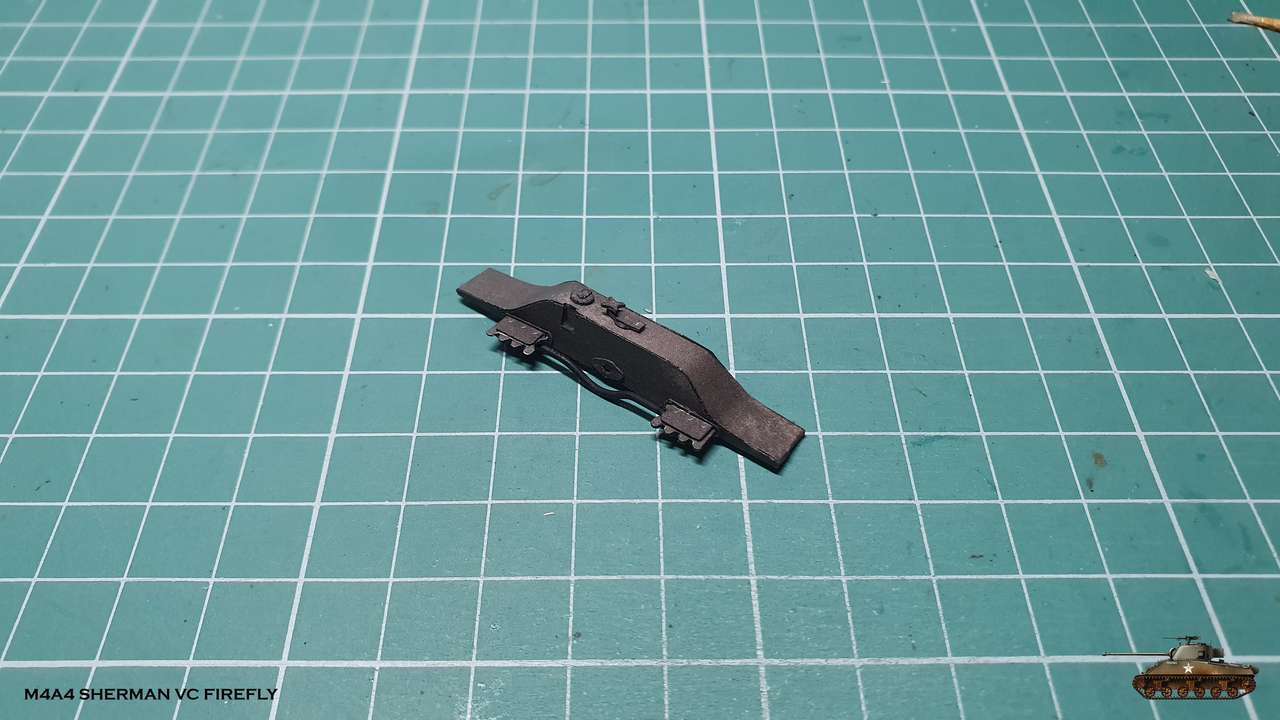 Tubes joinings - really simple     And everything assembled together  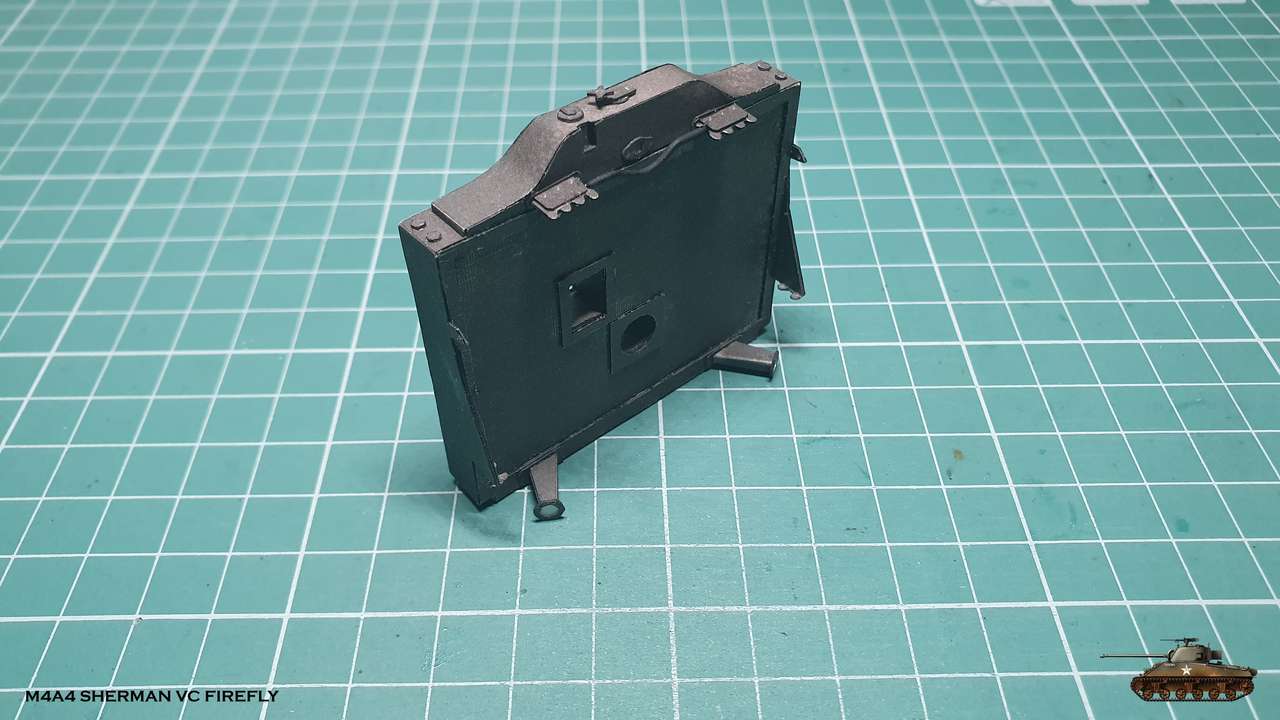 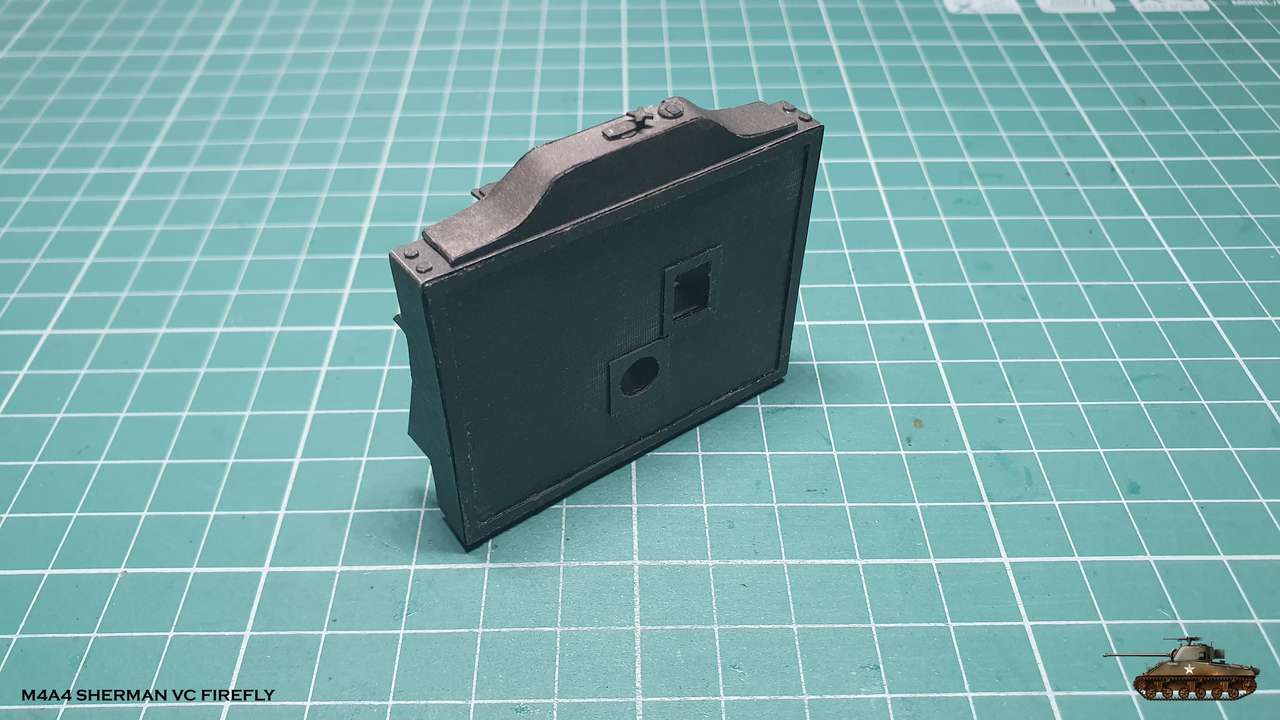 Already tried to join it with the engine - went good
__________________
Welcome to my gallery 
|
|
#92
11-09-2019, 03:22 PM
|
||||
|
||||
|
good work on the radiator it was a fun build
__________________
David........... Paper modelling gives you a happy high. currently building. c GAZ 51 ALG 17, wagon 111a. unex DH411 excavator and spitfire Mk 9
|
|
#94
11-09-2019, 06:03 PM
|
||||
|
||||
|
Fabulous work. I admire the patience and skill that you, builders on these scales, have for so many details.
|
|
#95
11-10-2019, 05:16 AM
|
|||
|
|||
|
Igor,
Grate work on this radiator, well done!
|
| Google Adsense |
|
#96
11-10-2019, 08:10 AM
|
||||
|
||||
|
That radiator looks magnificent Igor. This build is going to be magnificent!
Cheers, Erik
|
|
#97
11-19-2019, 03:43 PM
|
||||
|
||||
|
Thanks you all! I appreciate you feedback a lot
") And next part in the radiator was the fan with cover. Grey drawings didn't help and so neither instructions, so i was in need to figure out by myself, how to assemble it. The order was: glue bushing, that sits on an engine axel, to lower gear disk glue middle supporting disk on lower disk plus bushing that give basis to upper disk glue upper diks with tip of axel on the basis round with strips and finish with blades When i dry fitted fan on engine axel - it connected with auxiliary motor gear perfectly  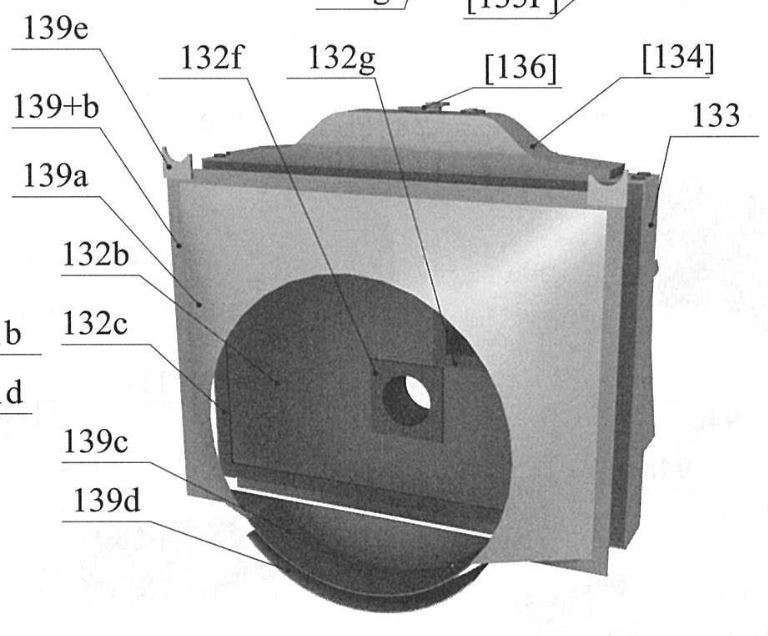  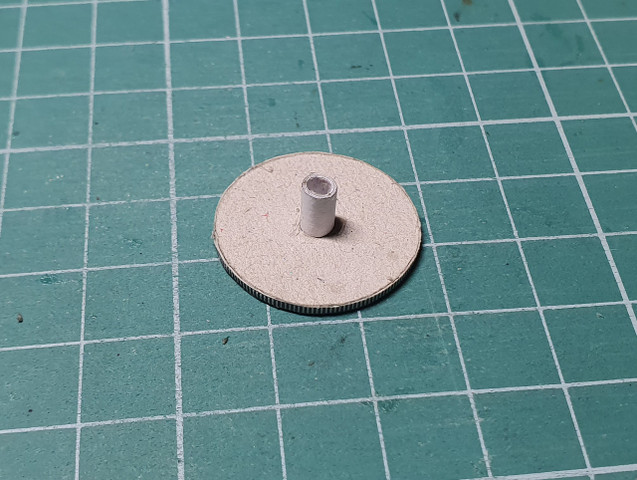  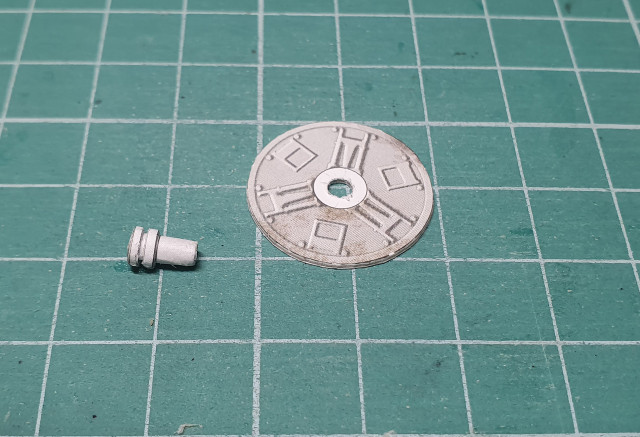 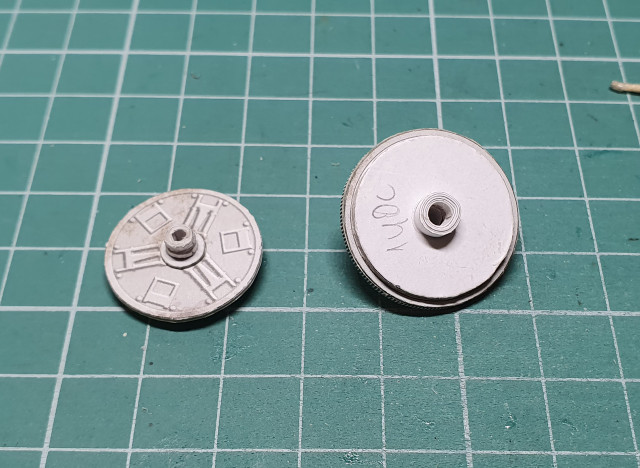  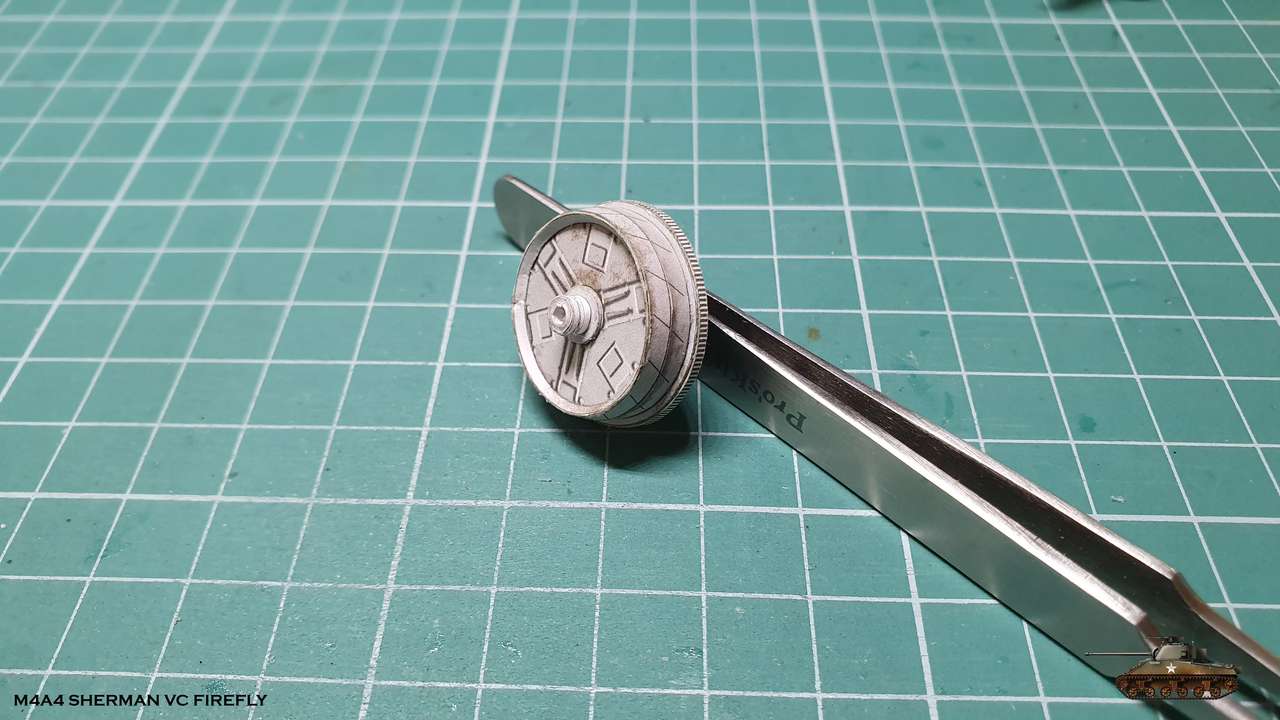 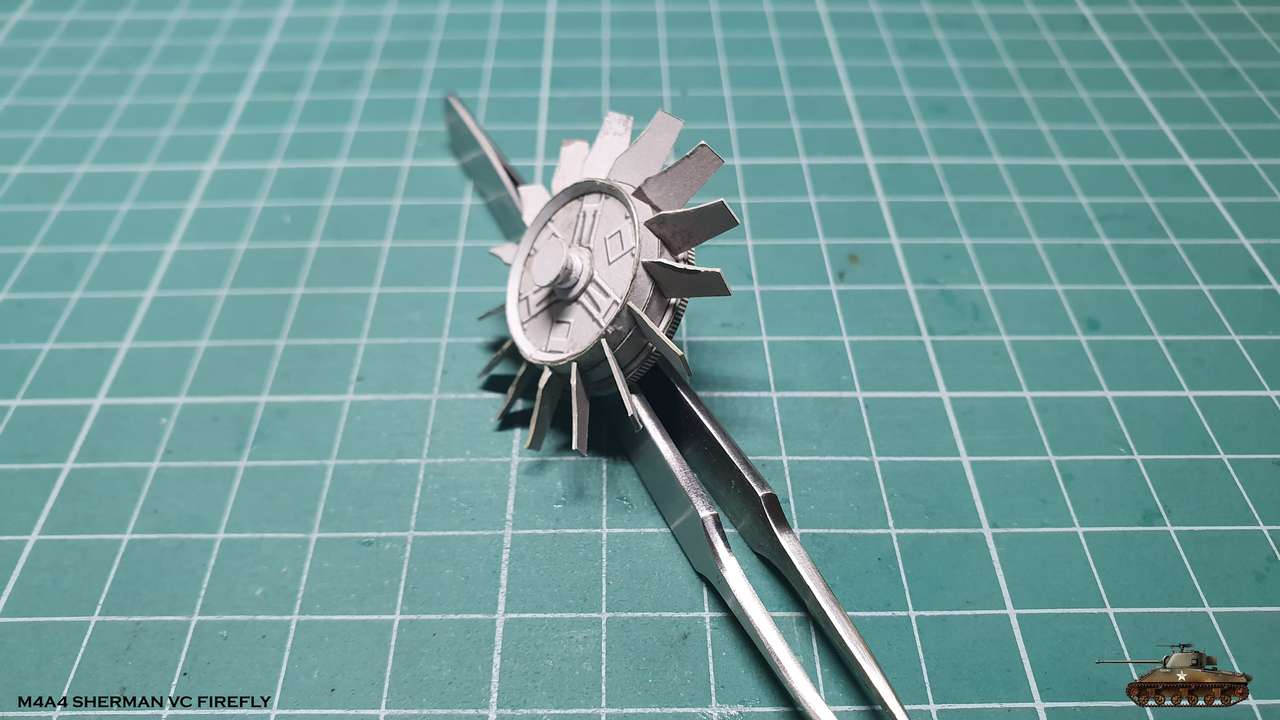 Cover was simple  And finally assembled everything together from right to left  Also I added outlet pipes, which took hot cooling liquid from blocks to radiator. It was a pain in the #@s, but i somehow managed to put it in place in right shape. I used 3 mm wire isolation, though i pulled soft wire and inserted stiff, so the shape will hold.  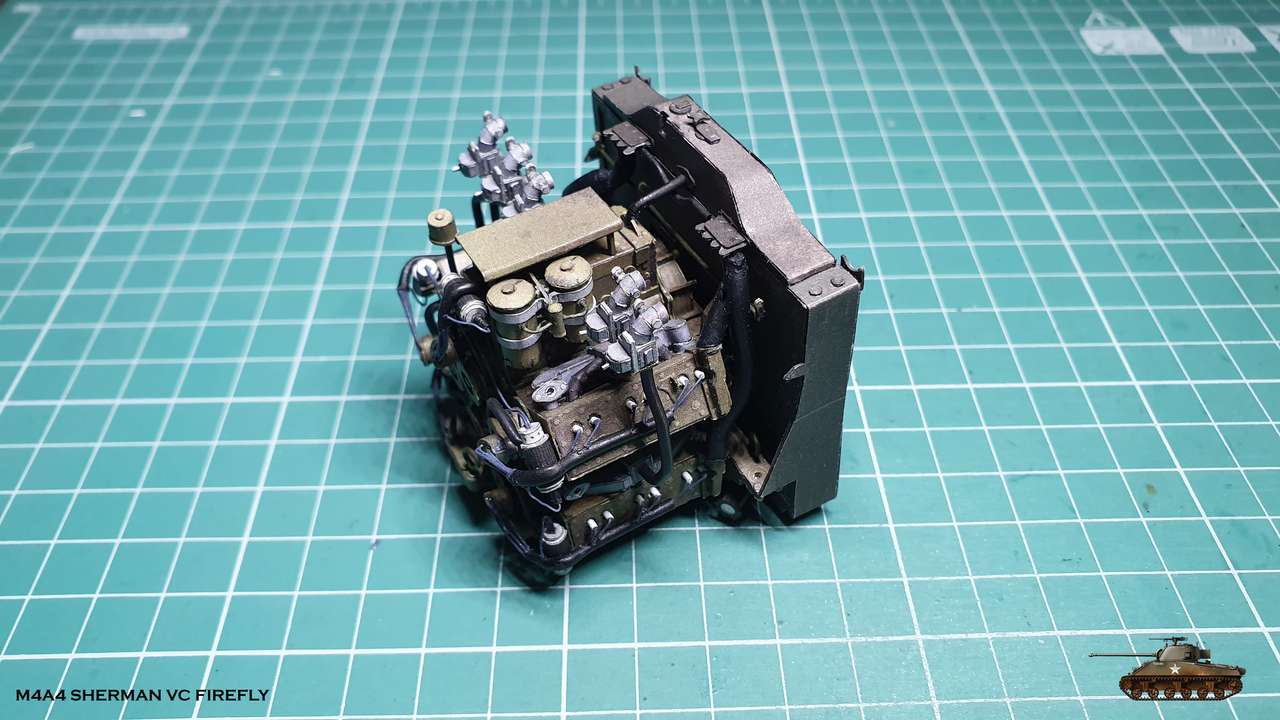 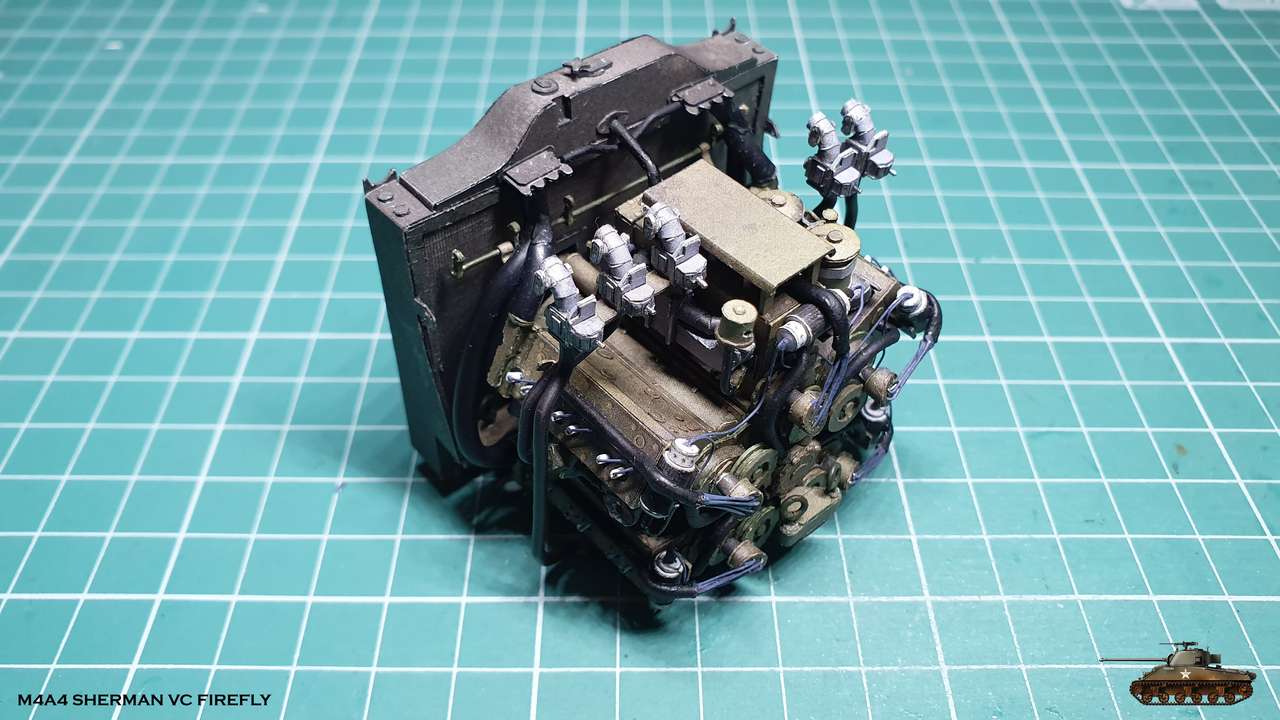
__________________
Welcome to my gallery
|
|
#99
11-19-2019, 04:23 PM
|
||||
|
||||
|
Wonderful level of construction and detailed Igor.
|
 |
|
|


 Linear Mode

