


|
|
|
#31
 09-27-2022, 01:51 PM
|
||||
|
||||
|
Thank you, rifleman, David, Erik and Boris.
 I'm in a period of moving to new apartment and this consumes all my free time. But i had a little break in between, so a there is a progress with Panzer I. Main transmission mechanism. A few sub builds, that parted to more sub builds. 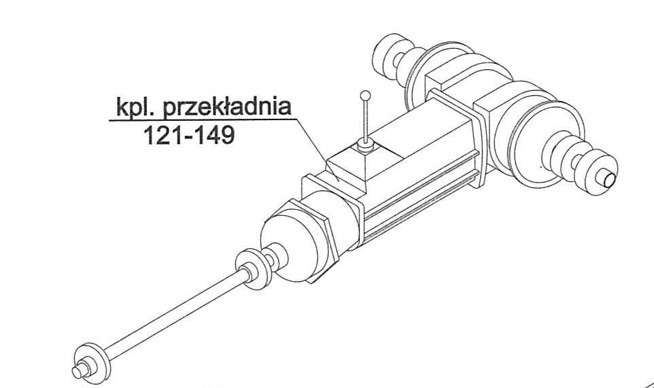 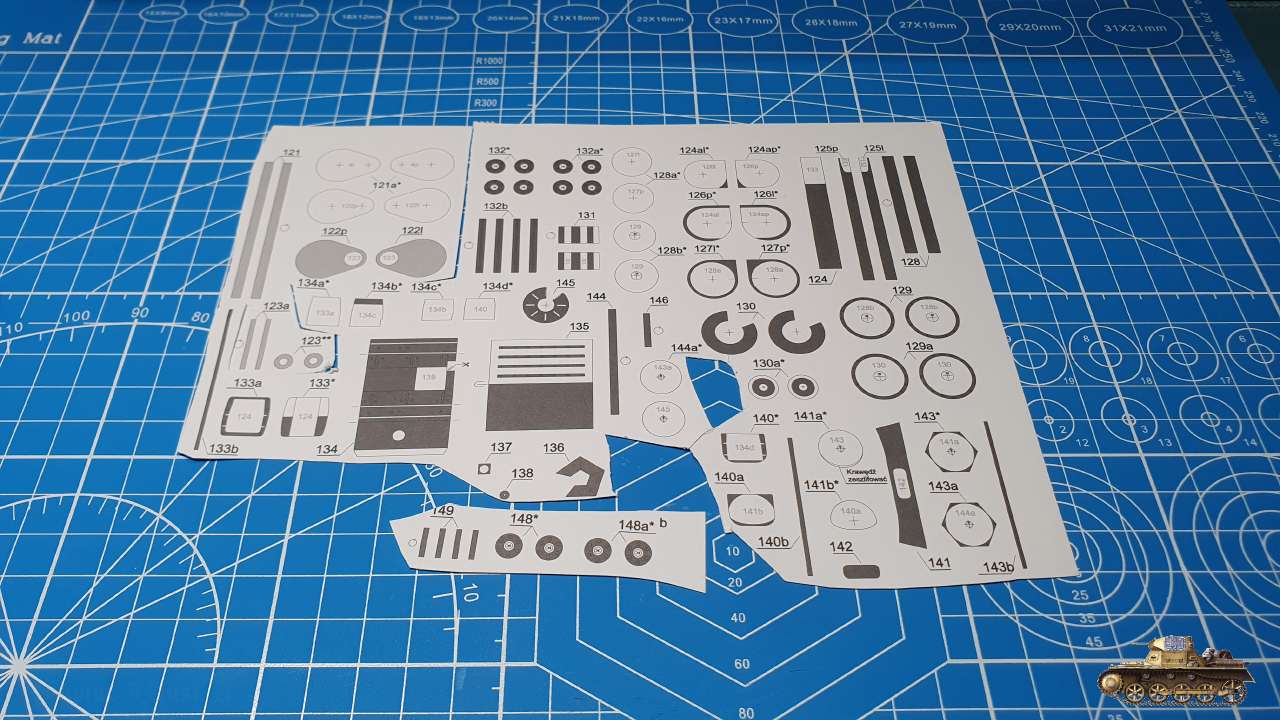 Steering clutches and brakes Assembled each part separately and then connected together. Numbers on the side guided how to connect 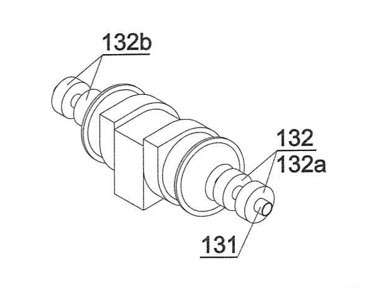 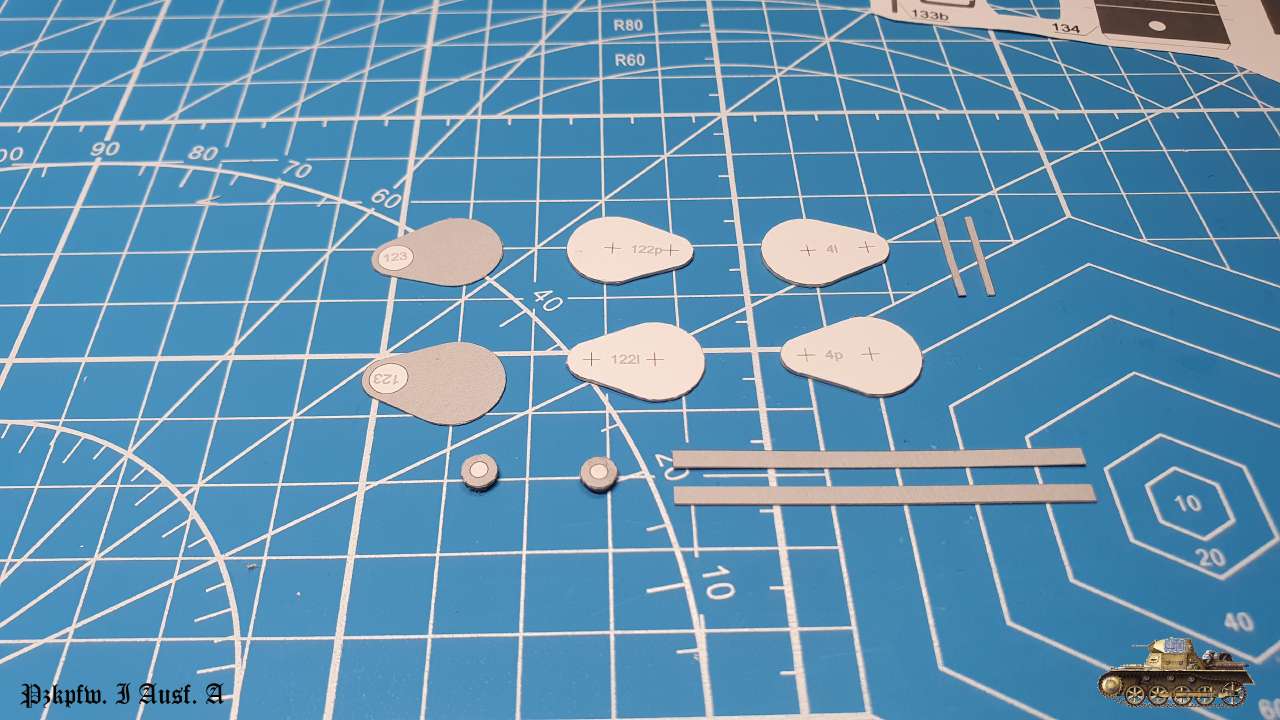 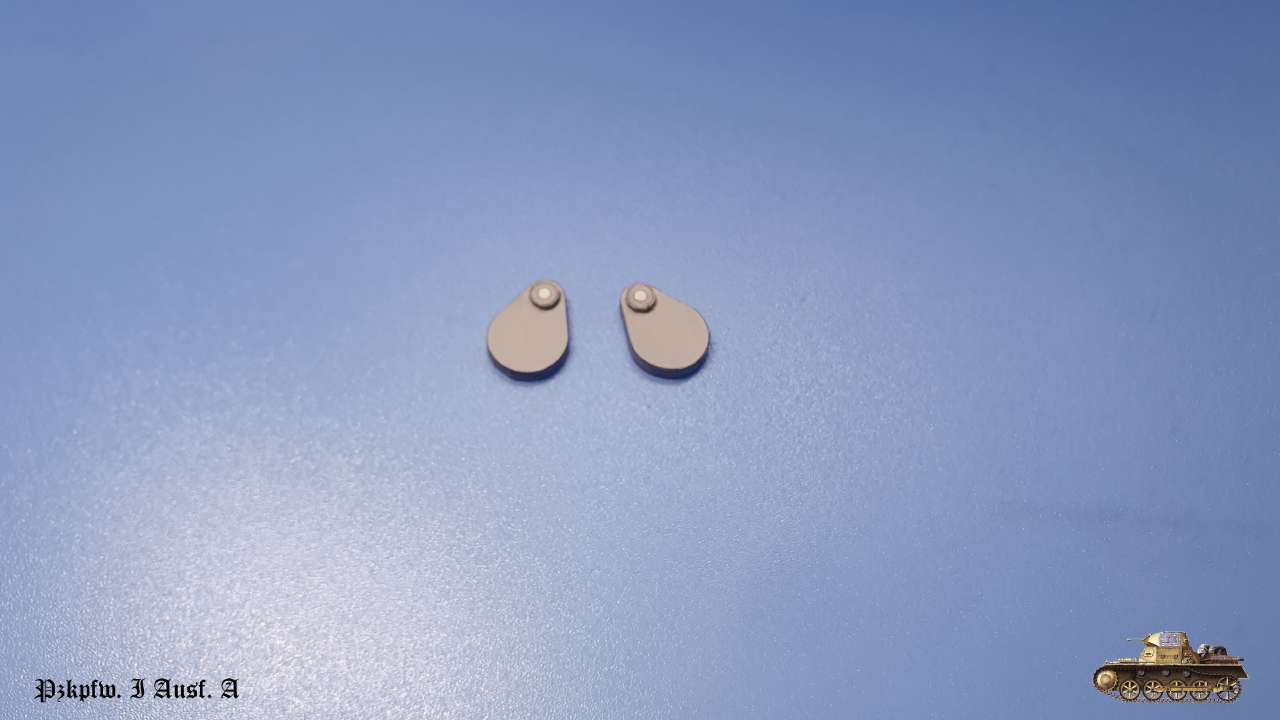 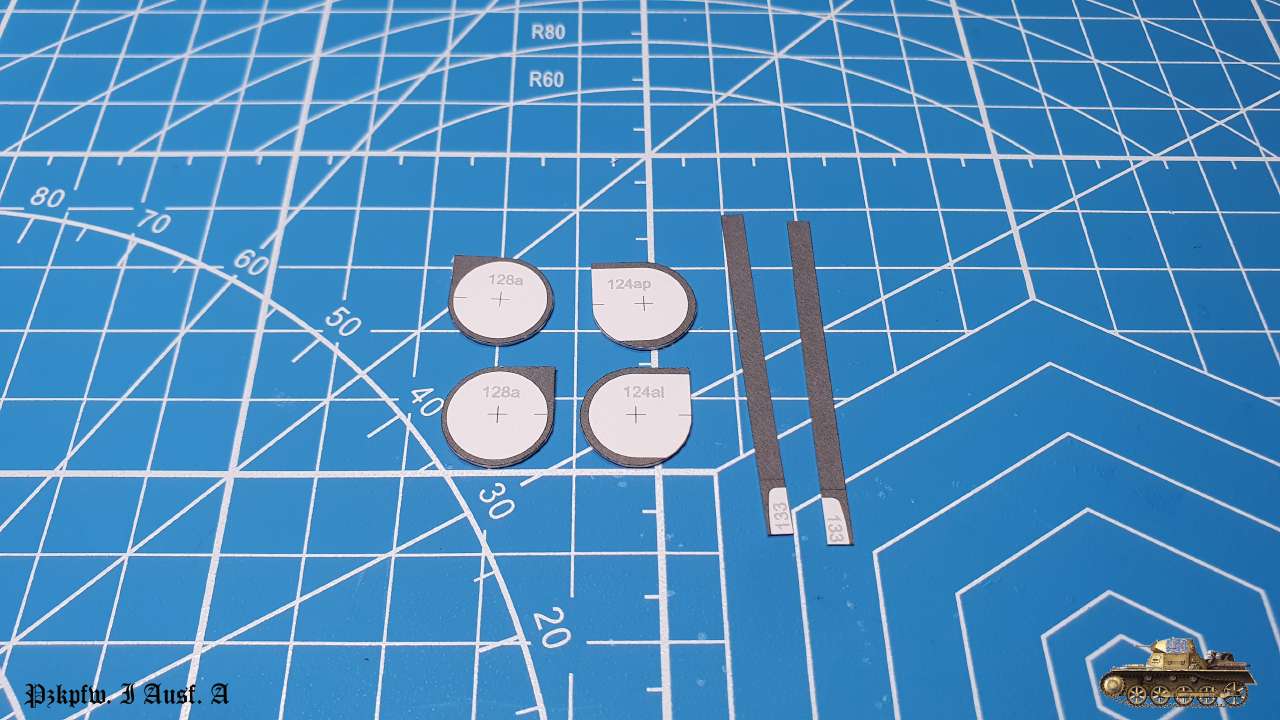 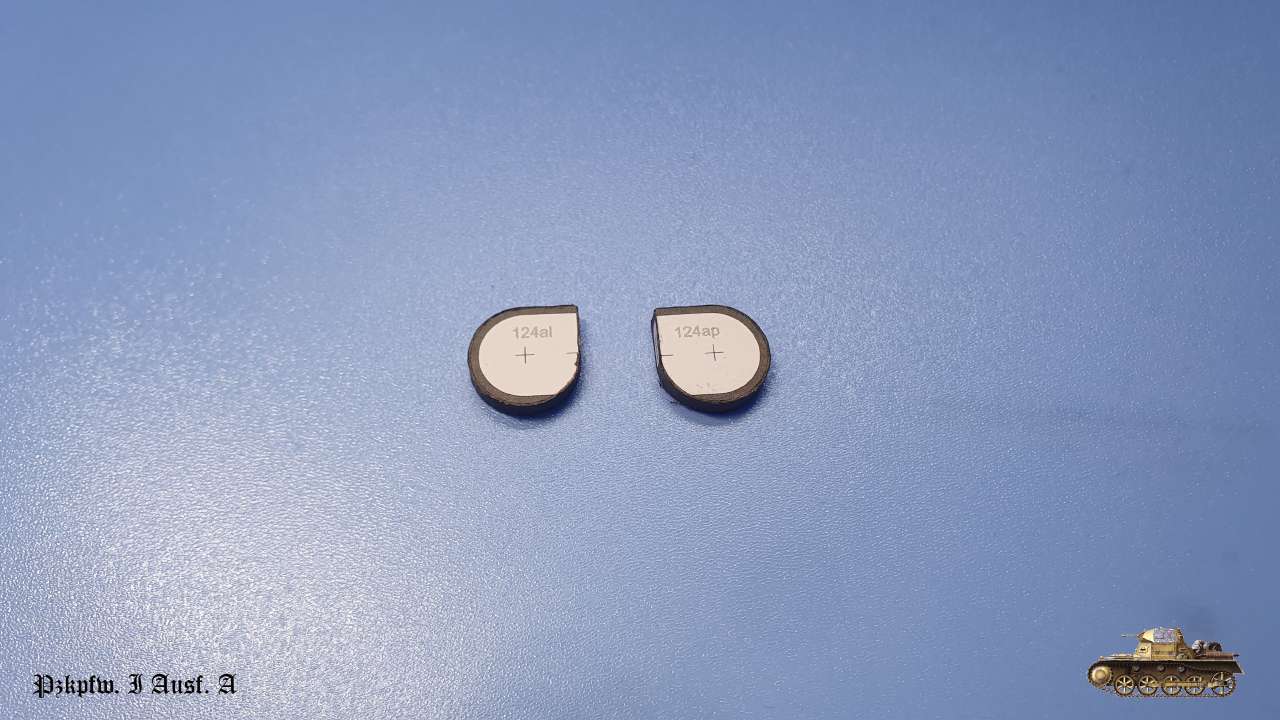 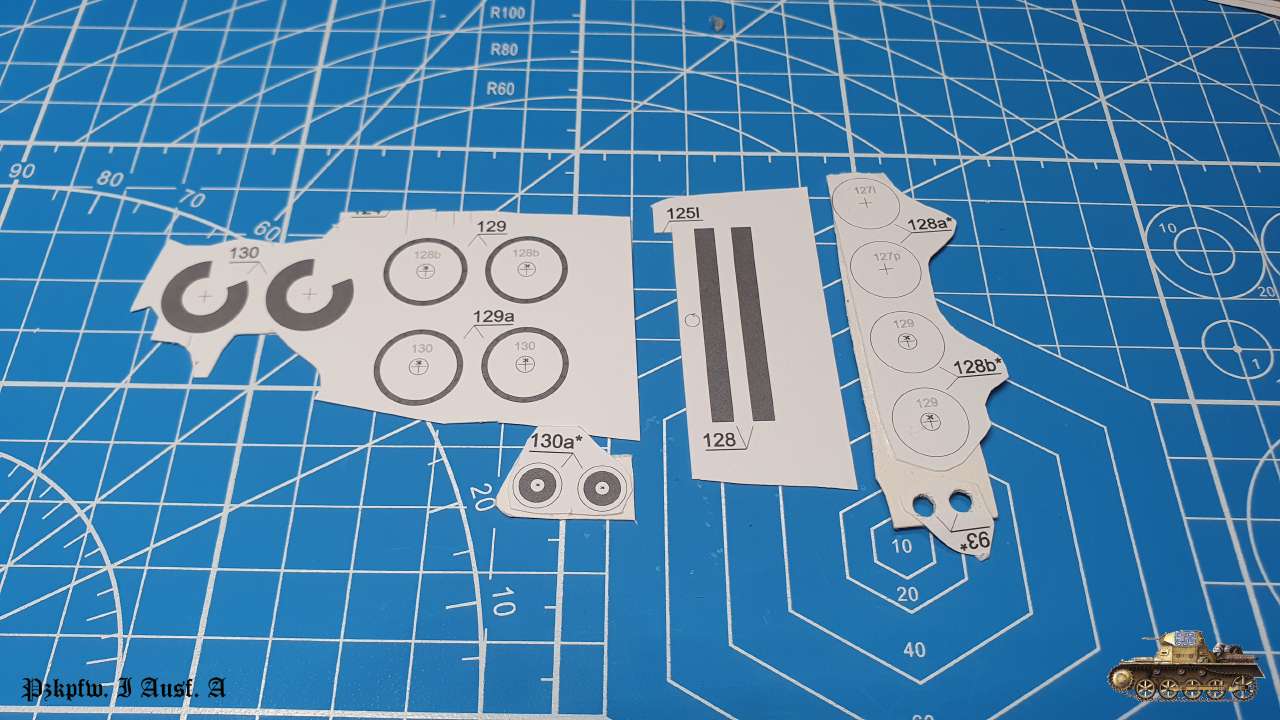 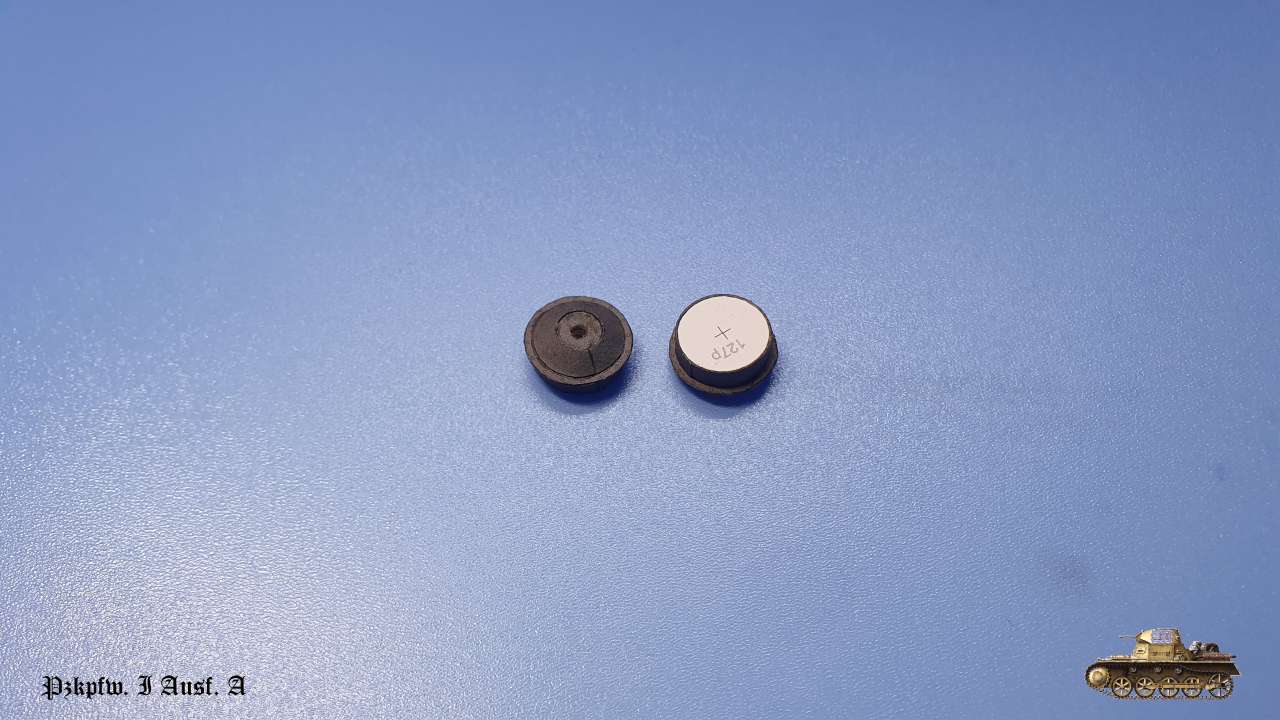 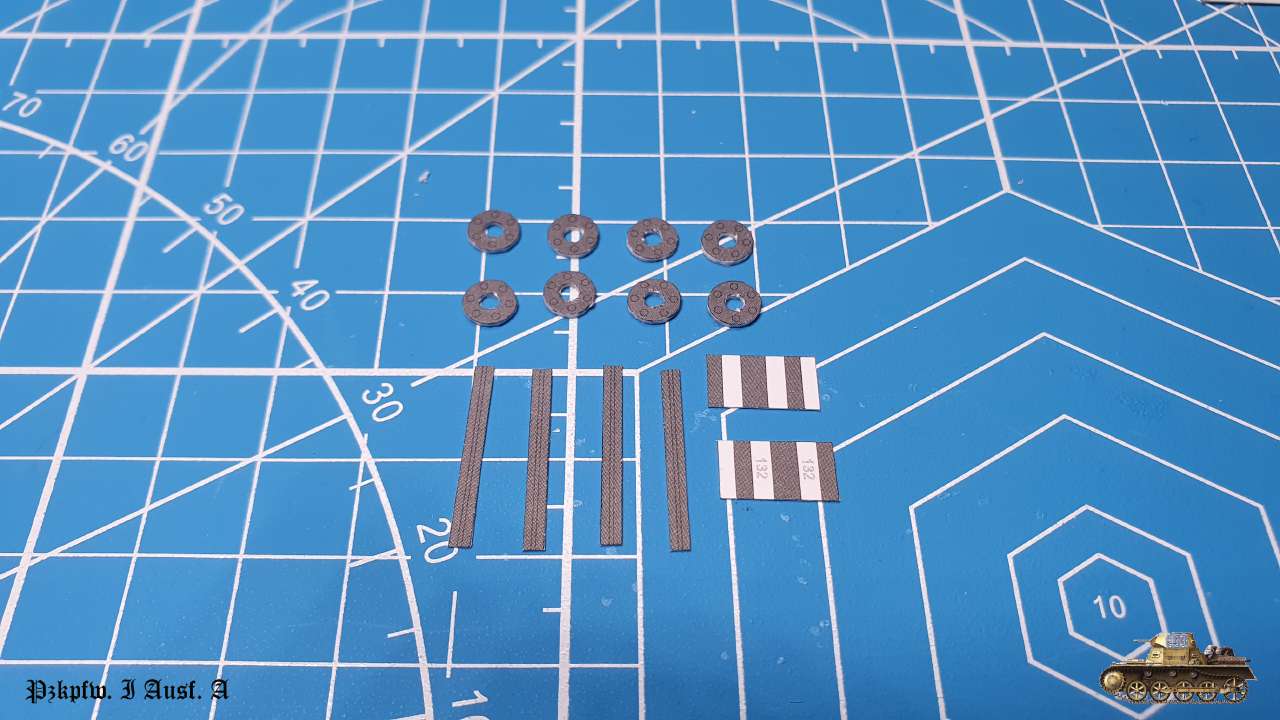 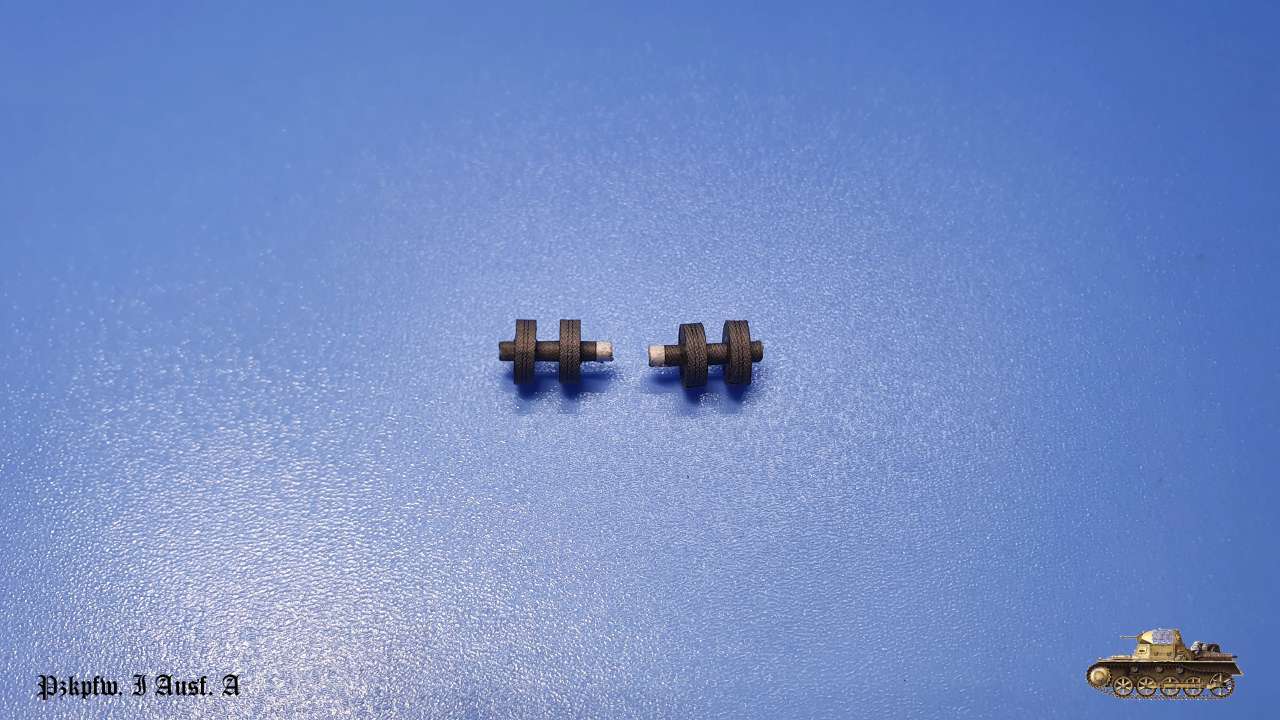 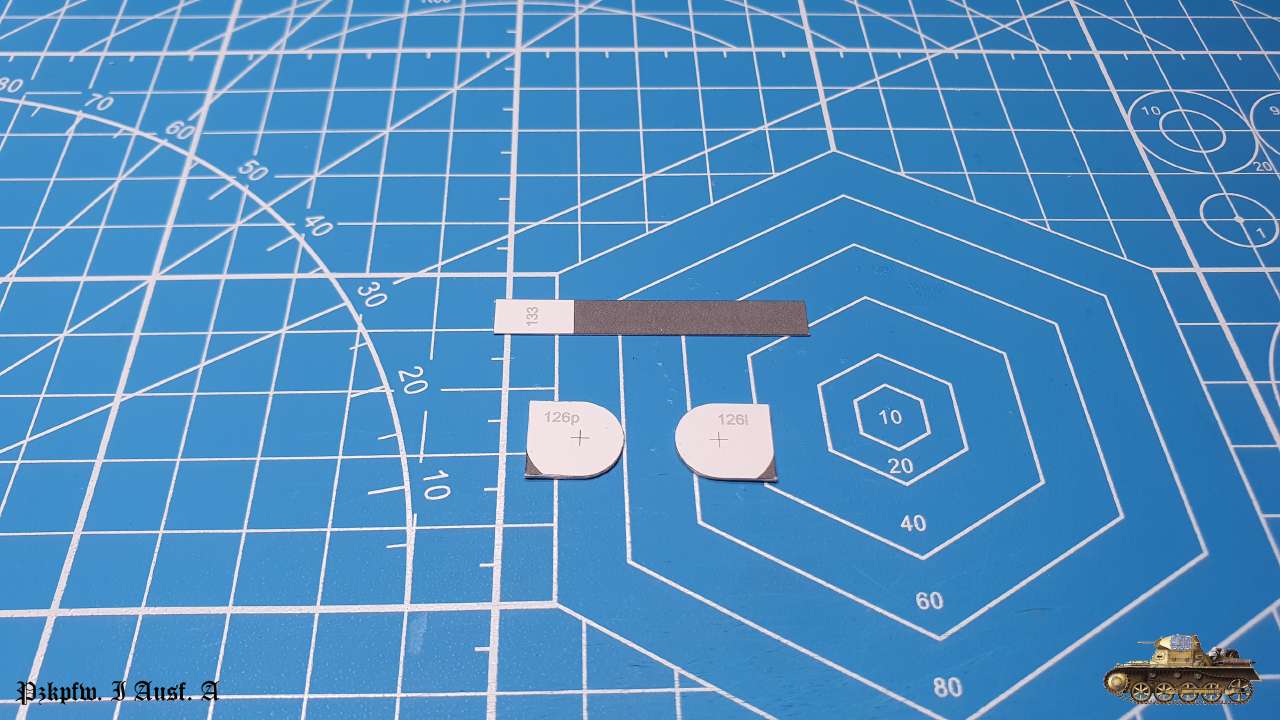 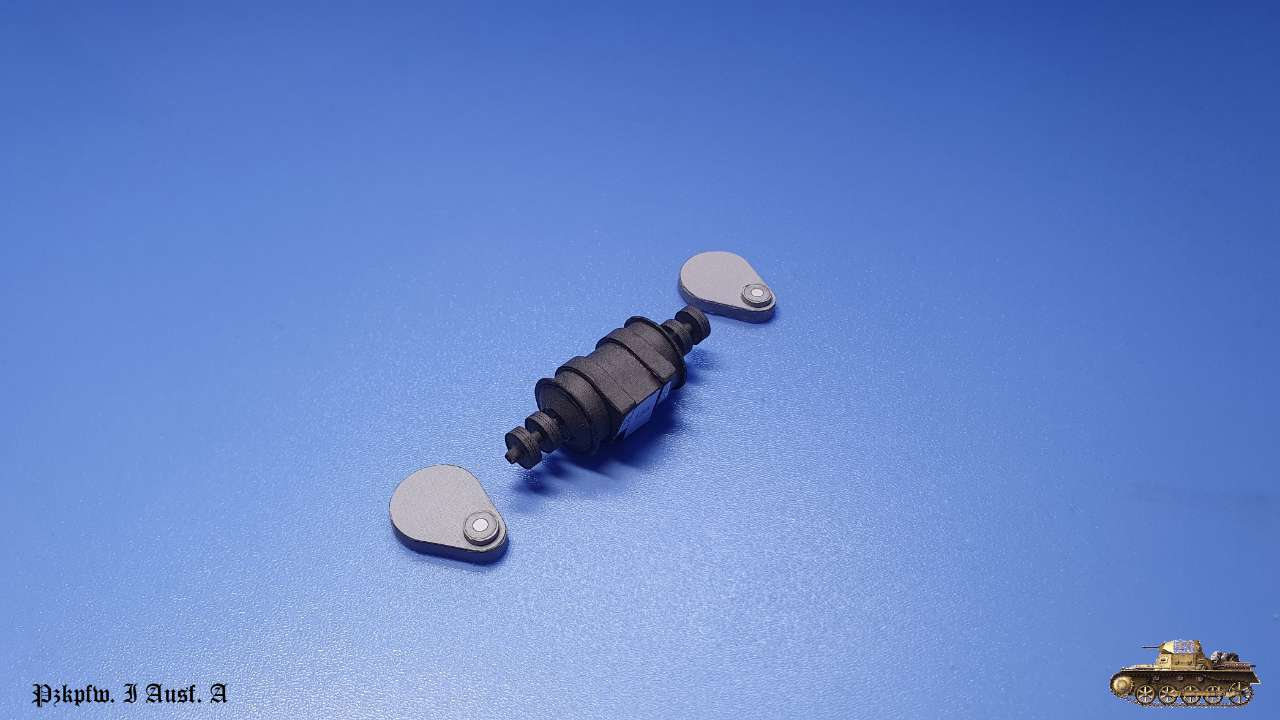 Errors: none
__________________
Welcome to my gallery Last edited by Igor; 09-27-2022 at 02:03 PM. 
|
|
#33
10-03-2022, 05:34 PM
|
||||
|
||||
|
Great craftsmanship.
|
|
#36
01-18-2023, 02:58 PM
|
||||
|
||||
|
Well... Hello to all!
I'm back... after three months Sorry for that ") All this time was consumed by moving with my family to our own apartment. It was a tough period and i didn't find time, space and mood to continue the model. But now i have my own cabinet and more convenient place for the hobby, so the build is back! Eventually i assembled last part of transmission mechanism - reductor. 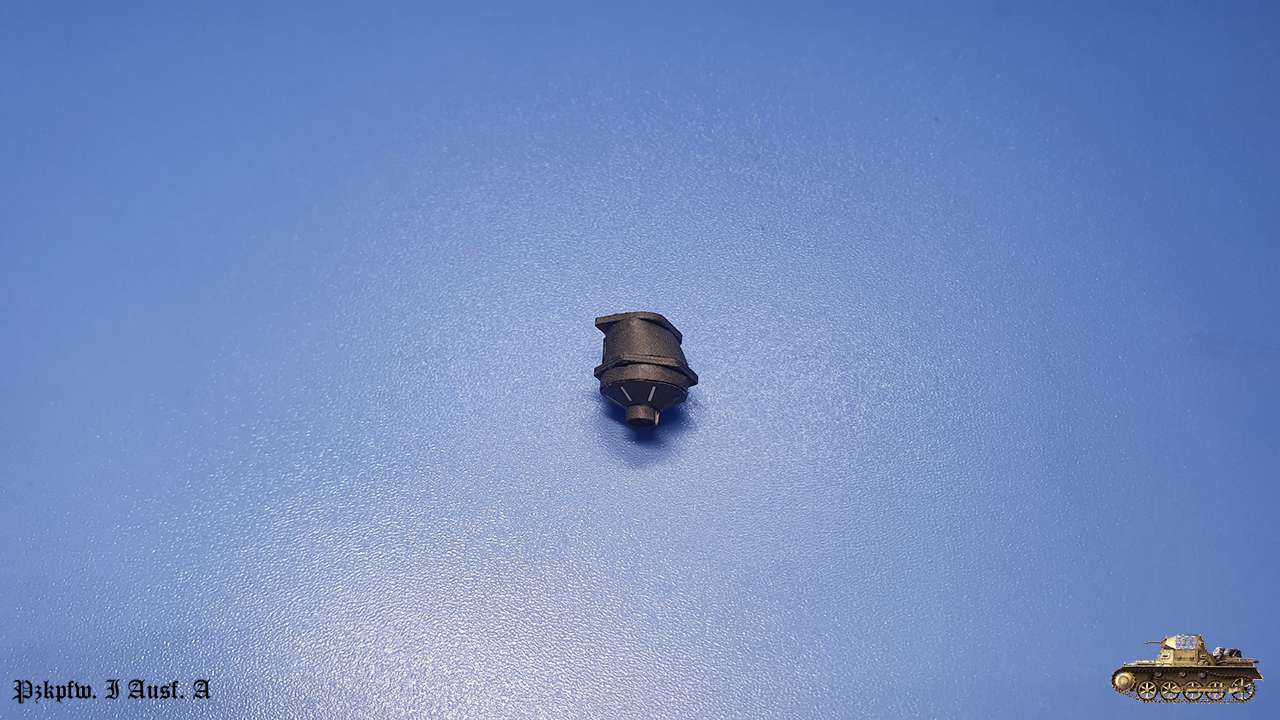 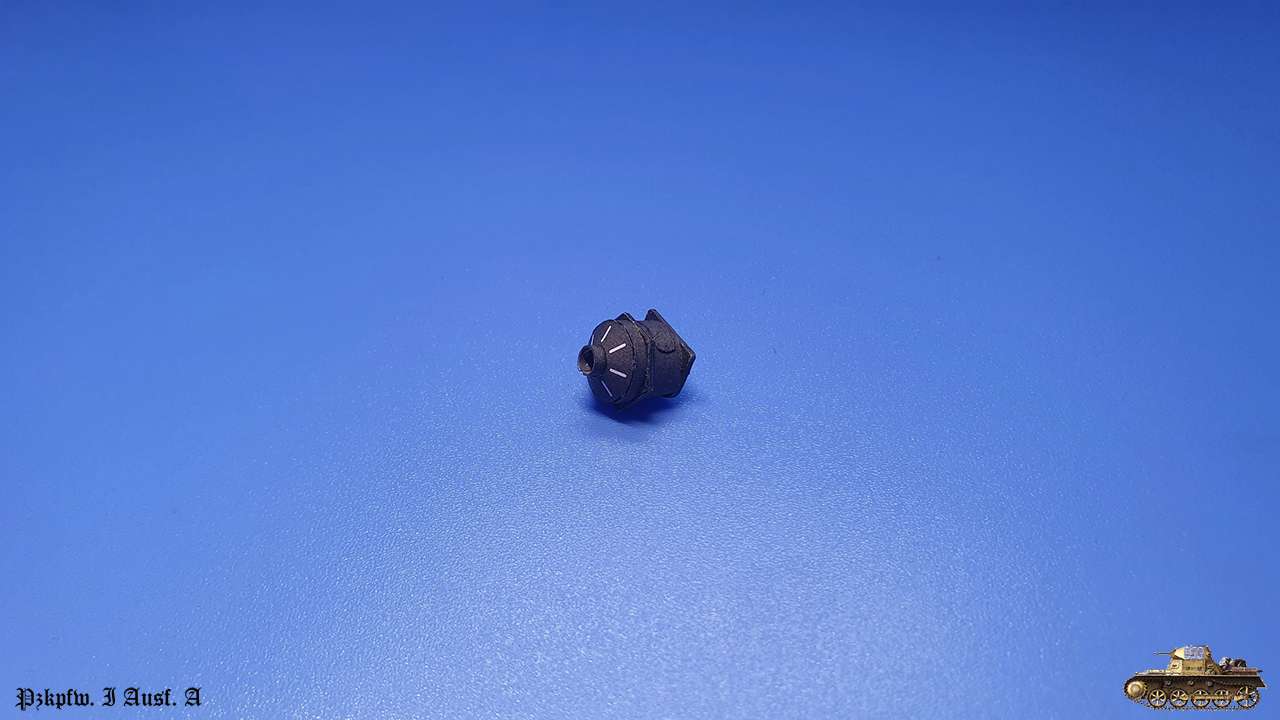 Continued with main driving shaft, that was made from solder rod  And here all the pieces together 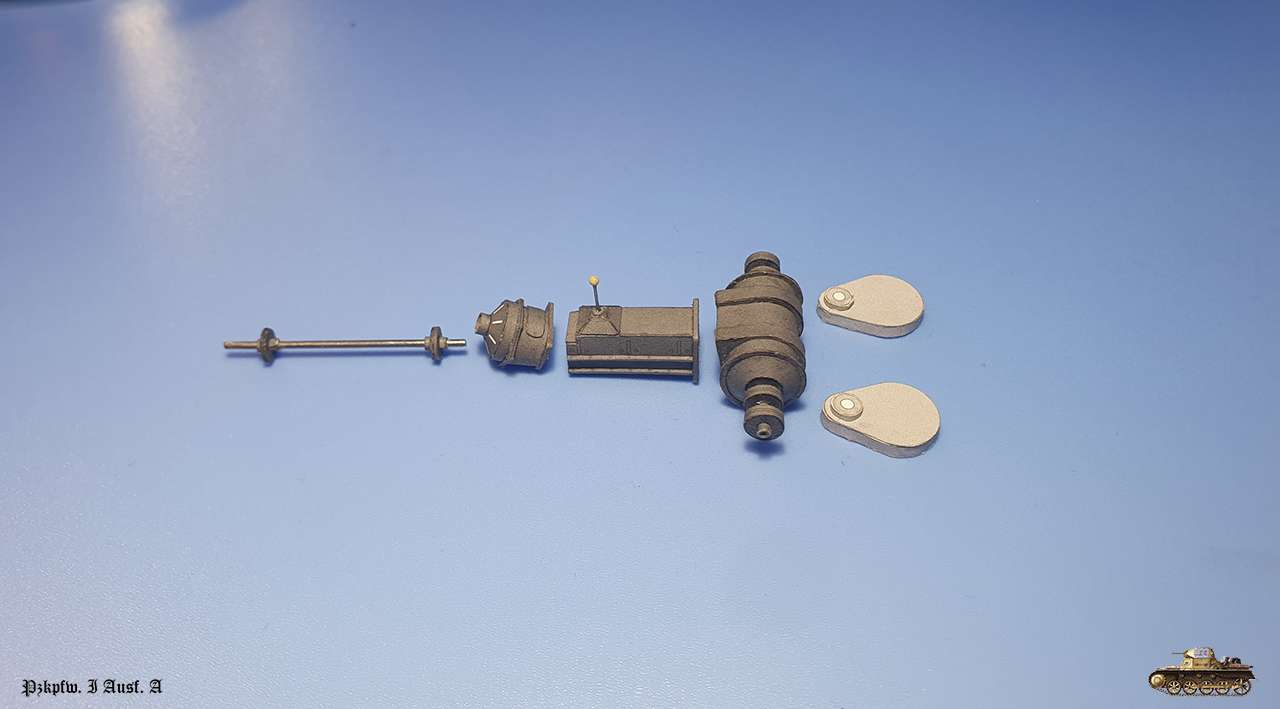 Everything connects good into the hall 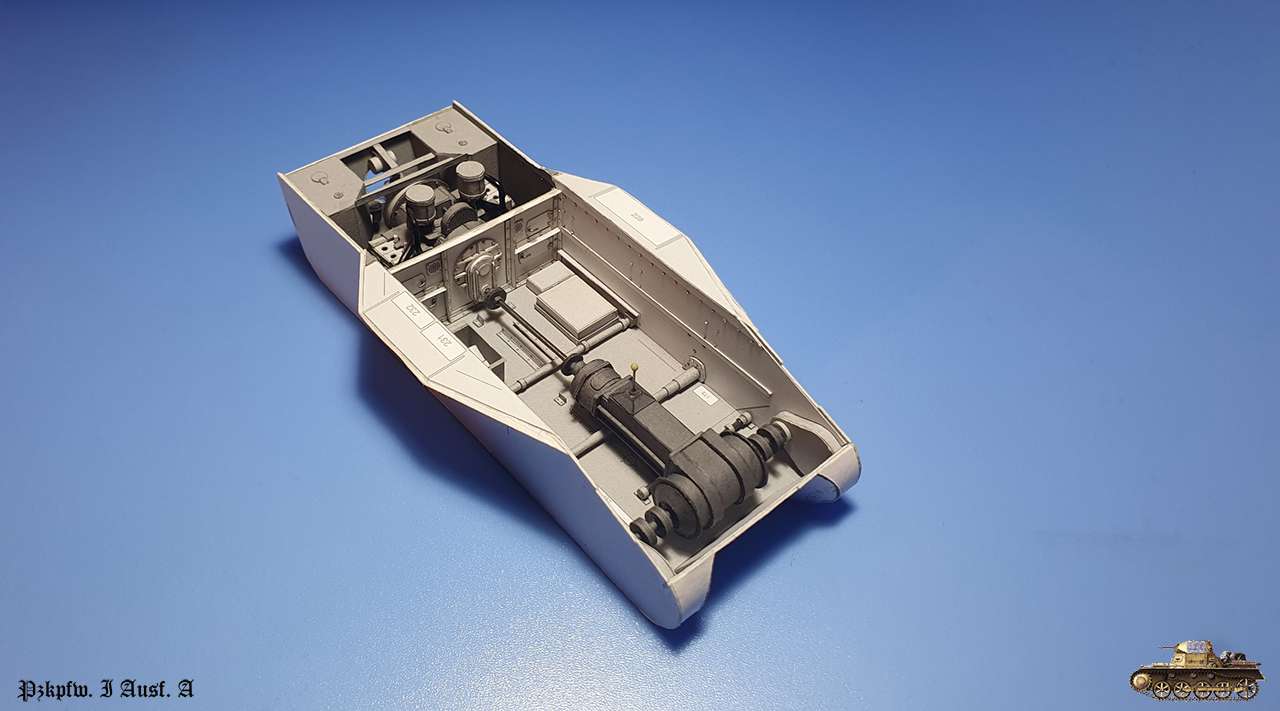 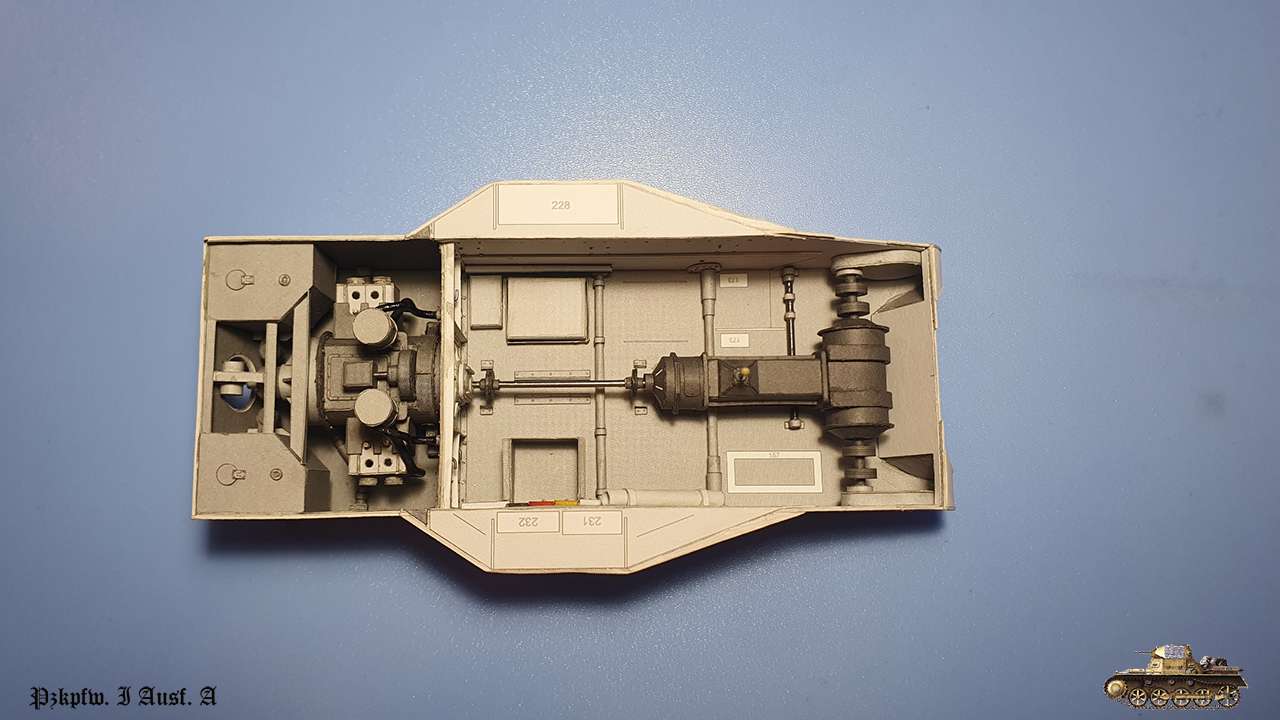 Assembled shaft cover. Tricky one, but that polish glue that i used on Sherman turret helped a lot   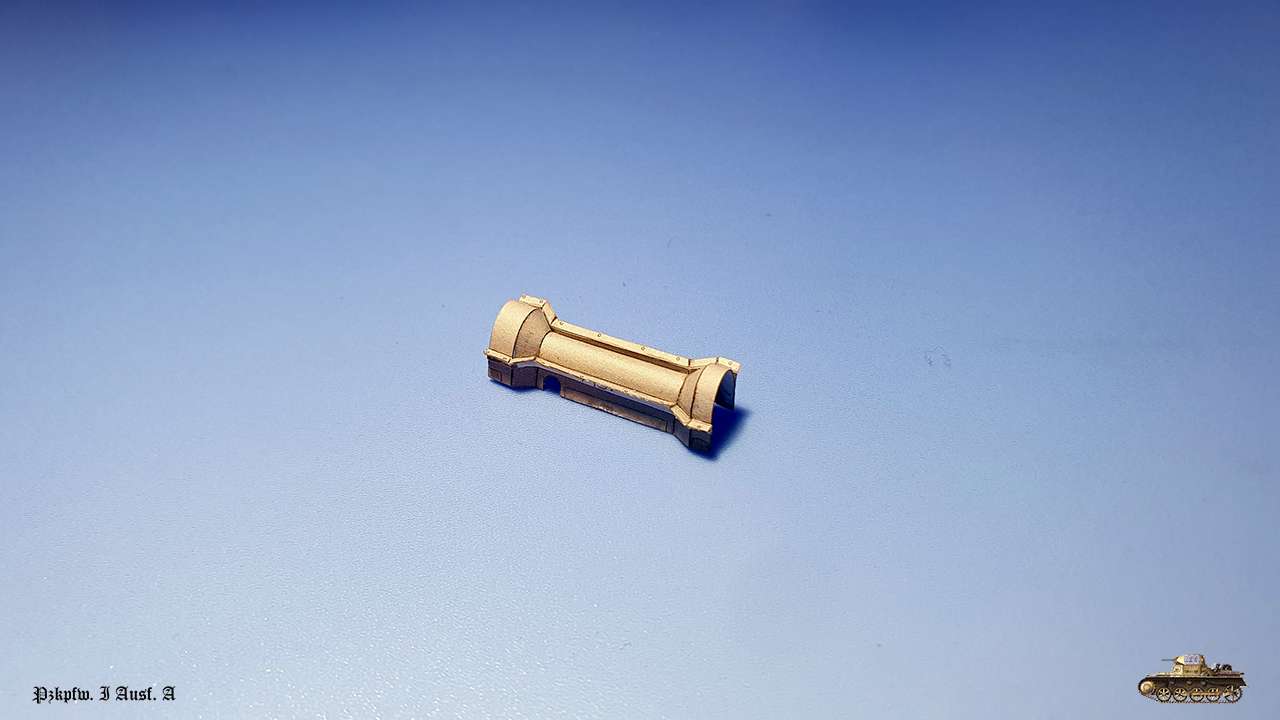 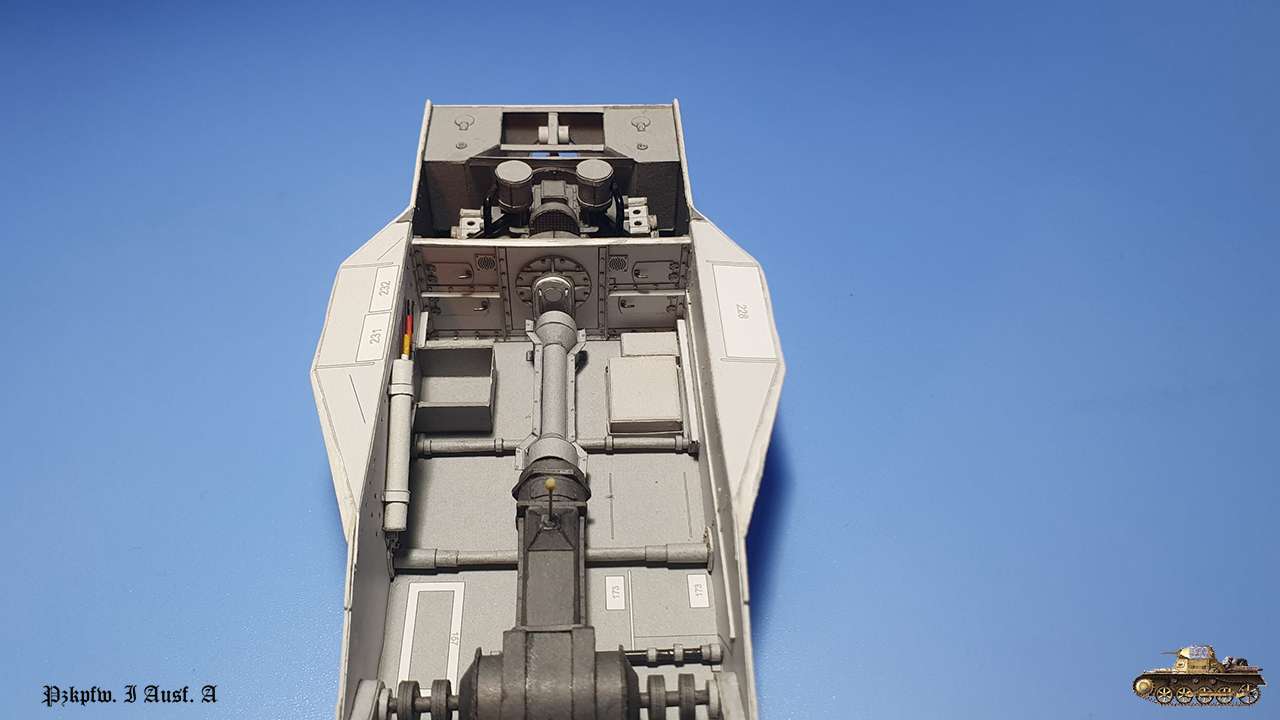 
__________________
Welcome to my gallery Last edited by Igor; 01-18-2023 at 03:14 PM.
|
|
#37
01-18-2023, 03:07 PM
|
||||
|
||||
|
Nice to see you building in your new home.
Terrific work.
|
|
#38
01-20-2023, 02:59 AM
|
||||
|
||||
|
Welcome back Igor, good to hear you have settled well. Glad to see you have resumed this magnificent build!
Erik
|
|
#39
01-22-2023, 04:02 PM
|
||||
|
||||
|
Nice work! a clean accurate build. When i built interior i found that shells did not fit the ammo storage. the diameter was larger than the holes in the shell racks. This a gem of a model not large but stuffed with lots of detail.
Jim
__________________
There is a very fine line between paper modeling and mental illness.
|
|
#40
01-28-2023, 08:43 AM
|
||||
|
||||
|
Thanks Michael, Erik and Jim
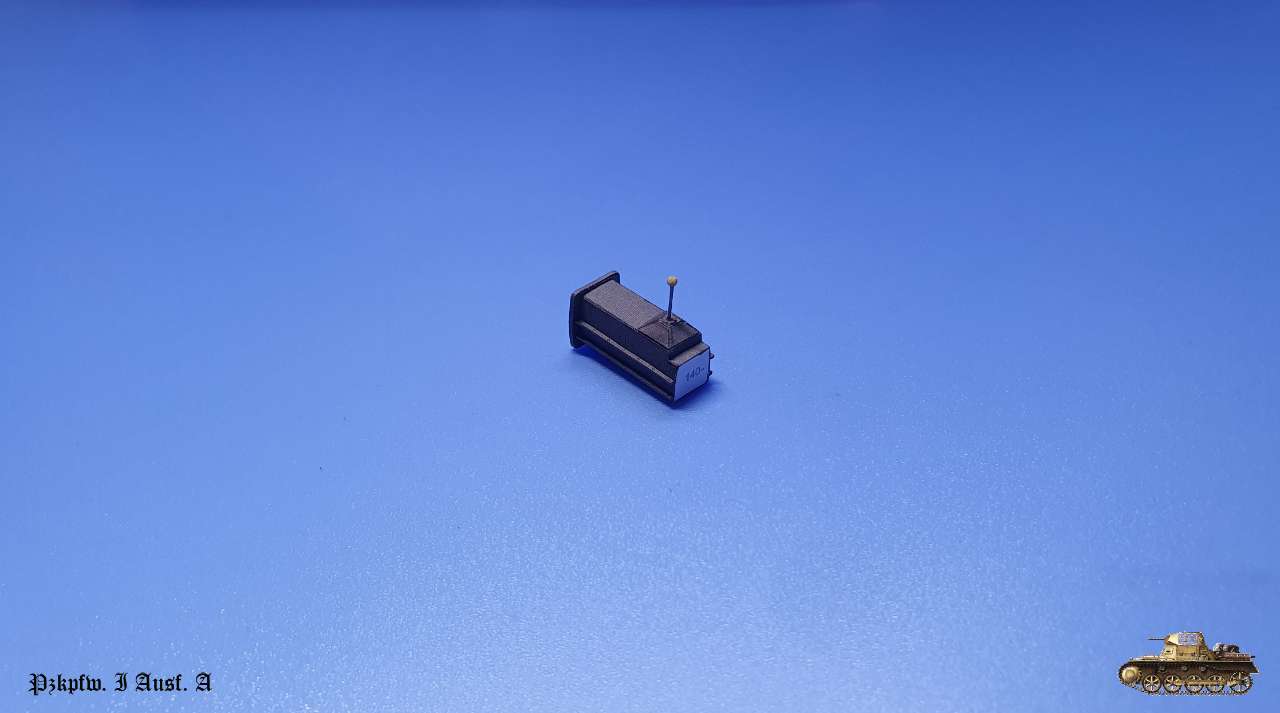
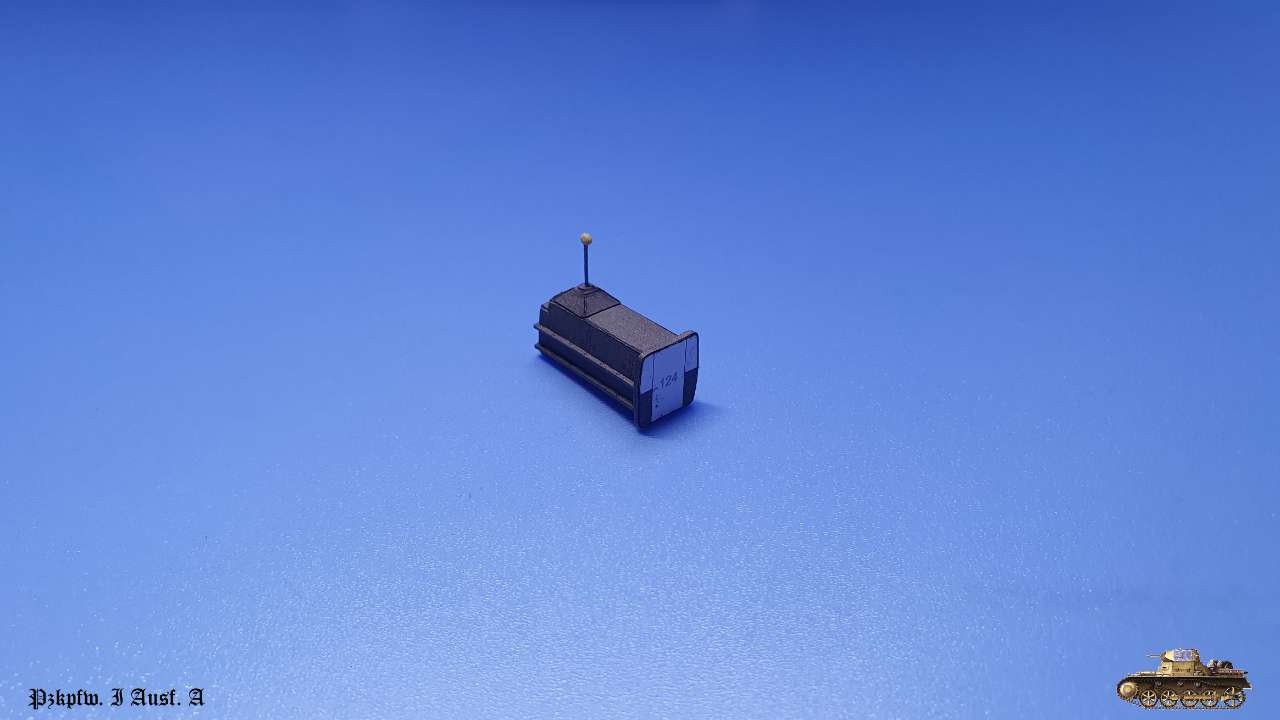
Next are floor plates and accumulator 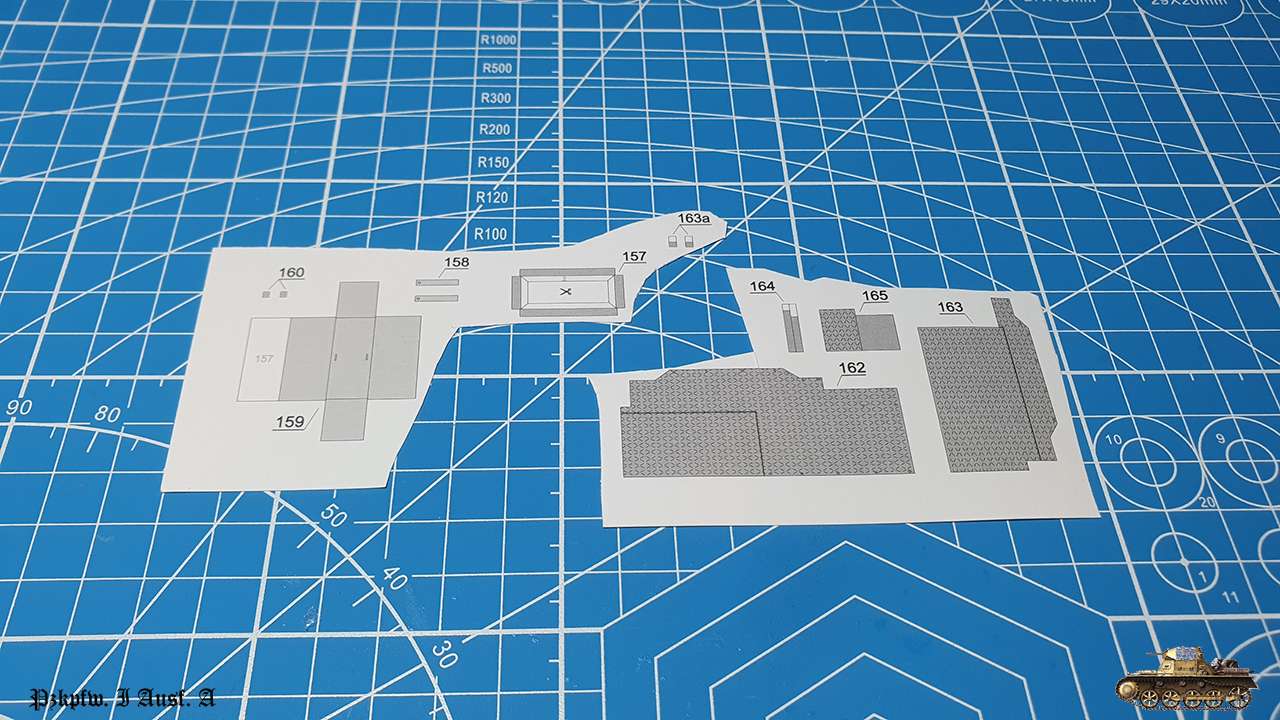 I chose to separate plate,s so those can be lifted to get access to crate below, and put them freely. 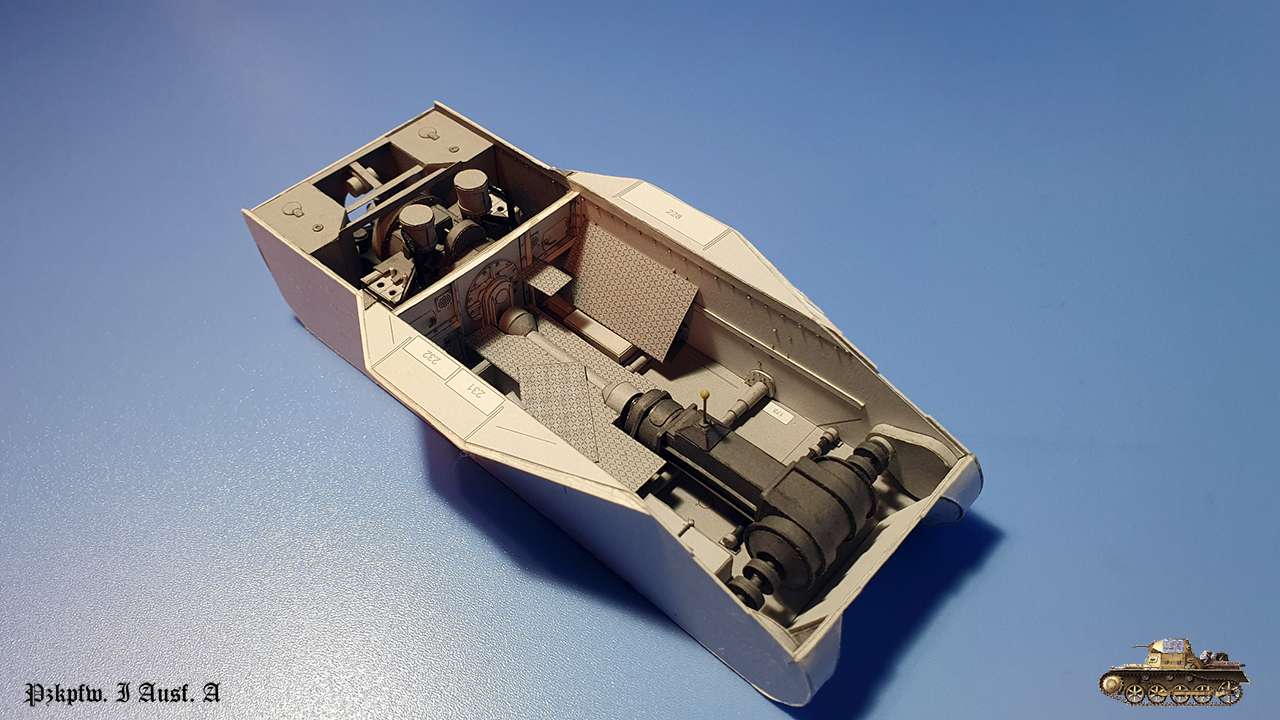  Accumulator 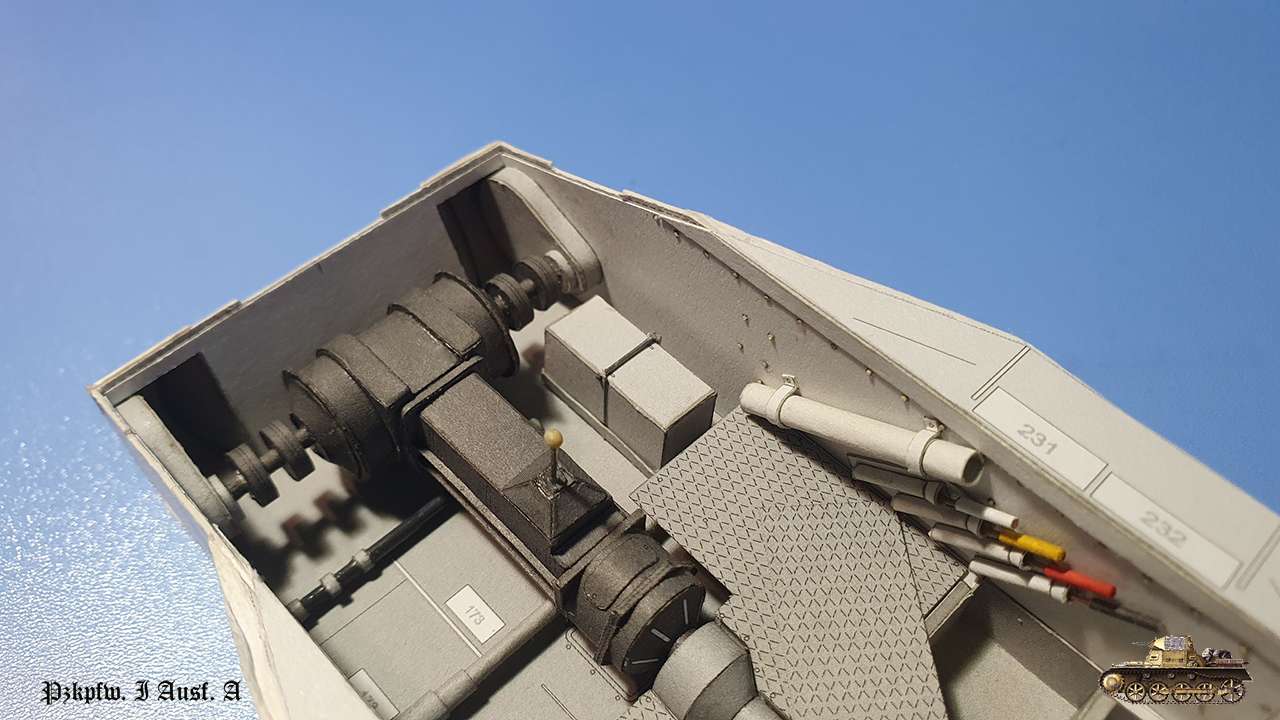 Then i assembled pedals   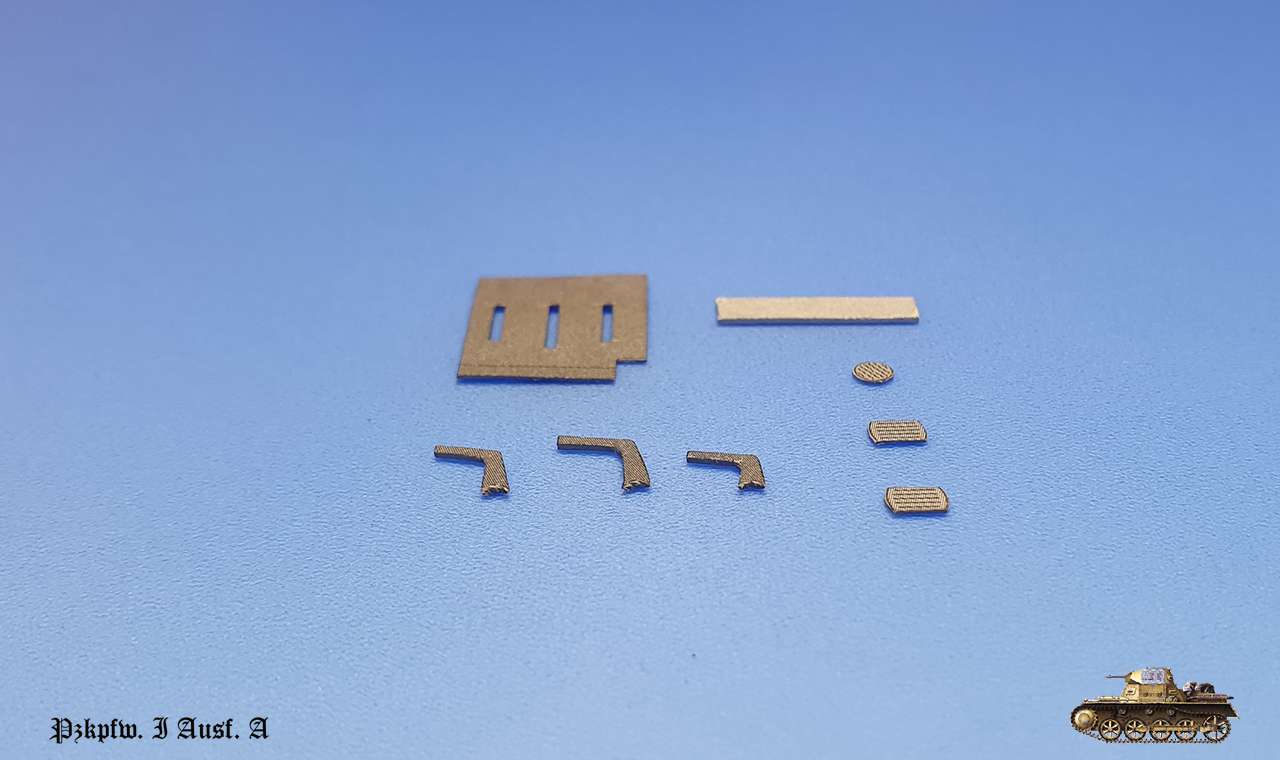 Pedals must be glued to pedal levers only after foot plate put in place.  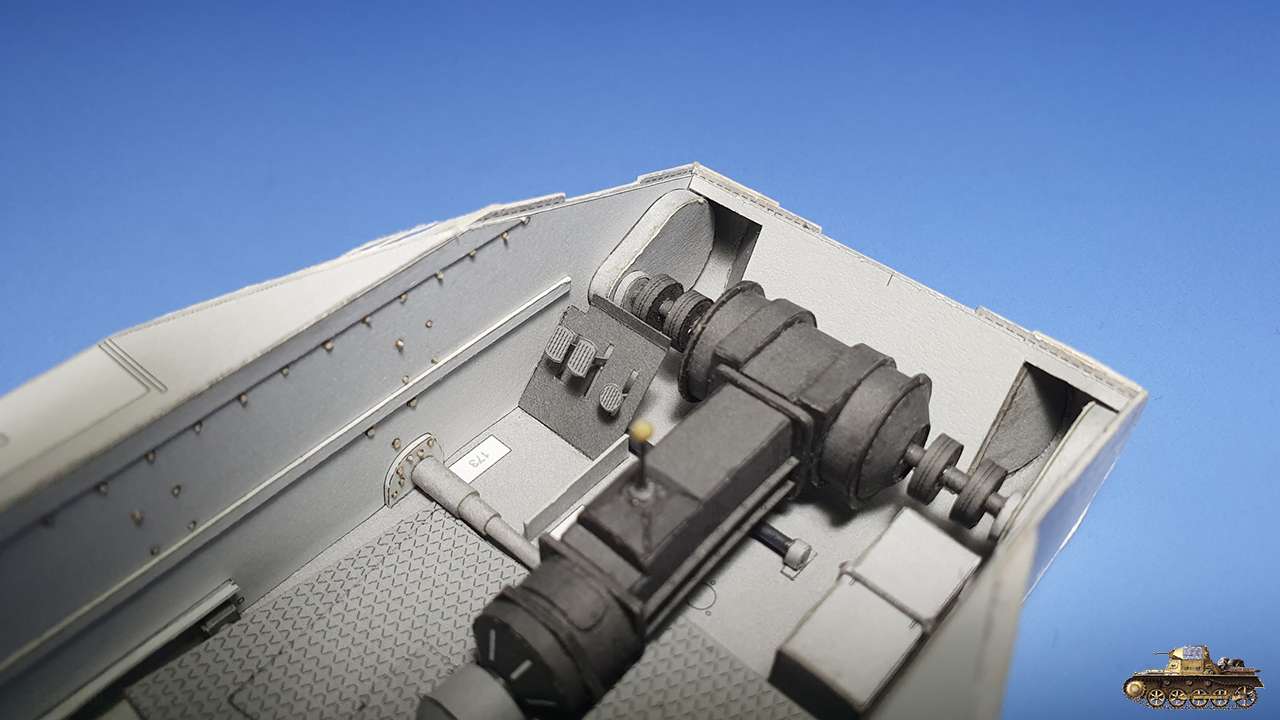 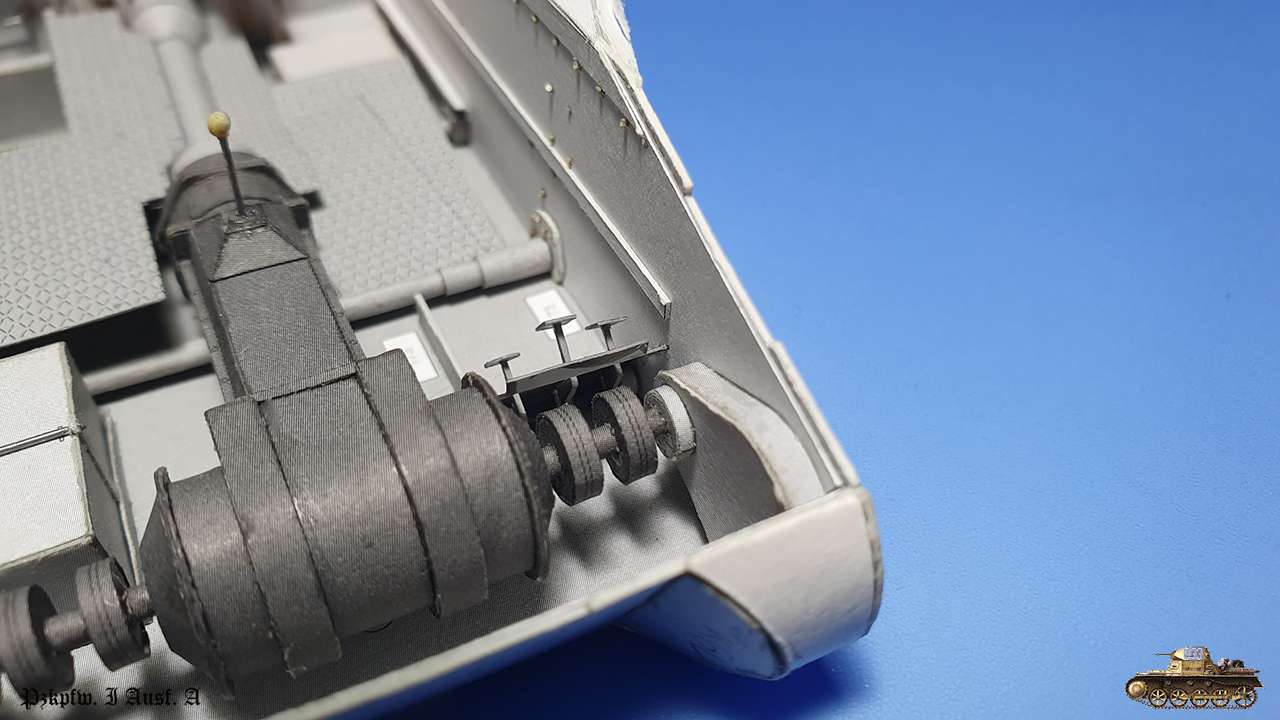 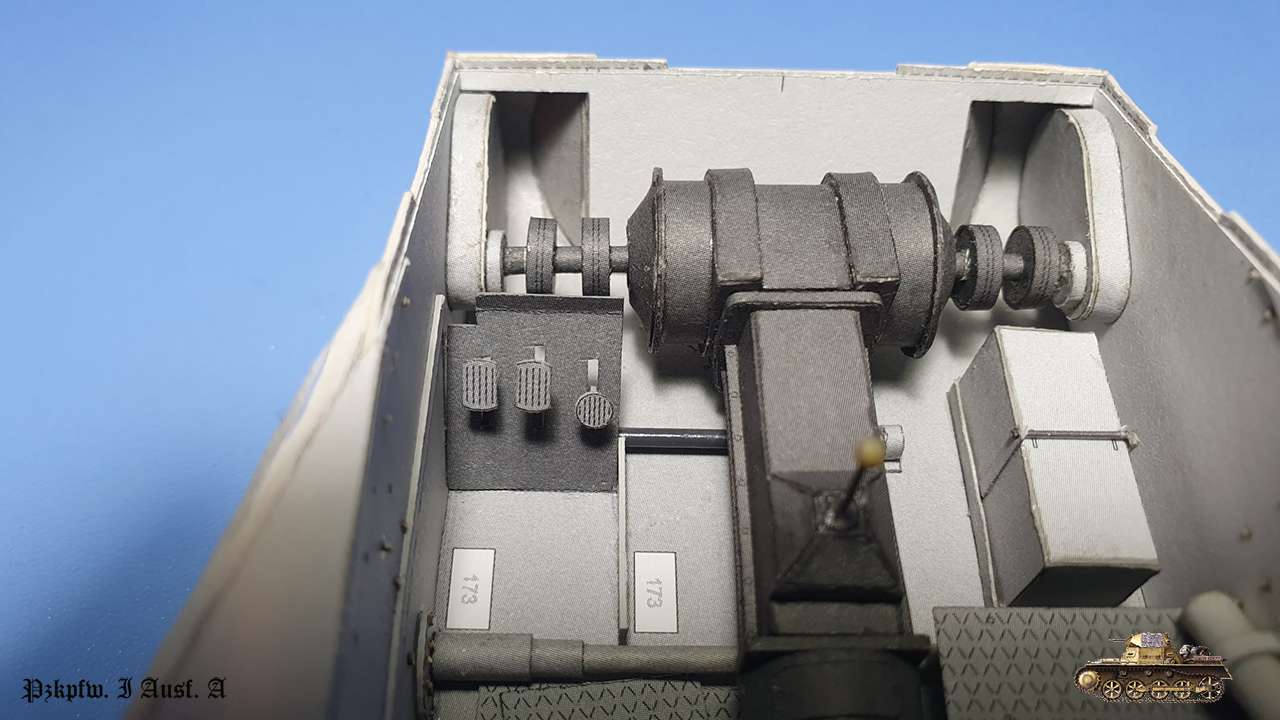 Bugs: None
__________________
Welcome to my gallery
|
| Google Adsense |
 |
|
|


 Linear Mode

