PaperModelers.com

Go Back   PaperModelers.com > Card Models > Model Builds > Aviation

Reply
 
Thread Tools Display Modes
  #1  
Old 03-10-2011, 08:46 AM
gomidefilho's Avatar
gomidefilho gomidefilho is online now
Member
 
Join Date: Nov 2007
Location: Porto Alegre - Rio Grande do Sul - Brazil
Posts: 6,431
Total Downloaded: 2.02 GB
Smile Caproni Ca 3 in 1/100 scale Dre Kampfflieger

Hello my friends!

I show in this thread my build log about the WW1 Italian bomber Caproni Ca 3.

I buy this kit in 2009 direct from Roman shop, so I started the build today.

The Ca 3 is a complex model is a trimotor biplane with twin booms. Roman capture everything details of plane, include cockpit, engines, turret structures.

I started the model aplly a coat of matt varnish in the sheets.


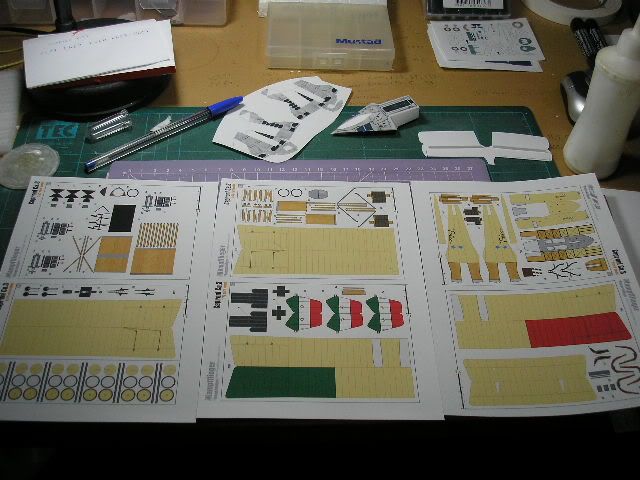
The next step is made the ten wheels from undercarriage, the kit use building scheme, so I turned to lamination with triplex paper...


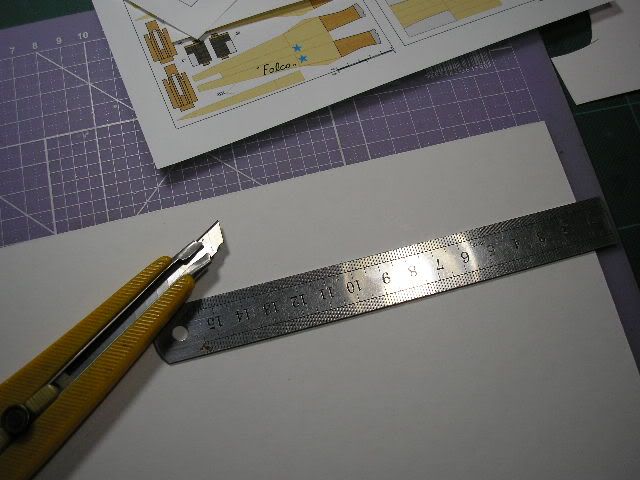
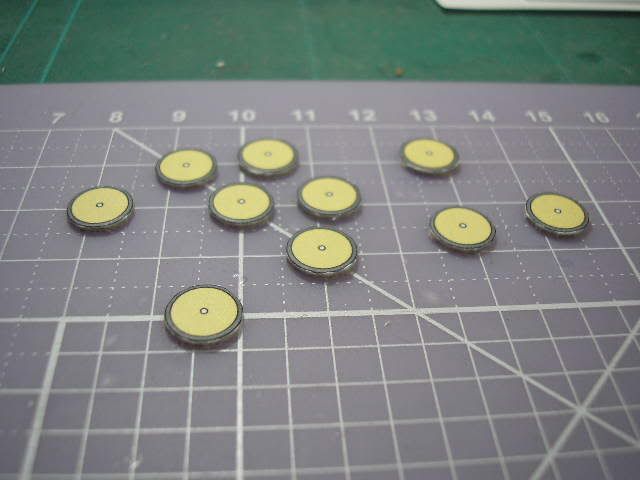
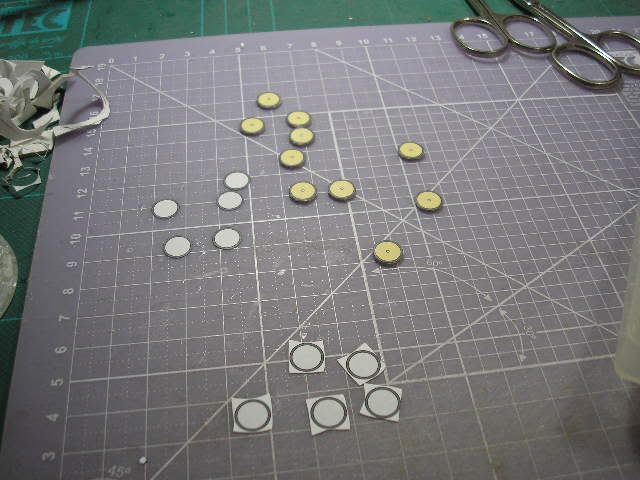
Next steps: sanding the wheels, paint and add canvas...
__________________
DESIGN GROUP ALPHA - DGA
1/100 Fanatic!
https://hangar1972.blogspot.com/
Reply With Quote
Google Adsense
  #2  
Old 03-10-2011, 08:59 AM
Texman's Avatar
Texman Texman is offline
ADMINISTRATOR
 
Join Date: Jul 2007
Posts: 7,457
Total Downloaded: 1.79 GB
Glad to see you doing a build thread Pericles. Perhaps I will learn some new small scale techniques!
__________________
Ray

Respect the Paper, RESPECT IT!
GET OFF MY LAWN!
Reply With Quote
  #3  
Old 03-11-2011, 12:32 AM
Jan Kytop's Avatar
Jan Kytop Jan Kytop is offline
Member
 
Join Date: Jul 2009
Location: Aix en Provence, France, birthplace of Cezanne
Posts: 2,234
Total Downloaded: 2.92 GB
An interesting post for an interesting aircraft , thank you.
Reply With Quote
  #4  
Old 03-11-2011, 01:13 AM
minigamer1953's Avatar
minigamer1953 minigamer1953 is offline
Member
 
Join Date: Apr 2010
Location: Central Wisconsin - literally in the middle of the state.
Posts: 59
Total Downloaded: 18.40 MB
Caproni Build

Thank you Pericles. I am interested in this kit and it is a lovely aircraft in real life. I hope watching your build will answer the many questions I have about building kits like this. As an example, I am used to kit parts having glue tabs on them and have no clue how to make wings without spars and ribs for interior bracing. Ric minigamer1953
Reply With Quote
  #5  
Old 03-11-2011, 01:33 PM
gomidefilho's Avatar
gomidefilho gomidefilho is online now
Member
 
Join Date: Nov 2007
Location: Porto Alegre - Rio Grande do Sul - Brazil
Posts: 6,431
Total Downloaded: 2.02 GB
Smile

Thank's my friends. In this weekend more progress about...

Quote:
Originally Posted by minigamer1953 View Post
Thank you Pericles. I am interested in this kit and it is a lovely aircraft in real life. I hope watching your build will answer the many questions I have about building kits like this. As an example, I am used to kit parts having glue tabs on them and have no clue how to make wings without spars and ribs for interior bracing. Ric minigamer1953
Minigamer, the gluing pieces with tabs out is simple, the basic is a use a small portions of glue. For no deformation I use PVA white glue, in this case the chord of wing is very slim, and no exist the need for internal reinforcements, but I am predicting a small problem in the top wing, is a junction of two, for this case a use a internal conector made with 75g filecoat paper. At the stage of build is little early. I not know about other little surprises. My intent is a make small customizations if possible. The build log show this...

Cheers!!!

Péricles
__________________
DESIGN GROUP ALPHA - DGA
1/100 Fanatic!
https://hangar1972.blogspot.com/
Reply With Quote
Google Adsense
  #6  
Old 03-11-2011, 06:05 PM
Alcides's Avatar
Alcides Alcides is offline
Member
 
Join Date: Jul 2007
Location: Buenos Aires - Argentina
Posts: 1,278
Total Downloaded: 2.09 MB
Smalll and a lot of rigging .... I'm going to look with interest Pericles
__________________
Mate Amargo models.
Reply With Quote
  #7  
Old 03-14-2011, 09:09 AM
gomidefilho's Avatar
gomidefilho gomidefilho is online now
Member
 
Join Date: Nov 2007
Location: Porto Alegre - Rio Grande do Sul - Brazil
Posts: 6,431
Total Downloaded: 2.02 GB
Smile

Small updates...

I build the canvas wheels, are 10 pieces in total.


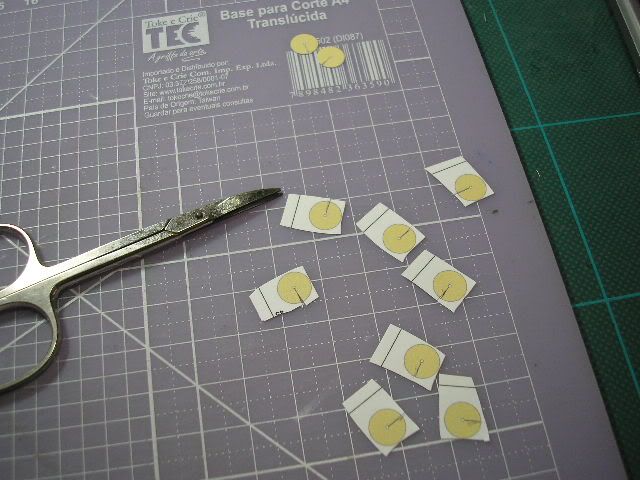
A tip for gluing small pieces: is a usefull tool, a hypodermical syringue, to distribute a small amounts of glue... To conform the piece I use a needle. I pressing the piece on his palm and making the circumference of the canvas to form the cone, before I painted the white line edges with a hidrocolor pen.


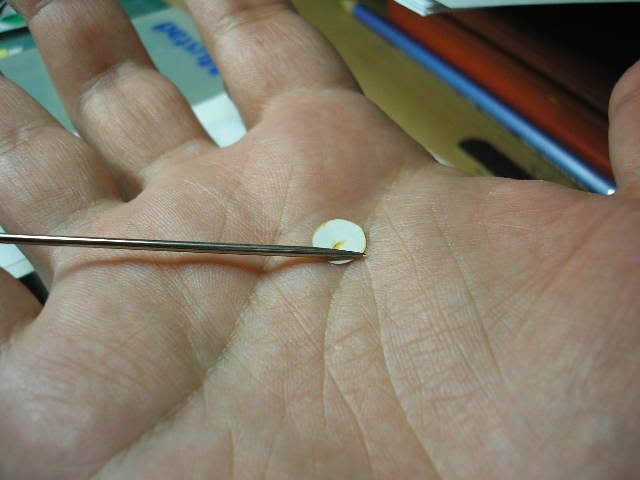
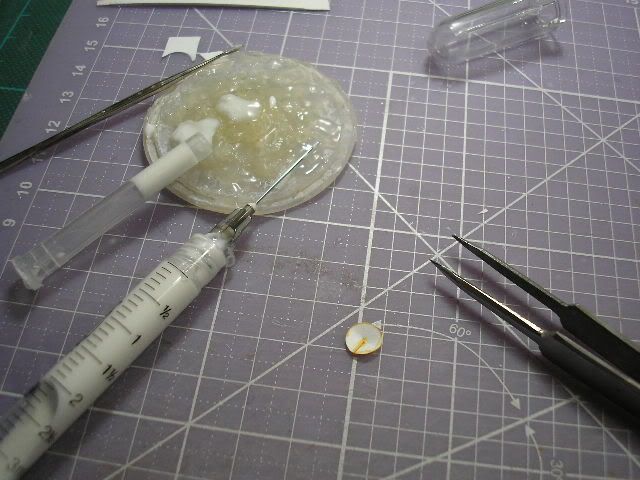
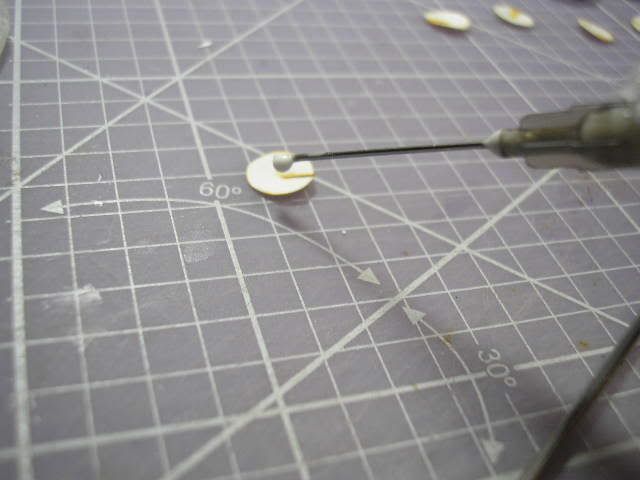
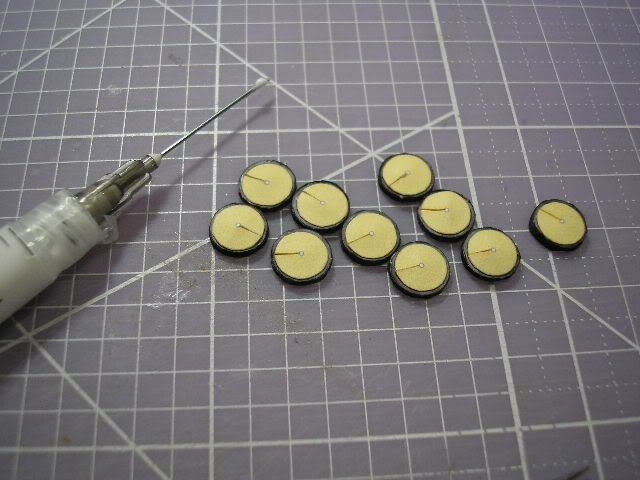
result: finished wheels.

I decide, make to superior wing, is segmented with two pieces, is a small problem, at the moment is a join to two pieces, I think in use a small piece of 75g paper joiner...

In general WWI model have a small wing chord, in this model Roman not use a internal reinforcement, because the shape of airfoil, use a curve...

In the pics the wing process build...


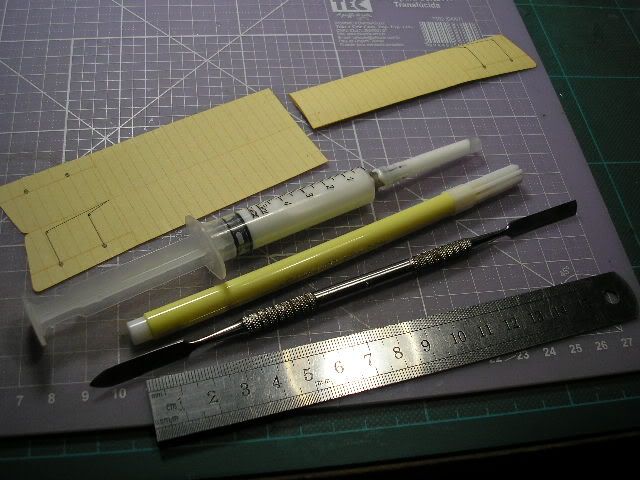
The tools used in process, the secret is apply small amount of glue the rear of wing, for fold I make a small valley in wing bord, for this I use a dental spatula, the edge lines are painted with hydrocolor pens...


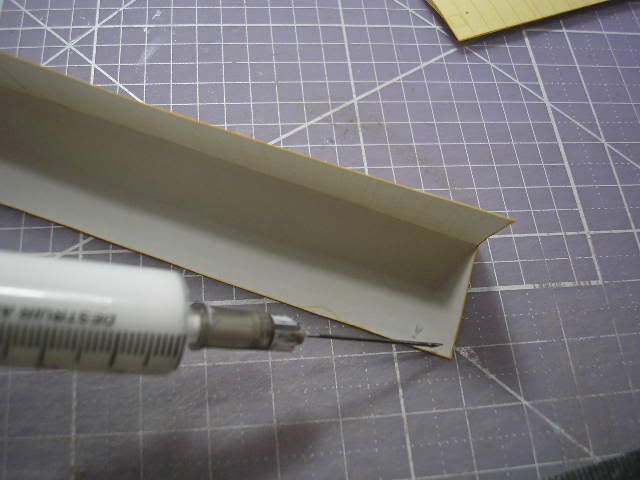
I apply the glue...

For drying, is a important tip, I press the wing in the bench, this action produce a safe gluing, no produce a deformation in thw wing...


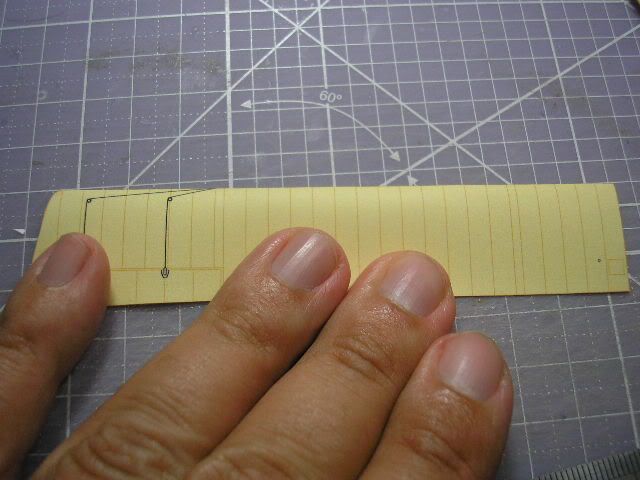
Finish I gluing the tip wing. and produce curve chord with a cylinder of plastic...


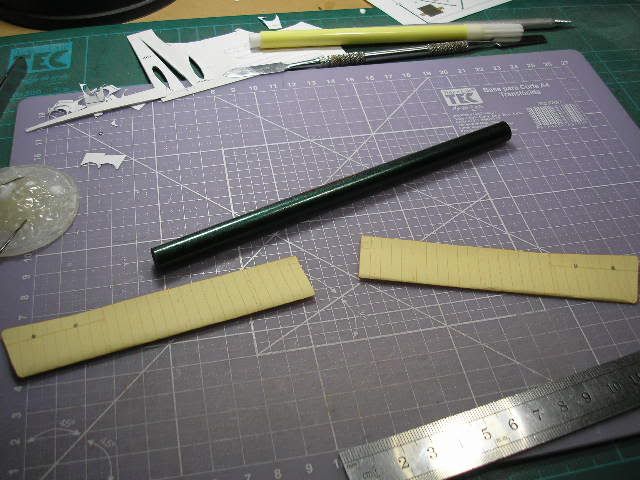
Pieces finish and reserve for future steps...

Continue soon...
__________________
DESIGN GROUP ALPHA - DGA
1/100 Fanatic!
https://hangar1972.blogspot.com/
Reply With Quote
  #8  
Old 03-14-2011, 09:37 AM
Don Boose's Avatar
Don Boose Don Boose is offline
Member
 
Join Date: Jul 2007
Location: Carlisle, Pennsylvania
Posts: 20,748
Total Downloaded: 424.90 MB
Beautiful work, Pericles. And many very useful techniques, too!

Don
Reply With Quote
  #9  
Old 03-18-2011, 12:37 PM
gomidefilho's Avatar
gomidefilho gomidefilho is online now
Member
 
Join Date: Nov 2007
Location: Porto Alegre - Rio Grande do Sul - Brazil
Posts: 6,431
Total Downloaded: 2.02 GB
Smile

Tahnk's Dom

In this week a produce little progress in the model, before a general build, I constructed many elements, I'm focused in pieces of cockpit at this time...


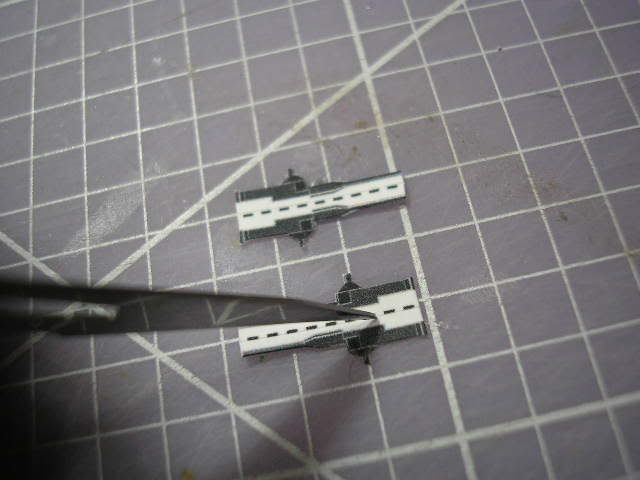
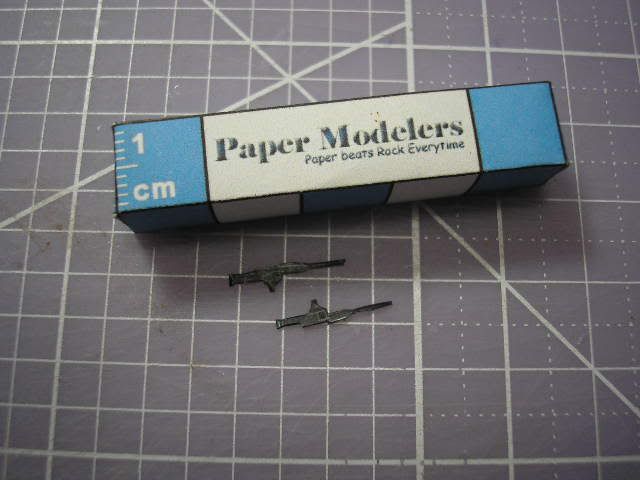
FIAT Revelli Machine guns, for produce perfect fold I use a old scalpel blade...


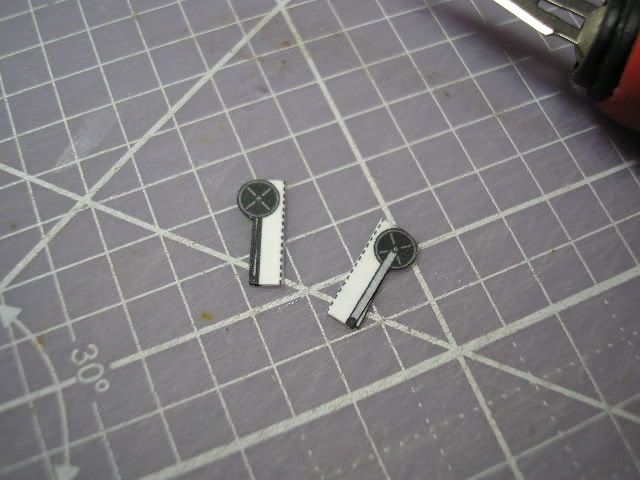
The same process build in the pilots column...


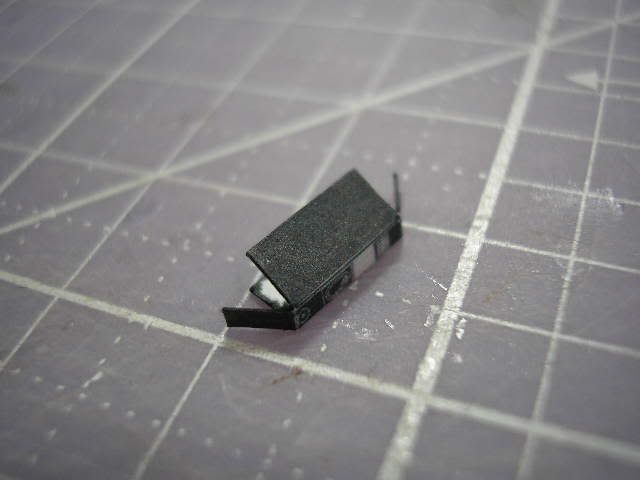
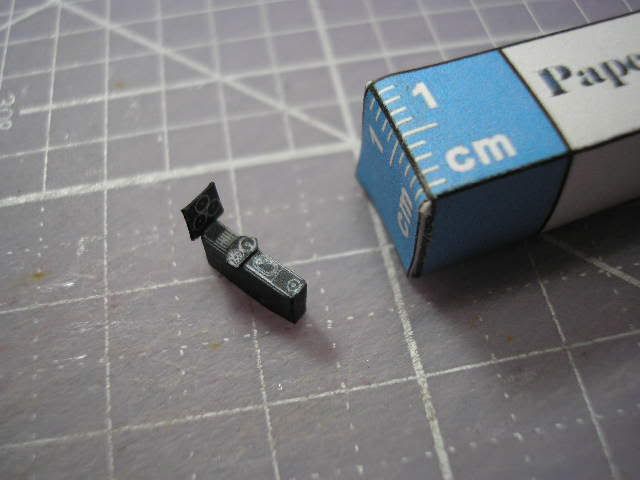
Control console and instrument board...
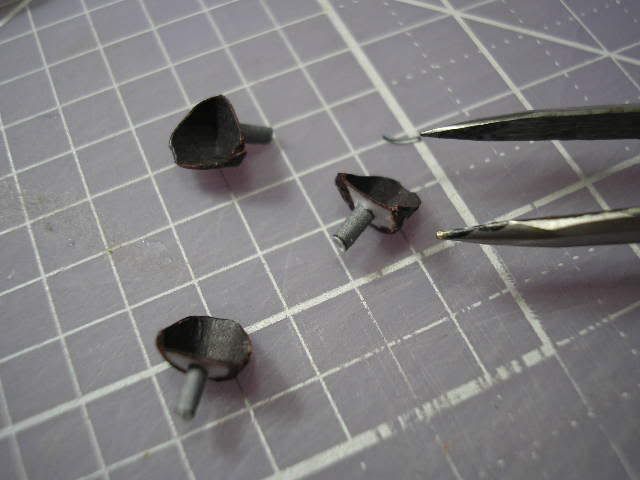


Crew seats...


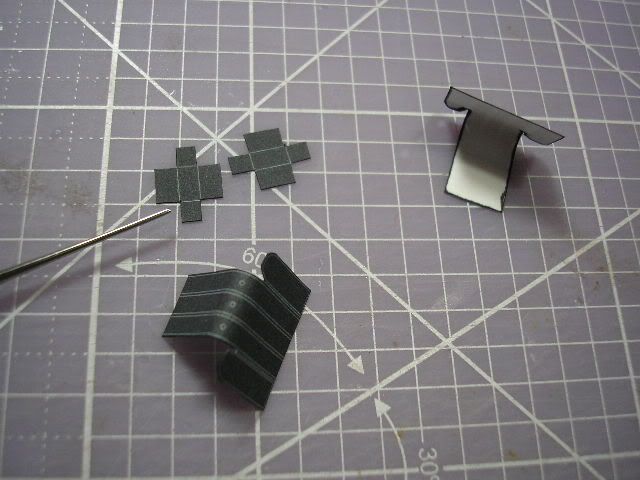
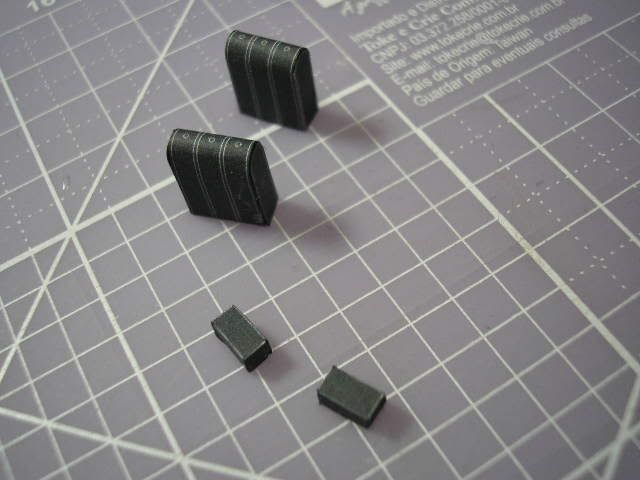
Fuel tanks and other boxes...

So I decided make the rest of wings, and tail elements...


Inferior wings, the process to build is same of superior wings I show posts ago...
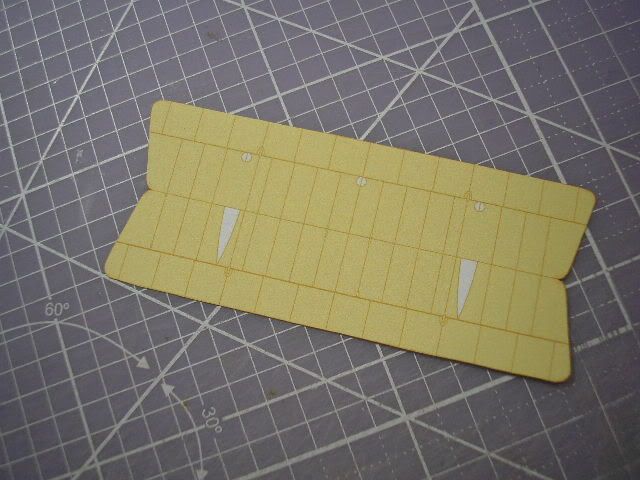
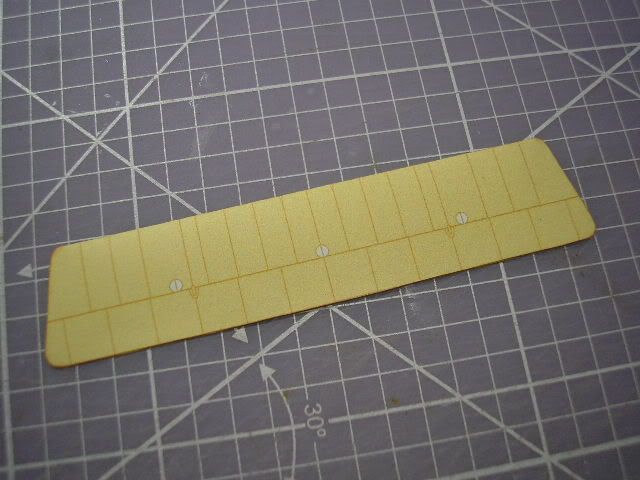


Stabilizer...


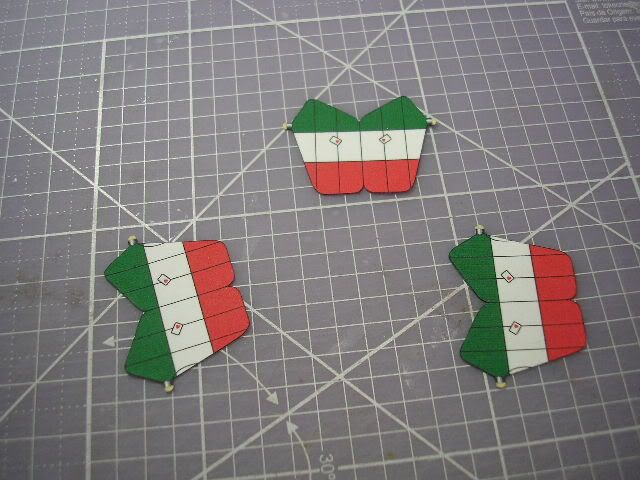
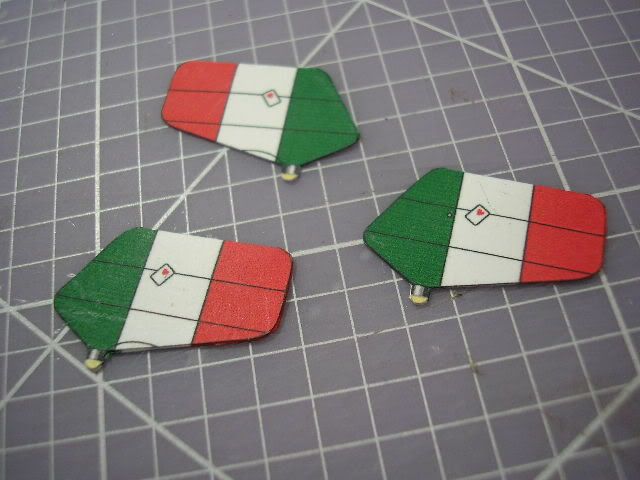
Rudders...

At this time I build some "spare" pieces...


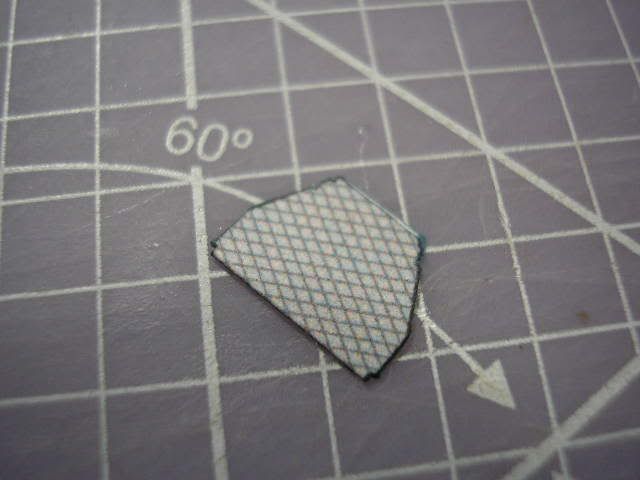
Floor of aft gunner...


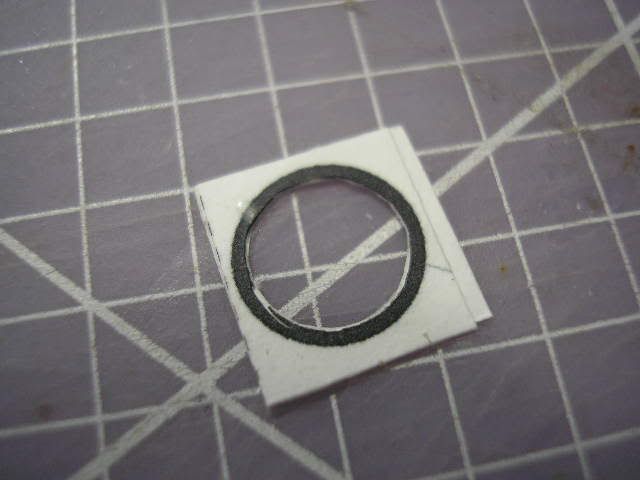
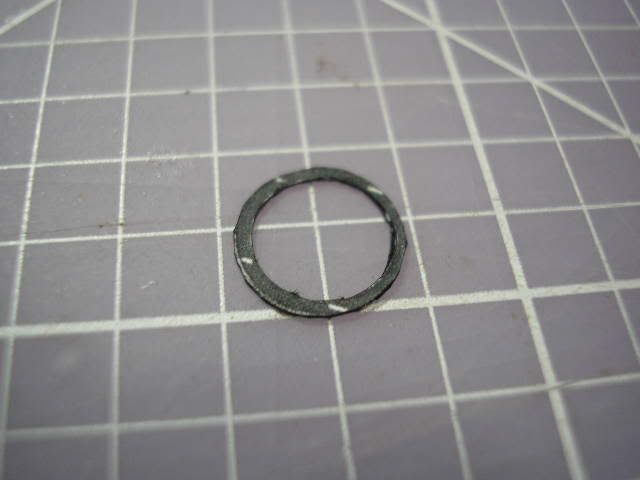
Ring gun of aft gunner, note in this piece is necessary cut the center first...


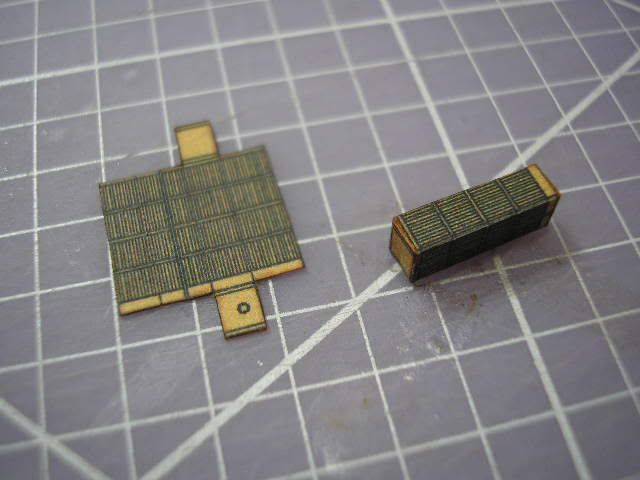
Fuselage radiators...

That is at the moment. I hope make more updates soon...

Cheers to all!
__________________
DESIGN GROUP ALPHA - DGA
1/100 Fanatic!
https://hangar1972.blogspot.com/
Reply With Quote
  #10  
Old 03-19-2011, 08:04 PM
Getter 1 Getter 1 is offline
Member
 
Join Date: Feb 2008
Location: Spokane, WA
Posts: 1,252
Total Downloaded: 1.67 MB
Beautimus!!! Keep it up :D

G1
Reply With Quote
Google Adsense
Reply


Posting Rules
You may not post new threads
You may not post replies
You may not post attachments
You may not edit your posts

BB code is On
Smilies are On
[IMG] code is On
HTML code is Off

Forum Jump


All times are GMT -6. The time now is 06:35 PM.


Powered by vBulletin®
Copyright ©2000 - 2024, Jelsoft Enterprises Ltd.

Parts of this site powered by vBulletin Mods & Addons from DragonByte Technologies Ltd. (Details)
Copyright © 2007-2023, PaperModelers.com