


|
|
|
#1
 10-01-2022, 09:41 AM
|
||||
|
||||
|
Sopwith camel comic, 1/72, the Kampflieger
I have the 6 models of Sopwith Camel Comic in 1/48 scale from the Kampflieger (that's the scale of the files), the question is to know what I will do with them.
My intention is to integrate them into a current meeting. It is interesting to note that Camels are still flying nowadays as more or less perfect replicas, built by amateurs from plans or sometimes even kits. See for example: Airdrome Aeroplanes ~ Holden, MO Now, these replicas, which are real aircraft that can be flown, can be of various scales. 1/1, real size of course but often 7/8 or 3/4. This reduction makes it possible to obtain more economical aircraft (less powerful engines, space in the hangars, classification in microlight category,...) Only the paper model, which allows us a certain choice in the scale of reproduction, authorizes these reproductions. The converter of this site will be very useful: Scale Calculator :: ZarkovModels Card Models Store So, my models, printed at 100% on A4 paper will give full size Camels at 1/48. To obtain 1/72 scale models, you have to set the printer to 66,67%. To obtain a 1/72 scale model of a 7/8 replica, we calculate that the scale is 1/82 and that the printer will be set to 58.54%. Finally, for a 1/72 scale replica of a 3/4 scale real aircraft, we will set the printer to 50%. My project is therefore to present together 3 replicas of Camel, one at 1/1, one at 7/8, one at 3/4. Now printing. I Prefer "inkjet" printing, laser printing does not give extraordinary results from the point of view of paper models. My basic printer does the job very well; The choice of paper is important, rather thick (I work in 150 gr/m2) and coated for a better color rendering and a good definition; I use the one from the photo. My printer is set to optimal printing and to the desired reduction percentages. There are normally 2 pages per kit but as they will be smaller, the two plates fit on one sheet. There is even room to print a fourth Camel, at 1/200 of the 1/1 this time, at 24%. 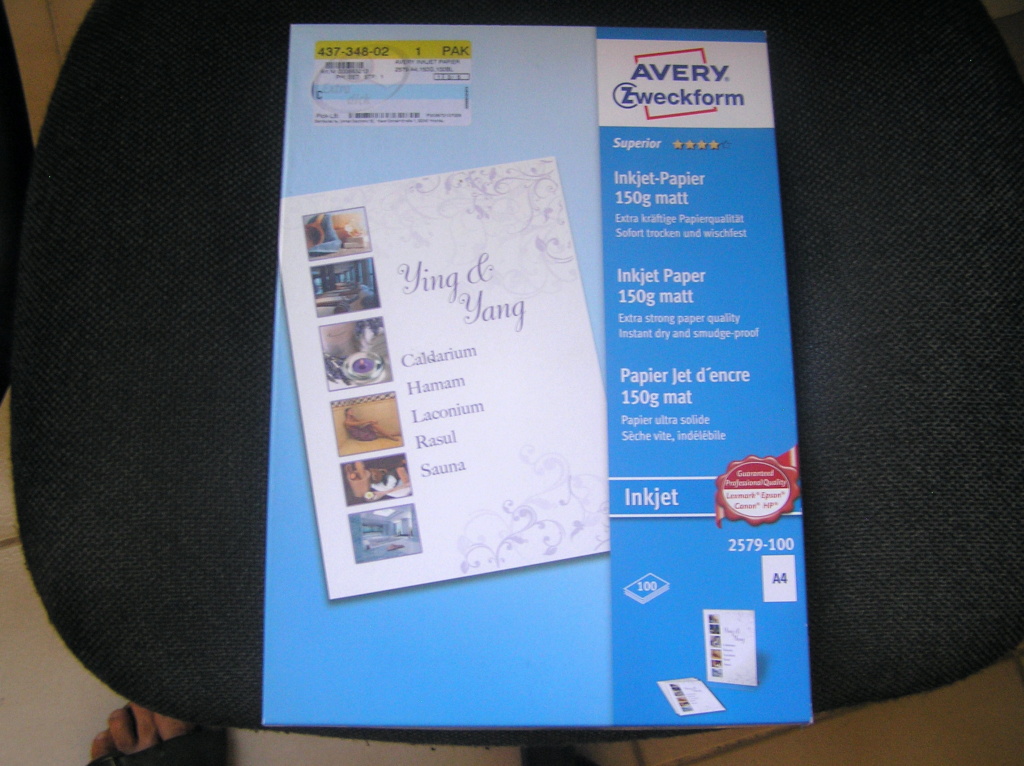  The printed boards receive a coat of transparent acrylic varnish satin spray that will provide some protection against moisture, possible dirt during construction and allow painting and varnishing with a brush if necessary later. 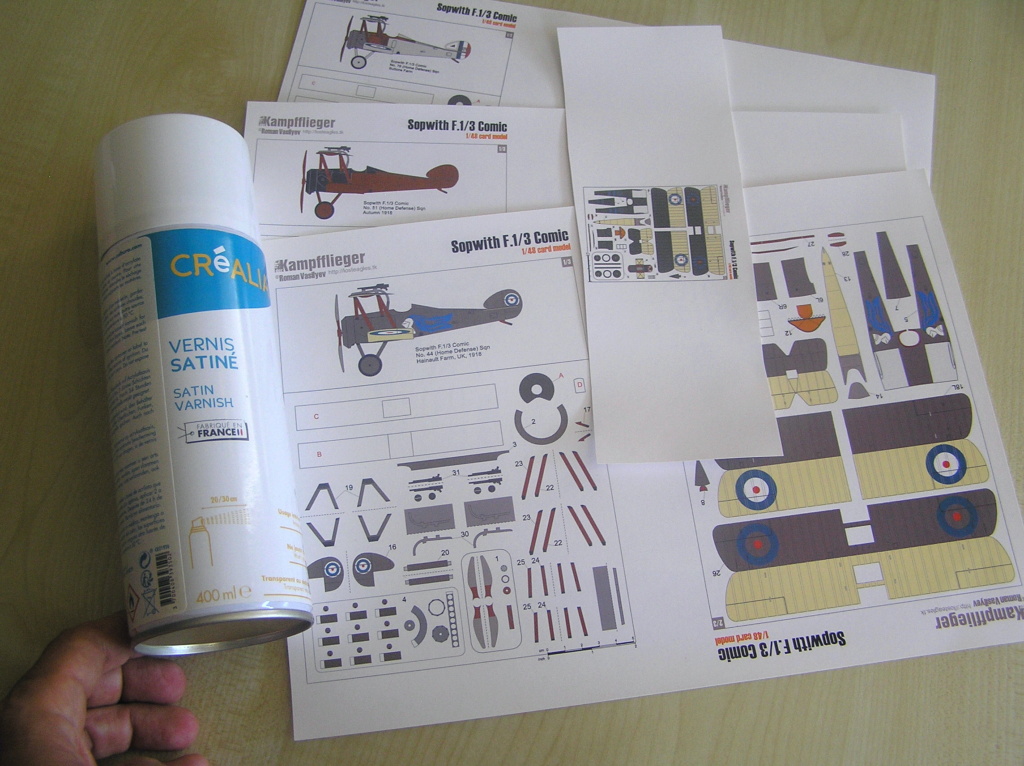 To follow... Translated with www.DeepL.com/Translator (free version) 
|
| Google Adsense |
|
#2
10-01-2022, 11:34 AM
|
||||
|
||||
|
Wonderful project. Many thanks for the background information and info on the scaling, paper choice, varnishing, and other aspects of your models. Very helpful and interesting.
I look forward to watching this enterprise as you undertake the builds. Don
|
|
#3
10-02-2022, 07:42 AM
|
||||
|
||||
|
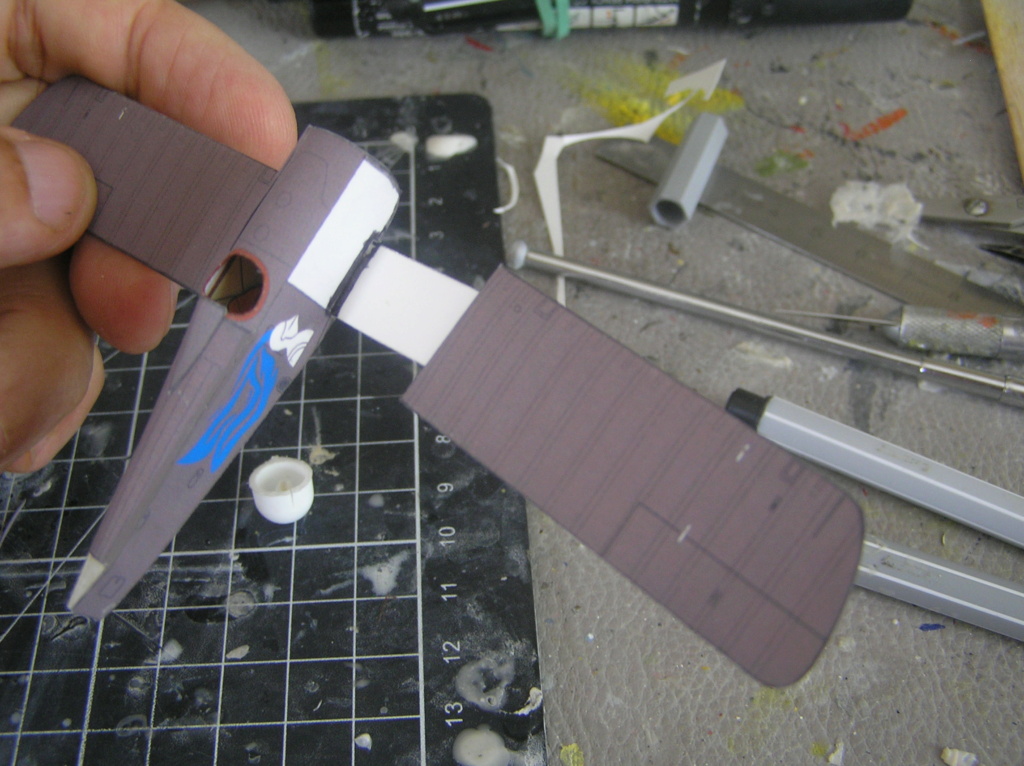
I begin with the fuselage which comes to close on 3 parts which give it its general shape.
At the front the engine support, in the center the cockpit bathtub, at the back a small partition before the tailplane. To ensure a perfect gluing on the field, these parts will be laminated on 2 layers of my famous "crackers" cardboard. The parts are roughly separated with standard scissors.  Some parts receive a first layer of reinforcement, glued with "scotch gel". The partitions that will be lined later and the wing supports (one layer). 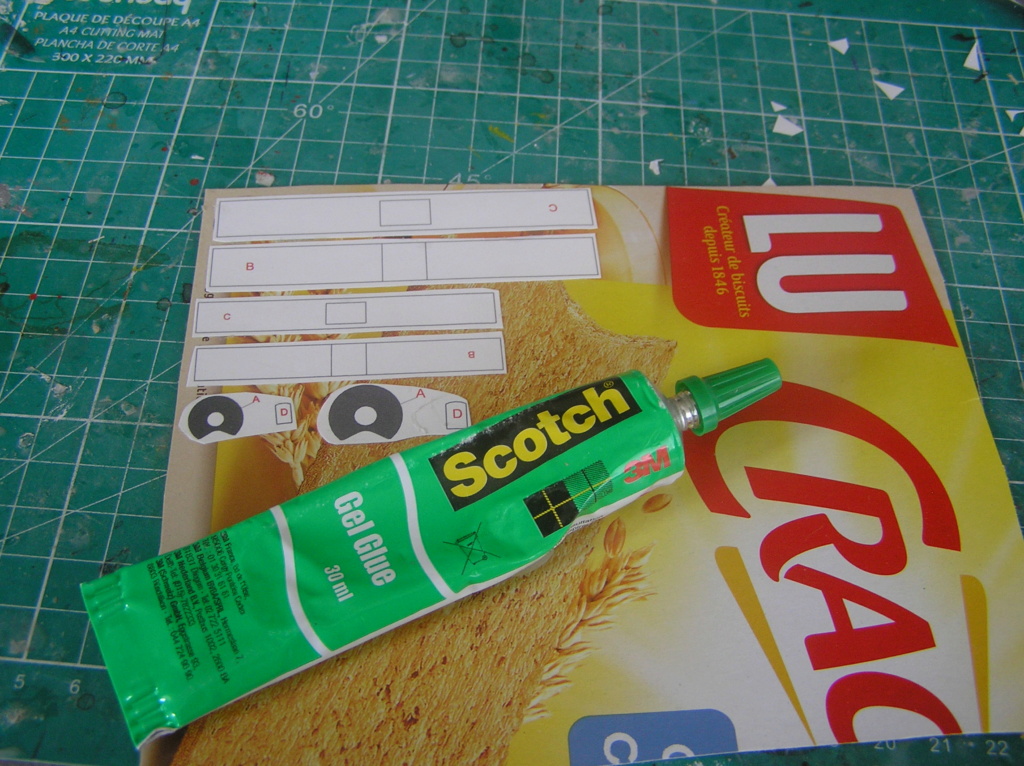 The parts are then carefully cut with small precision scissors (sewing), straight or curved. It can be interesting to have glue tabs even if the designer did not foresee them (here for the cockpit). 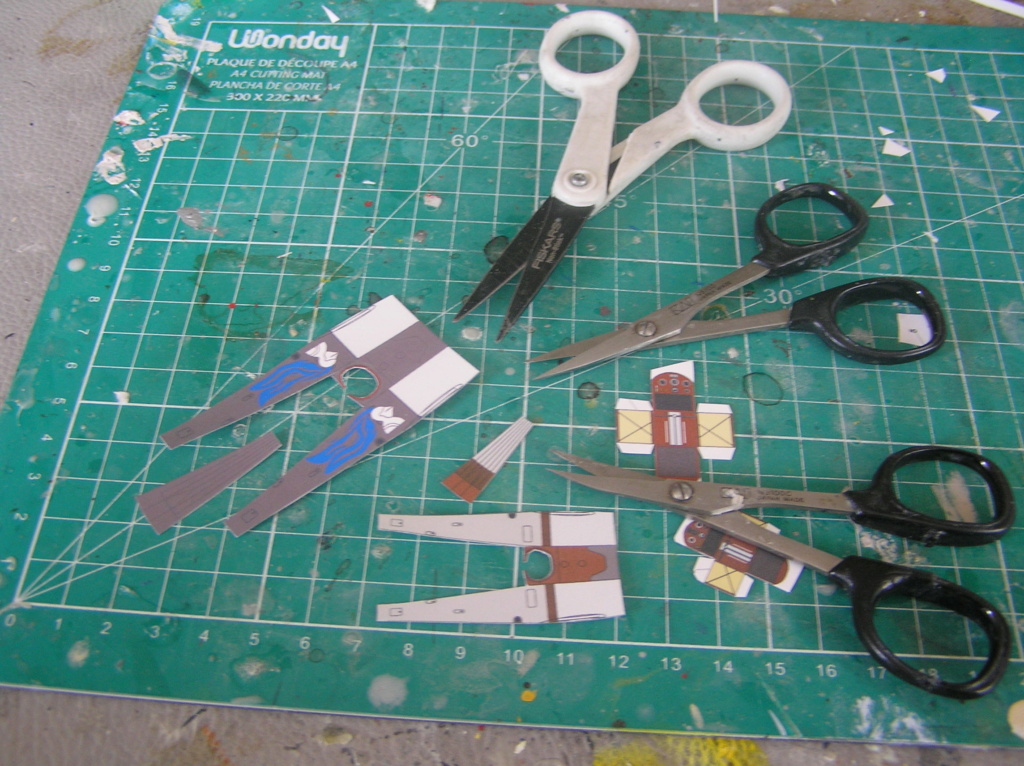 It is important to cover the cut edges, which appear white with a color close to the color of the part. Felt pen (but not drooling, paint or pastels). Otherwise your model will look too "paper". 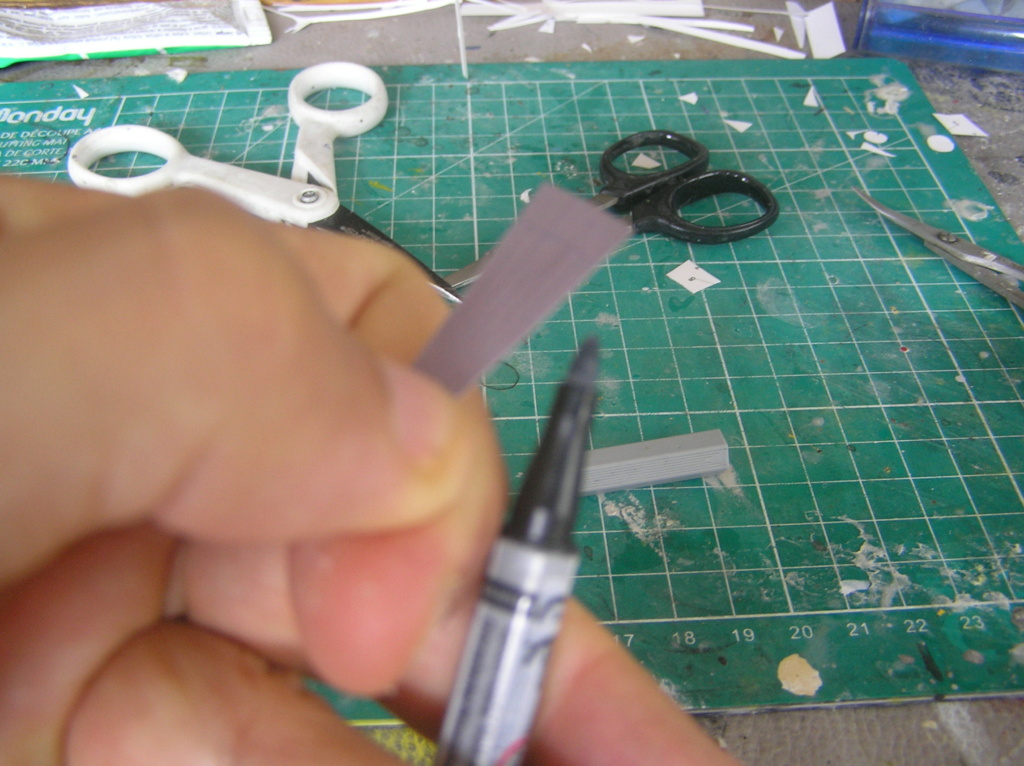 Make the cockpit, the front and the back will be reinforced. 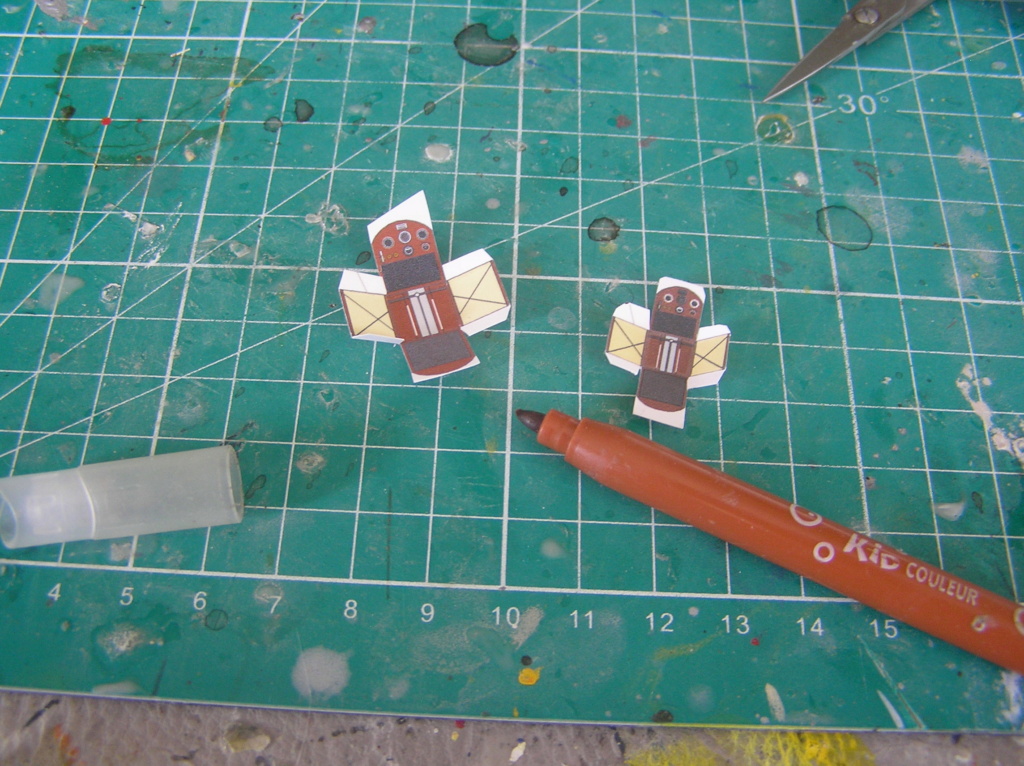 For rounding off the parts I use a telescopic radio antenna, it is smooth, solid and there are several diameters on the same rod. 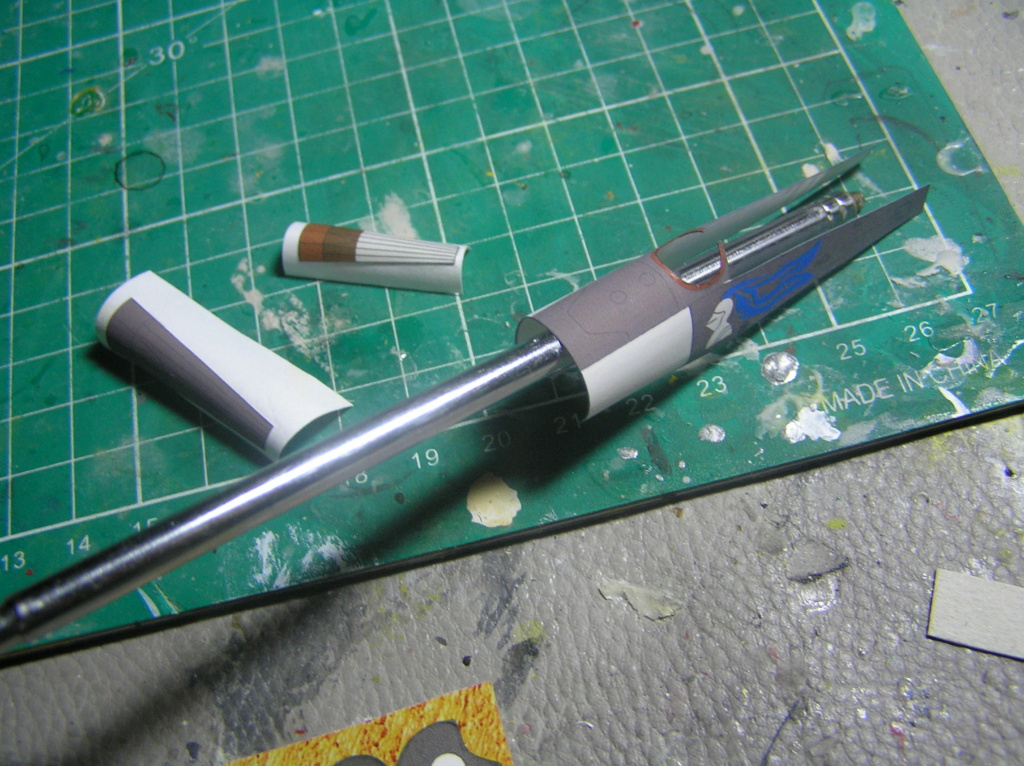 The back is also rounded. Its installation requires a lot of care to avoid an unsightly joint. Note the glue used for most of the gluing. 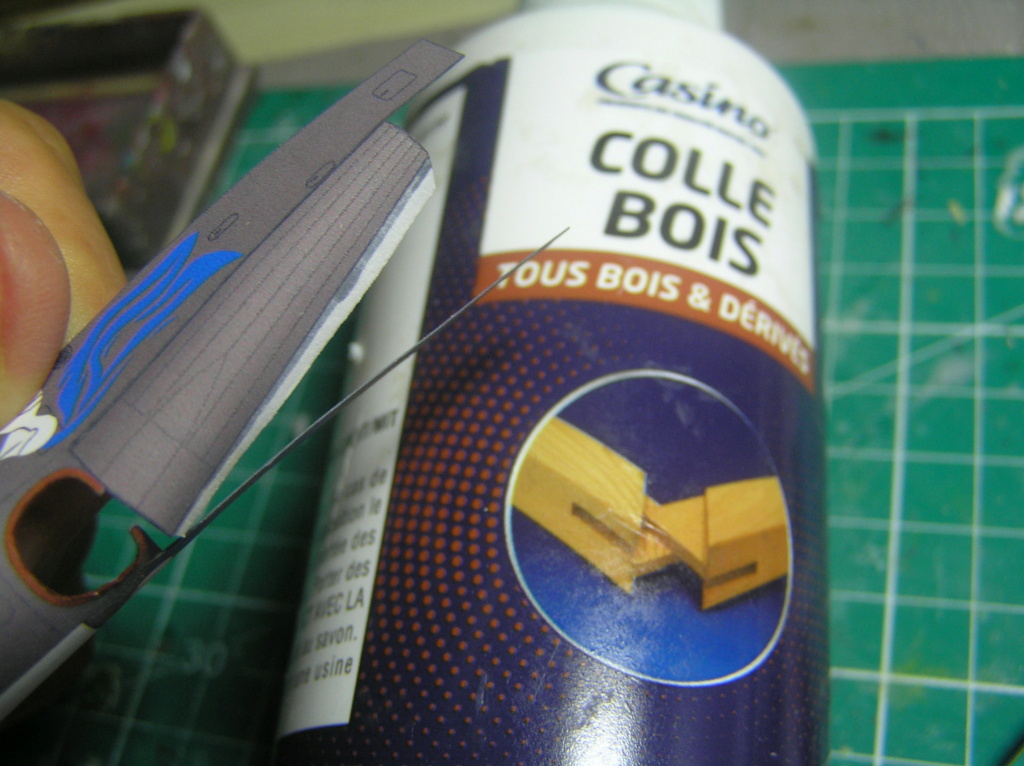 The finished cockpit. I put a drop of gloss varnish on the dials and added a belt. 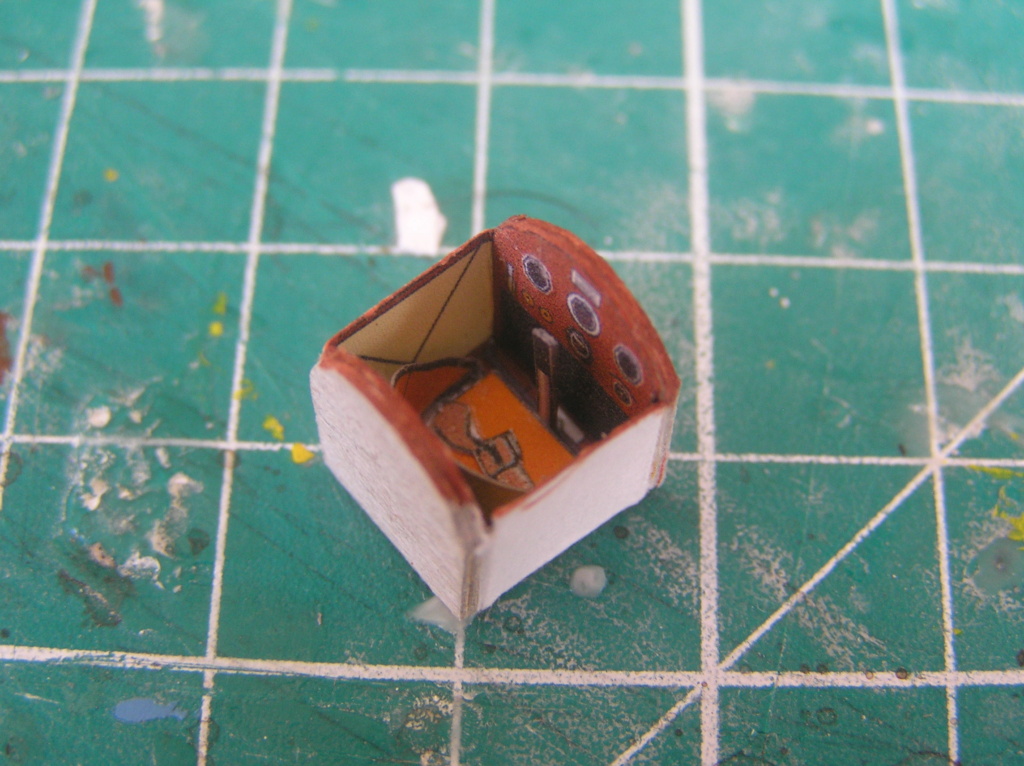 After gluing the 2 bulkheads and the bathtub, the installation of the fuselage bottom which carries the support of the lower wings is very important. It is glued on a piece of cardboard to give thickness and the connection with the side walls must be perfect.  Gluing the headrest. 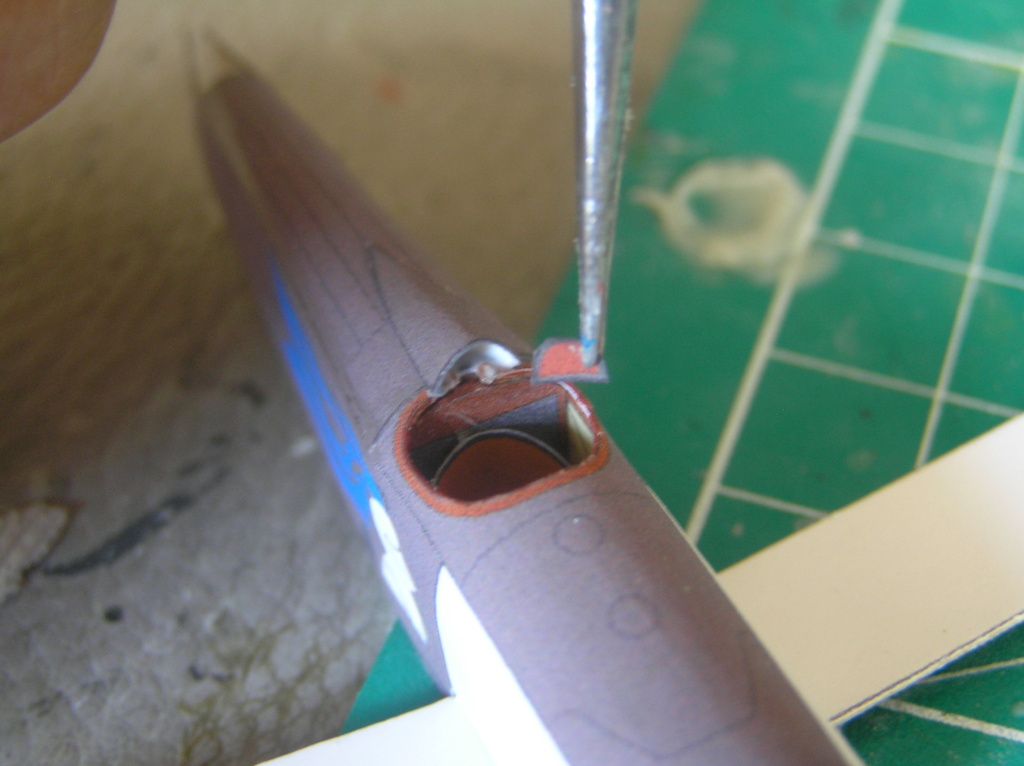 Preparation of the tail. Due to a wrong build, an ugly fold appears, I reprint the part to make it better. 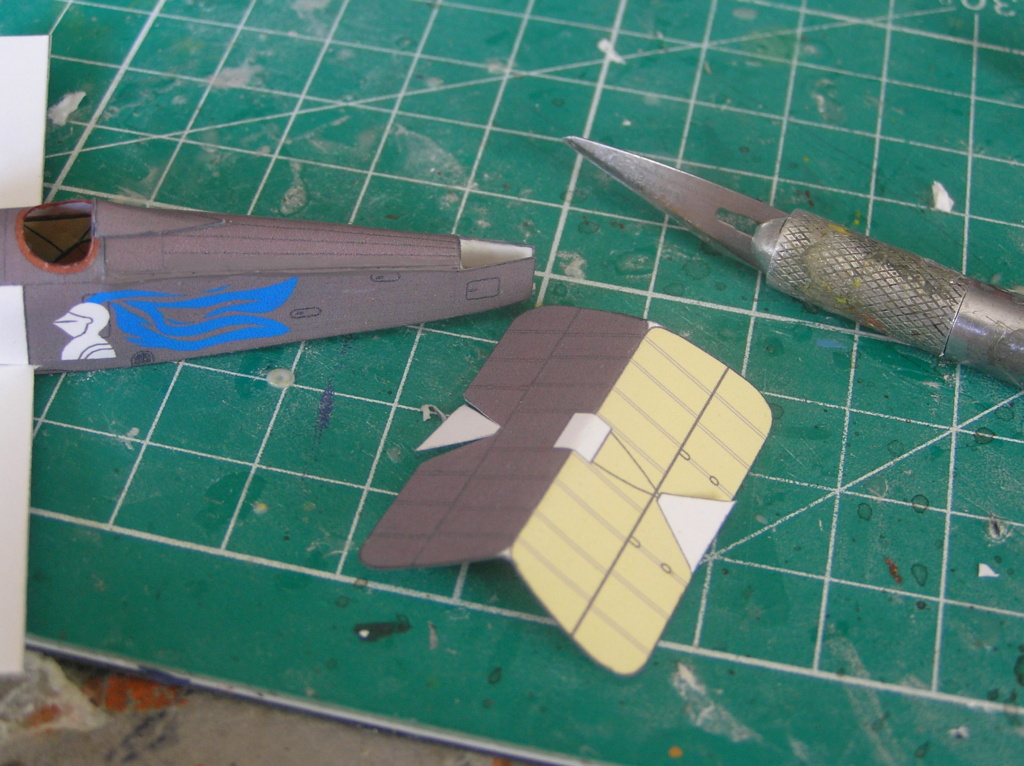 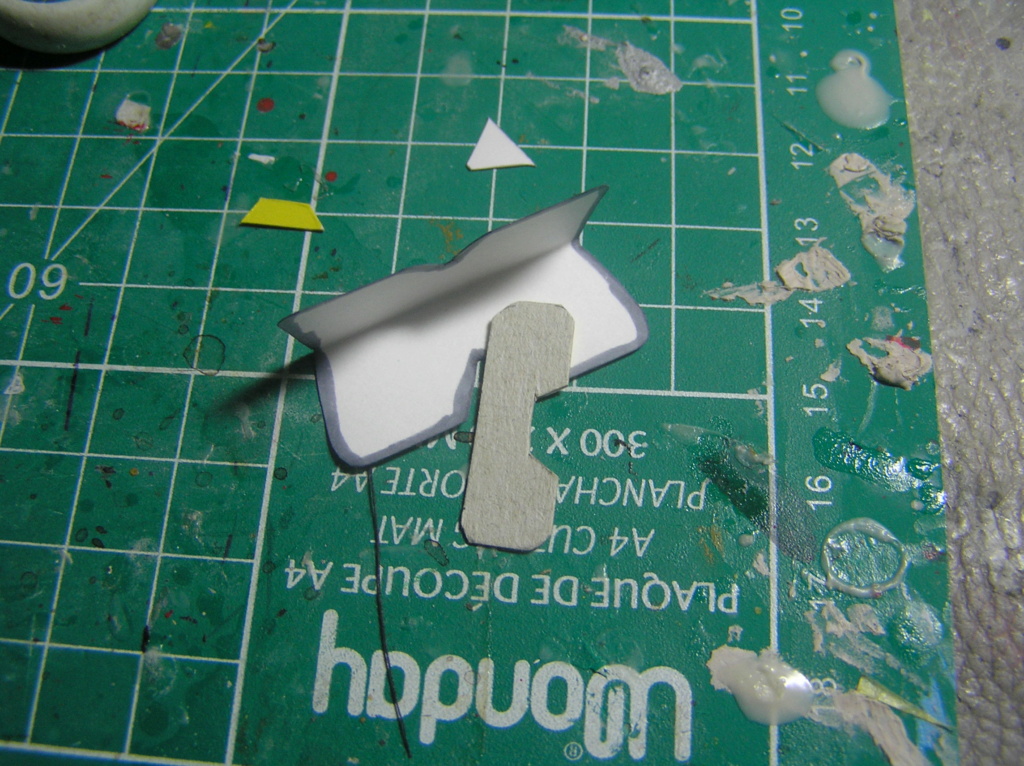 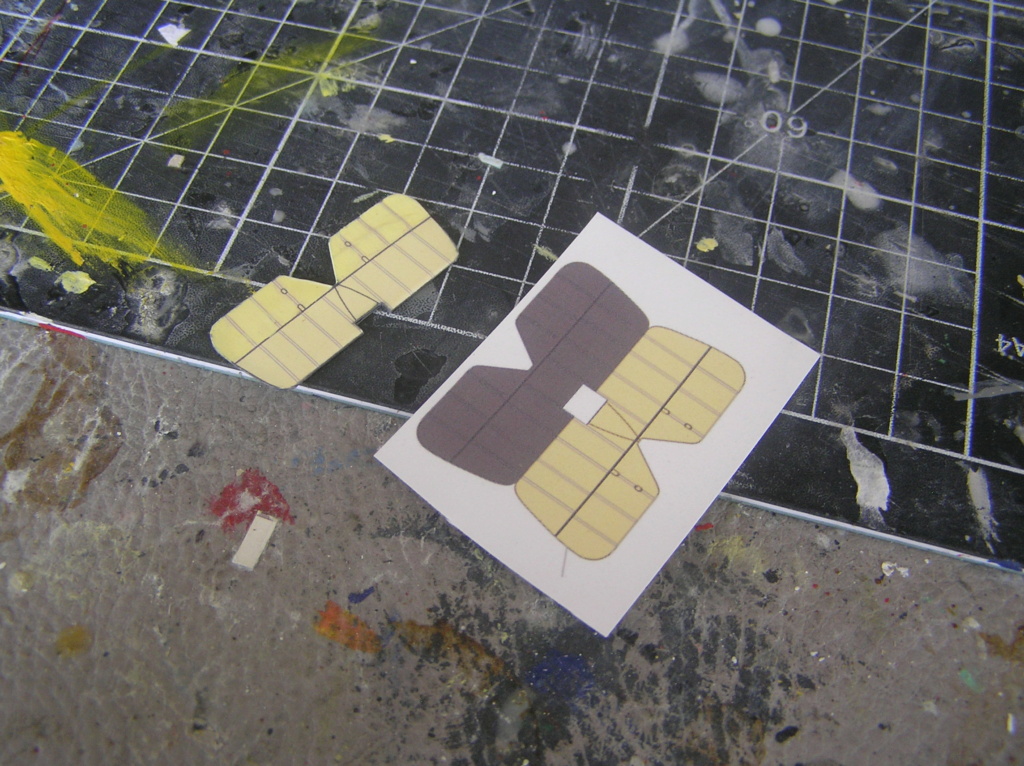 Gluing the lower depression. 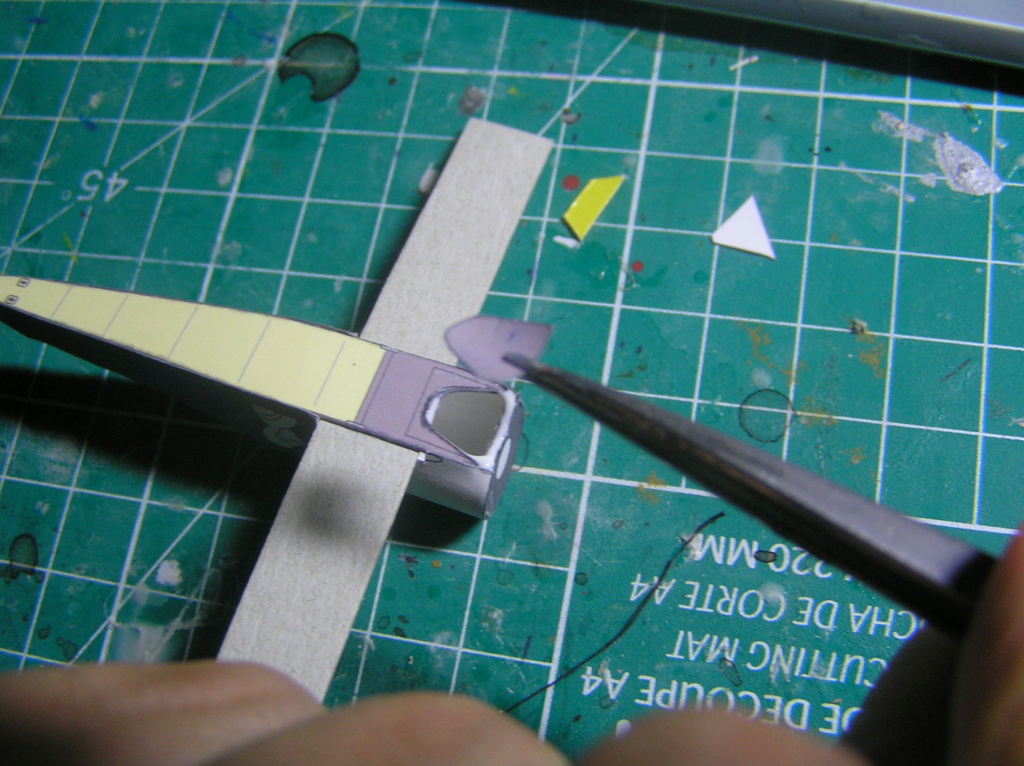
|
|
#4
10-02-2022, 10:27 AM
|
|||
|
|||
|
Awesome build Master Kytop!!! We small scale builders appreciate too much this hints & building sequence. Waiting for more steps and final product.
|
|
#6
10-02-2022, 01:34 PM
|
||||
|
||||
|
It is very good to read such a compentent tutorial/build report. Much appreciated. I hadn't heard of the Scotch Gel Glue. You use it as reinforcement, right? Very clever.
Leif
__________________
My files in downloads.
|
|
#7
10-02-2022, 02:41 PM
|
||||
|
||||
|
Quote:
Thank you very much. Yes, I use this glue for reinforcement cardboard on paper.
|
|
#8
10-02-2022, 02:43 PM
|
||||
|
||||
|
Assembly of the lower wings. Note that I always add a flap to the trailing edge of the wings which allows a better respect of the profile from my point of view.
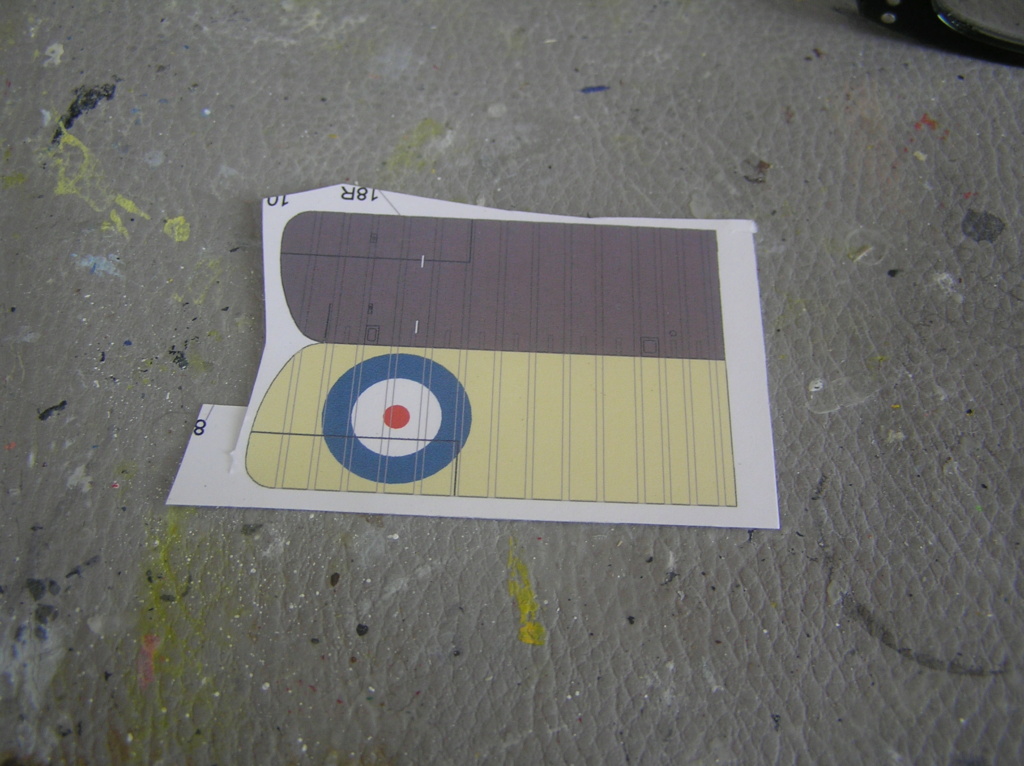 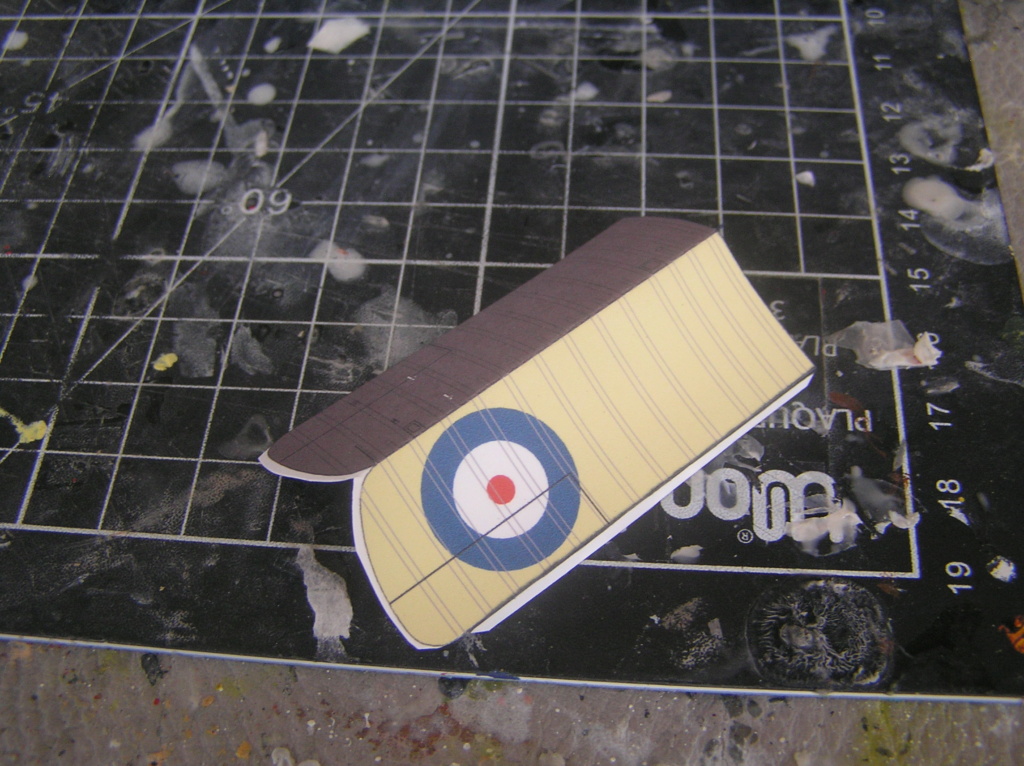  Then: 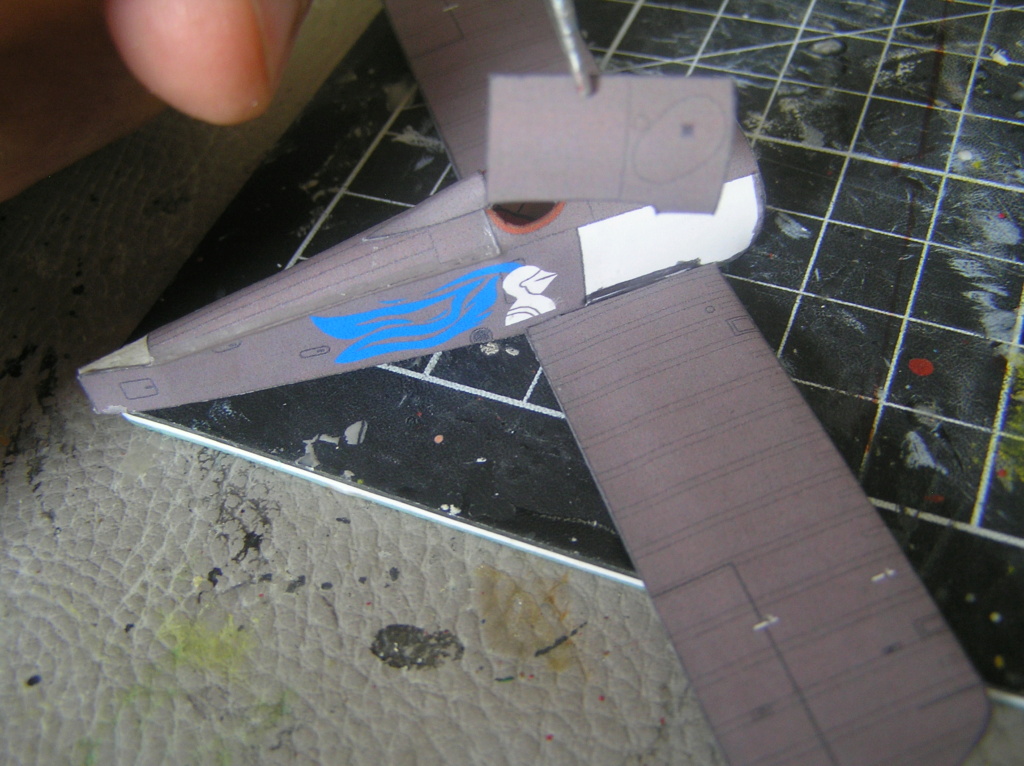
|
|
#9
10-03-2022, 01:28 PM
|
||||
|
||||
|
Status of the work. 3 planes were brought to the same point of progress and we have this:
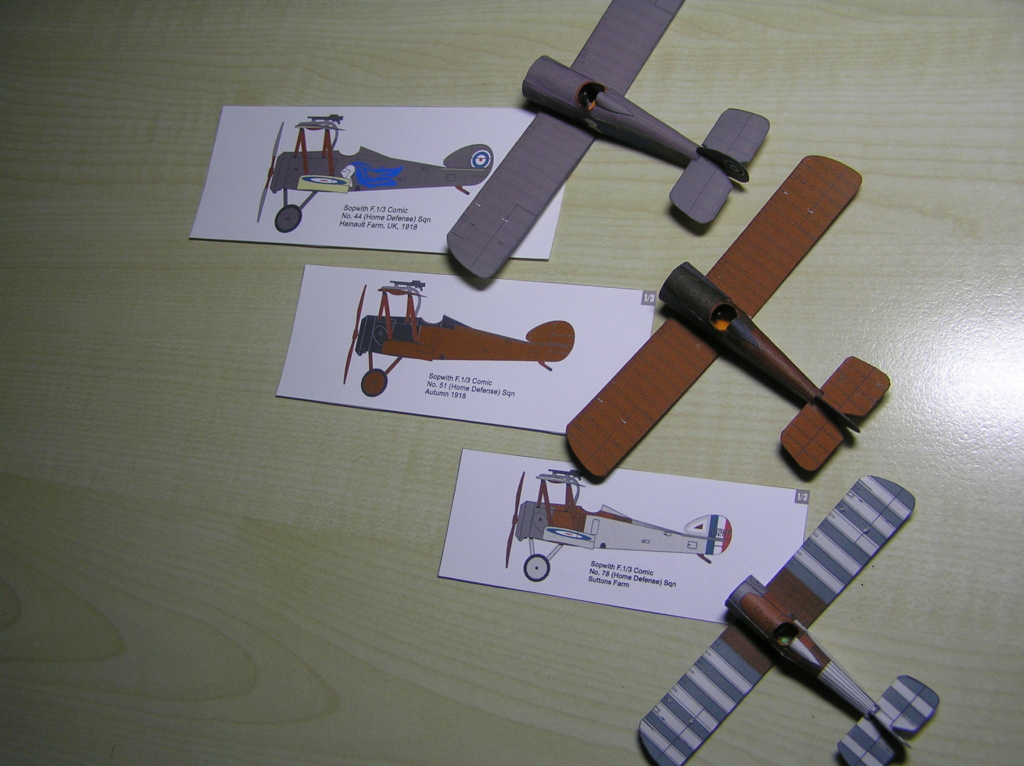 It's time to begin the upper wing:  Holes are drilled to prepare for the installation of the masts:  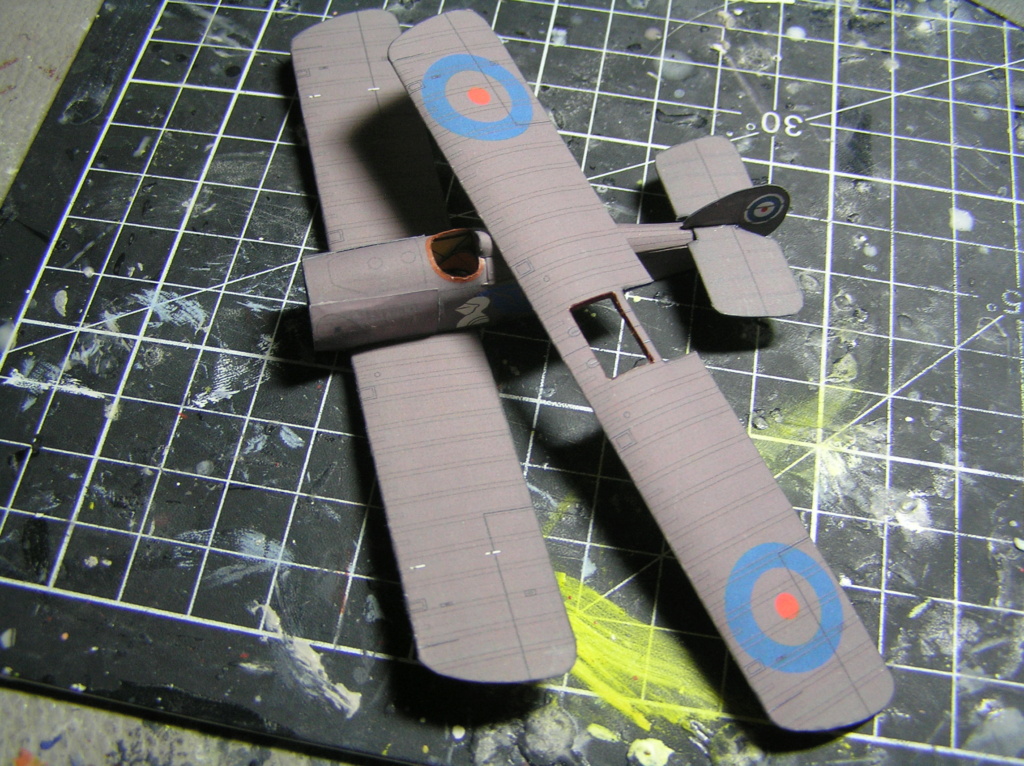 Now the engine. The engine has a lot of parts. It's long but not complicated.  First of all, as it is easier to bend thin paper, the paper is de-laminated in two equal thicknesses with a cutter: 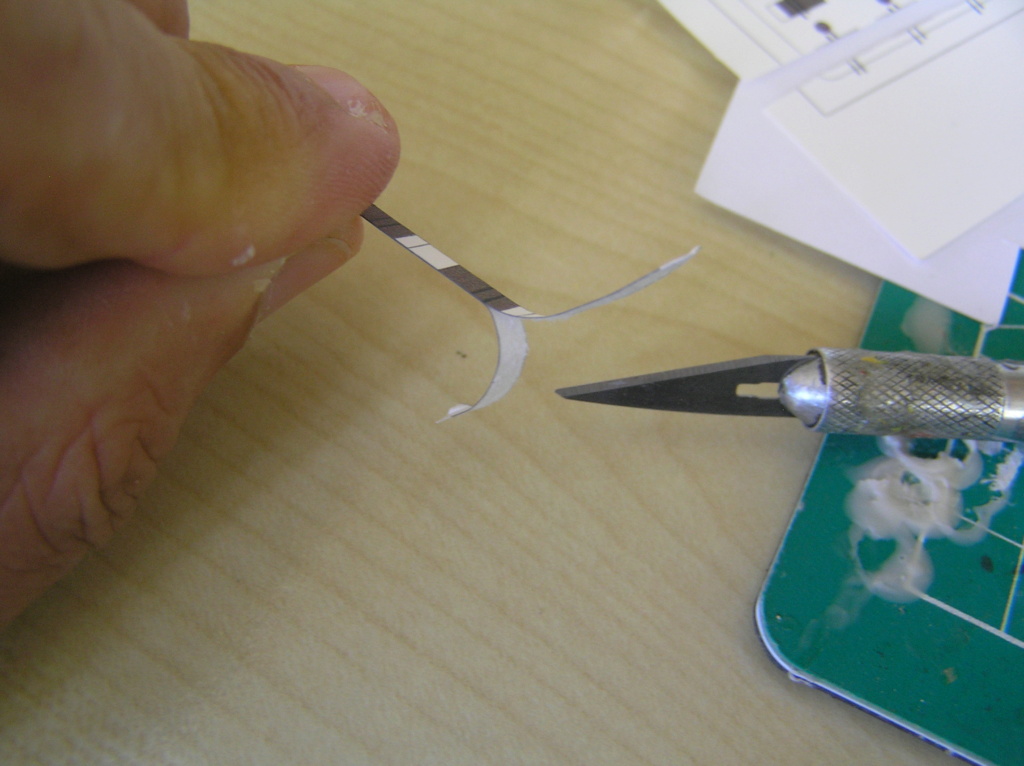 The cylinders are formed one by one by winding the piece on a metal rod. It is glued with wood glue. 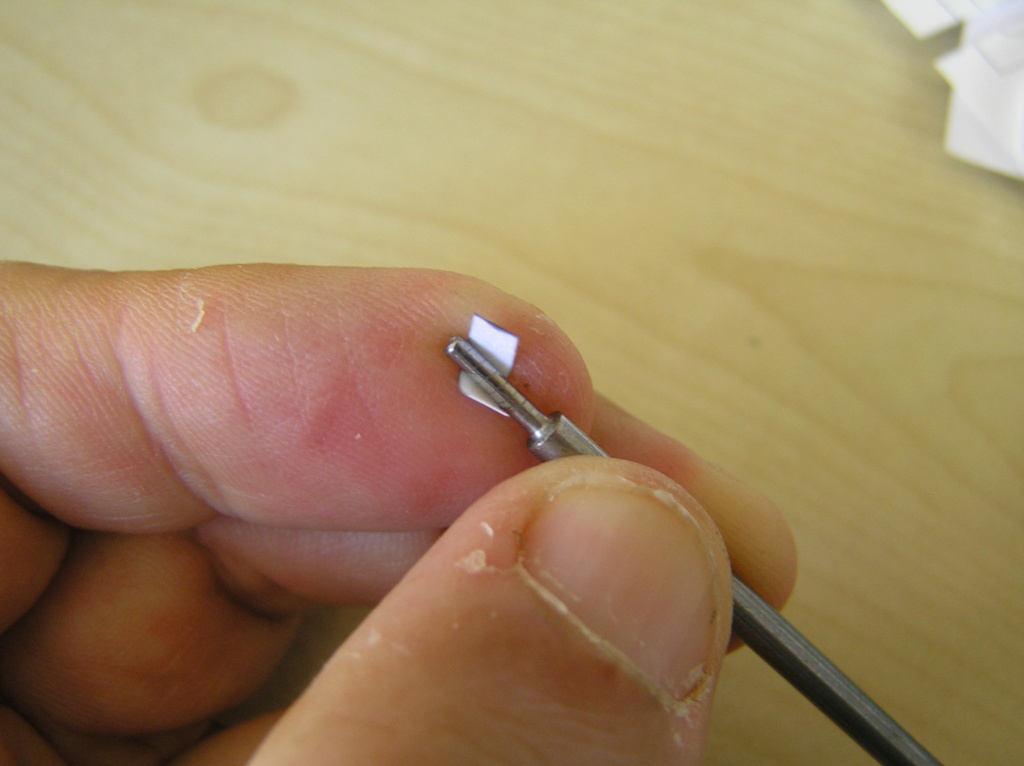   Gluing the cylinders in a star pattern and then closing the end of the piece:  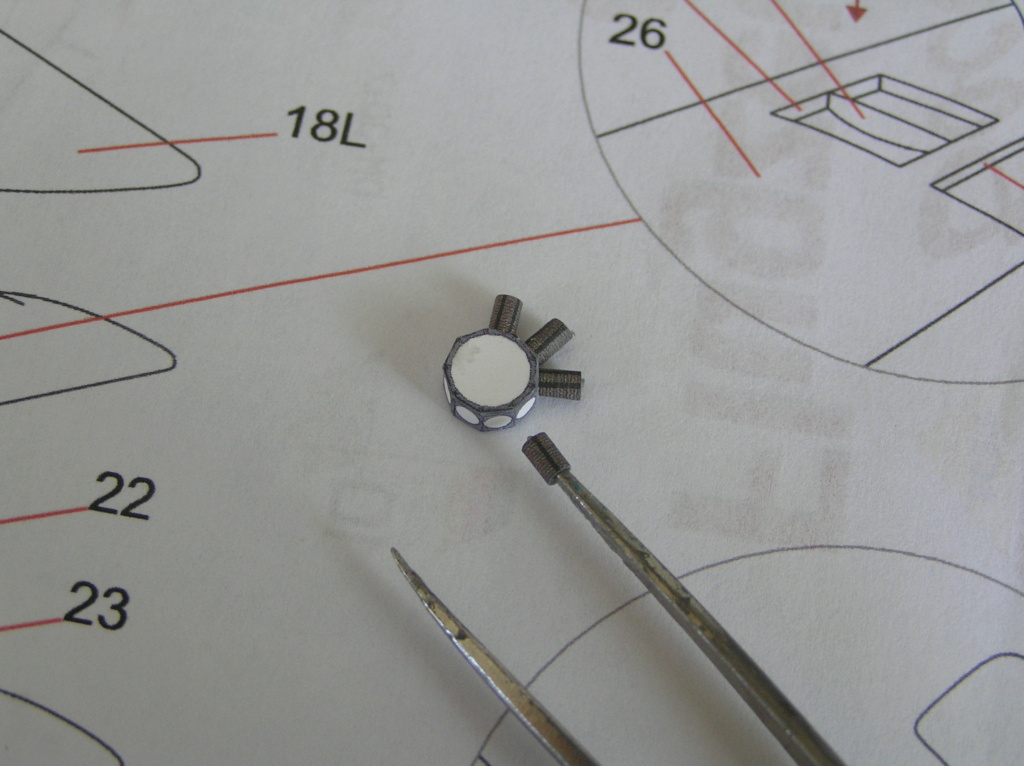  The same engine for the 3/4 version, even smaller:  Preparation of the engine cover: 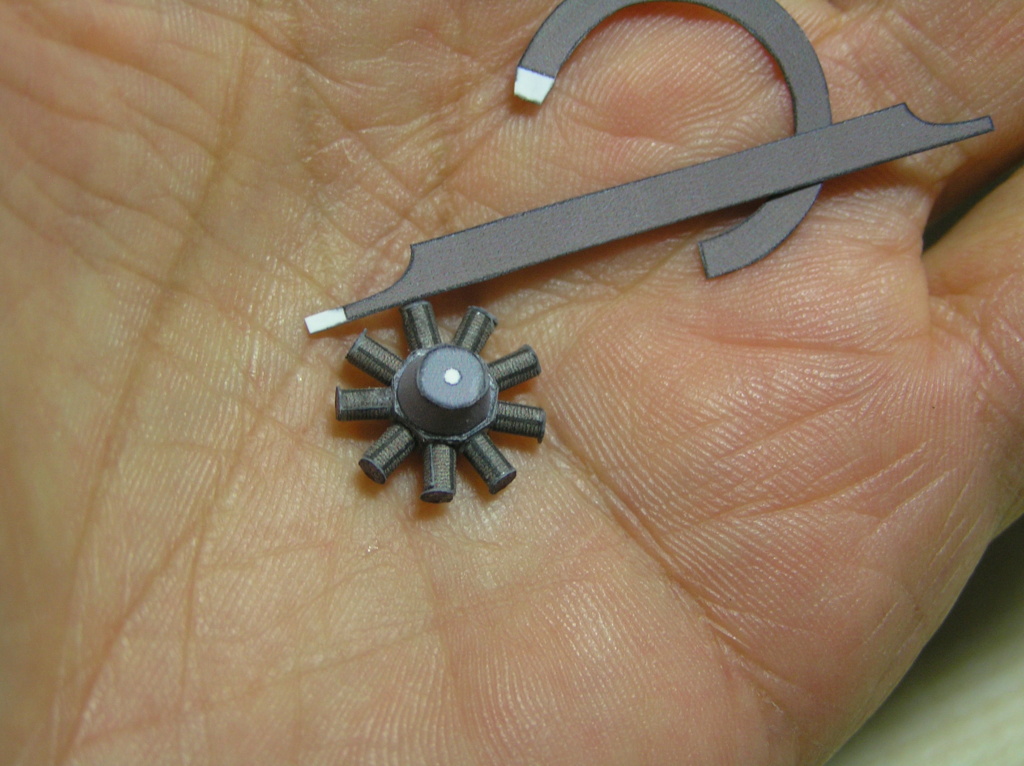
|
|
#10
10-03-2022, 02:44 PM
|
||||
|
||||
|
Oh my! The image of that small engine in your hand is quite amazing. Judging from the quality of work, I would have thought the engine was at least regular 1/33 scale. Very impressive. - L.
__________________
My files in downloads.
|
| Google Adsense |
 |
|
|


 Linear Mode

