


|
|
|
#1
 11-12-2015, 12:52 PM
|
||||
|
||||
|
Lets build a CL-41 Tutor Jet (Photo Walkthrough)
I am currently building my second "test" Tutor Jet model.
I think I worked out all the parts, kinks, tweaks, and bugs in the first build (the Snowbirds version). So lets build a Golden Centennaires version of the Canadair CL-41 (RCAF CT-114 designation). This will be a complete photo walkthrough with a suggested order of build. You can, of course, follow your own method and make any changes to the assembly as you wish. What I show you here is only a suggested assembly method and may not be the optimal method. We start by preparing the internal formers. The model has one sheet of formers for the fuselage, wings and tail wings. Print the sheet on regular weight paper and glue it to heavier card. I use two layers of Cereal Box card, laminated together using 3M Spray 77 Glue. Everything that is glued should be allowed to setup as long as possible before cutting or assembly. This applies to any part on the model. Patience gives rewards when building a paper model. Here I have cut out all the fuselage formers. I cut directly on the outside lines as best as possible (not inside or outside). I sand and shape with nail files and emery boards as much as necessary. Note that I have notched the nose former for the wheel well box...this is optional. 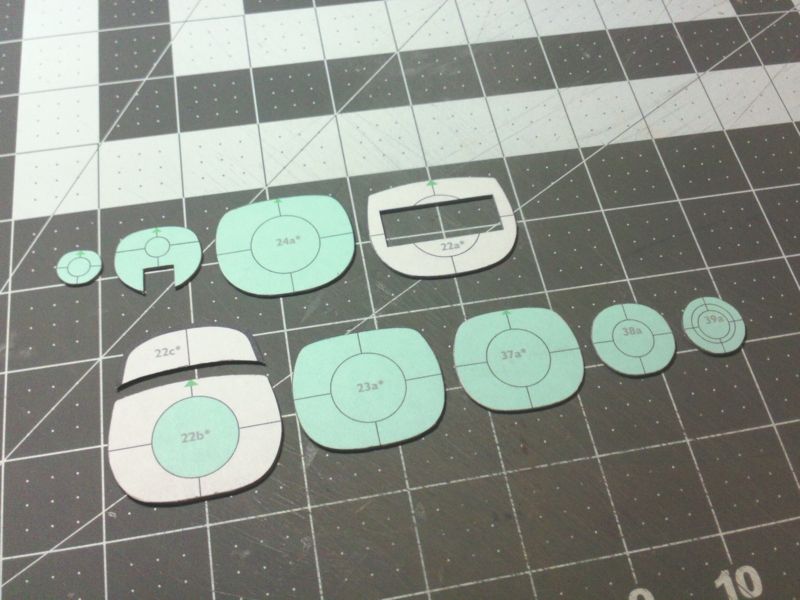 ... Next I prepare the first sheet of model parts... I am focusing on the fuselage parts, but I still prepare the entire sheet. It is at this time that I can prescore any fold lines before cutting out parts. I use a regular Hobby/Craft Knife with a dulled blade. The blade has been flattened against a stone and sandpaper. 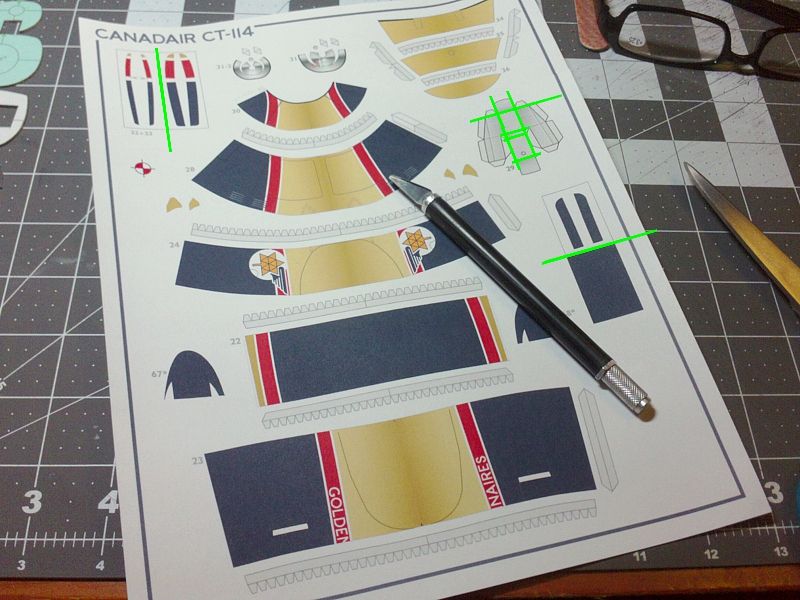 ... Now I cut out all the fuselage parts that I will need. Some modellers like to cut out all their parts and store them until they are used. I prefer to cut out only parts I am working with so I don't lose part numbers. There is no right way to do this. I also cut out and prepare all the joiner strips for the fuselage parts. And this is where I edge colour my parts. Personally, I use Art Markers for my edge colouring. Markers can apply too much ink and bleed into the parts. It takes practice to learn how to use them. Some modellers prefer using pencils, pastels or paints. You can see I have also cut out the nose wheel well box, and the nose strakes (side skirts) and the nose wheel doors. 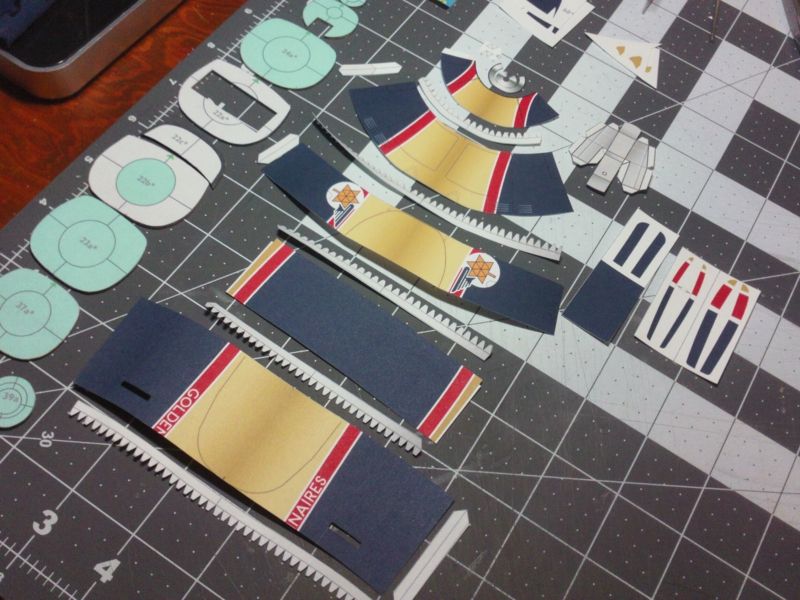 ... Always test fit parts, even if they are not shaped yet. Get a feel for how the parts line up and how they must assemble. Check the edge colouring and touch up if necessary. Here I am noting the wheel well openings. In the first section of fuselage, I have not cut out the wheel well doors yet. It would make it more difficult to assemble that section. I have cut out the opening in the second section, because the part has a longer connecting seam. I will trim out the rest of the wheel well opening after the fuselage is assembled. 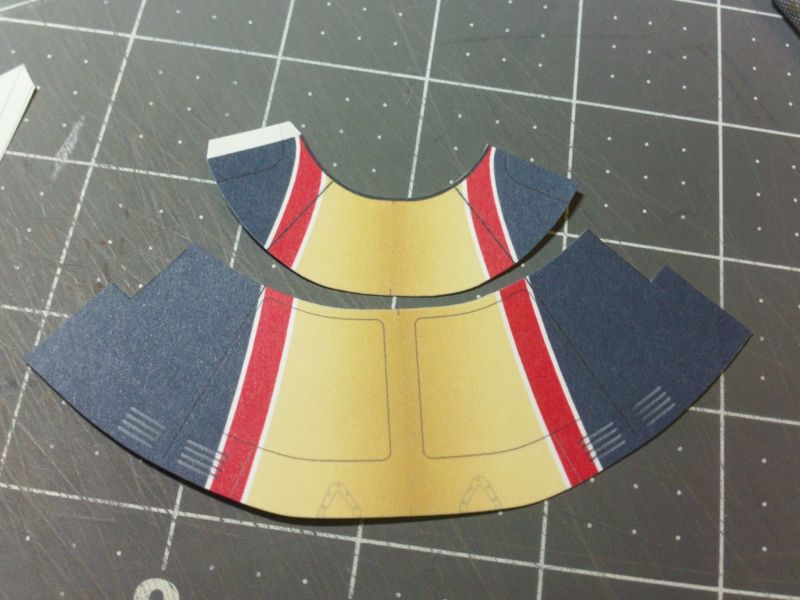
__________________
SUPPORT ME PLEASE: PaperModelShop Or, my models at ecardmodels: Dave'sCardCreations 
|
| Google Adsense |
|
|


 Threaded Mode