


|
|
|
#301
 01-06-2017, 07:14 PM
|
|||
|
|||
|
You are one patient man. By now if I was building it, it would be in the, to be finished at a later time pile, or the trash bin.
Never the less, it still looks amazing. 
|
|
#303
01-20-2017, 02:24 PM
|
||||
|
||||
|
With the turret all finished, I have started work on exterior surface details.
I'm into the final stretch now! And other than the larger side Storage Bins, theres no more big stuff. Its all the small surface details, like the upper Hatches and periscopes. Got some of that done yesterday, so I decided to take a few photos. I also ran some video. Not the best film, but it seemed to make sense to throw togther a "video update". So, if you feel like a 3D view, check it out: https://www.youtube.com/watch?v=_4sW...m-upload_owner Its available in HD so check the settings if your playback is not good quality. Some accounts automatically switch to better qualities, some don't, during viewing. Otherwise, heres a few static shots. I basically finished everything on the top surface of the Turret ...and I am working my way down. Turret sides are next. 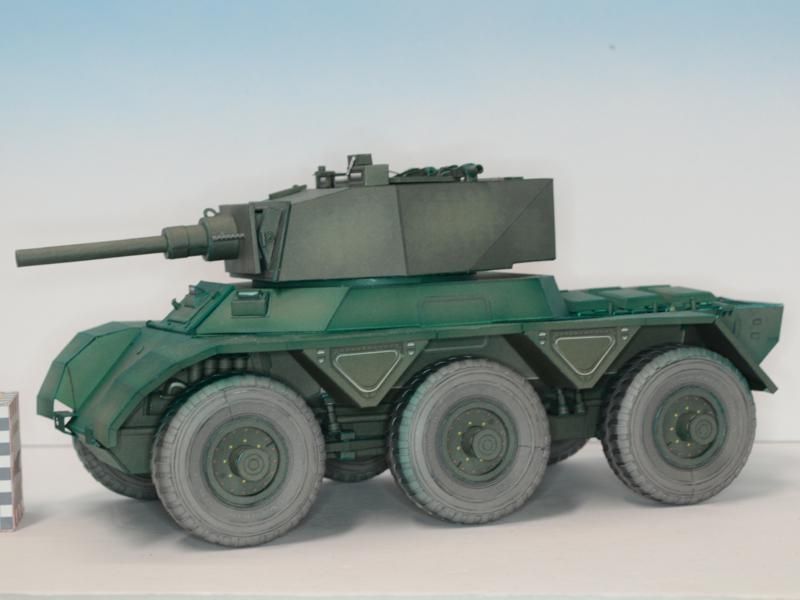 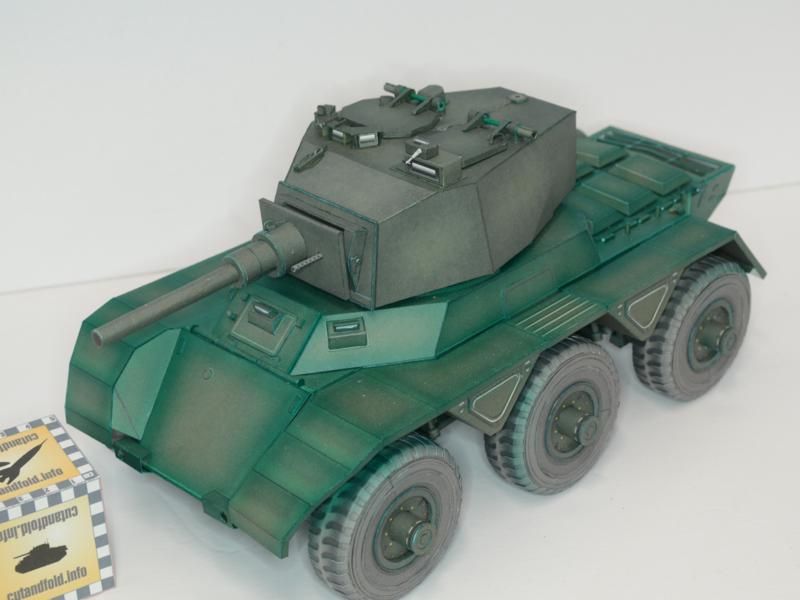 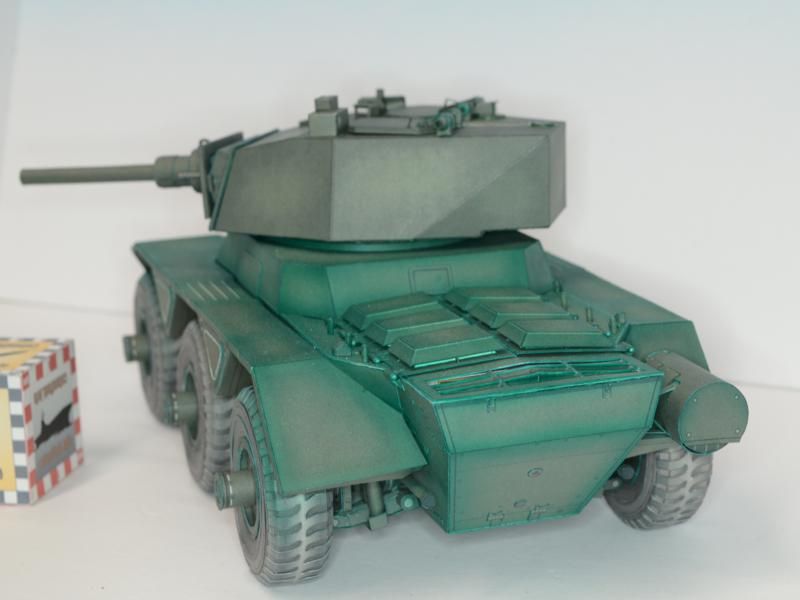 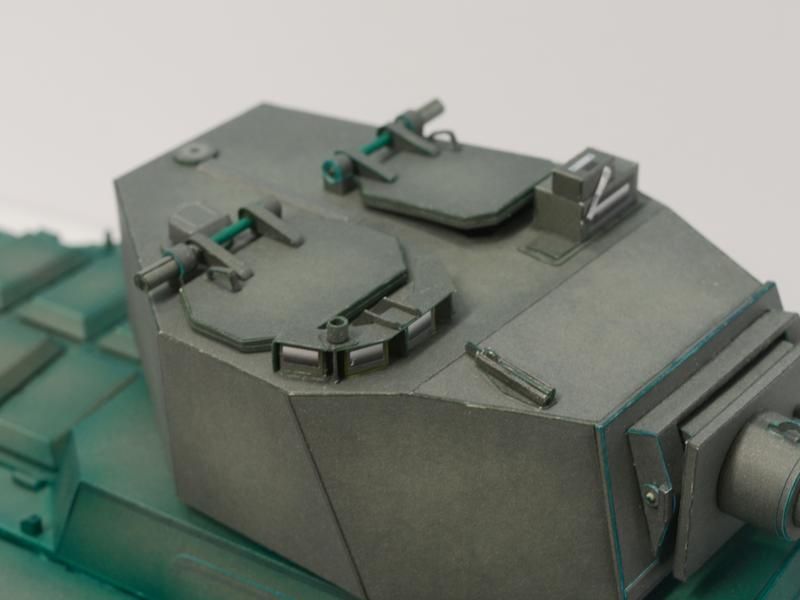 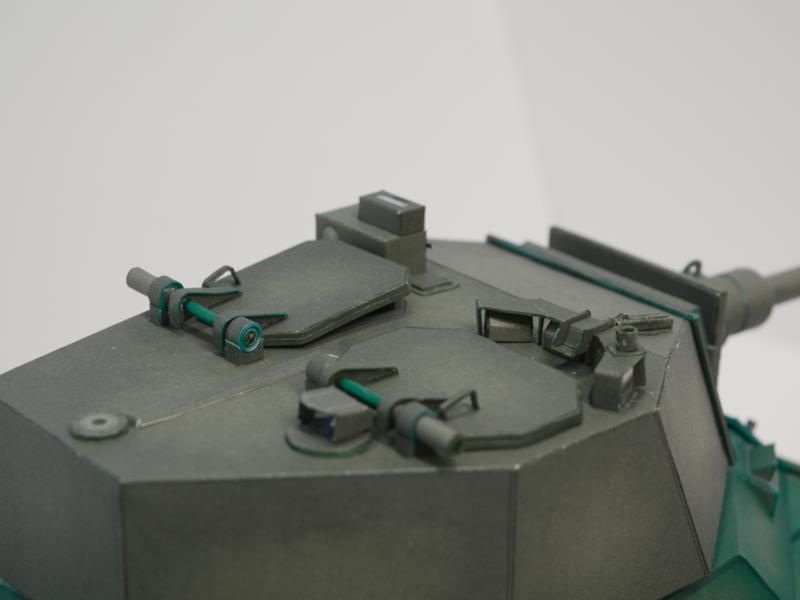 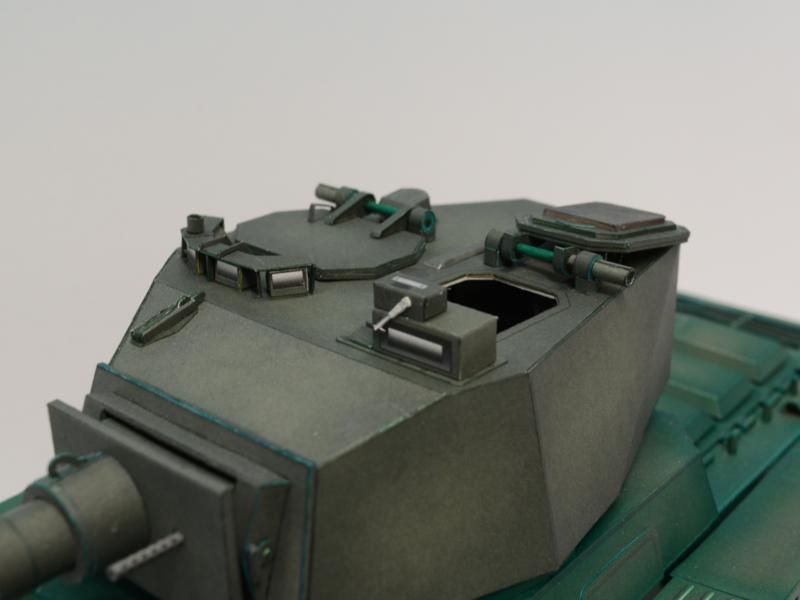
__________________
SUPPORT ME PLEASE: PaperModelShop Or, my models at ecardmodels: Dave'sCardCreations
|
|
#304
01-20-2017, 03:08 PM
|
||||
|
||||
|
Looking really good Dave!!!
|
|
#305
02-27-2017, 05:34 PM
|
||||
|
||||
|
Saladin work continuing, at a slow pace, but steadily its all getting done.
And, I am actually caught right up with Instruction diagrams. I am working on page 21...I figure 2 or 3 more pages might do it. Biggest set of Instructions yet! Soon I'll have to start laying out Parts pages and numbering everything. After that, I go back through the Instructions and apply all the Part numbers. ... More bits added...working on the rear fenders: Left side... Basic Tail Light and reflector, First Aid Container, Storage Bin for Water, Water Container. Right side... Basic Tail Light and Reflector, Bracketry for Road License/Registration Numbers. Later models had another Bracket and another tailight added. I assume for Road use. I decided to stick with the original Factory setup on the Tail Lights. 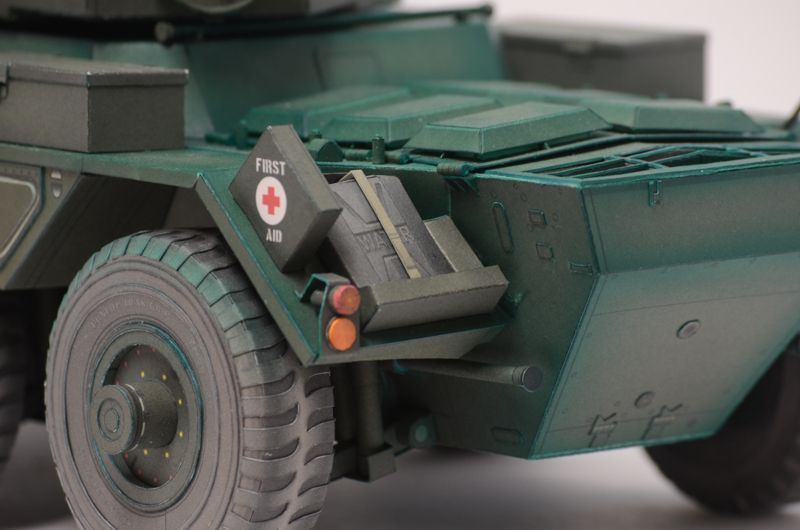 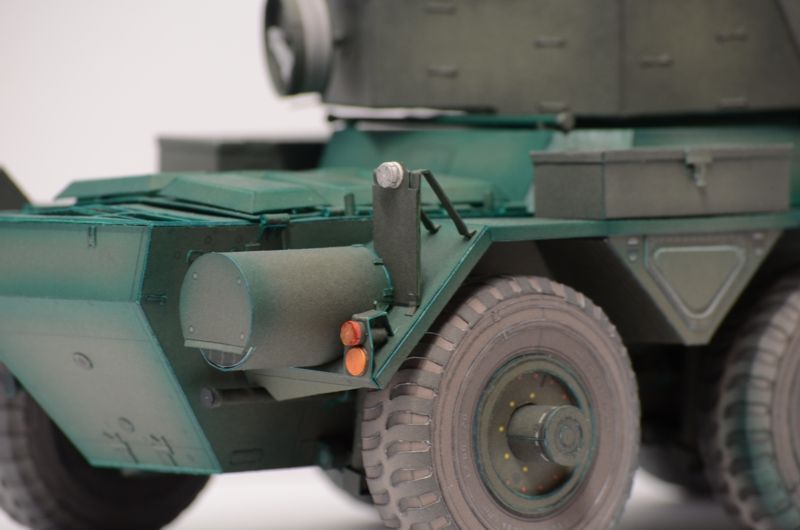
__________________
SUPPORT ME PLEASE: PaperModelShop Or, my models at ecardmodels: Dave'sCardCreations
|
| Google Adsense |
|
#307
02-28-2017, 07:38 AM
|
|||
|
|||
|
OUTSTANDING! as usual. Great job Dave.
|
|
#308
02-28-2017, 09:26 AM
|
|||
|
|||
|
Such an incredible piece. The detail and craftsmanship is amazing. Once this model is up for sale, I for one will be buying it, even if I never build it. I have to have it.
|
|
#310
03-07-2017, 11:48 AM
|
||||
|
||||
|
Last few details added to the Saladin...
Tailights Rear Registration Plate Registration Numbers (a couple of sets will be included in the kit) Rear Markings...basically generic markings, no squadron or regiment indicators. UK Flag decal.  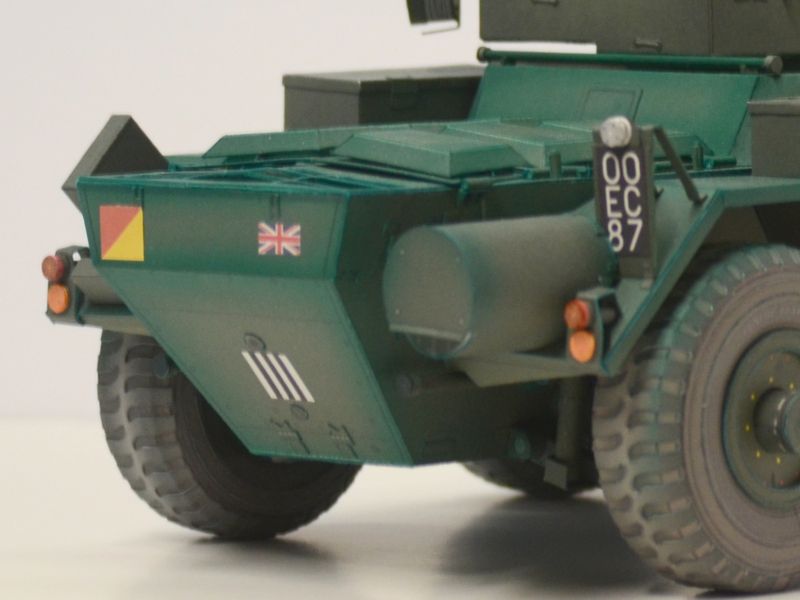 Front headlamps. Front Driving Lamps...some Saladin's just had the white lamps, road use vehicles also had the orange. Horn (inside its cage) Front Markings and registration Number. ...and I will hopefully include a couple of Regimental Flashes for optional use on the left fender. (I decided to add a UK Flag there instead) 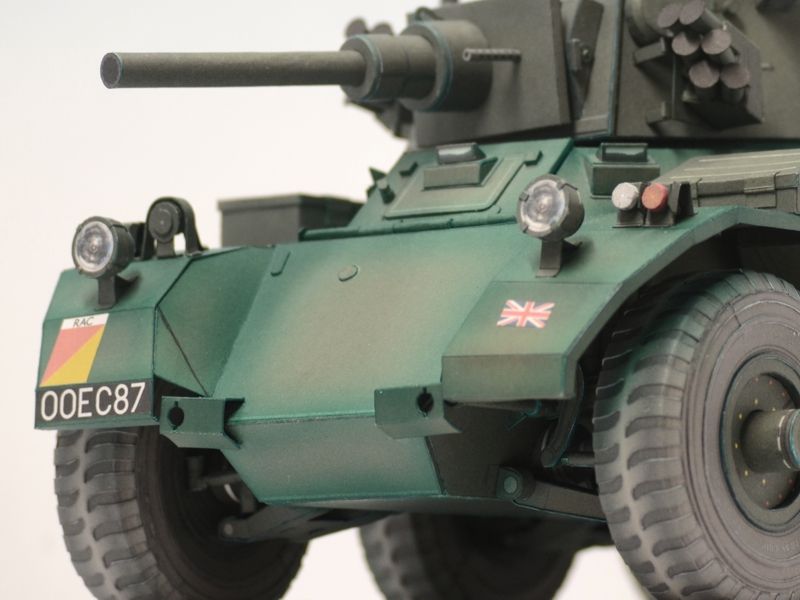 Also added the Turret 30 cal Machine Gun, with swivel base. It is removeable (an option of course). And I added the MG support/stow lock on the side of the turret. 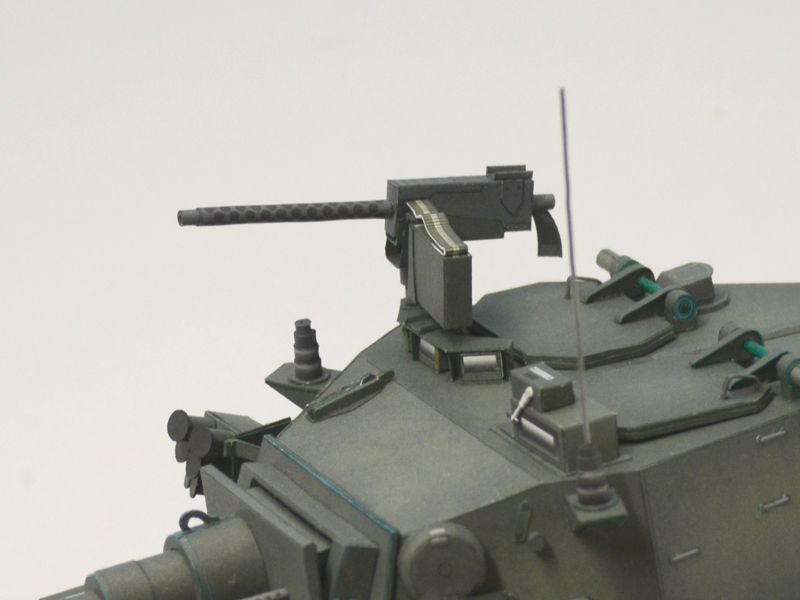 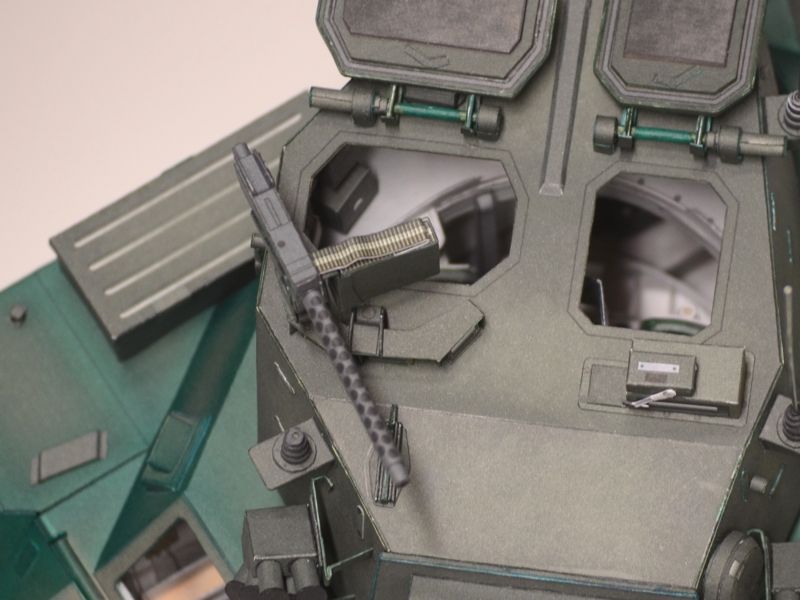 I added an "A Squadron" marking to the turret...but my paper krinkled up a bit, and I couldn't get it down really flat. I don't want to add this to the Turret...I prefer to leave these things as printable decals. But you need to print them on very thin paper. 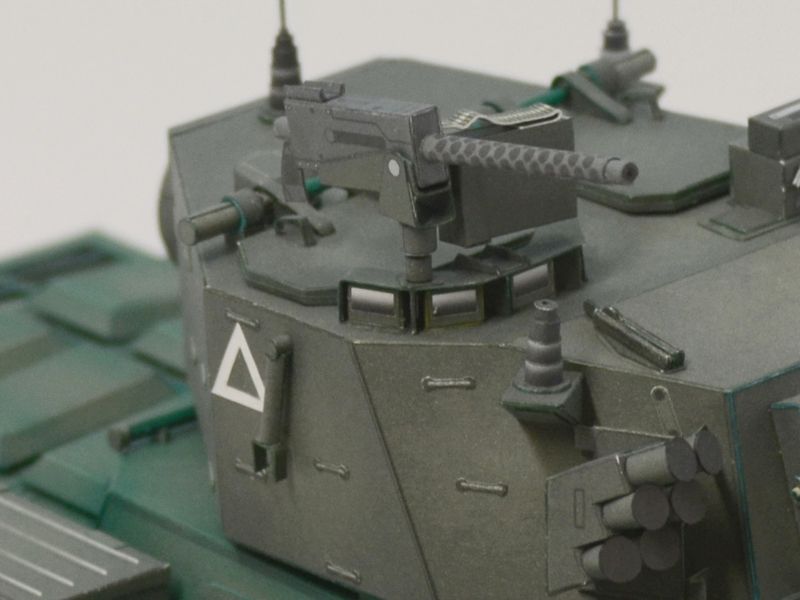 I think thats it. I have only one other thing I want to add to the model, but its not a kit included thing. The cable eyelets that are on the turret and Hull. I think theres about 8 of them. I was going to make up some wire loops, but I can`t bend the wire cleanly enough, and I can`t cut the ends smooth enough, and gluing wire to the card is tricky. So, I have ordered some .40 plastic rod which can formed and glued more easily. I`ll make up these eyelets and glue them in place later. Other than that, the Saladin is finished, and now its time to tackle the actual kit. I have to sort Pages for Parts, add Part Numbers, and then complete the Instruction Pages. Hopefully, before the Summer, I will have a kit ready for sale. ....................................
__________________
SUPPORT ME PLEASE: PaperModelShop Or, my models at ecardmodels: Dave'sCardCreations
|
| Google Adsense |
 |
| Tags |
| saladin, armoured, car, project, centurion, scale, started, model, matchbox, 1/16, dinky, design, work, toys, tank, issue, basic, kit, profile, army, number, issued, remember, printing, reference |
|
|


 Linear Mode

