


|
|
|
#51
 09-14-2016, 05:52 PM
|
||||
|
||||
|
Next up...lets prepare the main Body for assembly!
This is the central section of the main Body...and also includes the front (nose) underpan. We will prepare and attach the rear Underpan shortly. Cut out the Main Body center section...which has already been scored for folds. There are two fold lines across the Nose, and the rest are at the edges of the part, where all the Glue tabs must fold.  ... Trim around all the Glue Tabs. Make sure to cut right up to the Body edges, but not past the fold lines. We don't want to see any cuts after the tabs are folded!  ... Next photo shows you (from backside) the hidden folds in the center Body section. Familiarize yourself with the folds across the top of the main body (as indicated by the dotted red lines). These are not conspicuous creases...thats why we did not score at these locations. These are easy folds which allow the main body to transition in shape (to match the Side Panels). Notice the Glue Tabs are cut at each location to allow the part to fold.  ... The Nose needs to be folded part way. When this Part is attached to the Side Panels, the nose sections need to be curved....note the smaller Glue Tabs.  ... Gently curve the Nose sections. Once again, don't get carried away...they only need a very slight curve.  ... Refer to the shape of the Side Panels when curving. Its okay to curve a little more than necessary...this can actually help you during assembly. 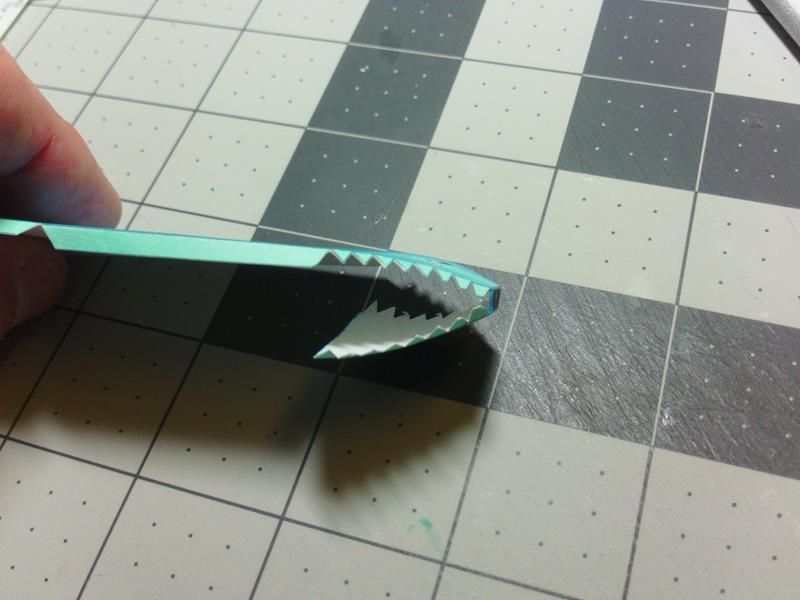 ... Now, lets focus on the rear end of the Body and fit the Tail Fin into the slot at the rear of the upper Body Panel. Make sure the base Tabs are folded at right angles to the Fin. Slide the Fin part in as far as possible. 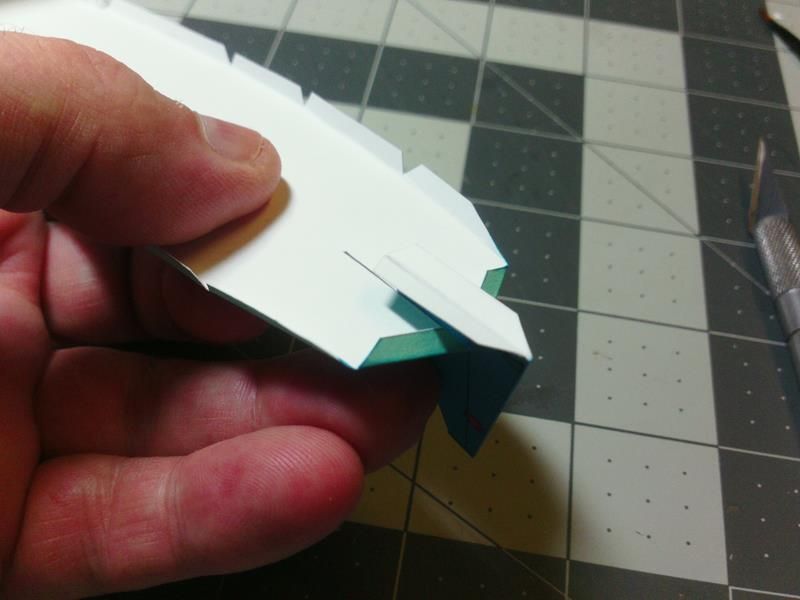 ... The back end of the Fin should be flush with the Body panel. It should not extend past the tail end of the Body. if it does, your slot has not been cut deep enough forward. Go ahead and securely glue the base tabs to the underside of the Body Panel. Use plenty of glue to lock the Tabs in the correct angle. 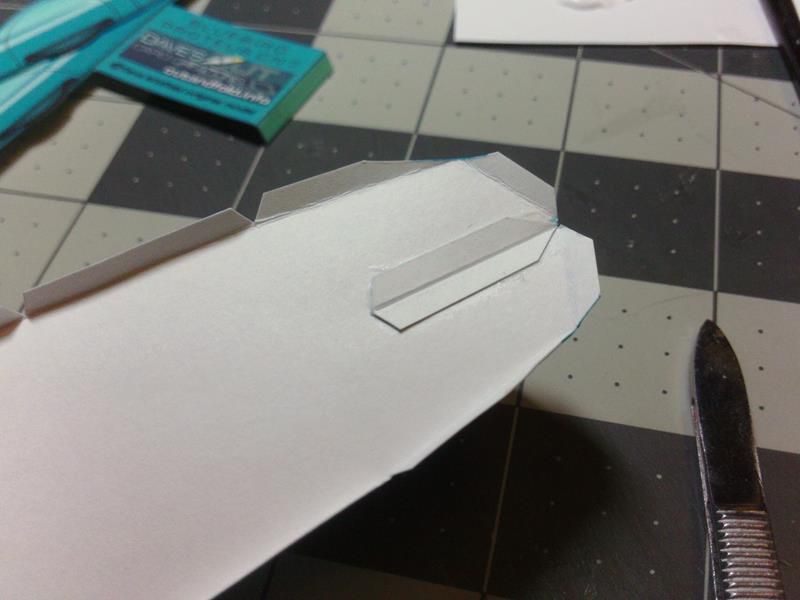 ... If you press the Body Panel flat against your work surface, you can apply pressure to secure the Glue Tabs to the underside of the Body. Make sure the Fin is glued (and remains) vertical in the slot. 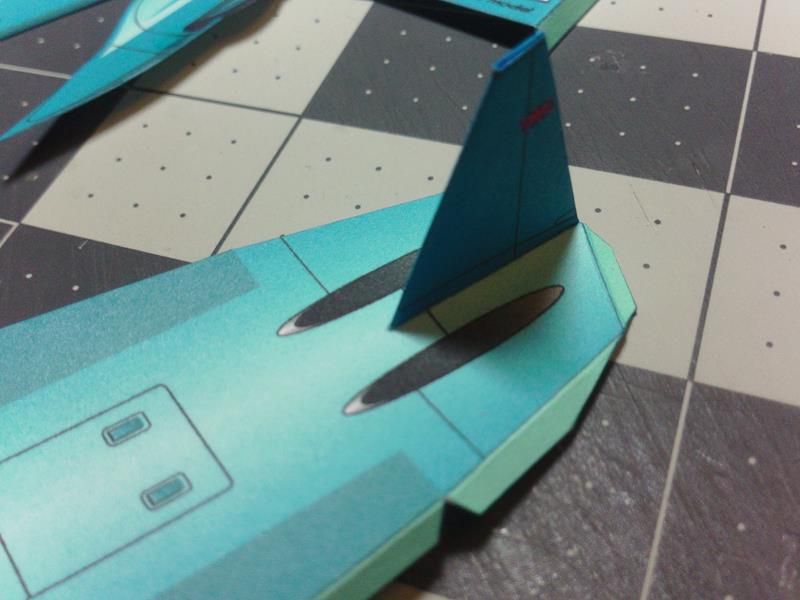 ...
__________________
SUPPORT ME PLEASE: PaperModelShop Or, my models at ecardmodels: Dave'sCardCreations 
|
|
#53
09-15-2016, 03:45 PM
|
|||
|
|||
|
making progress
|
|
#54
09-15-2016, 03:55 PM
|
|||
|
|||
|
All right whats going on with my pics?
 I take the pic in portrait but when it gets uploaded its displayed in landscape. I take the pic in portrait but when it gets uploaded its displayed in landscape.  Do I have to take my pics landscape only? Pic retaken landscape. Do I have to take my pics landscape only? Pic retaken landscape.
|
|
#55
09-15-2016, 04:24 PM
|
||||
|
||||
|
It's a function of your phone usually. Phone photos are the only ones I know that do that
__________________
A fine is a tax when you do wrong. A tax is a fine when you do well.
|
| Google Adsense |
|
#56
09-15-2016, 04:29 PM
|
||||
|
||||
|
lol psychosideways
__________________
SUPPORT ME PLEASE: PaperModelShop Or, my models at ecardmodels: Dave'sCardCreations
|
|
#57
09-15-2016, 05:55 PM
|
||||
|
||||
|
Ready?
Next step.... The rear Underpan...fits under the rear of the Body (center section). use a straight edge to cut the tail end. 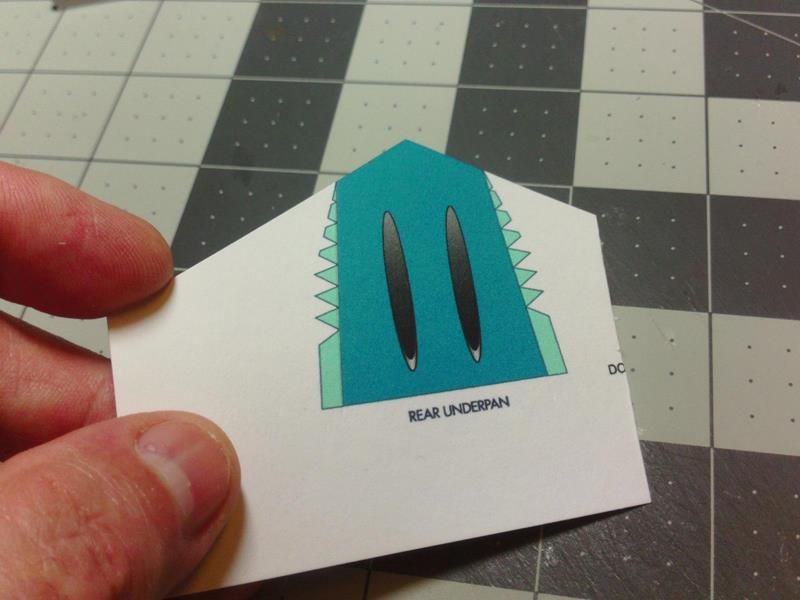 ... Trim out the rest of the part. Hopefully you remembered to score the sides? 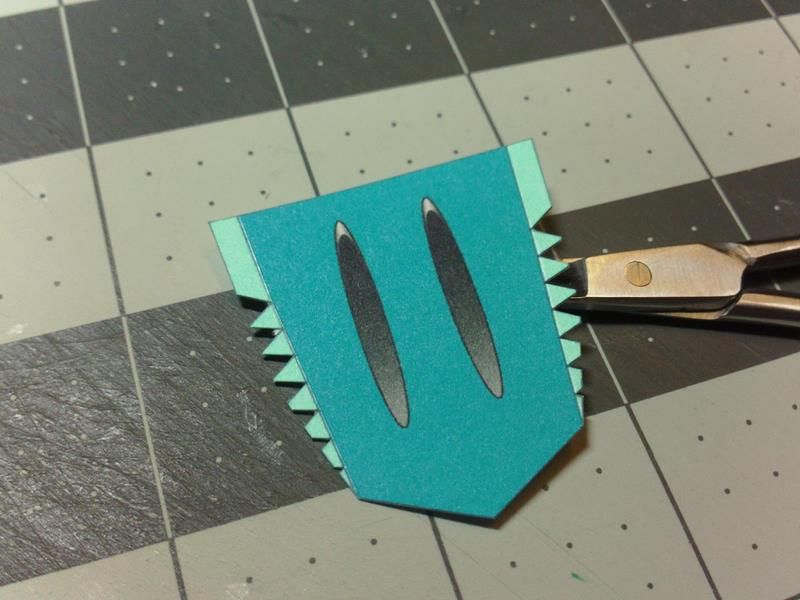 ... As always, I like to use a clamping straight edge to fold the Tabs. Bend the tabs at right angles to the part. 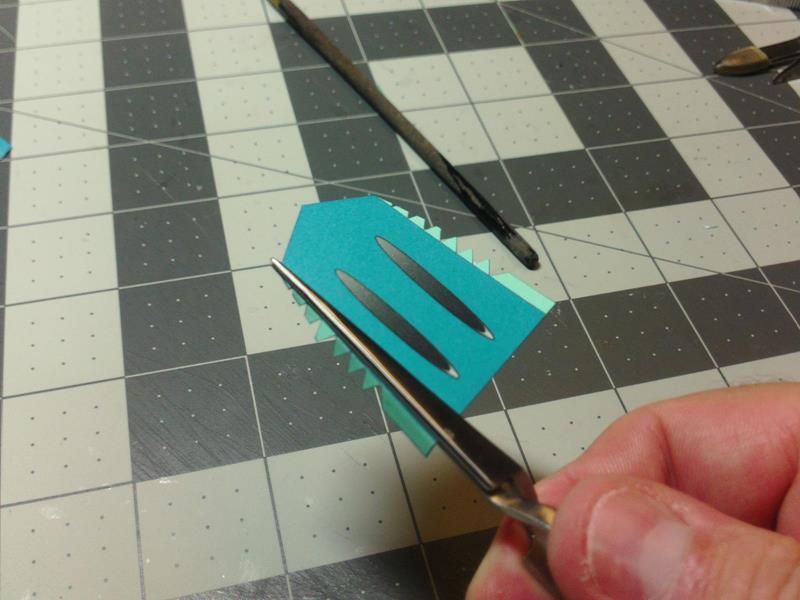 ... The part has to curve to match the Body shape. At the rear end of the Body, the upper section is a straight surface, whereas the underpan is curved. You can refer to the side panels...its a gentle curve. Its okay to curve a bit more than needed. Easiest to flatten out the Glue tabs and then curve. 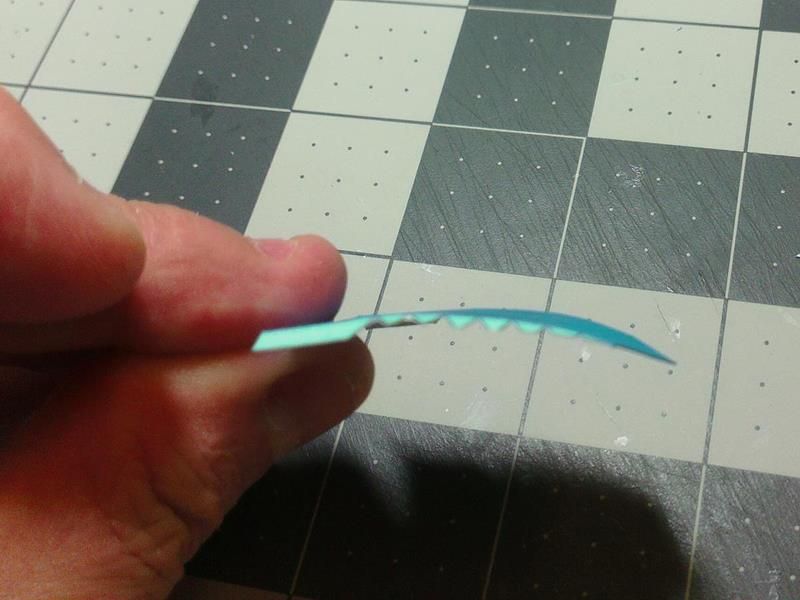 ... Now lets attach the Underpan to the upper Body (center section). Fold over and tightly crease the rear end Tabs. They need to be as flat as possible. 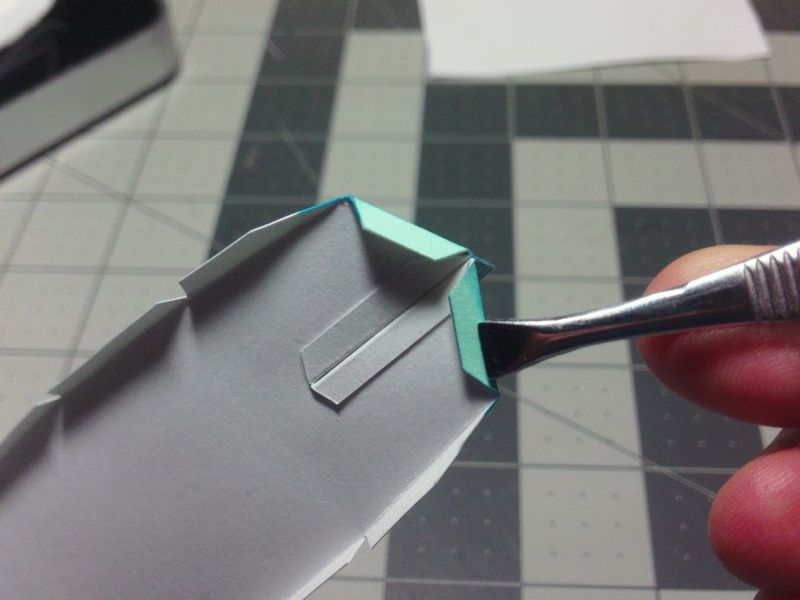 ... Line up and glue in place, one of the sides of the underpan part. Its important that the edges are as flush as possible. Make sure you line up the center point with the center of the Body. You can use the center of the slot or the Tail Fin itself to define the center of the Body. The outer edges of the underpan should also be flush with the outer edges of the upper Body part. 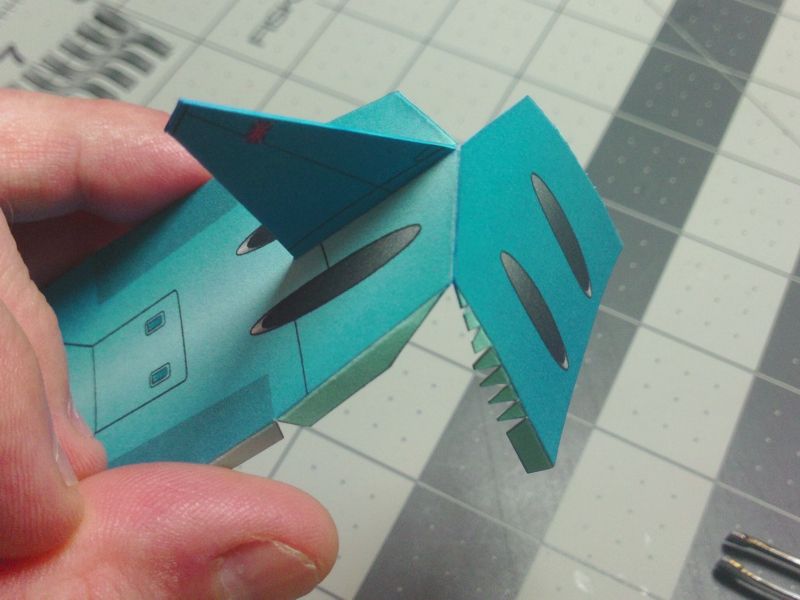 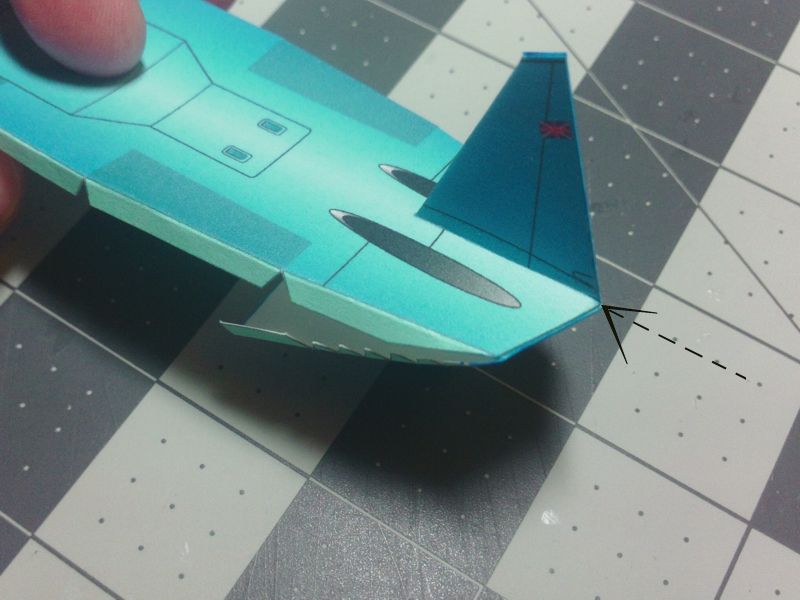 ... Curve the underpan, under the Body...this will help align the opposite side (of the underpan). 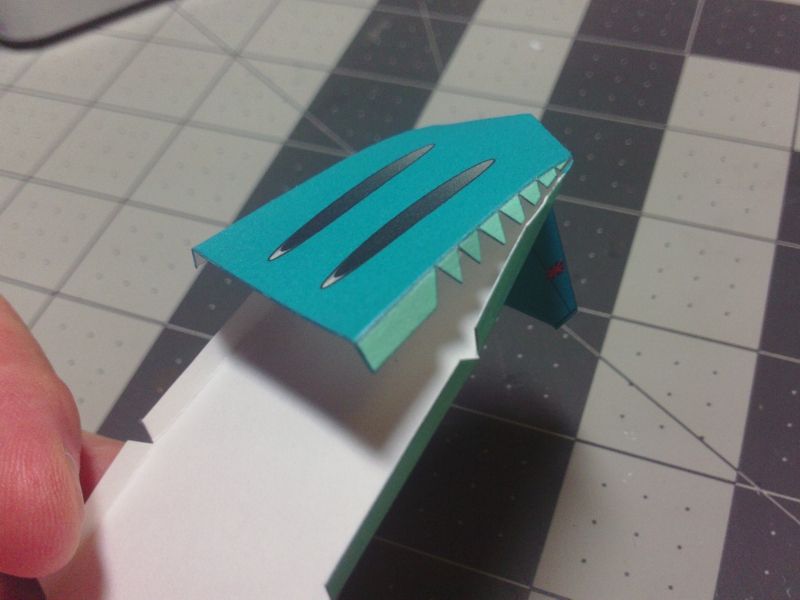 ... Glue the opposite side, making sure the edges are flush. 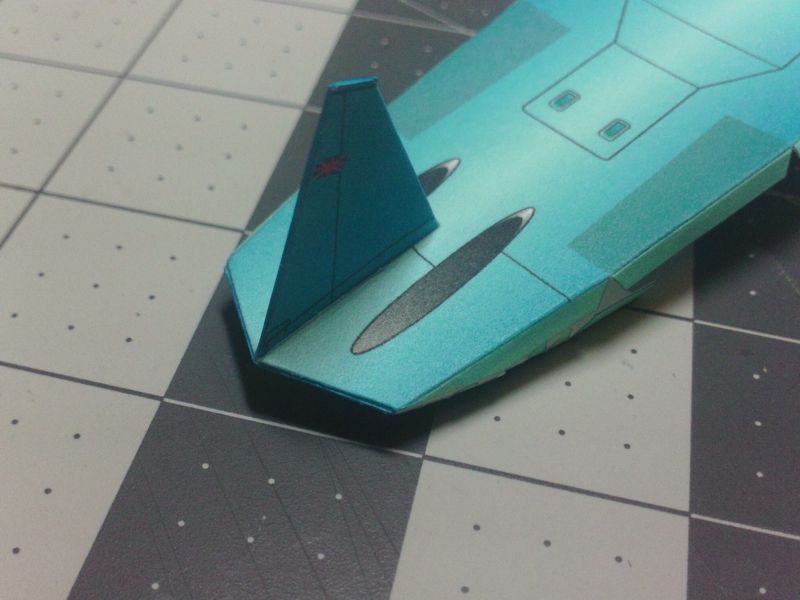 ... Once both sides are glued...and have had time to set up completely... check the shape. Note the curving Underpan. Push backwards a little, on the tail Fin and note the downward slant of the rear section. 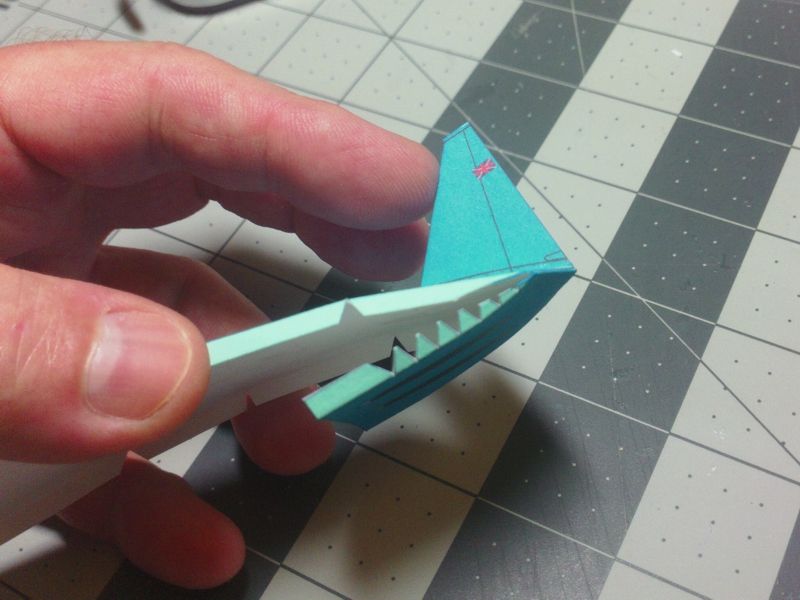 ... Your Body (center - upper and lower) is now ready to receive the side panels. This is where the fun begins! 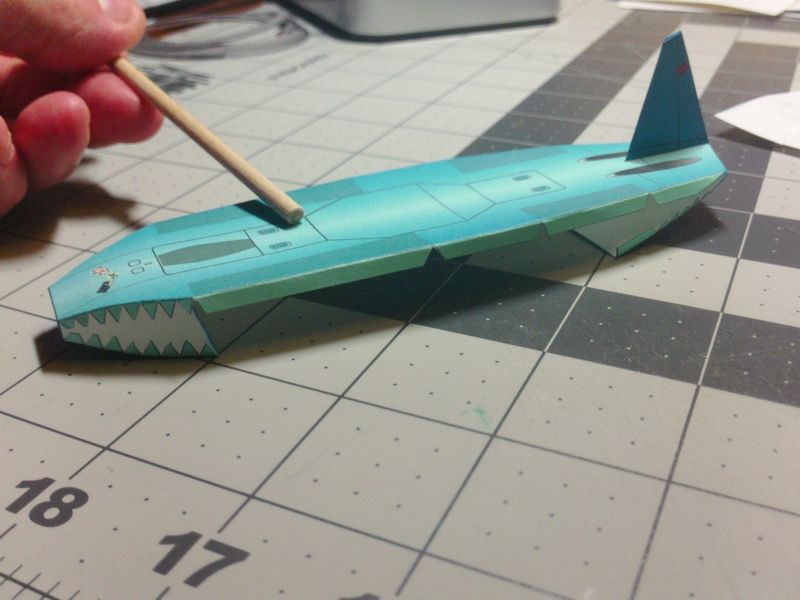
__________________
SUPPORT ME PLEASE: PaperModelShop Or, my models at ecardmodels: Dave'sCardCreations
|
|
#58
09-15-2016, 06:40 PM
|
||||
|
||||
|
I was out late last night, but was able to have a pleasant evening doing body work tonight. Ha ha, Dave thought he'd fool us by not mentioning the edge coloring, but I remembered anyhow (not that there is very much of it). This was fun after sweating the details on the comparatively small canopy. Looks kinda like a shark in the second photo. I'm going to enjoying a three-day weekend, so I won't be able to upload photos, but I plan to take the project with me to work on at the motel. We're approaching the grand finale and I can't miss out!
|
|
#60
09-15-2016, 10:58 PM
|
||||
|
||||
|
Woow!!, you guys are doing a great job! Looking great so far!
Mike
__________________
Cardstock Property Tables and Terms Flying Cardstock Models http://www.papermodelers.com/forum/m...uers-projects/
|
| Google Adsense |
 |
|
|


 Linear Mode

