


|
|
|
#121
 06-09-2019, 05:03 PM
|
||||
|
||||
|
Time to move forward...
I'll come back to anything else that has to be attached to the Chassis after I have a basic Body. Attempting to reuse the 1/24 body I designed at the start of all this... quite a few changes to make, but at least I have something to start with. The internal structure will definitely need a rework. And, after a few modifications, here is the vehicle "Interior!":   What you see isn't the final incarnation, but the pattern is there. I did some cutting and modifying on the fly. And yes, you are correct, this is not a real vehicle interior (seats, cockpit, etc). We discussed this more than once, and I have flip-flopped for and against putting in an interior. I know some of you championed for it...and I listened and considered it strongly. Unfortunately, I keep running up against the same issues and frustrations. My original idea was a slightly smaller scale model with no interior. Even though I enlarged the scale, its still not a very big vehicle, and as such, not a very big model. There are many parts that are still quite small (at 1/18 scale). The real vehicle is not armoured...no thick steel plates. Its also not very solidly constructed. The entire body is a cage of 1" square tubing, covered with lightweight metal sheeting (on the outside). There are no interior panels, or coverings. The walls and doors are very thin. Its full of gaps and holes letting daylight in! The frames around windows and doors are made from the same thin and lightweight square tubing. Cutting out window openings and door holes leaves a very thin and fragile framework. I don't want to offer opening doors and windows, and be forced to install an internal structure that isn't right for the vehicle. Or modify the thickness of walls, doors, or window frames just to accommodate the paper model. The proper scale thickness of the doors and walls would be less than 2mm at 1/18 scale.  Its possible to build the square tube framework out of paper, and "skin" it with a couple of layers of card stock. But it would be a complicated build and not for beginners. The only other option is to add a supporting frame like a cage, or maybe bulkheads? But that also wouldn't be accurate or realistic to the vehicle. I think I prefer to keep things on a more simple level. It would be preferential to not make it any more complicated than it is. A former interior is tedious but simple. The vehicle's interior isn't too exciting anyway, and there isn't much of anything inside the vehicle. Even the driving controls and instrument panel are bare bones. I think I can add enough exterior surface detail to the doors and windows, to keep the model interesting. A large percentage of Military vehicle paper kits do not have interiors. Its not an uncommon thing. I think the need for adequate internal support, and the difficulties of design that I have mentioned, all lead to the same result. If this was meant to be a more complicated and "advanced" skill level kit, I would definitely build in an interior. But its not. So, my apologies to those who were expecting an interior...
__________________
SUPPORT ME PLEASE: PaperModelShop Or, my models at ecardmodels: Dave'sCardCreations 
|
|
#125
06-10-2019, 09:03 PM
|
|||
|
|||
|
I think you have a chorus of fans here that say you made the right decision (me included). What I will do, when I build this model, is deeply score the outline of the doors, recess the "glass" parts and the door handle pockets one card depth and overlay the door hinges and the door handles, to tweak the imagination of the viewer to provide the "unseen" details in the cabin. As you can see, I'm already dancing around like a guy that drank a 6-pack and found a line outside the men's room.
 This is gonna be a fantastic model! This is gonna be a fantastic model!John
|
| Google Adsense |
|
#126
06-10-2019, 09:30 PM
|
||||
|
||||
|
Quote:
There are already plenty of layered parts.
__________________
SUPPORT ME PLEASE: PaperModelShop Or, my models at ecardmodels: Dave'sCardCreations
|
|
#128
06-11-2019, 10:35 AM
|
||||
|
||||
|
The formers needed a few tweaks and adjustments.
And then after some cleanup, I looked at the position of the floor (inside the Body). The body (and its floor) rest on wooden rails, on top of the Frame Rails. The floor is raised to clear components that project above the top of the Frame rails. I was concerned about the overall height of the body on the chassis...and mine is too high in my opinion. Photos show various wheel clearances on various FATs. I think it depends on Tire/Wheel size, spring load and cargo weight. But I like the look of a squatter vehicle. After checking the floor height in photos and factory diagrams, it looks like my floor could be higher, which would lower the body on the frame. So, I raised the floor about 2mm...and adjusted the formers to match. Then rebuilt the former structure.  ... I also adjusted the under floor pan to match the new floor (former) and modified all the floor components to fit. Only thing not shown are the frame rail supports. Since this model now has an Engine and Transmission, I also needed to notch the floor and add a "dog house". 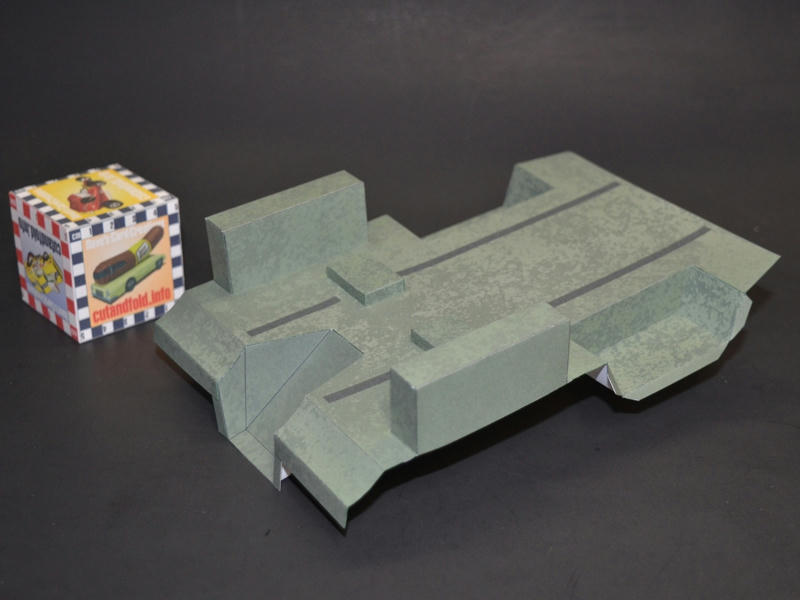 ... The under-floor will be glued flat to the floor formers and the entire assembly inserted into the completed body. So, I'll have to complete the main body next. 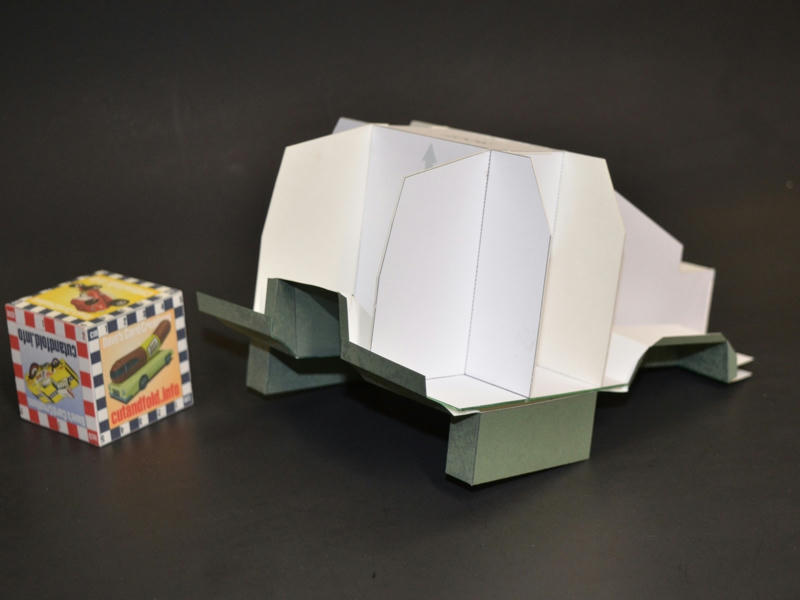 
__________________
SUPPORT ME PLEASE: PaperModelShop Or, my models at ecardmodels: Dave'sCardCreations
|
|
#130
06-11-2019, 01:19 PM
|
||||
|
||||
|
hahaha I didn't notice how Spiderman is standing there.
LOL He appears to gawking at the model doesn't he?! Thats too funny.
__________________
SUPPORT ME PLEASE: PaperModelShop Or, my models at ecardmodels: Dave'sCardCreations
|
| Google Adsense |
 |
|
|


 Linear Mode

