


|
|
|
#11
 03-09-2010, 09:57 PM
|
||||
|
||||
|
Quote:

|
|
#12
03-13-2010, 12:41 AM
|
||||
|
||||
|
Small updated I build the rudder is very simple but needed a cut in horizontal stabilizer to fit rudder with fuselage...
I cut and reserve the axel undercarriage structure, the next target in the building... Pics... 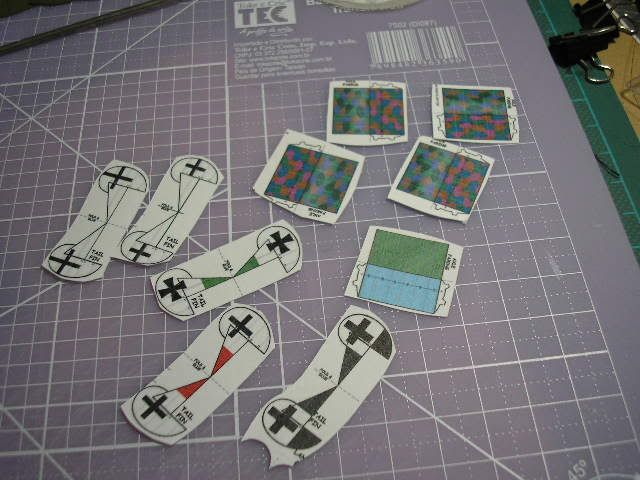 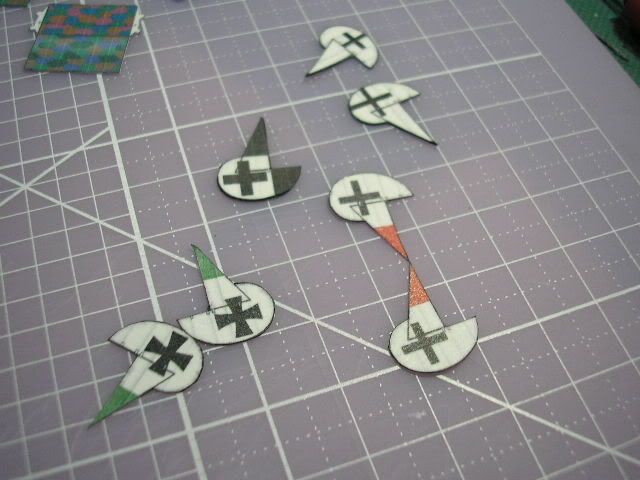 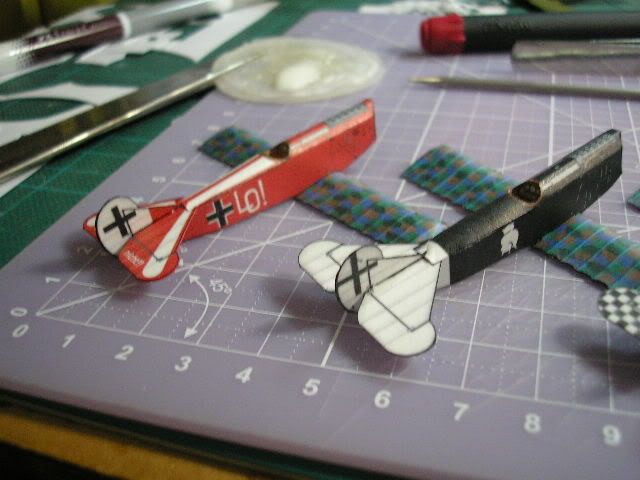 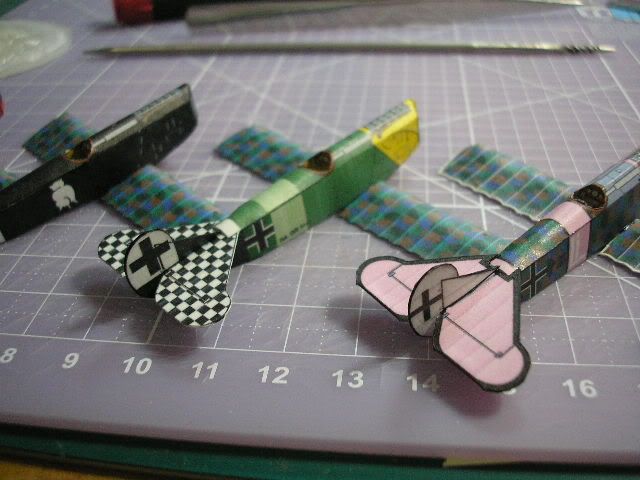  More updates soon, my last week is very busy in real world 
|
|
#13
03-13-2010, 05:43 AM
|
||||
|
||||
|
Very nice, instructive and enjoyable build to watch!
The simplicity of the build process, with the amazingly realistic end result, is clearly one of the attractions of the FG line of models...and you are doing a very good job! Cheers! Jim
|
|
#14
03-13-2010, 06:52 AM
|
||||
|
||||
|
Seriously nice build.
|
|
#16
03-17-2010, 07:31 AM
|
||||
|
||||
|
At this time I work in undercarriage of my jasta
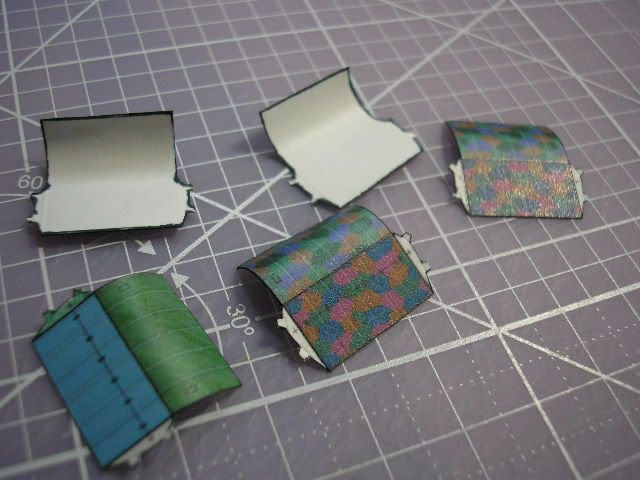 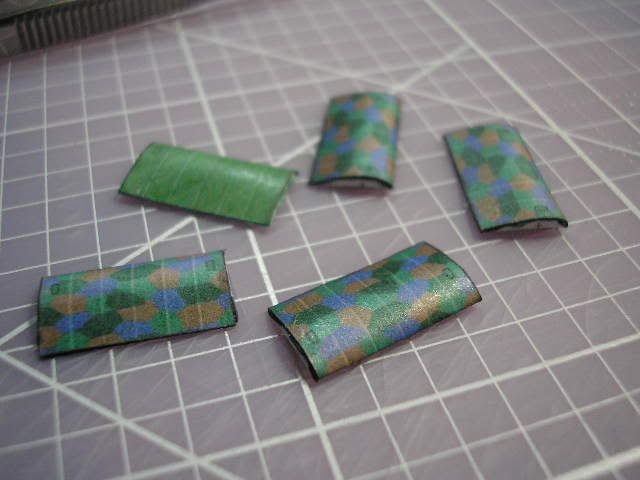 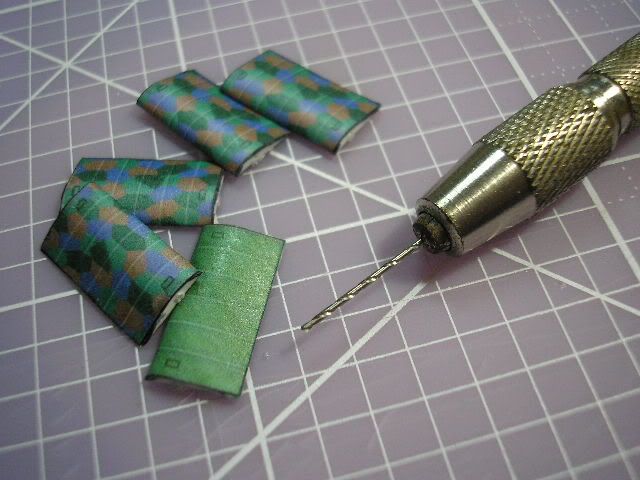 The first providence, is make a axle carenage, is pretty simple, only careful is curve the superior face, glue and drill a axle hole with pin vise... 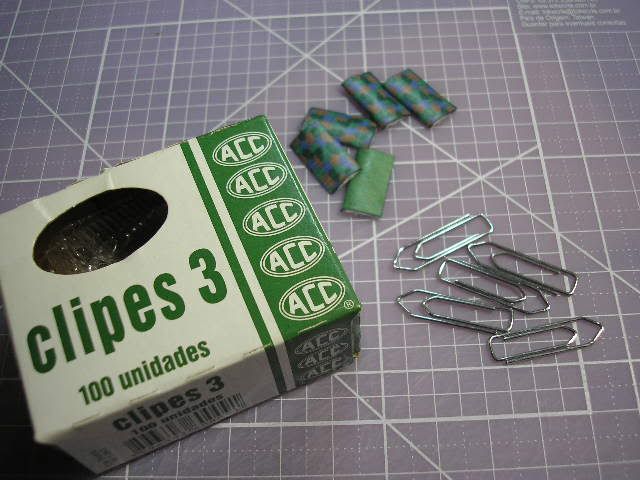 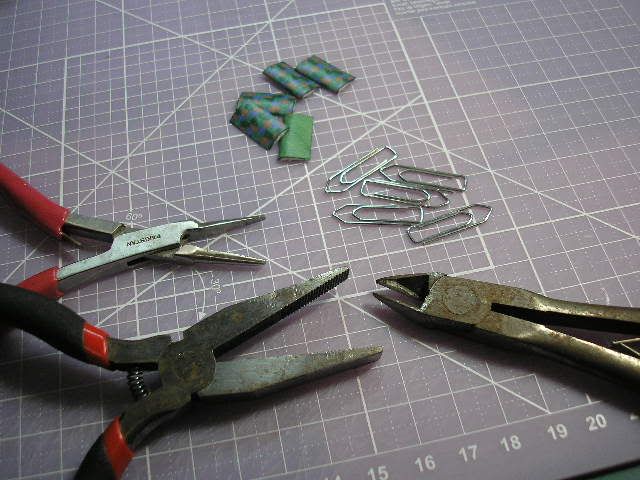 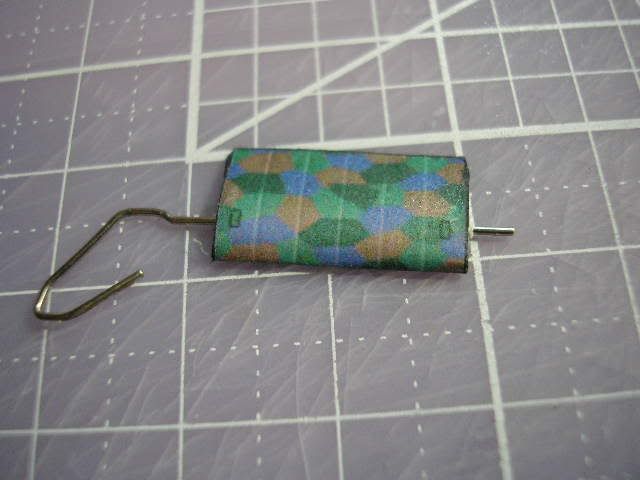 The next step is a made axle with paper clips. I use clips N° 3 or 4 to made in scale, this clip is transform in axle with blending pliers, after this work is cutting and insert in the carenage... 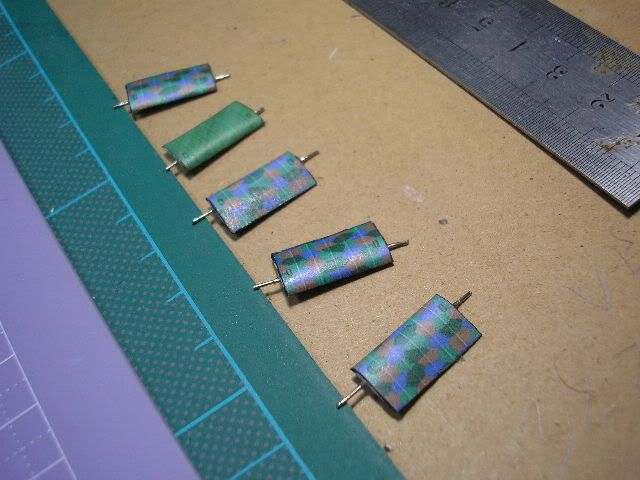 This result... Waiting for the next work, Note this improvement is a part of instructions of model... 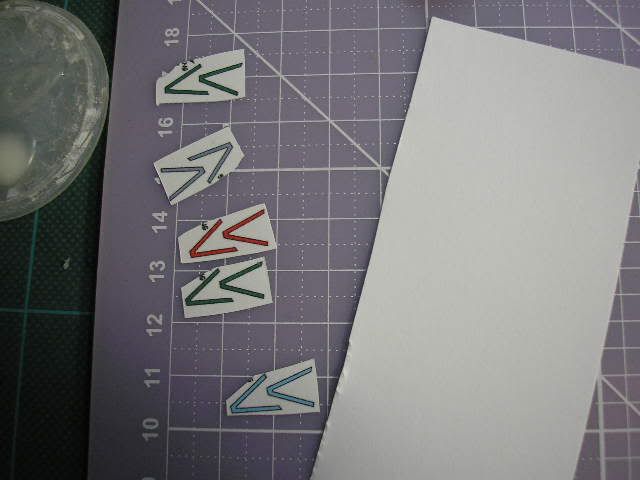 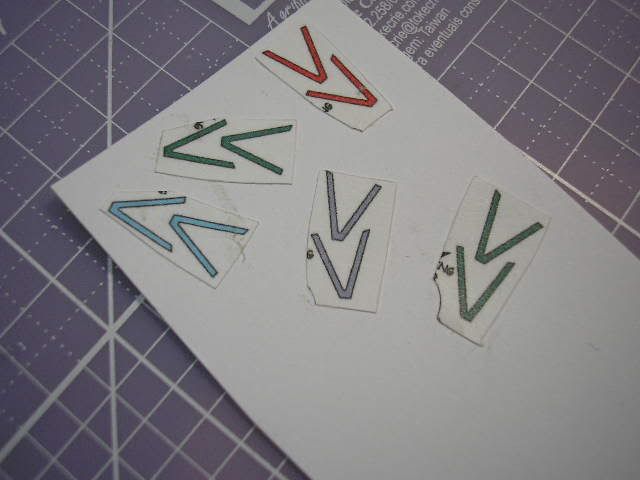 After I star the undercarriage leg, for my work made in 120g is fragile, i glue in another 120g paper to laminate and reforce this pieces, the back side is painting with acrilic paints... In the next chapter... See you next time...
|
|
#18
03-31-2010, 10:12 PM
|
||||
|
||||
|
Quote:
Retake the assembly of this project, I made the undercarriage, the first providence is paint with acrilyc paint the back of undercarriage legs, ater this paint I'm cutting with careful the parts... 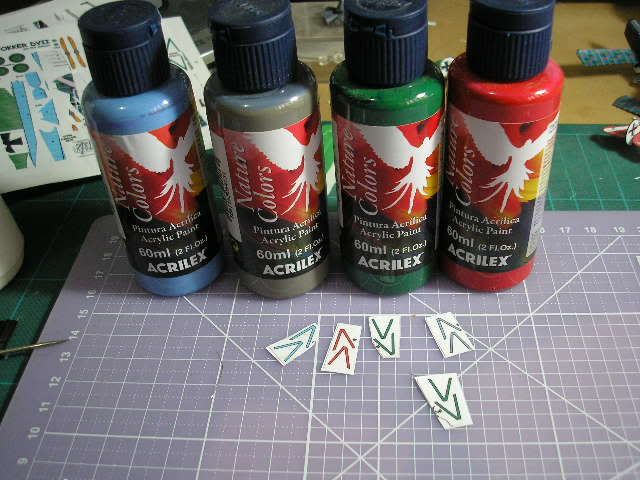 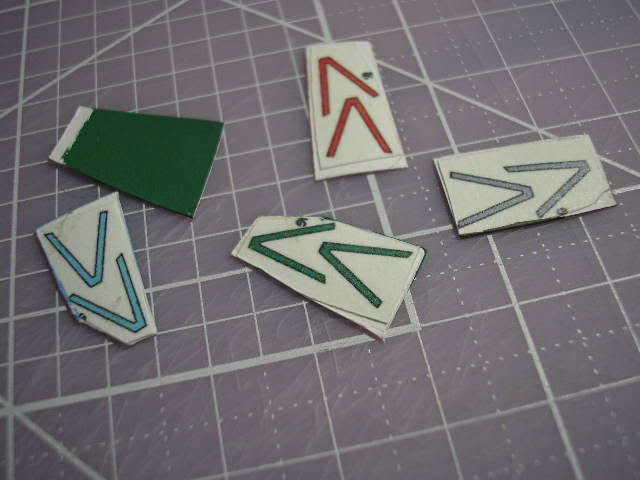 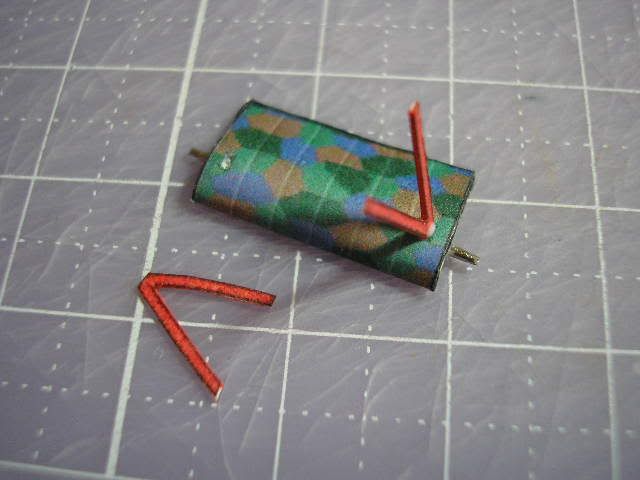 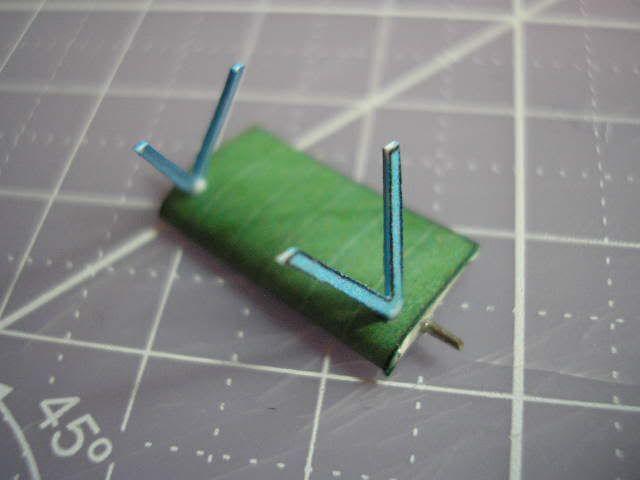 After I glue each undercarriage set in correspondent airplane, for this job I use a PVA glue with slow dry time... 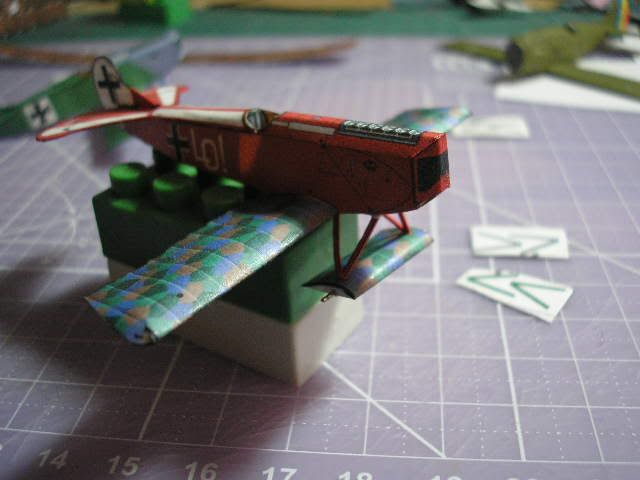 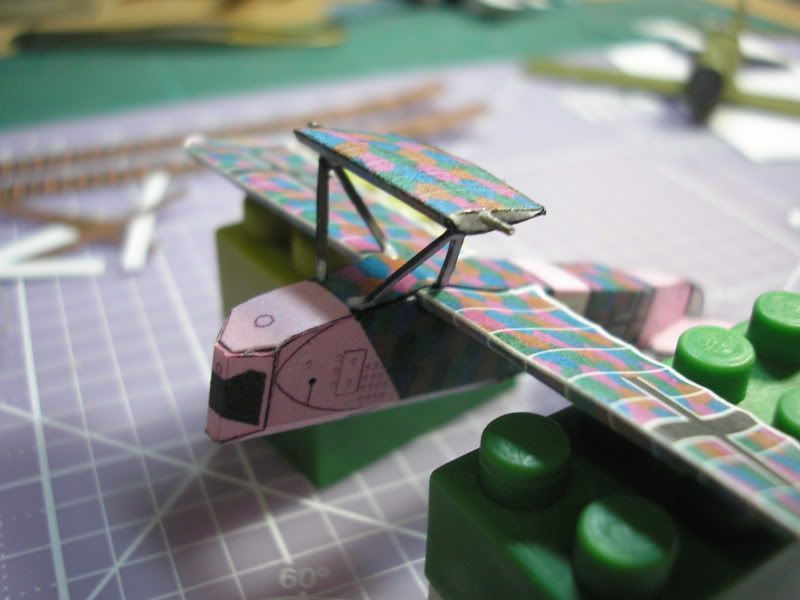 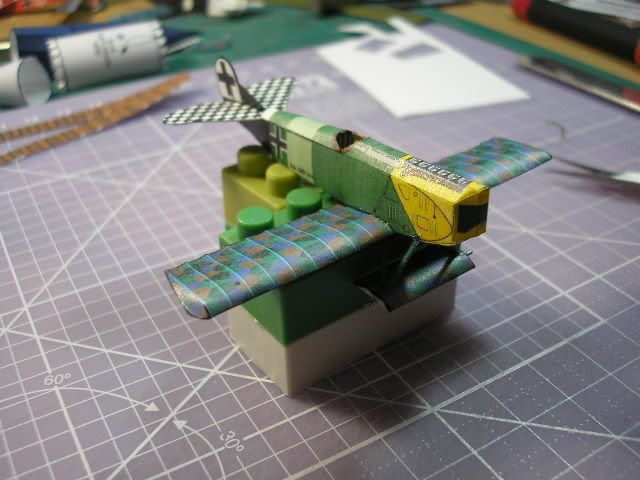 The next target is made a tail leg, in the original in WSAM scale (1/60) Chip recommend the use of scrap of balsa or matchstick, but in 1/100 180g para is suficient for reproduce this part, for simulate the wood grain I use pencil color drawning is multiple directions, before is cutting and glue in each plane... 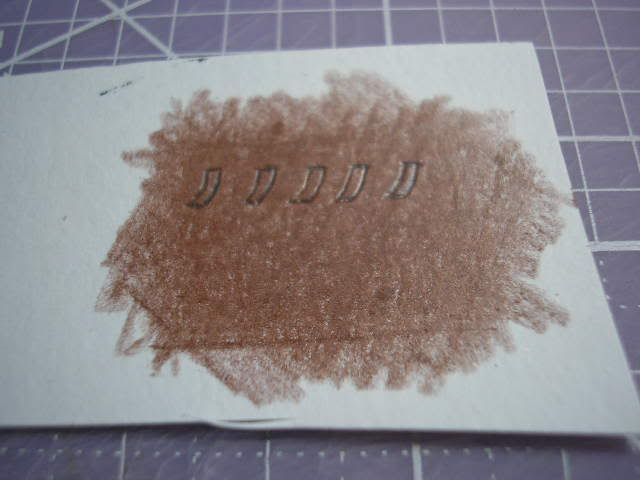 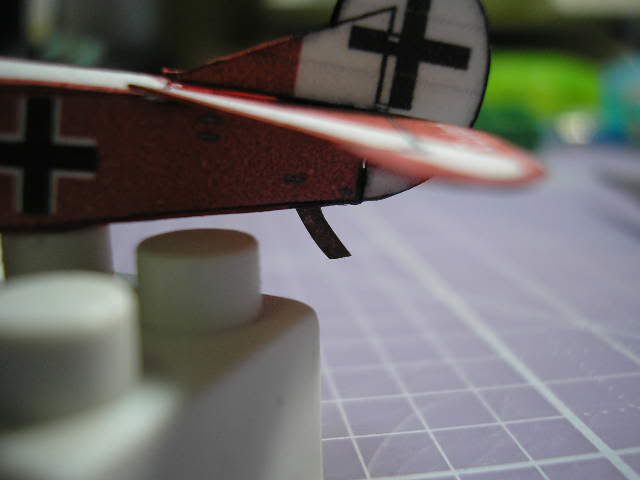 The next objective: the undercarriage stais, control atuactors and cables...
|
|
#19
04-01-2010, 04:40 AM
|
||||
|
||||
|
Nice progress, they look great. I can't wait to see the completed group.
|
|
#20
04-01-2010, 06:19 AM
|
||||
|
||||
|
This sure brings back some memories. They look great. Look forward to seeing them finished.
I built a whole set in a small scale, added an eyelet and I use them as ornaments on the Christmas tree.
|
| Google Adsense |
 |
|
|


 Linear Mode

