


|
|
|
#1
 03-09-2010, 09:34 PM
|
||||
|
||||
|
Hello friends!
My third entrie in this contest is a little unknow Brewster Buccaner later 30's Carrier Dive Bomber, never used in combat by U.S. Navy, but used in USA in WWII for advanced dive bomber training. This model is excelent, and my only change is reduced scale for regular size (WSAM 100% or 1/60) to 1/100... And add radio and VHF antenna... I cut all pieces today, tomorrow I started this build... Cheers 
|
| Google Adsense |
|
#3
03-10-2010, 10:18 AM
|
||||
|
||||
|
It is a great model, and I've had the opportunity to get close to and photograph the actual aircraft Rob modeled, in the Naval Air Museum at NAS Pensacola. Rob nailed it.
Wyvern
|
|
#4
03-10-2010, 11:16 AM
|
|||
|
|||
|
I've seen the actual airplane...and yeah, Rob's paper rendition is a work of art. Very well done.
__________________
wily "I interview WW2 pilots and draw their airplanes." My website: www.johnmollison.com My blog: www.ww2fighters.blogspot.com
|
|
#5
03-13-2010, 12:35 AM
|
||||
|
||||
|
Hello friends!
I started today my SB2A.. Im ajust this scale (wsam 100% = 1/60) to 1/100 and printing in my HP D2400 printer in maximum DPI. After I cover the print with UV protector varnish, and cut all pieces. 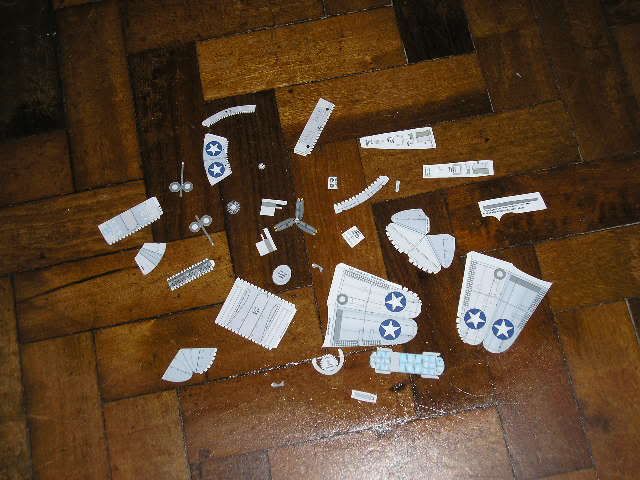 I cover all edges with gray hidro-color pen, and star build sections of fuselage... 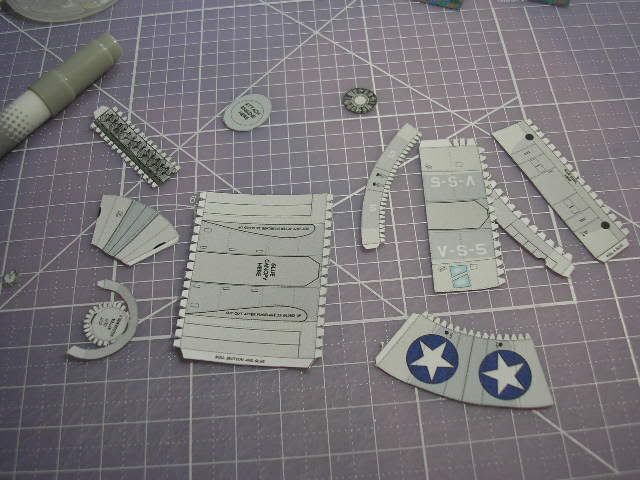 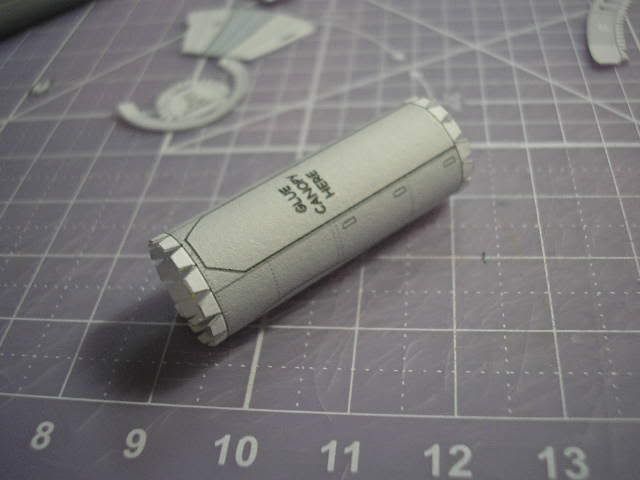 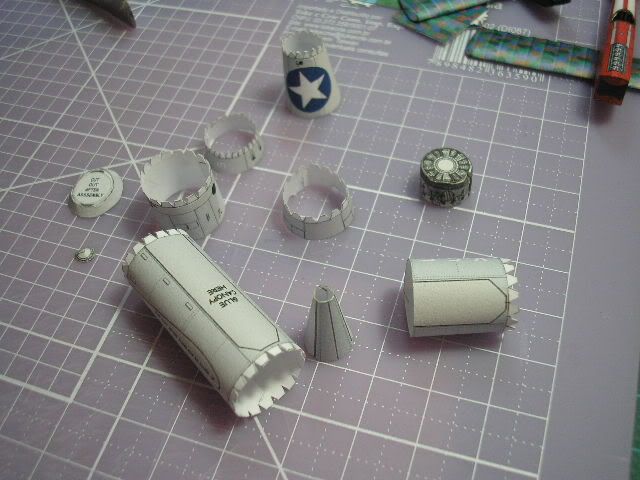 After I build fuselage sub set, note dark gray areas is cut after assembly cut before is a mistake and cause deformed errors in fuselage, to capture oval section of SB2A this delicated operation made after all sections of fuselage, glue and dry. 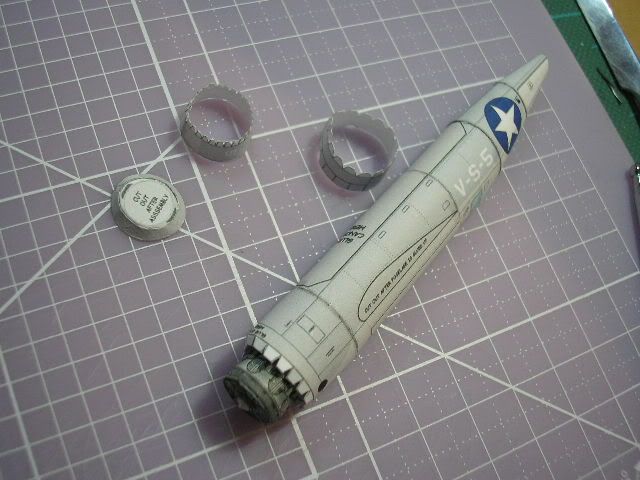 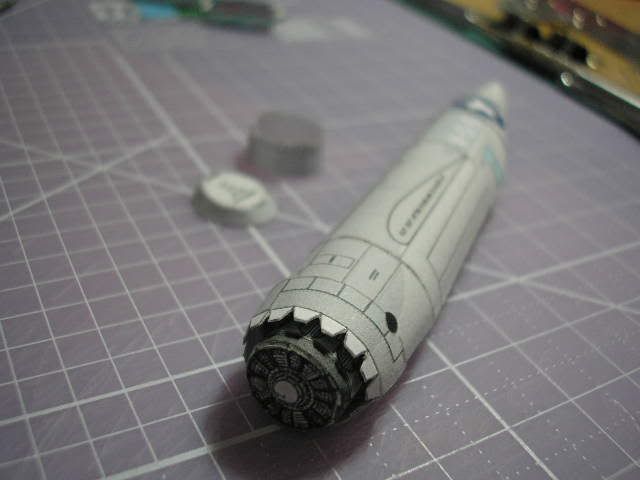 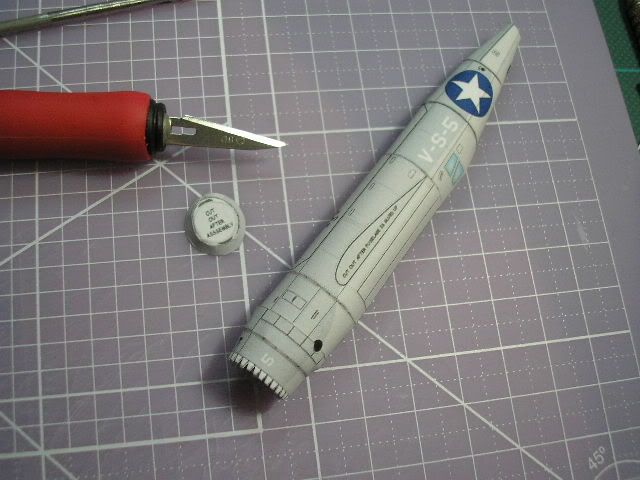 Fuselage almost finished waiting the cut of wings... Tomorrow more progress... This model is a delicious to build...
|
| Google Adsense |
|
#6
03-13-2010, 06:49 AM
|
||||
|
||||
|
This looks great!
 That is a good tip about cutting AFTER you assemble on some parts as directed. I didn't do that on one of my first models ever from FG....what a pain. I ended up pitching it and starting over...decided to follow the instructions. 
|
|
#8
03-15-2010, 11:02 AM
|
||||
|
||||
|
Thank's my friends
Yesterday I make the wings, and glue in fuselage. Not problems in this build. Only careful is form the shape of wings, is a top priority because the fit in the wings, diedral is another tip for build perfect... Pics: 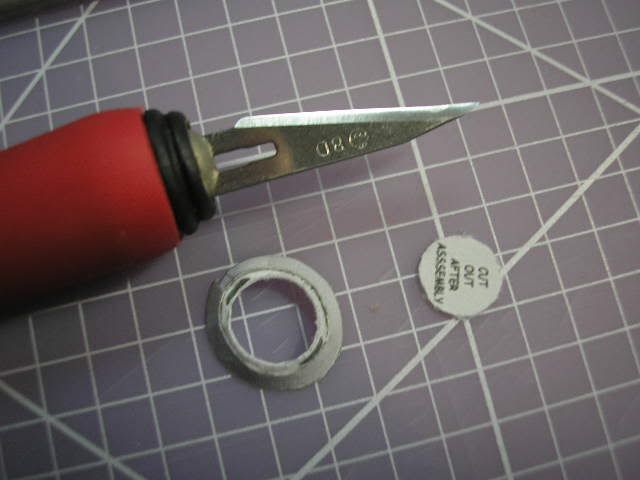 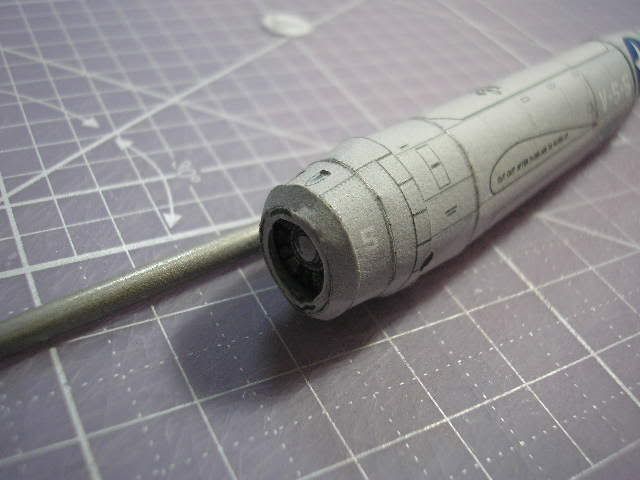 I finished the fuselage, cut with new sharp scapel the hole of engine... 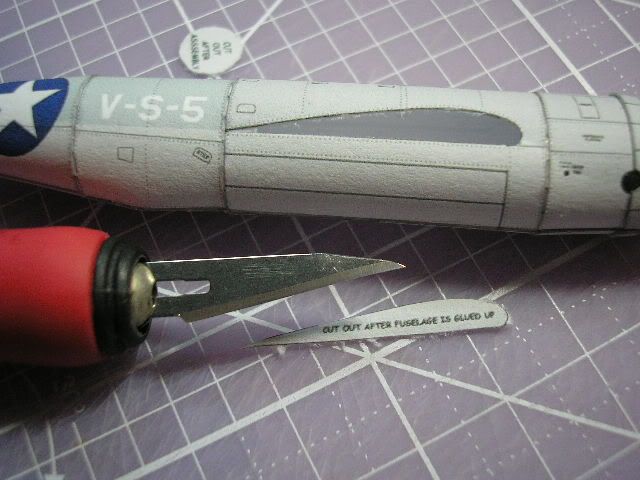 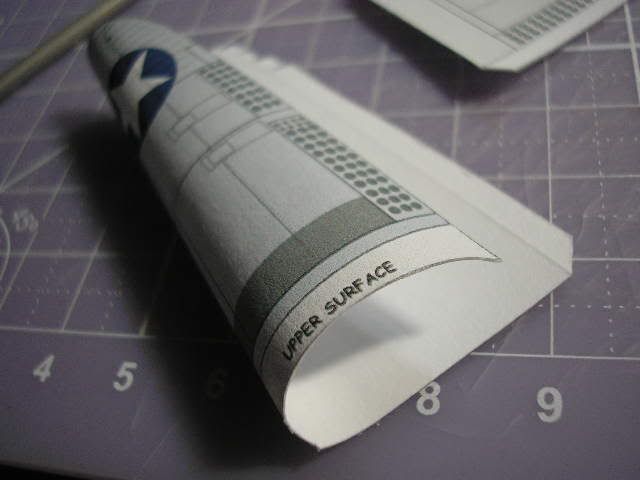 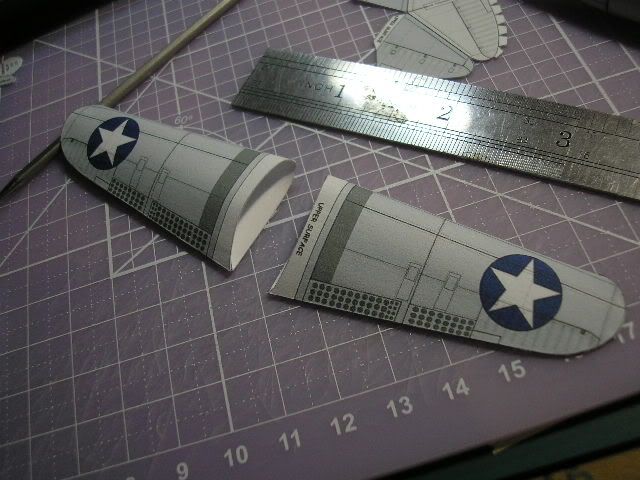 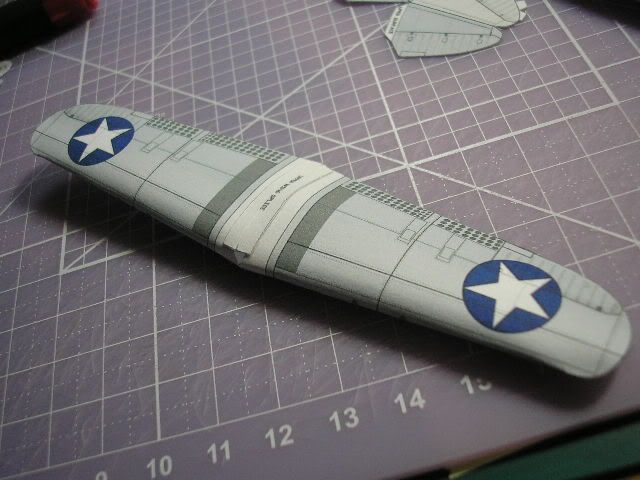 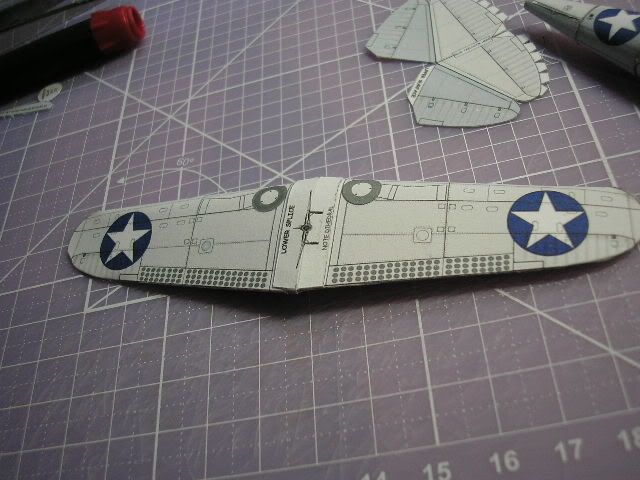  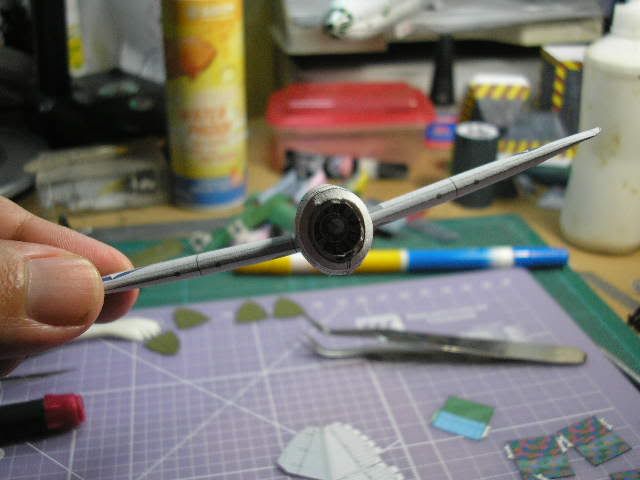 I cutting thehole in fuselage, is a careful step, the hoke is make precise, and next the make the wings... Later more progress...
|
 |
|
|


 Linear Mode

