


|
|
|
#21
 05-01-2009, 01:00 PM
|
||||
|
||||
|
When I say thick I mean from front to back. Like I wil glue the former to maybe 5mm wood so instead of having two part that do not line up or fit well, i can slide one section of the skin over each end and join in the middle. And being wood. if it is large it is easier to trim than card. I hope this does not break the rules?

|
|
#22
05-01-2009, 02:46 PM
|
||||
|
||||
|
I certainly don't think that'd break the rules as it would not change the final appearance of the model. I've heard of people gluing the 2 formers together and then wrapping them with joining strips before skinning them which would be the same result of what you are suggesting. It's the first step towards the more modern design methodology of making a 'frame' for the skins to wrap around rather than just tubes that join together.
__________________
-Dan
|
|
#23
05-01-2009, 02:48 PM
|
||||
|
||||
|
Dan wrote: "I've heard of people gluing the 2 formers together and then wrapping them with joining strips before skinning them which would be the same result of what you are suggesting."
That's what I am going to try with the next Shoki, Dan. I think, as you said, the effect will be the same as the approach Lala is going to use. Don
|
|
#24
05-01-2009, 03:24 PM
|
||||
|
||||
|
Ok I see what you mean now. You will take the two formers and then fix them together and wrap them together.
Yes it is essentially the same.
|
|
#25
05-04-2009, 10:59 AM
|
||||
|
||||
|
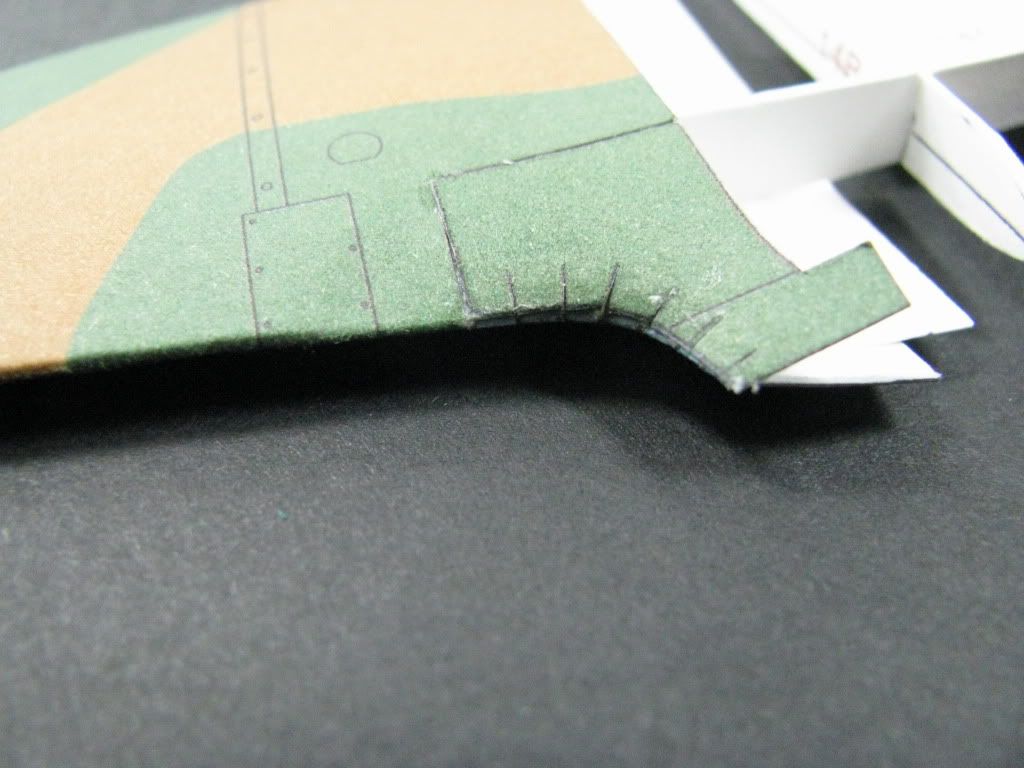
I work this morning again on the LaGG. I had proposed adding "L" shape paper supports to hold the front piece of the wing in place... and you find those provided in the kit! I glue them in slightly ahead so you have not just the tabs (not really as necessary) but a small 1mm lip (more necessary). The tabs printed to the blue side of the wings they get in the way and it might be good to remove those and make seprate ones as on the top almost?
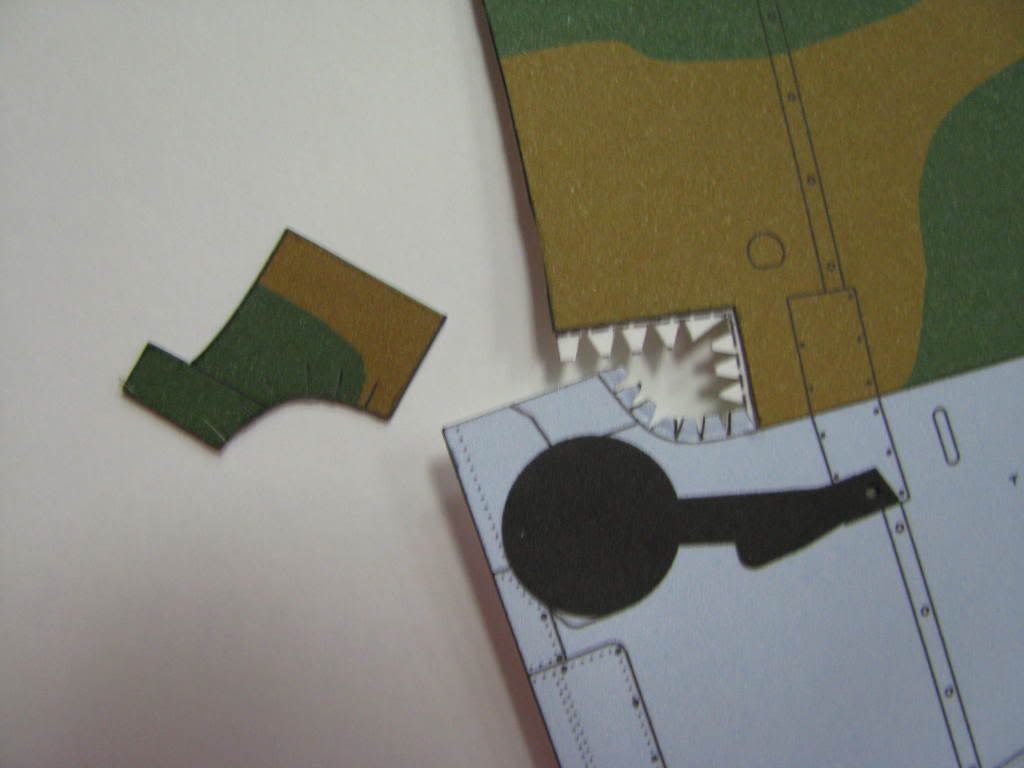 Now I glue the wing using a paper tab I add along the back edge also. It fit well. I slip the template inside now and it fits firmly for the most part. 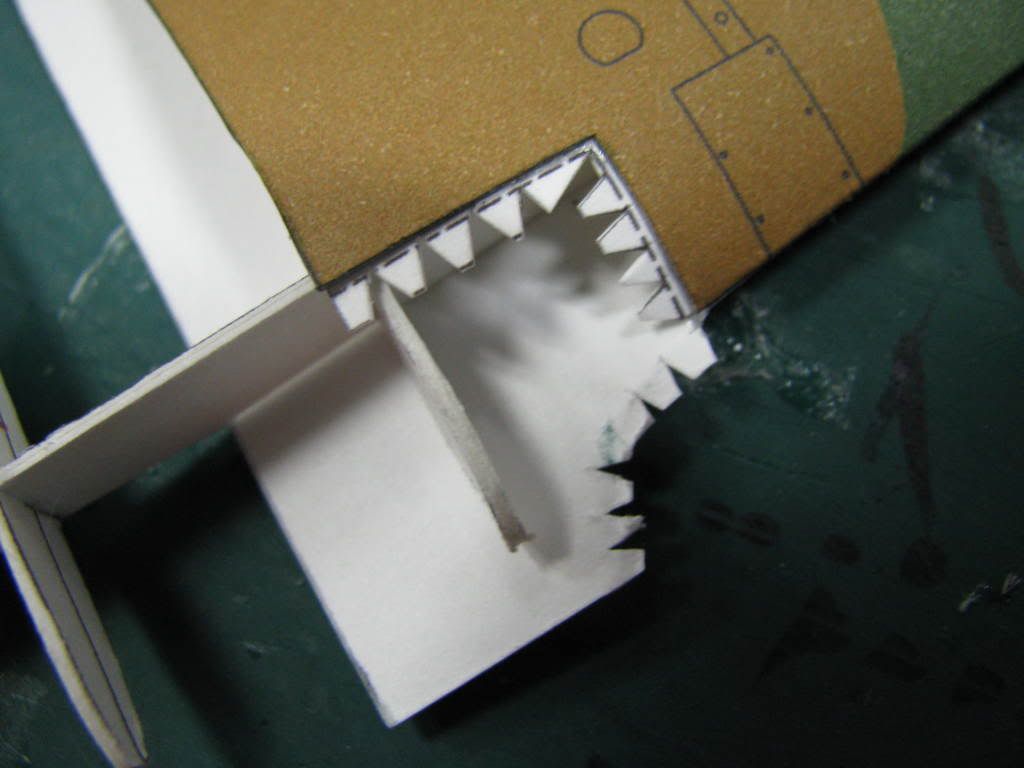 Now without the template but with the front edge piece in place. My work now is sloppy but this was a test to see how it fit. Next time, I will glue the back edge firmly and let it dry then glue the front curve edge. I glue it all at once here and it was not possible to keep the back seam tight. It would be impossible to fix these parts with the template inside. You need to prod and push the part from inside and outside. 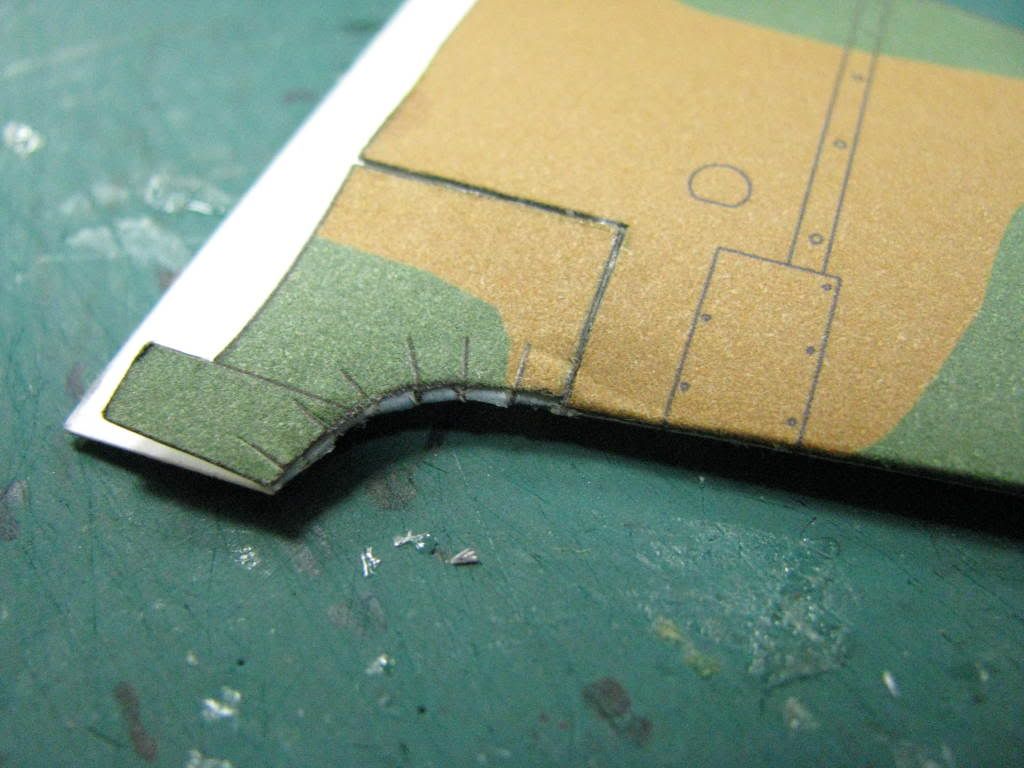 I would imagine now is also the time perhaps to add a block of wood to the bottom inside of the wing to fix the wire for the wheels? That make sense to me here.
|
| Google Adsense |
|
#26
05-04-2009, 11:14 AM
|
||||
|
||||
|
Thanks, Lala! The Shoki also has this kind of separate leading edge piece with a back-up support. I find these photos you provided to be very helpful and I hope to make some progress on the Shoki wings this evening (just now I am playing hooky from editing the syllabus for one of my elective courses, and have also gotten sidetracked by building models for the upcoming Army Heritage Day, but I will try to not let the Shoki get lonely this evening).
I also agree with your idea of gluing a small piece of balsa wood or cardboard inside the wing (and rear fuselage) to support the undercarriage (landing gear) wires. If we are lucky, the landing gear legs will enter the wings right next to the spar, which would provide additional support. Don
|
|
#27
05-04-2009, 11:16 AM
|
||||
|
||||
|
Good Thread!
This is turning out to be a good build and a great thread. You large number of photos and questions are making it instructive.
The DC
|
|
#28
05-04-2009, 12:11 PM
|
||||
|
||||
|
Thank you both very much. In the LaGG the landing gear wire it will go basically where the printed lines are on the outside of the wing, but that is about 8mm out past where the wing template is. Also there is flat template in the Lagg behind the long spart piece but not ahead where the landing gear fix.
Interestingly, I buy Messerschmitt 109 from Wilhelmshaven and it is somewhat similar but it has I think easier construction ideas. I might work on that some also to learn more for the Lagg.
|
|
#29
05-11-2009, 11:52 AM
|
||||
|
||||
|
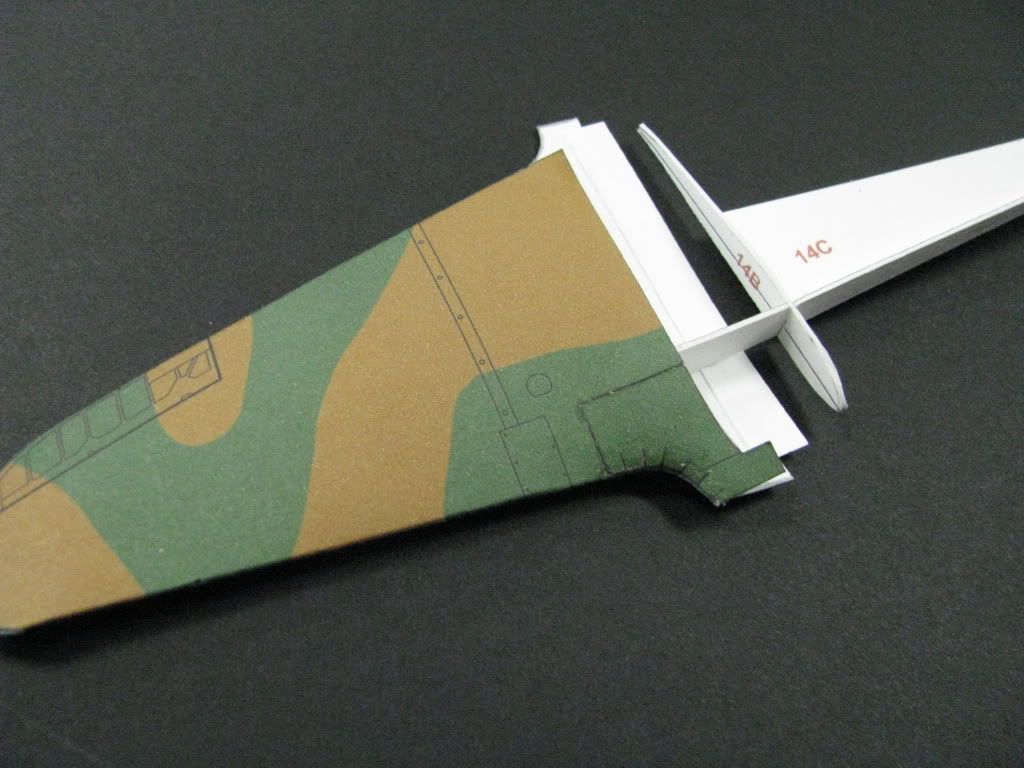
I worked on this kit again today. This time. I fixed the wing front piece first before I build the wing, and I let things dry more. I have a little twist to the wing, but I do not think I will make it again. This is the third wing. Now I will just make the opposite wing and move on. I did add a small piece of wood inside for where the wheels will stick.
|
 |
|
|


 Linear Mode

