


|
|
|
#21
 12-30-2017, 01:29 PM
|
||||
|
||||
|
I have built a half dozen of these kits and enjoyed working on them for the most part. One of them almost ended up a twisted, smashed little pile of metal, but I persisted and saw it through. Turned out to be my favorite so far. You strictly have to think the assembly processes through very carefully, because it can be easy to get things wrong, and the metal doesnt take very kindly to being bent and re-bent. Its extremely helpful to have some various diameters of wooden dowels, or drill bits perhaps to use when forming cylindrical parts. My wife gave me the Captain America shield kit which I finished in about an hour and a half and it turned out very well. It has red and blue colored parts also and looks pretty cool. Good luck and dont give up. 😀

|
|
#22
12-30-2017, 06:07 PM
|
||||
|
||||
|
Quote:
Gary
__________________
"Fast is fine, but accuracy is everything" - Wyatt Earp Design Group Alpha https://ecardmodels.com/vendors/design-group-alpha
|
|
#23
12-30-2017, 06:13 PM
|
||||
|
||||
|
My apologies to the fans of these metal kits...I'm not having a good time,
so the comments will be more negative than positive. I fitted the two Engine Nacelles to the central Fuselage part. Simply fit the tabs into the slots...but its very tough to bend the tabs inside the shaped Fuselage. Not much room, and I am trying real hard not to kink or distort the Fuselage. The Fuselage part is curved at the top and flat on the sides. I rolled the top on a wooden dowel. I have all kinds of sizes. But its quite narrow at the tail end...too narrow for me to roll cleanly. If I use pliers it will get marked and/or creased. So I left it almost flat. 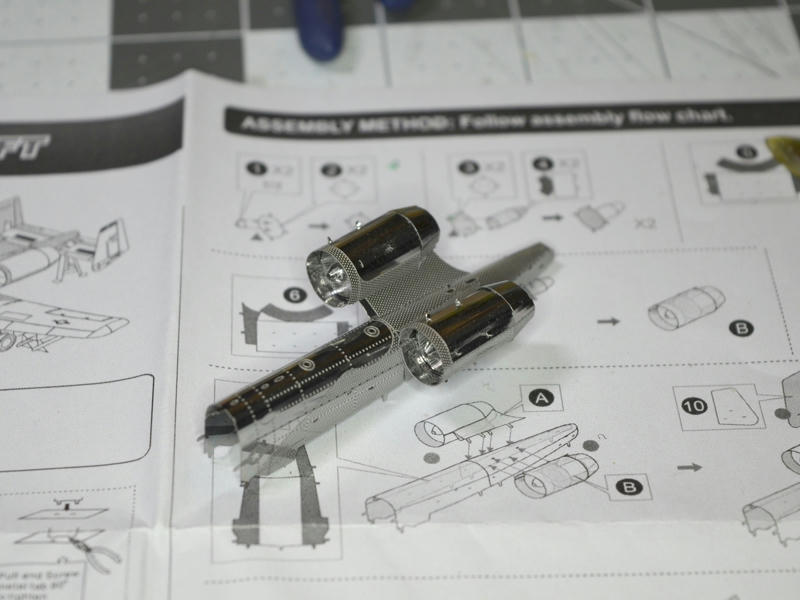 I checked the fit of the underside Fuselage part (which is not attached until much later) and the width of my Fuselage part is accurate as it is... so thats another reason not to try to curve the tail end any more! Trust me, this all looks much better in photos (than it really is).  ... Next up in the Instructions is the Tail Wings and Rudder plates. A very simple assembly...just a couple of extended tabs to bend first, and then small mounting tabs align the end plates to the cross wings. 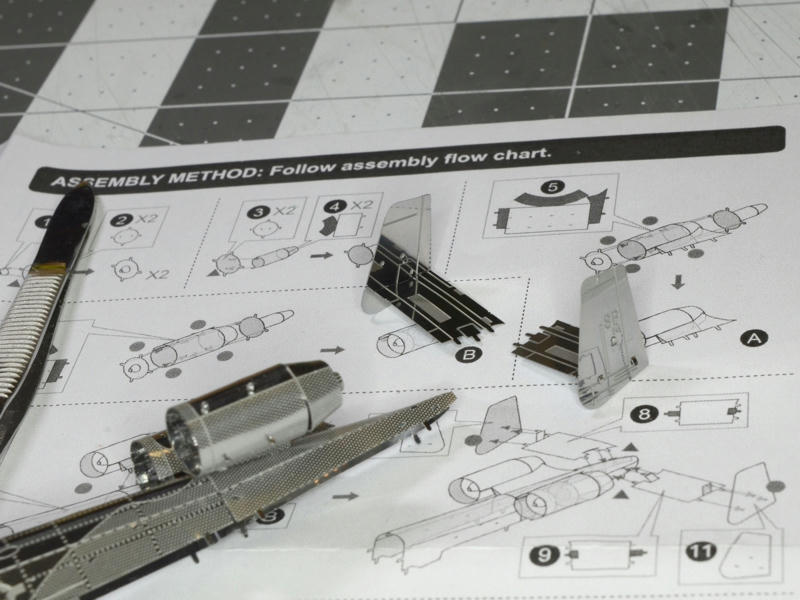 Then both Tail Wings attach to the end of the Fuselage ...with small tabs inserted into small holes. But once again, its a tight area...can't get your fingers in there...and bending the mounting tabs is tricky without distorting the Fuselage. 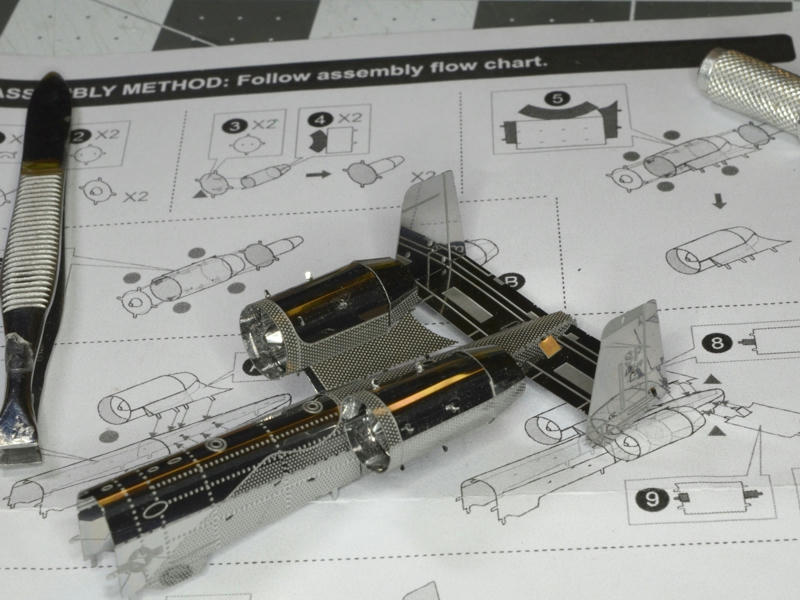 And I can not get the Wings to lay flat or align horizontally ...they want to bend forwards and downwards too much. Its a lot worse than what you can see in the photo. Hopefully when the underside panel is attached, it will straighten the fuselage more and change the angle of the Tail surfaces. 
__________________
SUPPORT ME PLEASE: PaperModelShop Or, my models at ecardmodels: Dave'sCardCreations
|
|
#24
12-30-2017, 06:38 PM
|
|||
|
|||
|
Way to hang in there Dave.
__________________
This is a great hobby for the retiree - interesting, time-consuming, rewarding - and about as inexpensive a hobby as you can find. Shamelessly stolen from a post by rockpaperscissor 
|
 |
|
|


 Linear Mode

