


|
|
|
#21
 10-18-2009, 05:30 AM
|
||||
|
||||
|
I finished gluing on the thick strips to the sides of the formers - at the stern sometimes in two layers, part of them I glued with the Magic glue - the cyanoacrylic one got finished :P. I've cut away with olfa knife the parts that stood out the most and then I've taken into my hand my small, trusted oscillating sanding machine.
   I sanded the strips down to the formers with ease    Even overbuilt stern has given up without any problem   Sanded strips I covered with BCG and dried with hairdryer. The glue has fixed the loose particles on the surface, making it hard and coarse. I smoothed it with a fine sandpaper, correcting in places with the sanding machine and covering with glue again. What normally would take me an entire day I finished in an hour.  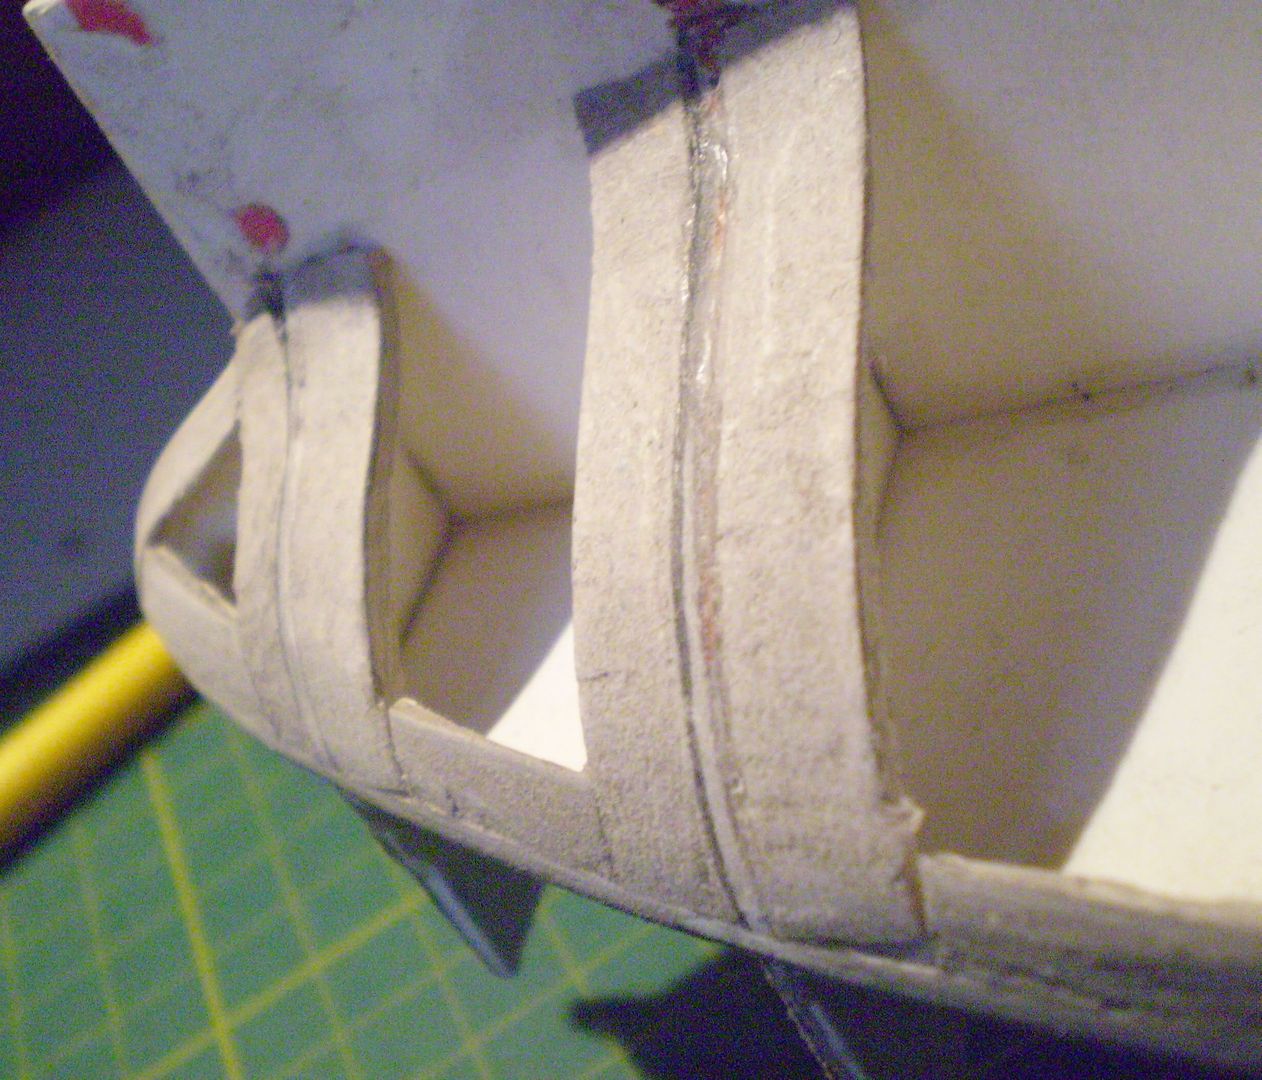

|
|
#23
10-19-2009, 04:33 PM
|
||||
|
||||
|
On with the build, though a bit slower - it's a monday. The room is dusted off, though the dust from the sanding can be found even on high shelves...
Forming the belts of bottom. On the uncolored side I'm partially cutting on both sides of bending line and then scratch away paper between them creating a valley. This allows for easy and precise bending of thick card. Belt of bottom - profiled by another, round end of olfa knife and a metal rod, on the other side of mouse pad - fits precisely in it's place.     After gluing five belts from the bow, as written in instruction I start from the stern - the sixth belt is wider to allow for cutting other belts to fit better. Rounded elements of stern I form using BCG - thick card softened with the glue allows to be formed with the round end of olfa knife. Unfortunately so intensive treatment of card causes the layer of paint to break and peel off - nothing surprising - I covered the card with acryl paint and then superglue - the effect was not pleasing so I topped that with two layers of spray paint. So many layers on the surface had to break when the card was maltreated. Similar breaks appear at straight angle bends and in concave areas. No problema amigo - it will be covered with cyanoacrylic glue, sanded and sprayed again :P    Forming of all the parts allows for dry fitting, showing exactly what problems lie ahead, and gives the estimated margin of tolerance when cutting the belts to fit. 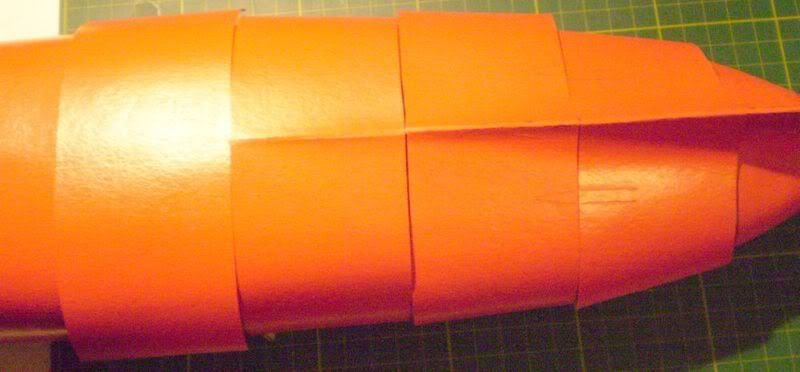
|
|
#24
10-20-2009, 03:08 PM
|
||||
|
||||
|
The bottom is fully covered. I'm quite pleased - except for the bad trip at the beginning there is no more steps. Some cyanoacrylic glue, a bit of sanding, spraying and everything will be ok.
I like when model looks like made from paper so I don't intend to mask lines of connection of belts - I only dream about a fluid shape of the hull - maybe someday in the future I'll achieve it with Saburo/Highlander method of full belts of 1mm card - sanded to smooth hull lines and then covered by the bottom belts. 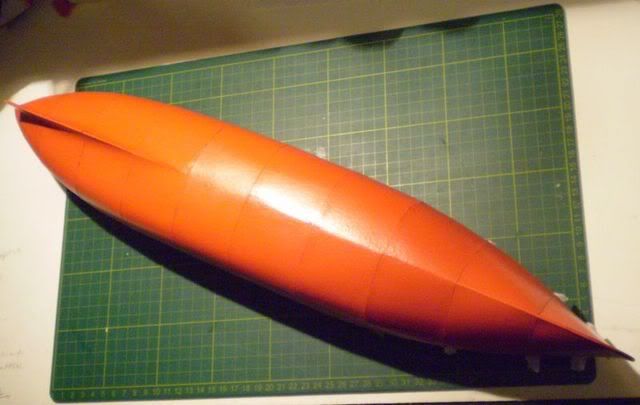 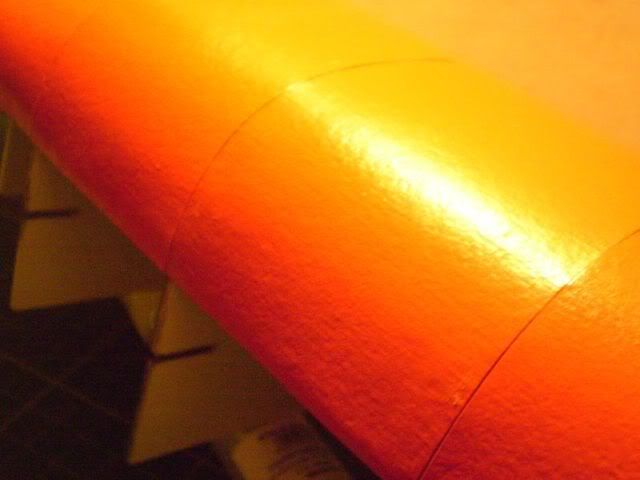 I'm starting to reconsider posting full step by step thread and revert to posting mostly pictures of completed parts - are you reading all that explanations anyway? Last edited by lehcyfer; 10-20-2009 at 03:50 PM.
|
|
#28
10-20-2009, 09:00 PM
|
||||
|
||||
|
Quote:
|
|
#30
10-21-2009, 04:49 PM
|
||||
|
||||
|
Don Boose, cjwalas, B-Manic, Papercut and redhorse - thank you for your comments - I was starting to think I was speaking to an empty room
 Now on with the build - preparation to spraying the paint: I sanded the lines of connection, covered them with superglue (cyanoacrylic glue), applying several drops on folded tissue paper, smearing the glue along the lines and then perpendicular until the surface was matt - working first one side then the other. After that I've delicately sanded the hull surface for the smooth feeling under my fingers and washed the dust away with fresh tissue paper dampened with some denaturat (violet coloured technical spirit). The fact that parts were sprayed earlier was very helpful - I had very good visual control over the sanding process, additional thickness of paint was helpful and the paint dust filled rifts - the glue later just solidified it. I also didn't have to cover all the surface with superglue - I didn't even used up one 2mg tube of it and I bought two just in case The effects of preparation:   And important safety matter - The superglue is very irritant to eyes and respiratory system and it is necessary to take a precautions when working - as always when using serious amounts of superglue I was doing it in a stream of air from propeller fan - the superglue fumes didn't have a chance to reach my face. 
|
| Google Adsense |
 |
|
|


 Linear Mode

