


|
|
|
#1
 03-17-2010, 06:00 AM
|
||||
|
||||
|
FG P-51D Mustang JELLY BELLY
 Let me explain: a few weeks back, I did a "private" repaint of the FG P-51D for someone else. I didn't own the FG Mustang kit, so this wasn't going to be something distributed to anyone else. When this contest came be, I contacted FG and they have graciously accepted and approved my repaint of this model and have granted me permission to build and enter it. (They have also informed me that it will be included in future versions of the "P-51D Mustang Collection" available at FG!) This is the repainted FG two page kit...I am unsure of the actual scale. Anyone with an understanding of the FG WSAM can probably figure it out. 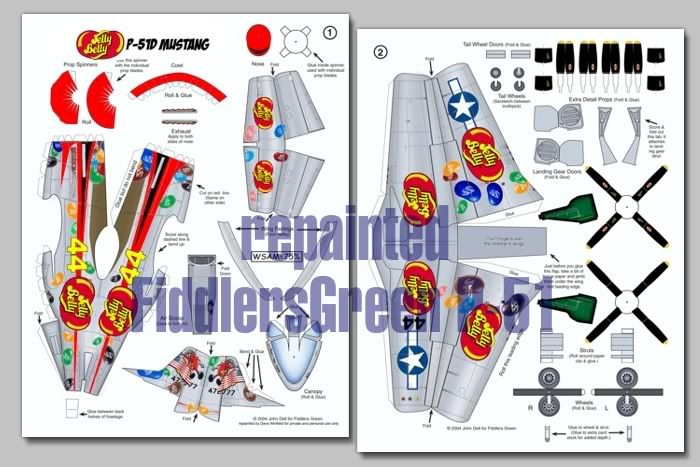 I'm hopefully going to offer up two versions of this build...the basic version as it will build from FG and a slightly modified version. The FG kits are fairly simple in their construction, I think thats what makes them so appealing...but at a small cost to assembly. I've already seen a few things I would like to modify, so this is the perfect opportunity to try a few changes. Anyway, heres the second set of printed pages I have produced... 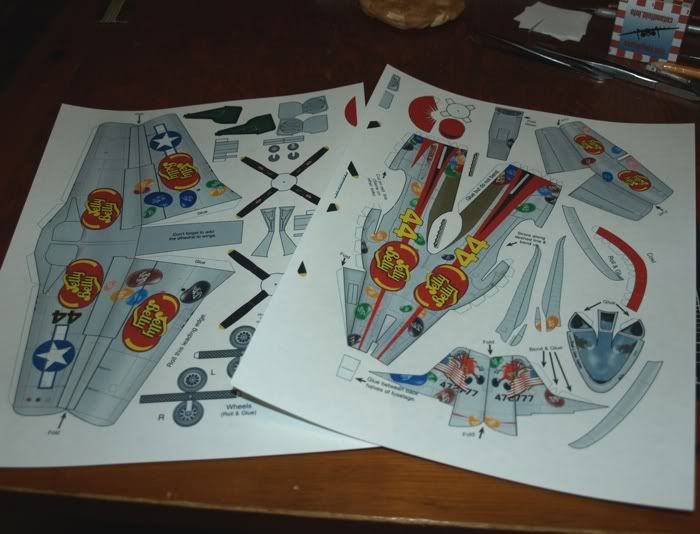 you may notice that unnecessary items have been removed and the scale is slightly increased (I just took advantage of the extra room on the pages). I am planning on assembling individual props but i am using the one piece prop asembly for that. I've also create a photo montaged canopy with pilot. The new repaint includes my "patented" wheel well inserts from my Tuskegee repaints (on a smaller scale) ...I'm hoping to produce a gears up and gears down version here. I'm also experimenting with some new wing fairings...the FG fairings don't seem to make sense to me ...I'll give them a try...but I have also redesigned some fairings from the Marek P-51B design. 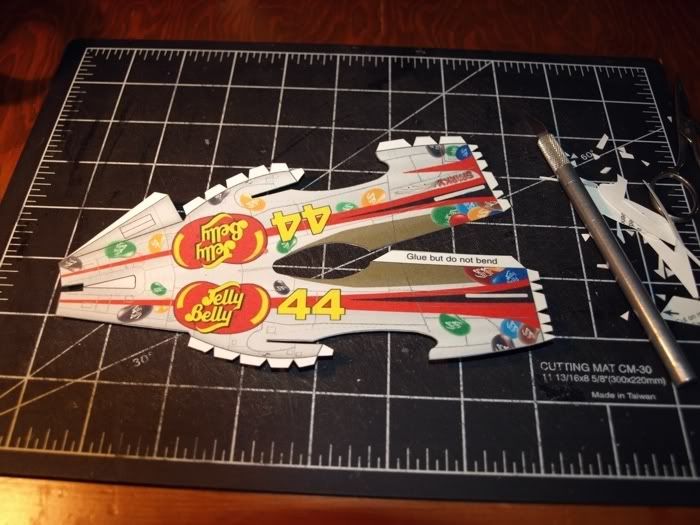 First, simple fuselage assembly...just roll, form and glue front tab and rear tab 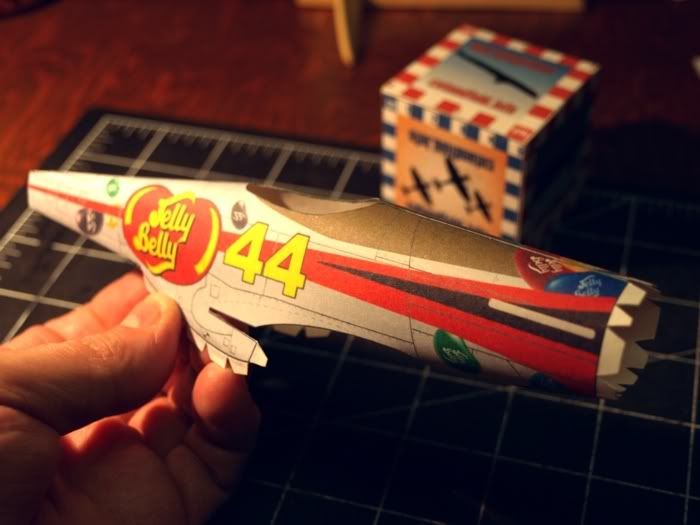 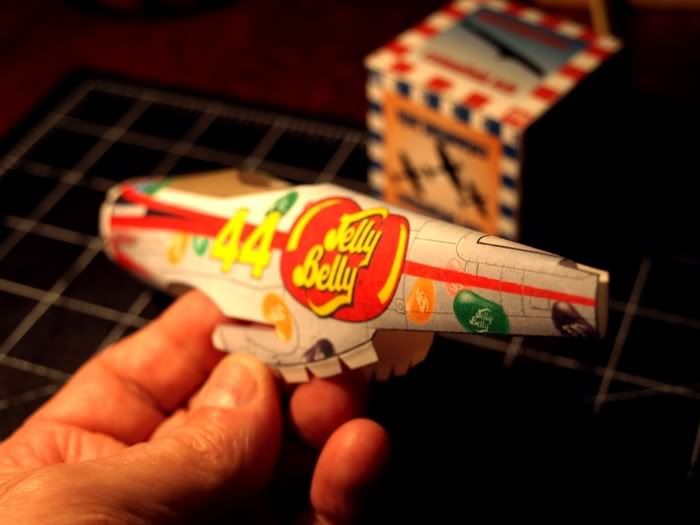 assembly of the forward cowling, nose cone, and lower intake 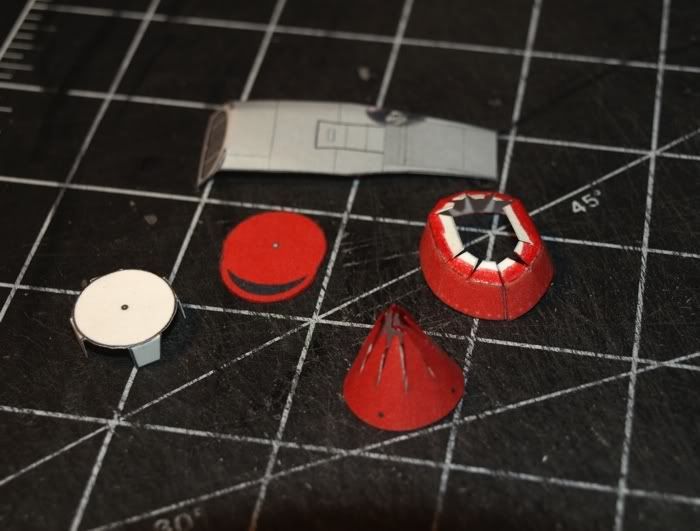
__________________
SUPPORT ME PLEASE: PaperModelShop Or, my models at ecardmodels: Dave'sCardCreations 
|
| Google Adsense |
|
#7
03-21-2010, 11:38 AM
|
||||
|
||||
|
continuing with the fuselage build (I now have two planes to compare)
I have fitted the lower intake section to complete the second lower fuselage 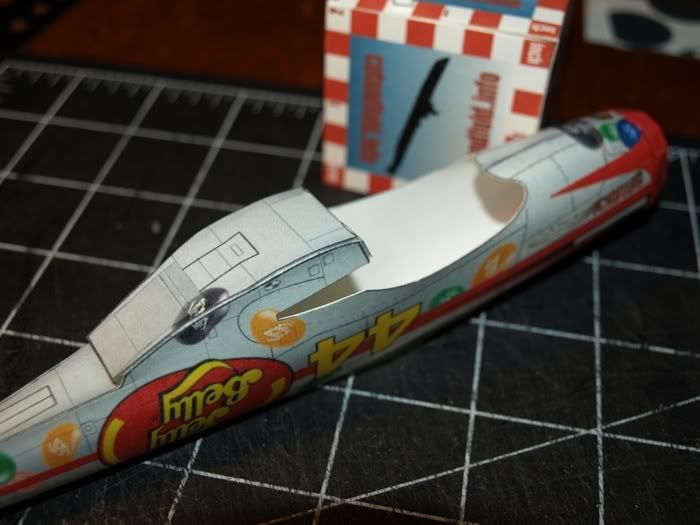 this one was a little cleaner than my first attempt,although i am still not pleased with the gap at the rear of this part. I tried folding and forming it, but neither attempts have yielded a great result. 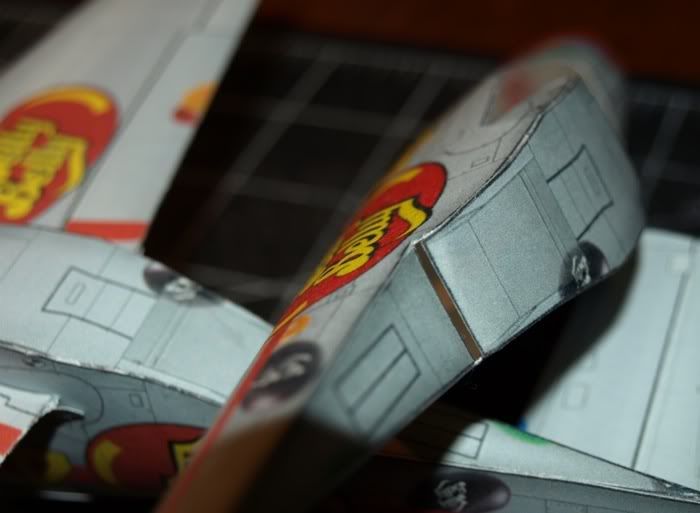 heres the wing underside of the "gear up" version, its interesting how the wing assembly slots into the fuselage: 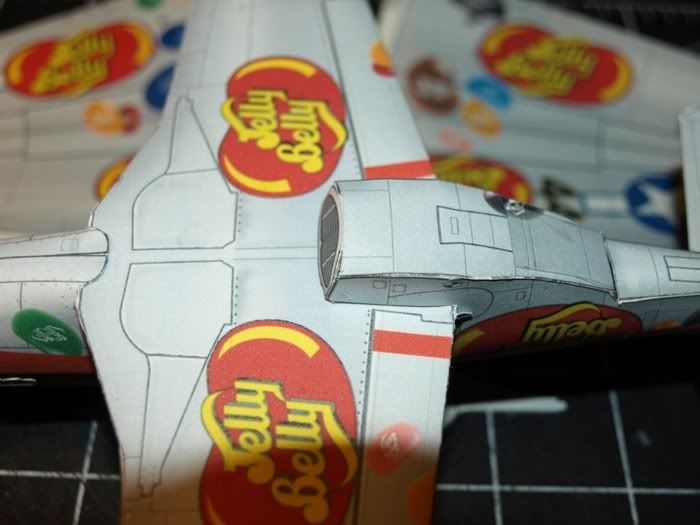 and for the gear down version, I am adding my "patented" wheel well inserts! (pilfered from my Marek Mustang repaints, and rescaled to fit this wing) 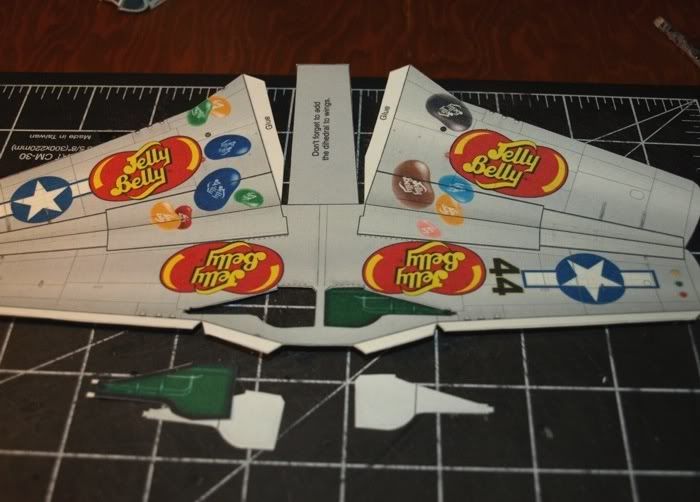 I cut out the wheel doors, and saved them for possible use. I glued the inserts in from the backside and added 4 layers of card, to create a thicker mounting point for the gear. 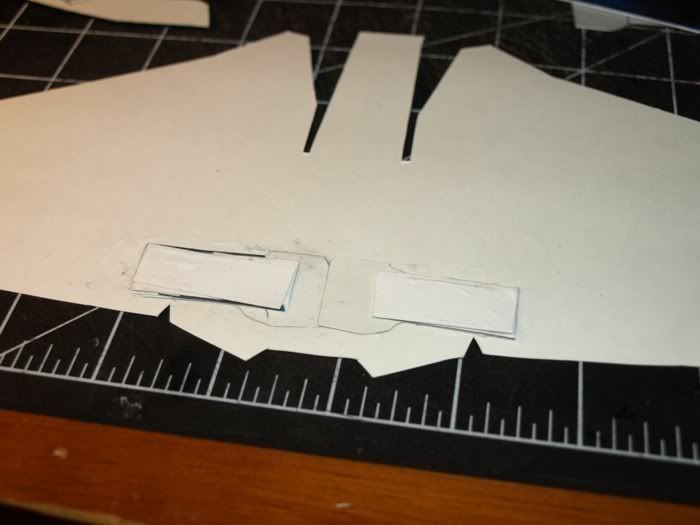
__________________
SUPPORT ME PLEASE: PaperModelShop Or, my models at ecardmodels: Dave'sCardCreations
|
|
#8
03-21-2010, 11:51 AM
|
||||
|
||||
|
Fiddling with the Nose Cone and props while the wing glue dries...
the kit includes two nose cones: one for individual prop blades and one for the spinner prop. I didn't like the shape of the spinner cone, so I decided to use the one piece spinner prop with the other nosecone. 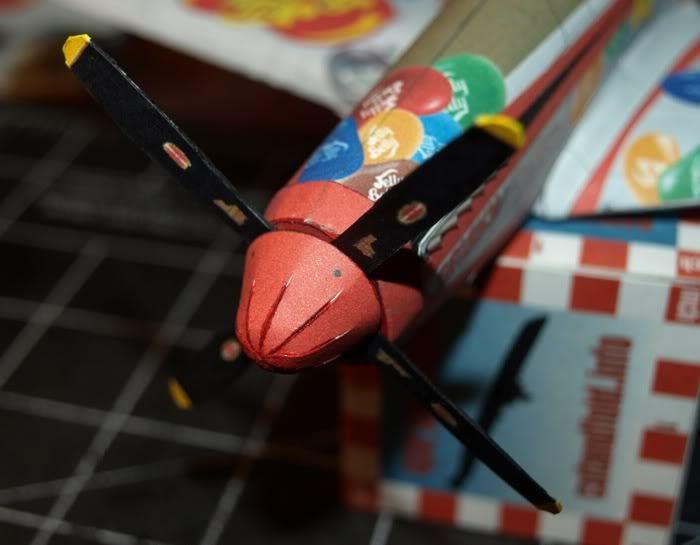 for the second plane, I decide to try a better shape to the nosecone (the first one was too snubnose, too bluntly formed) so I tried to get more taper and point to the cone. 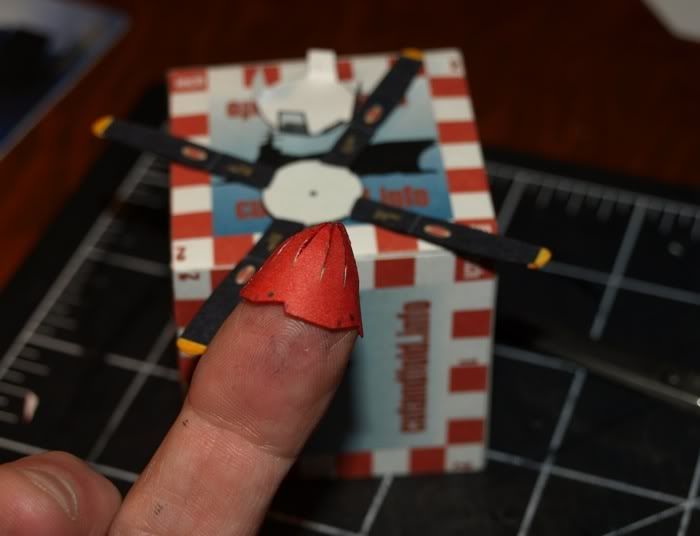 I also decided to try the spinner prop again, but this time I cut out some angled slots into the cone...and gave each prop a little twist while assembling. Now each blade now fits into the nosecone a little deeper instead of sitting behind the nosecone. 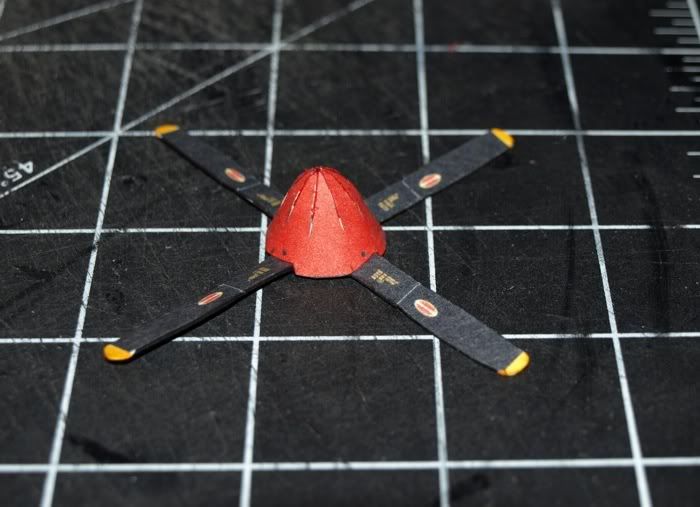
__________________
SUPPORT ME PLEASE: PaperModelShop Or, my models at ecardmodels: Dave'sCardCreations
|
|
#9
03-21-2010, 12:32 PM
|
||||
|
||||
|
Looking good Dave. Did you figure out the wing fairings, a'la FG? Basically they just roll out of the fuselage and sit against the wing. You don't have a pic of the topside that I saw.
Also, here's an idea for that gap at the back of the scoop. Make a couple cuts along where the radiator "exhaust" folds down, bend it down, and add some scratch sides. I was talking to a P-51 owner at a recent air show and he was telling me that pilots used to open that up in flight for a bit of a boost (similar to a jet engine function) and could gain another 10mph at full throttle in flight. Gave them an edge in sticky situations.
__________________
Put on hold build (someday I'll finish): F-35A Lightning II 1:72 Previous builds: cMags' Card Model Builds
|
|
#10
03-21-2010, 03:17 PM
|
||||
|
||||
|
The "radiator exhaust" functioned as a ram jet at full throttle. This was so secret that pilots were not informed of it. German engineers working with captured Mustangs never cough on, although they could not account for the extra speed. The same system was used on some Mosquitos and late series Spitfires.
|
| Google Adsense |
 |
|
|


 Linear Mode

