


|
|
|
#22
 02-12-2008, 04:38 PM
|
||||
|
||||
|
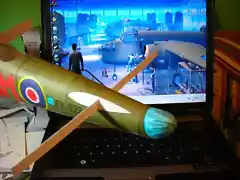
As you can see on photos 1 and 2 of the post #9 above, the former for the cockpit would only be there for the front of the cockpit, but not for the union with the fuselage behind it. So I managed to put the cockpit pieces real carefully.
Photos 2 and 3 show the little gap between the top of the cockpit and the windshields. I couldn't fix it without messing the pieces, so they stayed like that. 1. 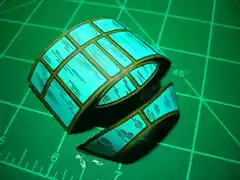 2 2 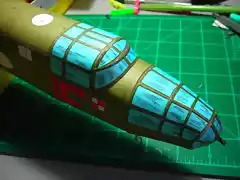 3 3 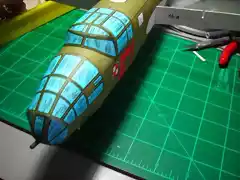

|
|
#23
02-12-2008, 04:39 PM
|
||||
|
||||
|
Thanks Dan. I'm really struggling with the width of this kind of paper, and the little surprises. But I can see I'm not the only one.
|
|
#24
02-12-2008, 04:40 PM
|
||||
|
||||
|
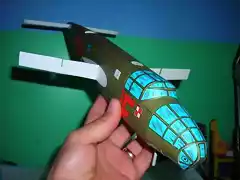
This is the aft part of the fuselage.
   Last edited by milenio3; 02-12-2008 at 04:43 PM.
|
|
#25
02-12-2008, 04:42 PM
|
||||
|
||||
|
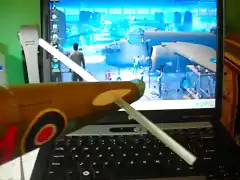
Here is the set so far.
|
| Google Adsense |
|
#28
02-13-2008, 12:09 AM
|
||||
|
||||
|
Thanks friends.
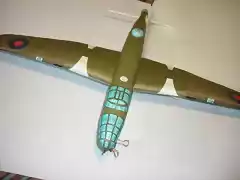
Now an update for tonight. Photo 1 shows the starboard wing root. Surprisingly, the piece fit just perfect on both sides! Photo 2 is the rest of the wing. It will fit, also, very nice, except for a little tiny gap - nothing of concern though. Photo 3 and 4 are for the former of the wing. I didn't like the lack of strip for the union here, so I managed to make one from scratch. Same thing that Boosed and Dan (if I recall) are making on their planes. Photo 5 and 6 are the complete port wing. 1. 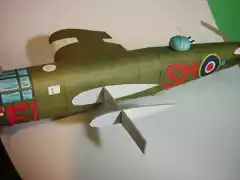 2. 2. 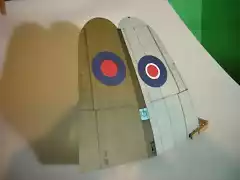 3. 3. 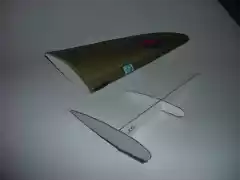 4. 4. 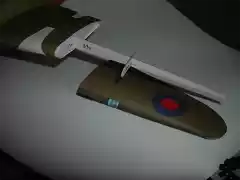 5. 5.  6. 6. 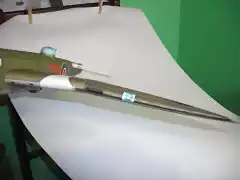
|
|
#29
02-13-2008, 12:11 AM
|
||||
|
||||
|
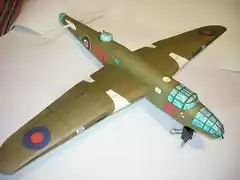
The set so far. As I said, no mayor problems found here. The wing design (other than the color mismatch) is very good.
|
|
#30
02-13-2008, 12:11 AM
|
||||
|
||||
|
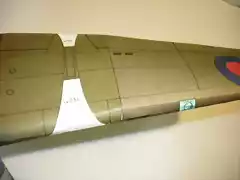
Color mismatch. Same way others have found, on the same place too.
|
| Google Adsense |
 |
|
|


 Linear Mode

