


|
|
|
#11
 01-20-2008, 07:42 PM
|
|||
|
|||
|
Chris,
In the photo with the gap it looks like the problem segment is a bit larger in circumference than the next one. If you are building the model as designed with but-joint method, then the formers are to blame for what happened and my bet is that, eventhough they are to be glued to each other, they are not exactly the same....
__________________
Constructive criticism of my builds is welcome - if I messed up and allowed others to see it, I certainly deserve it  Michael Krol 
|
|
#12
01-20-2008, 07:46 PM
|
||||
|
||||
") This one is putting up more of a fight than I expected! This one is putting up more of a fight than I expected!Got the wings on without too much trouble. I suspect this kit would go together very nicely if it weren't for the paper...and maybe that fuselage gap! 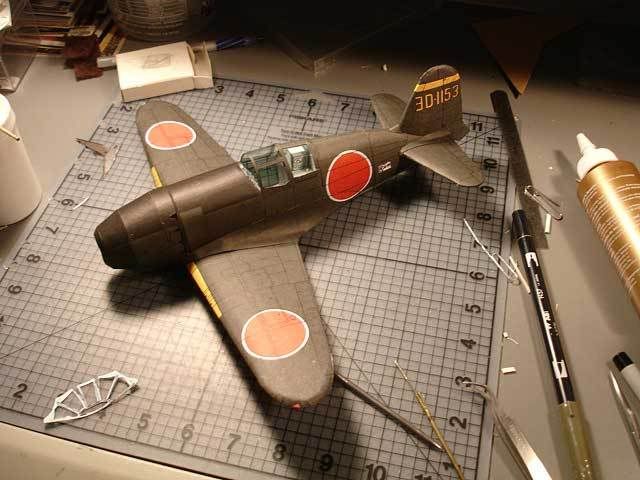 There are definitely little quirks in the kit; 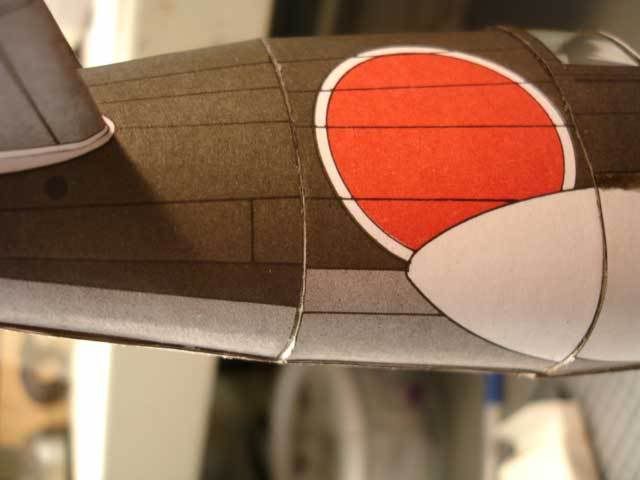 This isn't a misalignment, it's actully miscolored. The strip should continue back in gray. Tomorrow it's the big decision: go with the download upgrades to the kit: Fuel tank, spinner, and wheel wells. OR, Build the kit as delivered and form my own fuel tank and spinner out of wood or something. Any thoughts, anyone? Chris
|
|
#13
01-20-2008, 09:11 PM
|
||||
|
||||
|
I sanded the bulkheads together to make sure they fit, Michael. I'm sure if I had been watching more carefully, I would have spotted the problem in time to do something about it. My problems is that I apply glue first, then look to see what I put the glue on!
I'm tempted to do this one again, but printed on better paper, to see if it's me or the kit, or a little of both? Chris
|
|
#15
01-20-2008, 09:24 PM
|
||||
|
||||
|
Quote:
I like the look of the Raiden. It's not a flashy looking plane, to be sure. It's rather pedestrian, with very little surface detail, but it's got a flavor all it's own. Having said that, I think I would have prefered the Hampden! Chris
|
| Google Adsense |
|
#16
01-21-2008, 06:06 PM
|
||||
|
||||
|
After much personal introspection, meditation, far too little bourbon, I decided to go against my better judgement. I have foregone the convenient internet upgrades in favor of doing this kit as it was meant to be done....with much cursing and swearing!:D
I made the spinner and fuel tank out of wood dowel, as I suspect the instructions suggest; 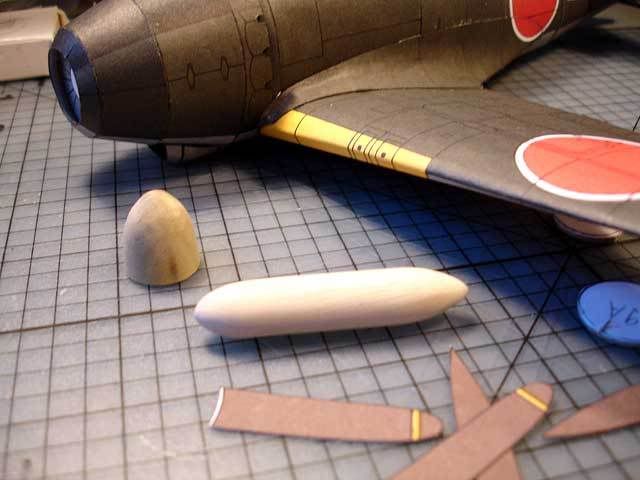 They came out better than I thought they would. Maybe I'm in the wrong hobby and should take up woodworking. After that, the rest was just finish work. So, in fact, it's finished! 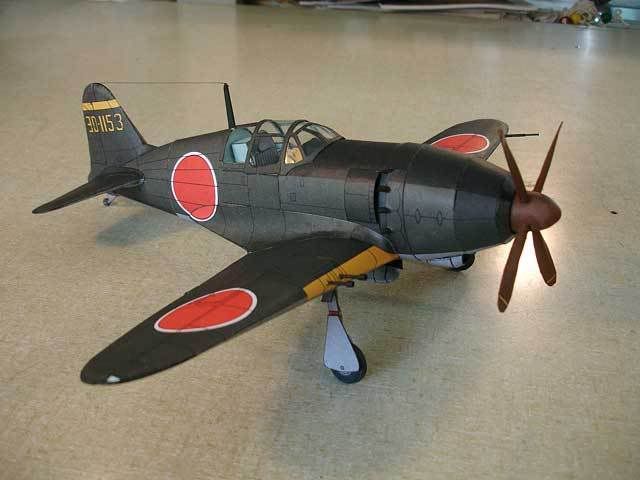 Despite all my best efforts, it didn't turn out too bad!  The props were the only nightmare in finishing up, but that was only because of the splitting paper. I had to paint them to hide my shame.:o  The fuel tank painted up alright and I drew on some lines to blend in with the rest of the kit a little better. While there's definitely some bad modeling on this one, even my wonky fuselage section isn't too glaring in the final product (at least not as much as I feared!). 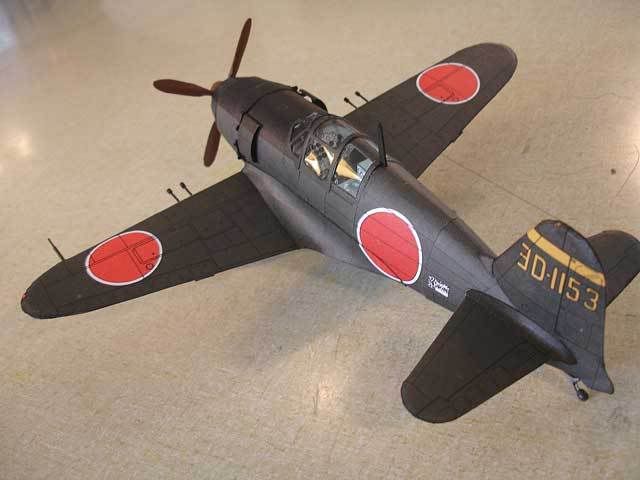 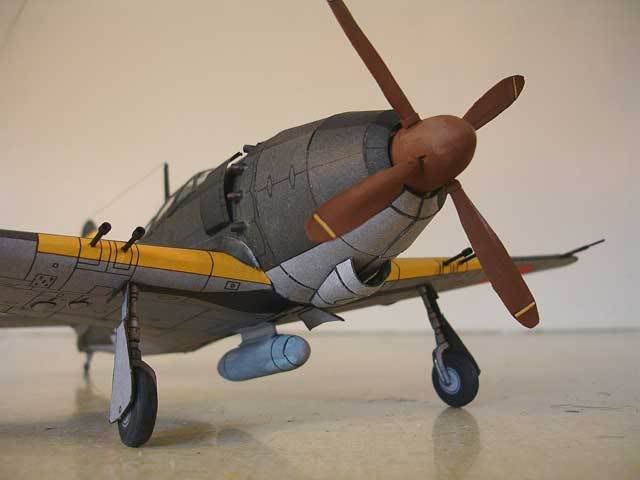 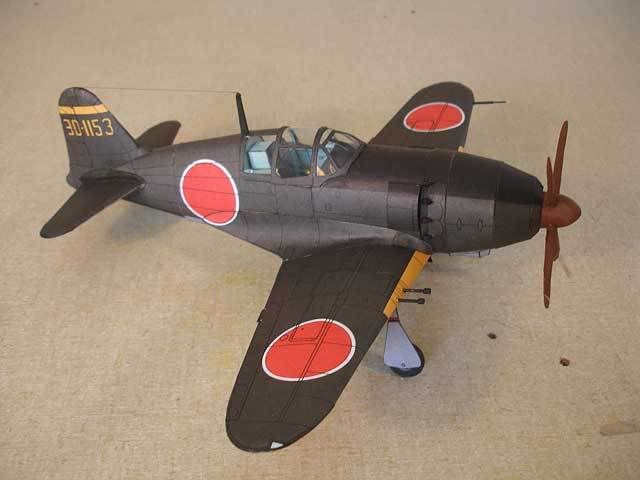 All in all, I think it's a pretty convincing model. In fact, I'm pretty convinced I should give up this hobby and find something I can do right!:D My thanks to Ron for getting this going. I love seeing all these old kits finding the light of day as real models. I may even attempt another MM model soom...but I'll definitely scan it and print it on better paper! Chris PS. I'm a terrible Klutz and I decided I'd better get this one to safety on the shelf ASAP. I gingerly placed it next to an Me109 and then promptly knocked the props off! Doh!
|
|
#17
01-21-2008, 07:02 PM
|
|||
|
|||
|
Wow! Congratulations on being the first to completely finish. My effort still lacks a couple cables so is not "completely" done. Frankly, I think you have done wonders with this model. As far as the prop incident goes - I did the same thing!
All right, people - let's hear it for Chris!
|
 |
|
|


 Linear Mode

