


|
|
|
#11
 03-15-2011, 12:34 PM
|
||||
|
||||
|
An enlightening comment, Joseph. And I must say I agree with you about how sometimes an object that looks uninteresting to most can very much trigger one's attention.
You do a great job on changing this probe into a fine paper model! 
|
|
#12
03-15-2011, 01:37 PM
|
|||
|
|||
|
Quote:
Thorsten
|
|
#14
03-22-2011, 08:49 AM
|
||||
|
||||
|
Thorsten, that's kind of the direction I'm heading in now that you mentioned it. Hopefully I'll have some progress with that pretty soon. It isn't a difficult part to do, but getting it to look just right is important, so I'm doing lots of test building.
I will admit, this one is close to my heart, so I need to make sure it's right before I release it into the wild. If someone who worked on the real thing happens to see it, I want them to approve.  Last night, I redid the Star 30BP motor with the right textures and test-fitted the assembly. 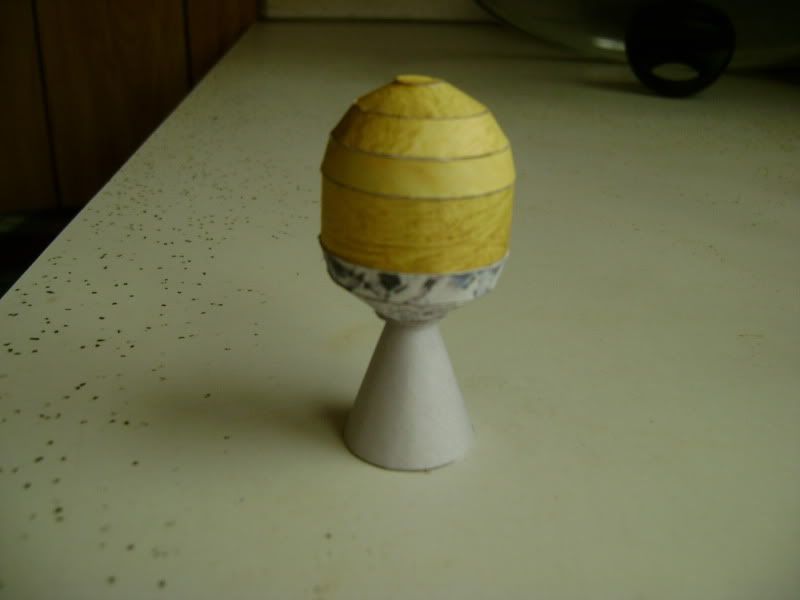 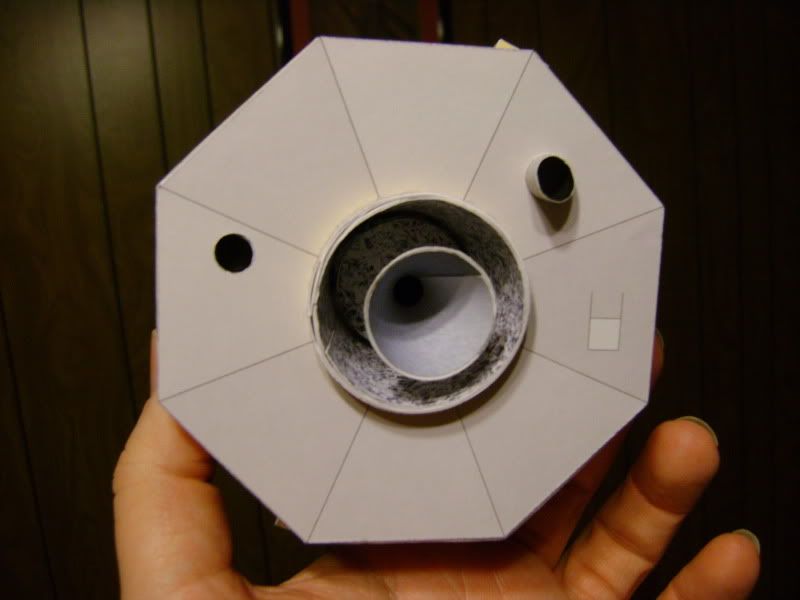 I'm going to redo the inner surface of the nozzle, simply because the texture doesn't line up right. (Anyone know what color the inside of a Star SRM's nozzle is?) The enclosure in the bottom of the spacecraft needed to be slightly adjusted, but it fits well and comes out easily. I think I have the diameter correct now. The first version was fitting TOO well, and was barely able to come back out, which I intend to be able to do (just in case someone wants to see the SRM up close -- it was, after all, the cause of the craft's failure, and it makes a good teaching tool to be able to remove and insert it). It works a lot better now. (For the folks with simpler tastes, I'll put in an option to just build the visible portion for a non-removable motor -- even though that's no fun, right?) Some aluminum foil would go a long way here, and I'll probably try rigging that up, too, just to see how it looks. A few small details, and maybe this one will end up ready to go. I'm not sure how much interest there is in a defunct spacecraft that is in several pieces in heliocentric orbit that never completed its mission, but darn it, it will be available for anyone who wants it. It just takes me a while. 
|
|
#15
03-22-2011, 02:39 PM
|
||||
|
||||
|
j - try ATK's catalog. Pictures of many SRMs with some color. Dark gray/black seems reasonable for a carbon-phenolic nozzle ... Picture of Lunar Prospector stack around page 93.
www.atk.com/capabilities_space/documents/ATK_Catalog_May_2008.pdf Yogi
|
| Google Adsense |
|
#16
03-23-2011, 08:43 AM
|
||||
|
||||
|
Wow, that's a good resource! I had never seen their catalog before. I think I will go with the dark gray color for the nozzle interior after reading a little bit. And with all the diameters and lengths provided for a lot of other motors, it will prove to be very useful for lots of other models, too.
|
|
#17
03-23-2011, 01:08 PM
|
||||
|
||||
|
Just because I can't resist analyzing every detail...
Upon doing more research on the CRISP instrument cover, I read through the published paper on the instrument that I had found online. I missed a detail that seems kind of obvious now that I think about it:
Quote:
") (Honestly, it won't be THAT much more complicated.) I can still provide the cover as an add-on later, once I've gotten it right, but this way I can finish the thing and have something to show for it much sooner, as well as providing a better idea of what the instrument does. (The model isn't any good if you can't get a little education out of it, right?) (Honestly, it won't be THAT much more complicated.) I can still provide the cover as an add-on later, once I've gotten it right, but this way I can finish the thing and have something to show for it much sooner, as well as providing a better idea of what the instrument does. (The model isn't any good if you can't get a little education out of it, right?)This is what the instrument looks like when pulled out of the craft. Notice the two star tracker baffles mounted to the left and right, which will give you an idea of how the thing was mounted up:  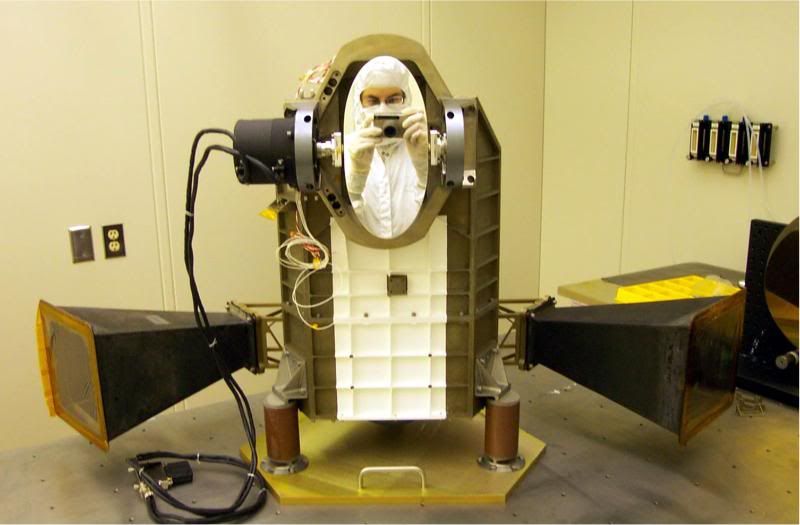 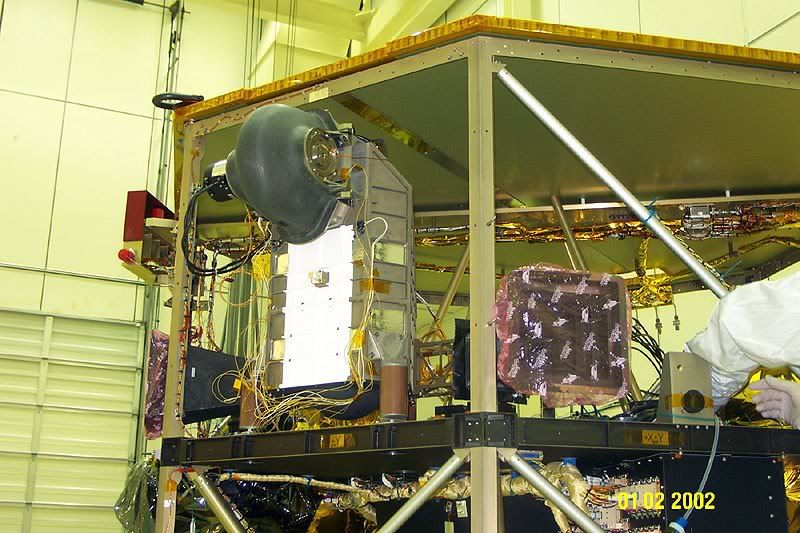 The cover release mechanism: 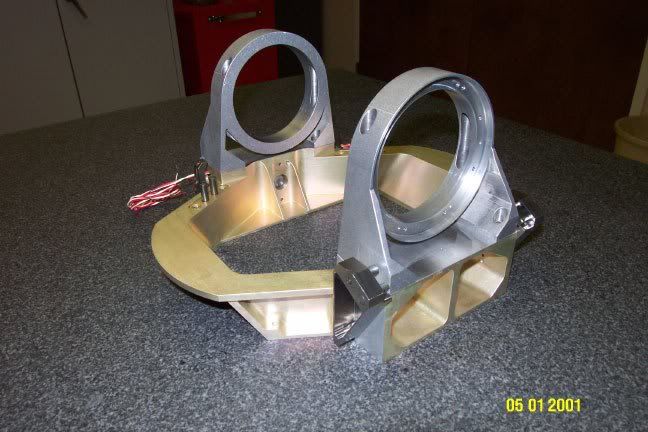 The oval-shaped mirror was double-sided and stuck out of the side of the craft and rotated on an axle, which could track comet nuclei, and allowed the mirror to be flipped over to expose both sides. One side was used for tracking, the other for science operations. The tracking side would afford to be nicked up more during an encounter, but the other side would be more pristine when the images needed to be clearer. A very elegant design, and pretty ingenious. So now I'm off to draw and build a rotating mirror structure. Shouldn't be too hard to do -- an axle and two end caps to allow it to rotate, with an oval shaped mirror in between the ends. (If I smooth some aluminum foil out enough, it will work a lot better than a simple gray part.) For interested parties, the paper on the instrument is at: http://sd-www.jhuapl.edu/weaver_proj...IE_final-2.doc
|
 |
|
|


 Linear Mode

