


|
|
|
#1011
 04-18-2016, 05:40 AM
|
||||
|
||||
|
Yep Marcell,
this is my lucky charm, which should not be missed.  
__________________
Greetings from Germany Manfred Under construction: Launch Pad 39A with Challenger STS-6 (1:144) 
|
|
#1012
04-18-2016, 12:51 PM
|
|||
|
|||
|
|
|
#1013
04-19-2016, 05:17 PM
|
||||
|
||||
|
Hello together
today it is the turn to the profiles under the cover at the top.  The first step was again the scratch building of the two angled profiles (1 mm x 1 mm) beside the opening. Large explanations are not required today, because these are the known sequences from the Rain Bird B-1 substantially, which have been described in detail there. But there are a few more pictures. The first step was again the scratch building of the two angled profiles (1 mm x 1 mm) beside the opening. Large explanations are not required today, because these are the known sequences from the Rain Bird B-1 substantially, which have been described in detail there. But there are a few more pictures.  The only difference is that at the A-1 both the angled profiles and the T-beams protrude slightly over the screw belts, and therefore the inner webs are cut out there, 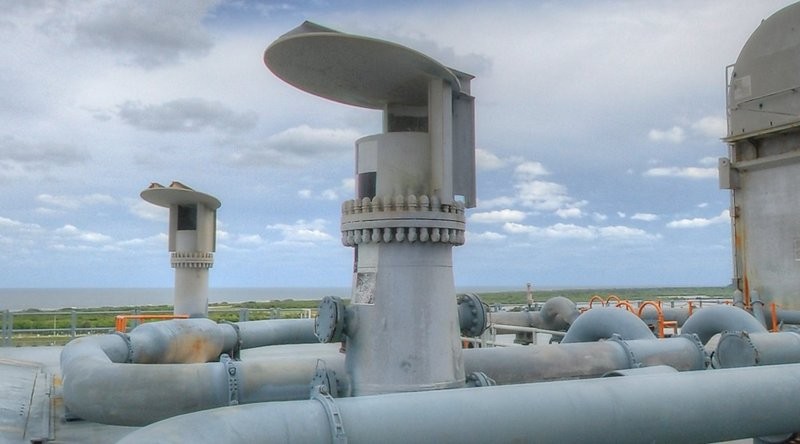 Source: NASA 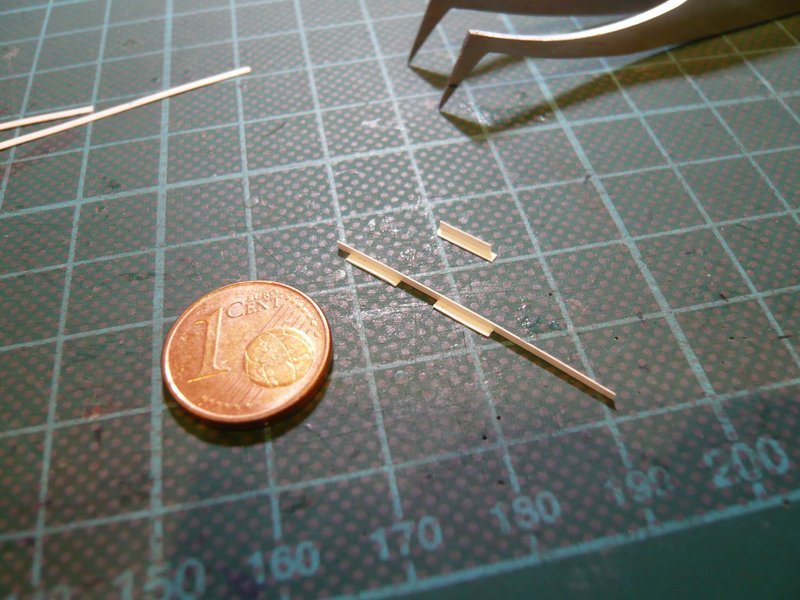 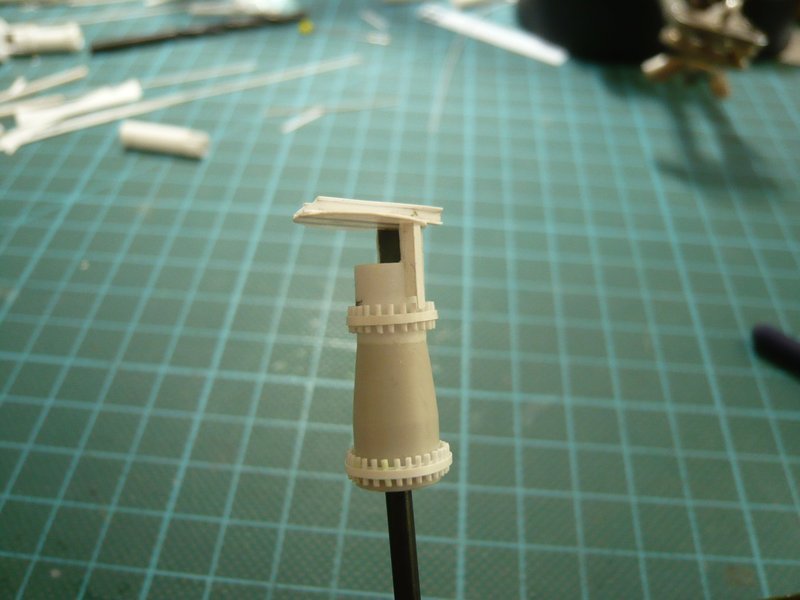 which was to take into account, of course.  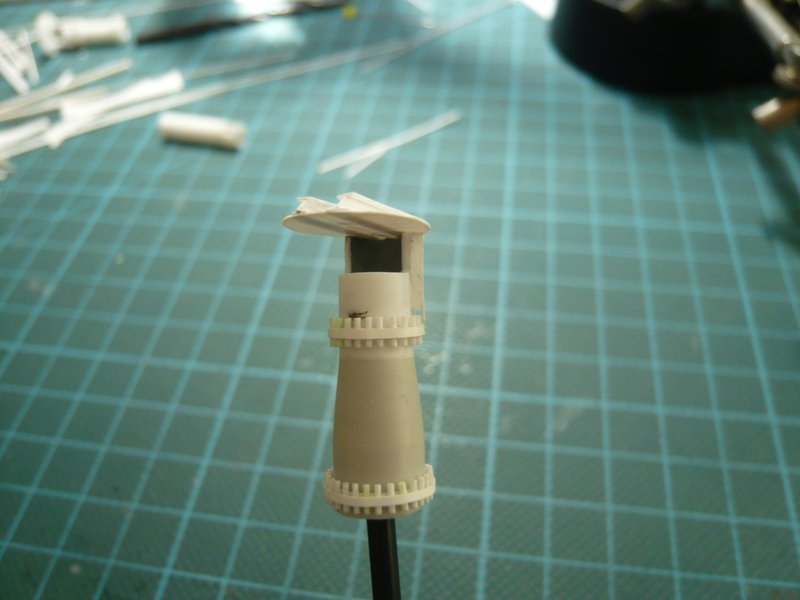 And after the left side, then the right side. 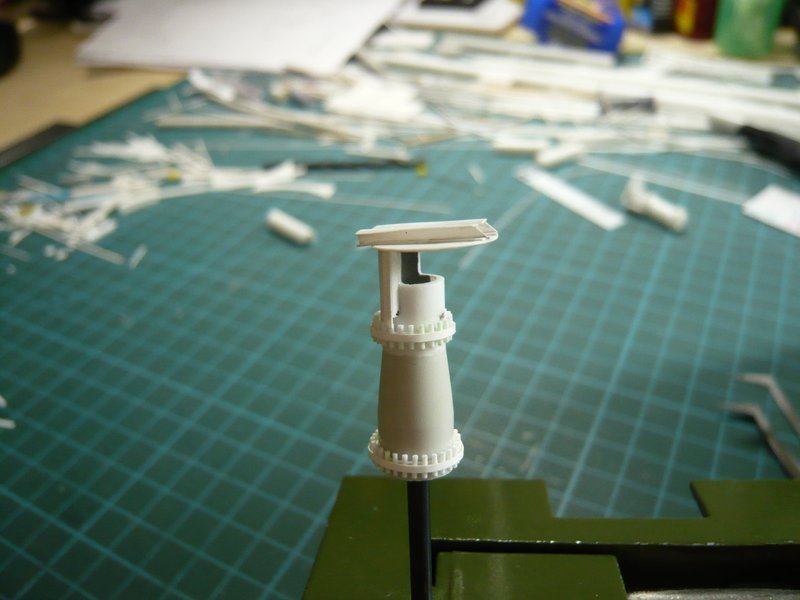 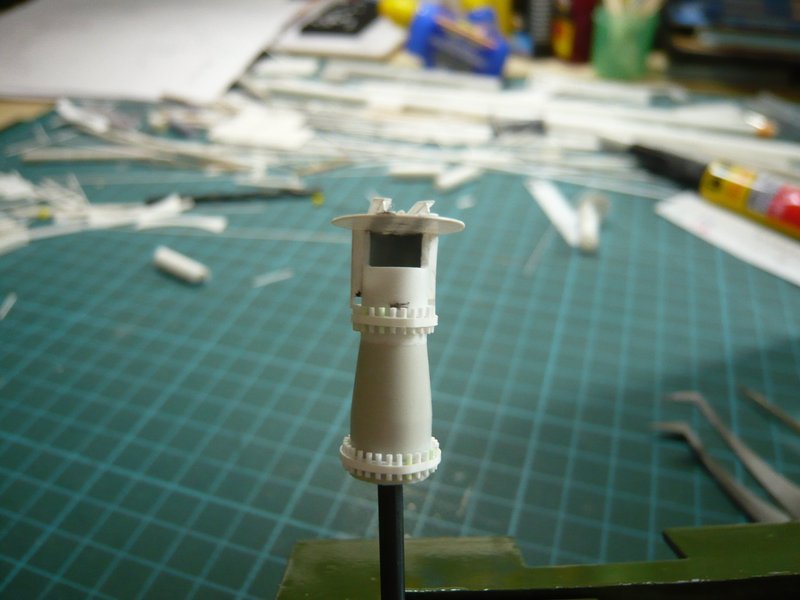 This was followed by the two rear T-beams, I have built up again separately, first the two webs, 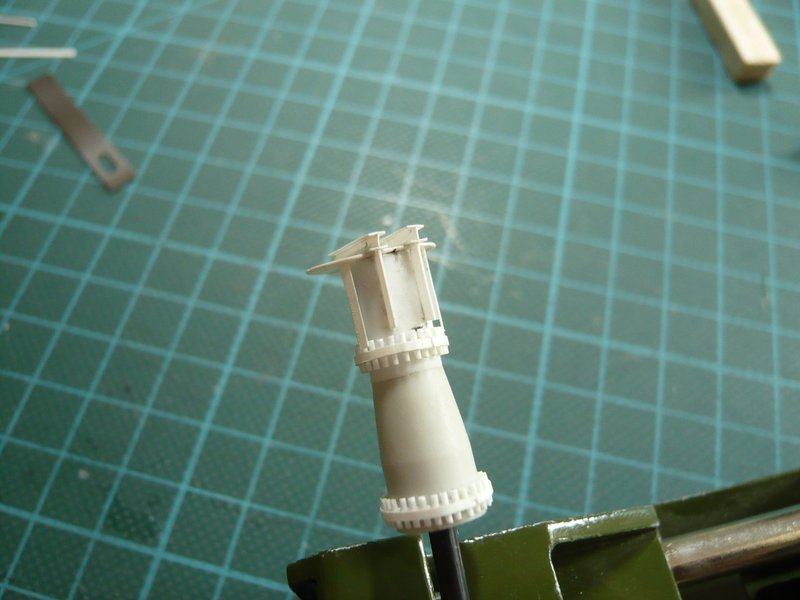 and then the straps. 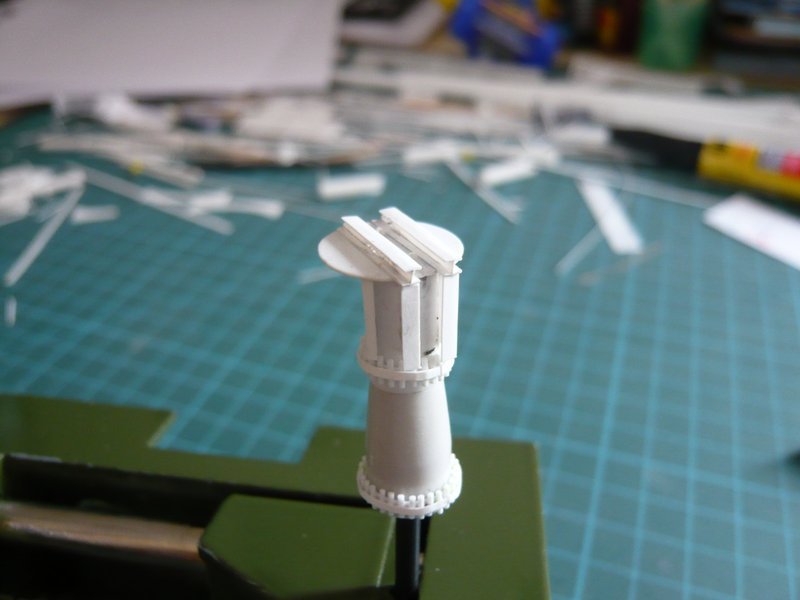 And for size comparison my lucky cent should not be missed.  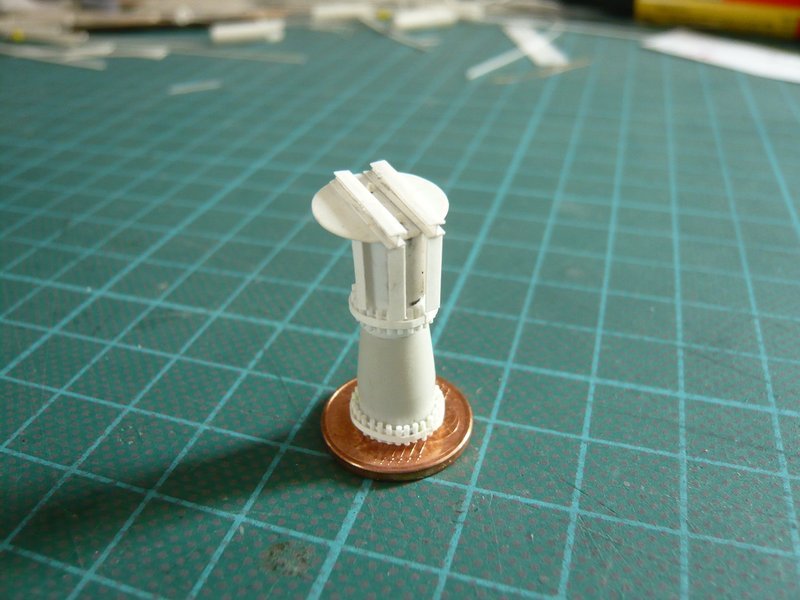 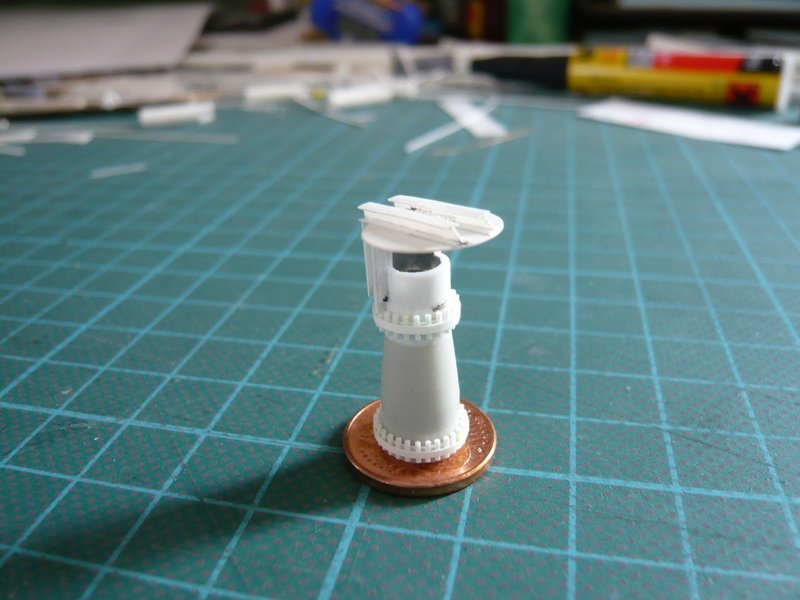 And the front flange tubes complete the picture impressively, but which are only laid up.  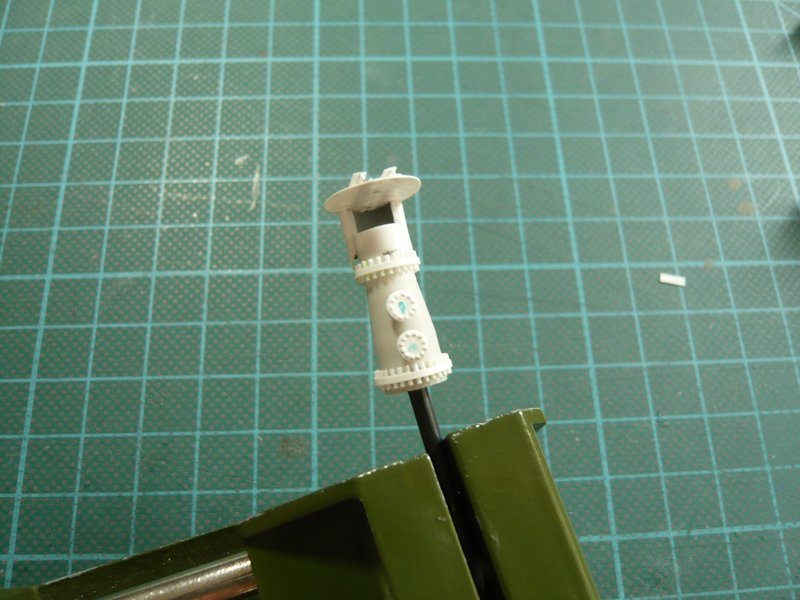 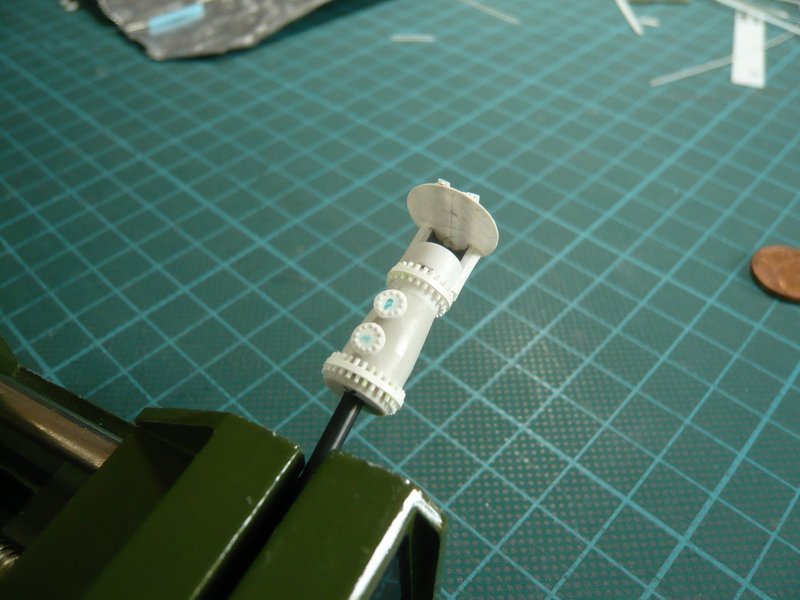 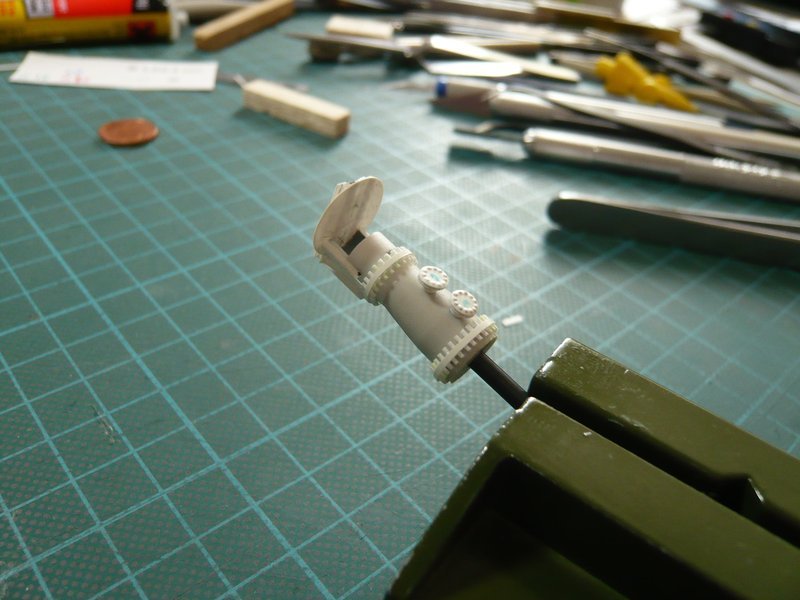
__________________
Greetings from Germany Manfred Under construction: Launch Pad 39A with Challenger STS-6 (1:144) Last edited by spacerunner; 09-19-2016 at 04:10 PM.
|
|
#1014
04-19-2016, 05:18 PM
|
||||
|
||||
|
Well, but so the flanges can not be glued, because a tiny trifle is still missing.
 Each of the four flange covers has two such handles as you can see in the picture, and that must not be missed. 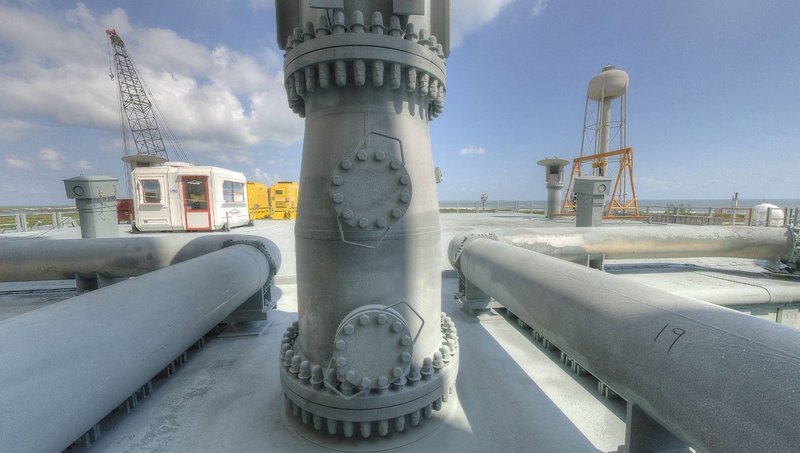 Source: NASA These covers in the photos look relatively harmless, but these things are not made of cardboard.  In my estimation, they have a real diameter of about 55 cm, are made of steel about 3 cm thick and should weigh about 50 kg, so the pad guys could vigorously grip when had to be opened, and therefore these handles are there. In my estimation, they have a real diameter of about 55 cm, are made of steel about 3 cm thick and should weigh about 50 kg, so the pad guys could vigorously grip when had to be opened, and therefore these handles are there.  As the handles should have a real diameter of about 16 mm, one gets in 1:160 about 0.1 mm, which corresponds only about a hairbreadth.  Therefore for comparison beside the brass wire (Ø 0.1 mm) I have layed a precious gray hair of mine that is still a bit thinner. Therefore for comparison beside the brass wire (Ø 0.1 mm) I have layed a precious gray hair of mine that is still a bit thinner.  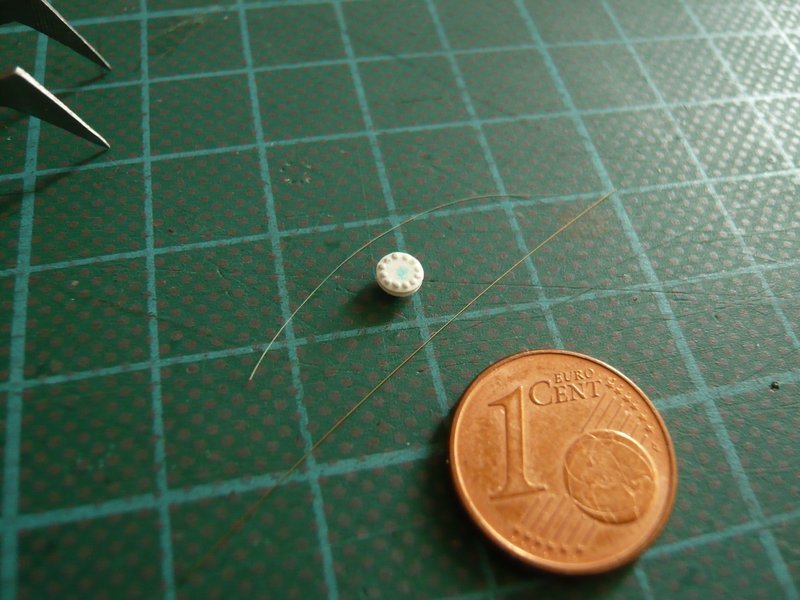 And so one of these handles would look.  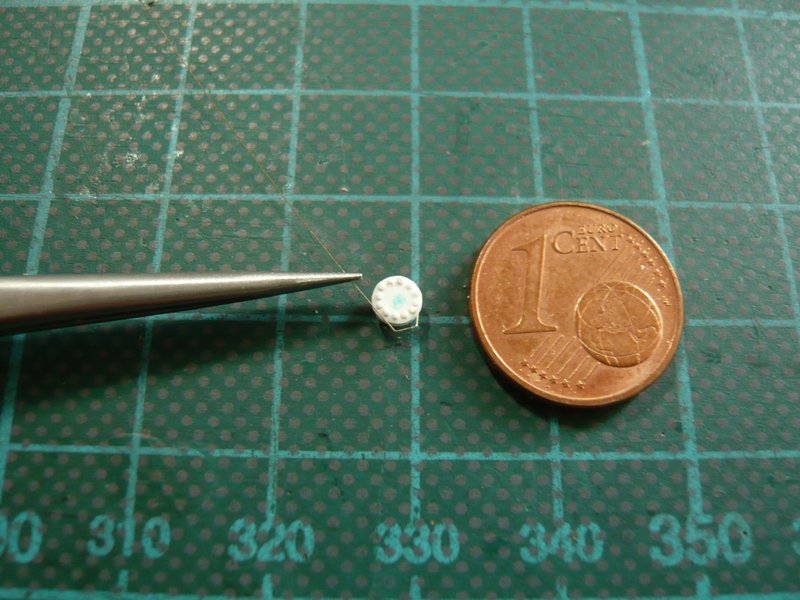 Let's see if I can make it, that would be a good laugh ... 
__________________
Greetings from Germany Manfred Under construction: Launch Pad 39A with Challenger STS-6 (1:144)
|
|
#1015
04-20-2016, 01:48 AM
|
|||
|
|||
|
Excuisite modeling, Manfred!
The level of detailing at this minute scale is extremely impressive, astounding! It is so interesting to follow this intricate build. Thanks for sharing it so well! All the best from Stockholm, Bengt ")
|
|
#1016
04-20-2016, 03:42 AM
|
||||
|
||||
|
Thanks Bengt for your nice comment.
 Now my sound barrier for detailing has been achieved, and breaking through I do not want it, and so it is now enough. Therefore, no more hairsplitting at any cost!
__________________
Greetings from Germany Manfred Under construction: Launch Pad 39A with Challenger STS-6 (1:144)
|
|
#1017
04-21-2016, 03:41 PM
|
||||
|
||||
|
Hello everybody,
well begun is half done, and therefore I have courageously started with the assembly of the handles. But the insertion of the handles (Ø 0.1 mm) into the 0.1 mm narrow gap between the cover and the flange already needs getting used to, which is why it is advisable to widen the gap previously slightly with a razor blade. This seemed to work well after several attempts, and as a spacer I've then inserted an evergreen strip 0.5 mm x 1 mm, so that the handle height is always the same. And in this state, I then glued the handle at the ends with tiny CA droplets with the acupuncture needle, 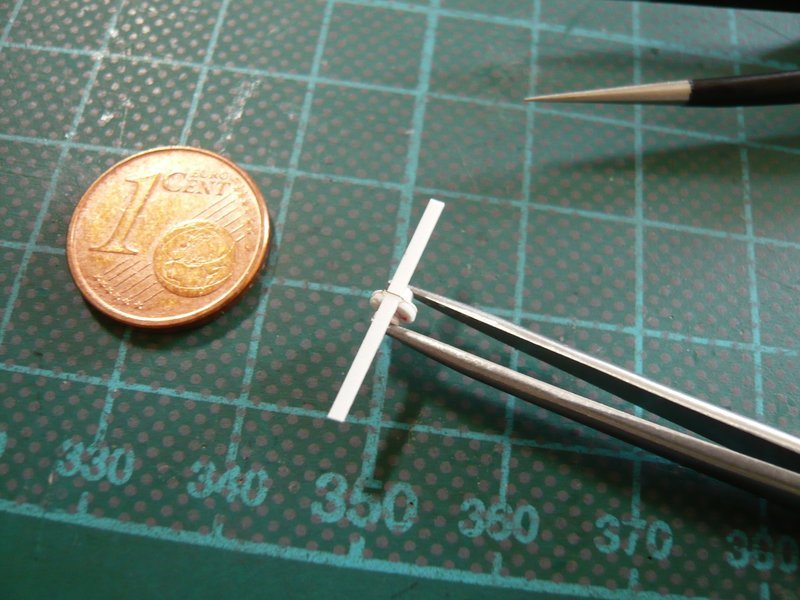 which has relatively worked well and looks already quite passable.  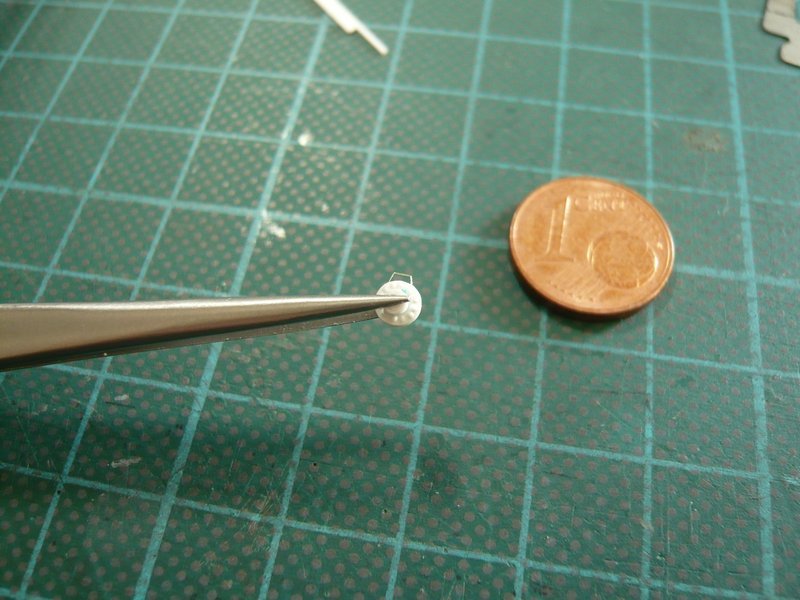 For safe handling I had previously reflected about a stable holder for the flange tube and had prepared a scissor tweezer with a disc (Ø 1.8 x 1 mm) so as not to make flat again the screws on the cover.  And even when cutting the ends one has to ensure that the handle not fly away, And even when cutting the ends one has to ensure that the handle not fly away,  which is why I glued it on a tape. which is why I glued it on a tape.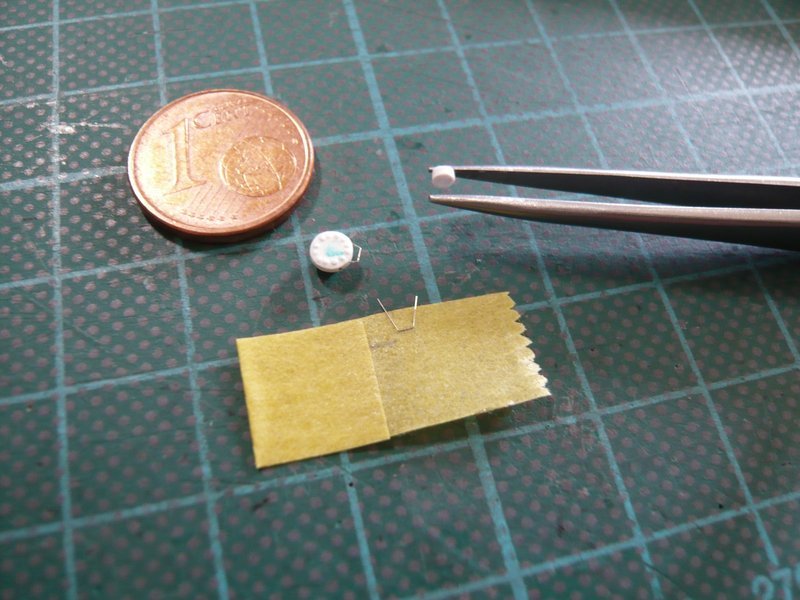 And as already mentioned, the widening of the gap before inserting the handle may be very helpful.   The insertion of of the handle into the gap was expectedly quite stressful, and I was glad when I had made it on one side without buckling the tiny fragile part. The other side then you have to direct very carefully until you hit thus into the gap. Then the spacer is inserted and the handle was gently sunk down to the stop, all pure nerve thing. 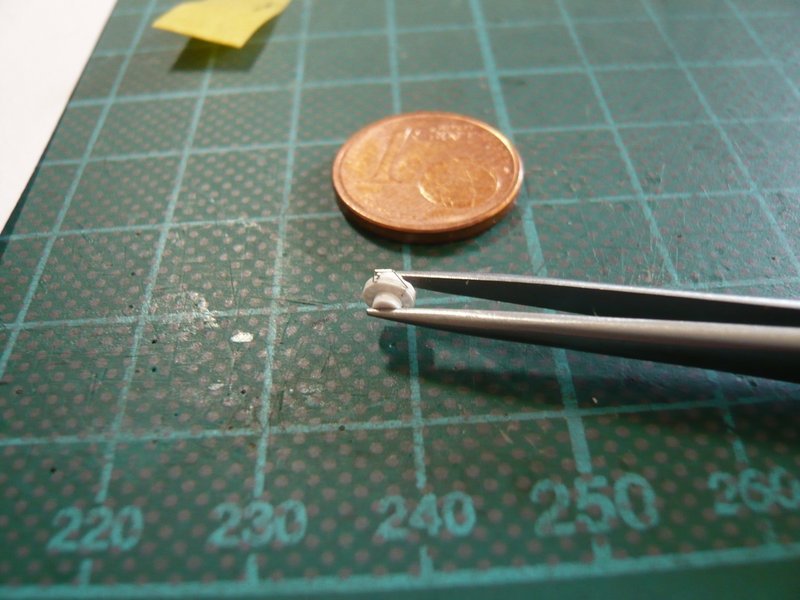 And after that was done, I could breathe easily again, and was pleased with the result.  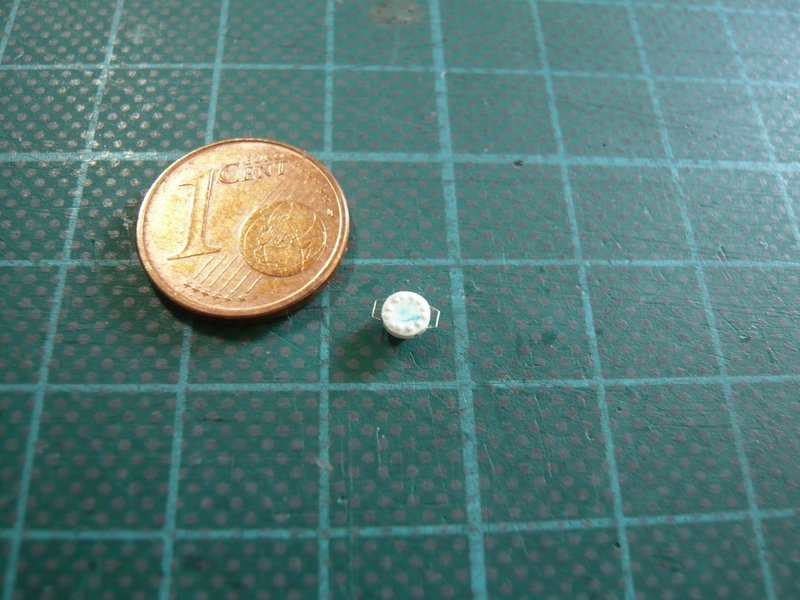 And so the image of the A-1 is rounding itself out more and more, 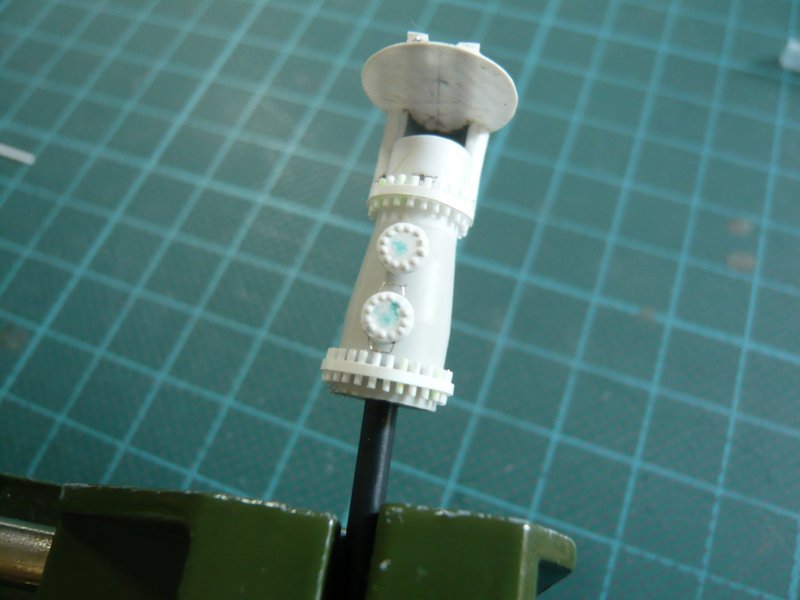 and I can deal me in peace with the next handles.
__________________
Greetings from Germany Manfred Under construction: Launch Pad 39A with Challenger STS-6 (1:144)
|
|
#1018
04-21-2016, 04:37 PM
|
|||
|
|||
|
Models within models and piles of patience. Gotta hand it to you Manfred, I doubt if one in a hundred of us could even approach the quality of work that you routinely achieve. (Did that make sense?)
__________________
This is a great hobby for the retiree - interesting, time-consuming, rewarding - and about as inexpensive a hobby as you can find. Shamelessly stolen from a post by rockpaperscissor 
|
|
#1019
04-21-2016, 11:02 PM
|
||||
|
||||
|
Thanks for your nice compliment Elliott.
BTW, sense or nonsense, that's not the question ...
__________________
Greetings from Germany Manfred Under construction: Launch Pad 39A with Challenger STS-6 (1:144)
|
|
#1020
04-22-2016, 12:00 AM
|
|||
|
|||
|
Fantastic detail! Amazing work!
Looks great, /Peter
|
 |
|
|


 Linear Mode

