


|
|
|
#201
 10-09-2013, 01:42 AM
|
||||
|
||||
|
After now the Transducer panels are installed, then just some railings on the Access platform AP 1 could be attached.
I started on the left corner of the platform. 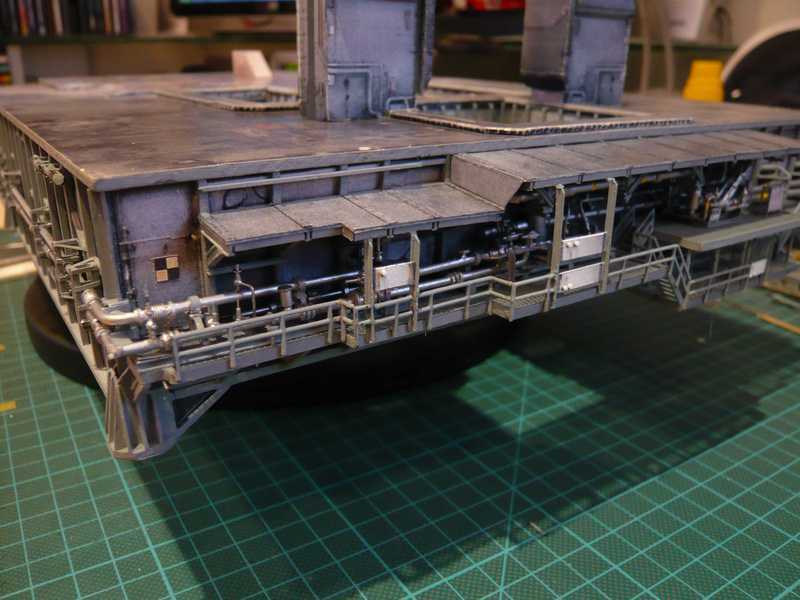 Immediately to the left beside later one of the already finished Ladder cages will be mounted, the ladders with the protective cage around. 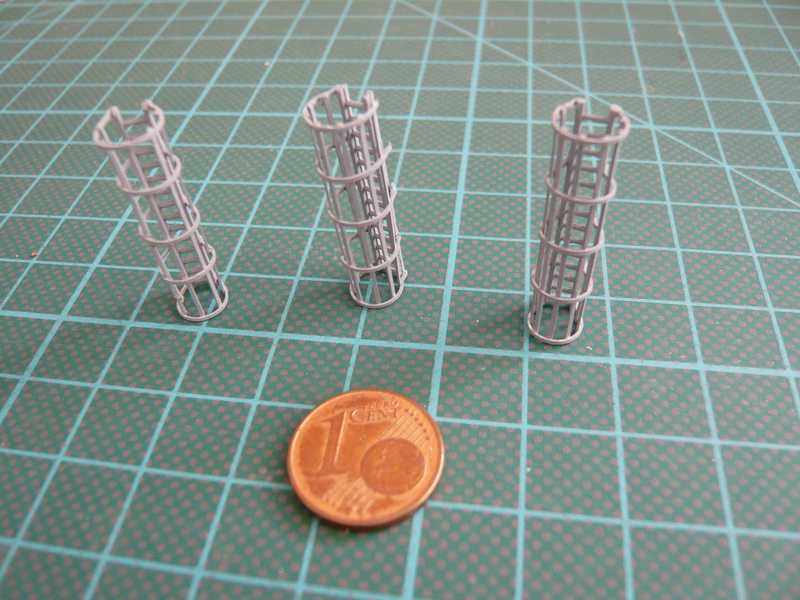 Now to the two medium-sized Access platforms AP 2 and AP 3. 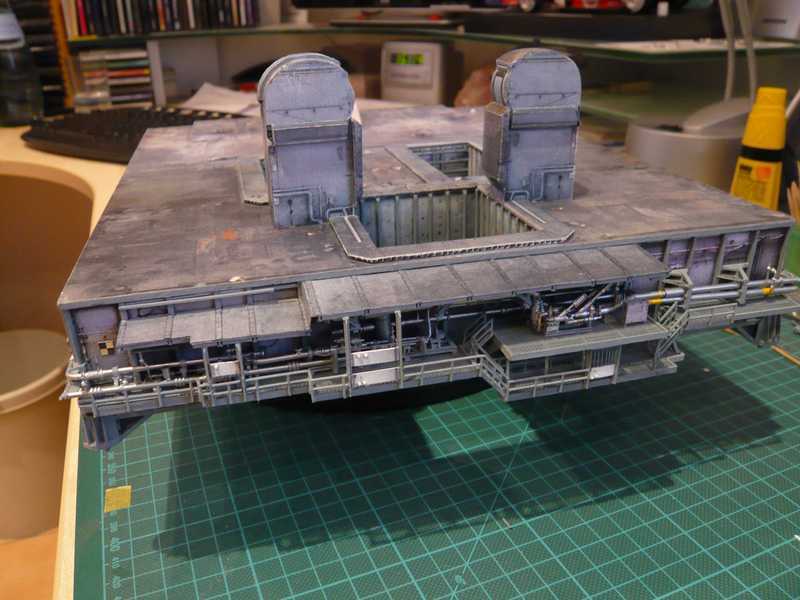 As you can see on this picture, it could continue right next to the Transducer Panel on the lower platform of AP 2.  Before the railing on the upper platform AP 3 may be installed, to the left even the Emergency shower with Eye wash have to be installed. This is an emergency shower for accidents of the MLP staff with any liquids or chemicals, the quick help need.  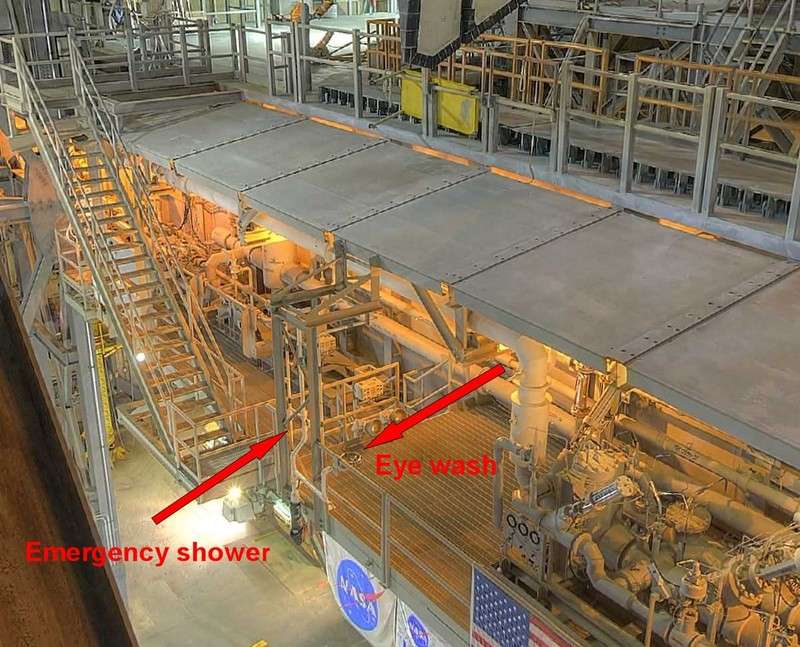 Source: NASA That comes next with it.  
__________________
Greetings from Germany Manfred Under construction: Launch Pad 39A with Challenger STS-6 (1:144) Last edited by spacerunner; 10-07-2016 at 07:49 AM. 
|
|
#202
10-09-2013, 04:58 AM
|
||||
|
||||
|
Now I'll start with the Emergency shower. And this is again such a filigree part that really holds one.
 In the Paper kit that is unfortunately so typical opaque part AP 3H is as shown here,  that I would rather leave and scratch-build. that I would rather leave and scratch-build. 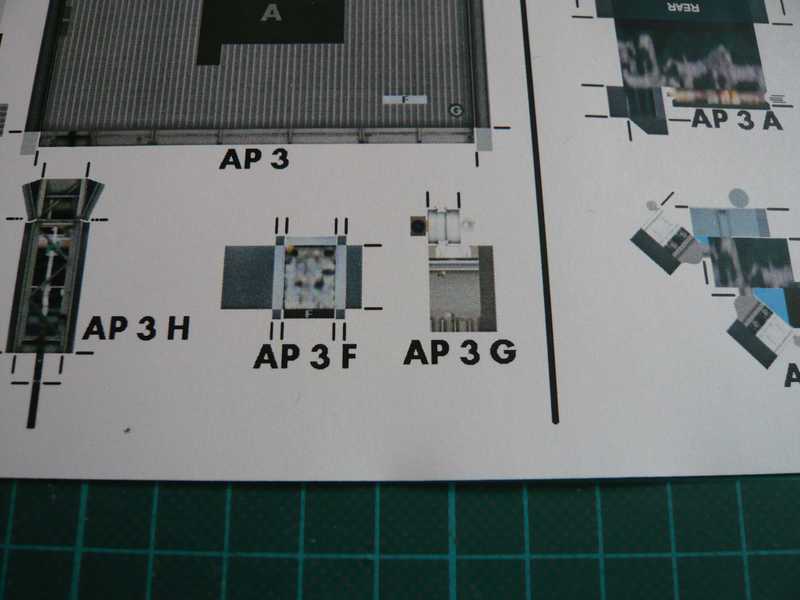 I've used for the outer frame T-beam 1,5 mm, for the two crosspieces brass angle profile 1,0 mm, and for the diagonal struts square profile 0,5x0,5 mm.  And similarly, it went on with the upper part. 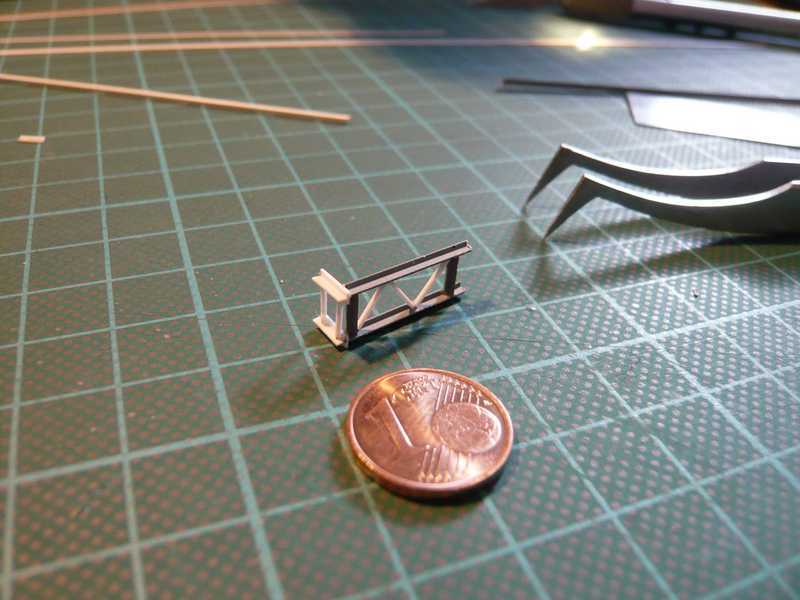 With the struts for the rear small frame, the front part could be tried then ever between platform and roof, 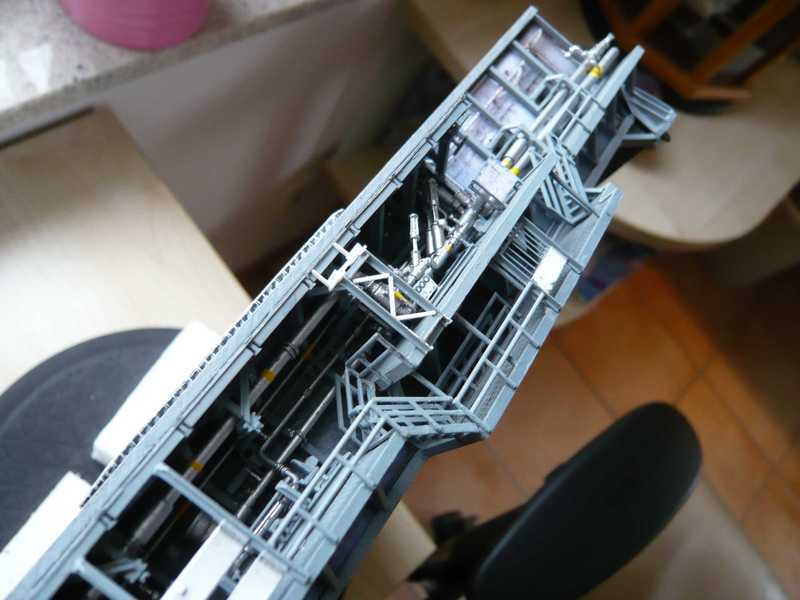 what also already quite well suited. 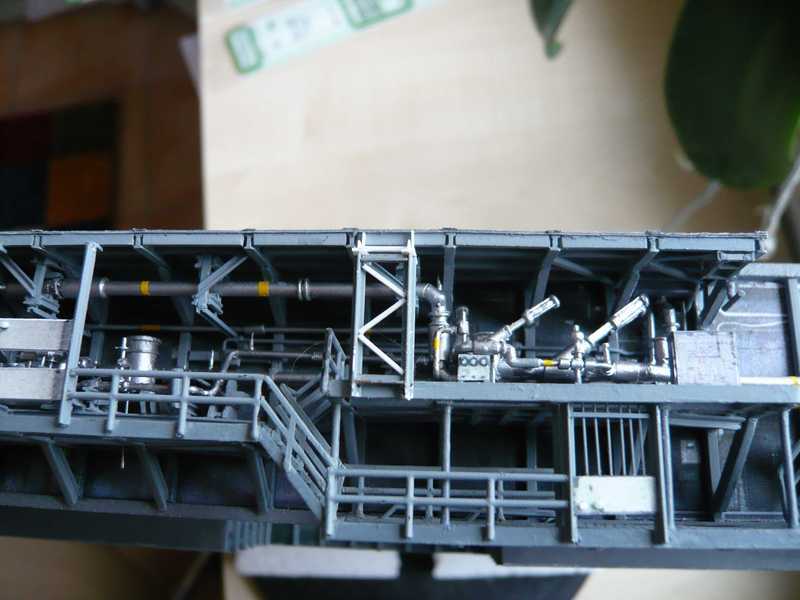 And finally, even the remaining struts were added. 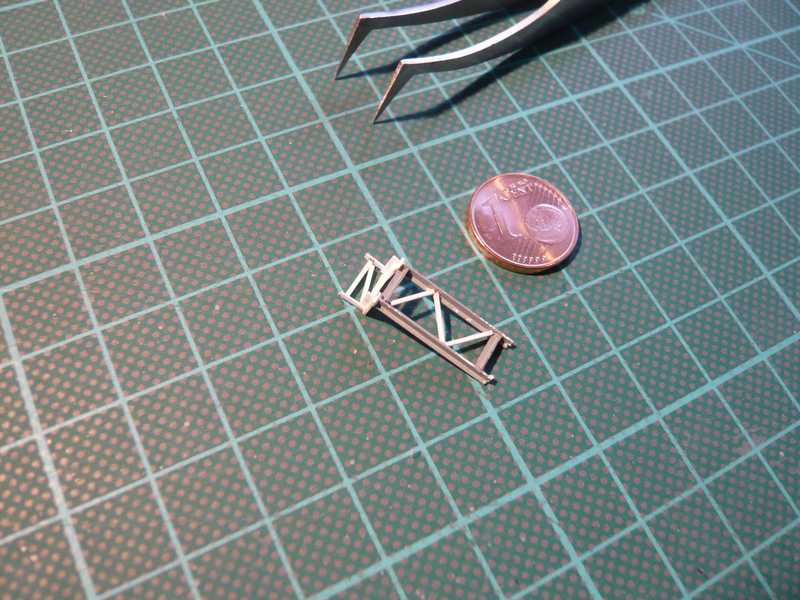 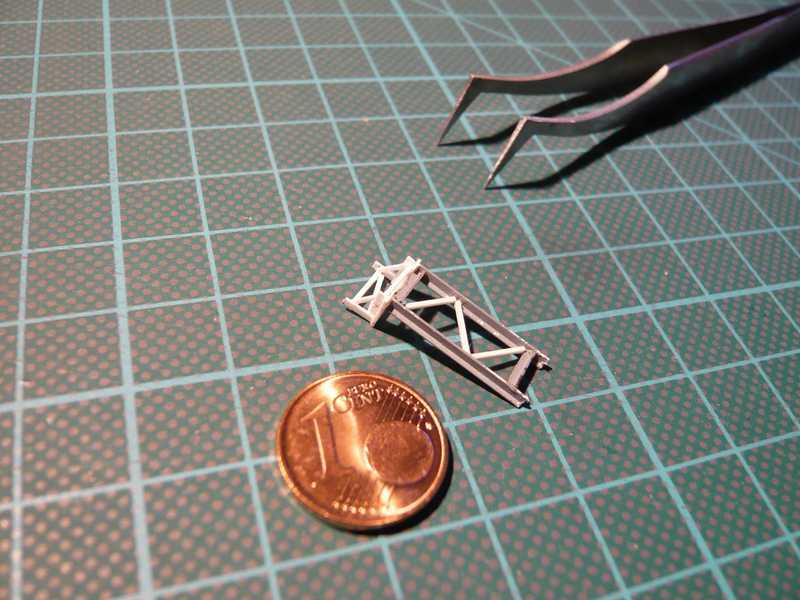 Now, the shower can be painted again, and then the white Sprenkler pipe can then be adapted and installed. I must separately produce probably the supply line from the MLP wall and the curved pipe behind the frame and attach as it goes through the frame through.  From the riser, then still a branch goes after right to the Eye wash, which on the railing is installed. For the bowl I have to think of something me, after I've unfortunately found nothing suitable, but I have an idea. 
__________________
Greetings from Germany Manfred Under construction: Launch Pad 39A with Challenger STS-6 (1:144) Last edited by spacerunner; 10-07-2016 at 08:00 AM.
|
|
#204
10-09-2013, 07:46 PM
|
||||
|
||||
|
Awestruck
Indeed, David,
This will be a masterpiece when it's finished, in all it's detailed glory! Keep up the good work, spacerunner! All the best from Stockholm, Bengt ")
|
|
#205
10-10-2013, 06:15 PM
|
||||
|
||||
|
Outstanding
You are setting a new standard for us all!
__________________
"One does not plow a field by turning it over in his mind..."
|
| Google Adsense |
|
#206
10-30-2013, 04:36 PM
|
||||
|
||||
|
Thanks guys for all your nice words. After a holiday break I'm back on track.
 Before I do next with the Emergency shower, a short detour to the Eye wash, that's the eyes shower made of stainless steel which can be seen on this photo beautifully right next to the Emergency shower. 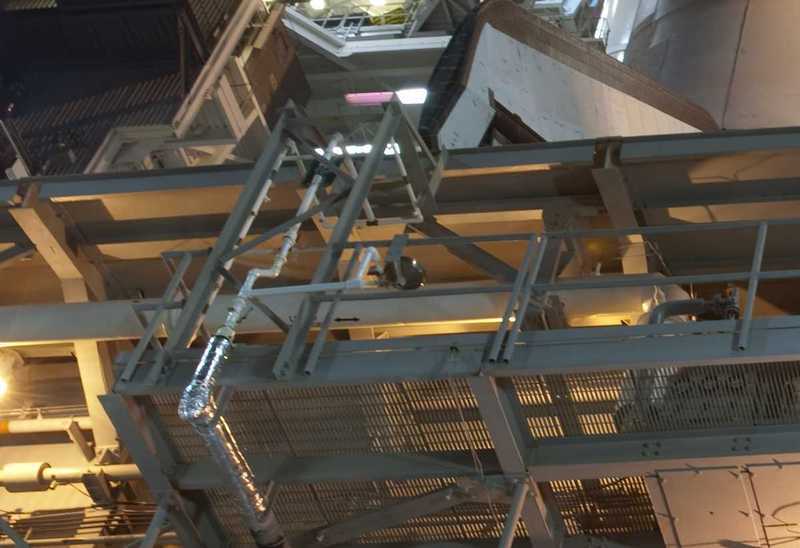 Source: NASA For the small vessel I have separated a small ring of a 3.0 mm plastic pipe, was closed down with a 1.8 mm round profile. On the back of the frame of the emergency shower small brackets for the Sprinkler pipe are glued on, 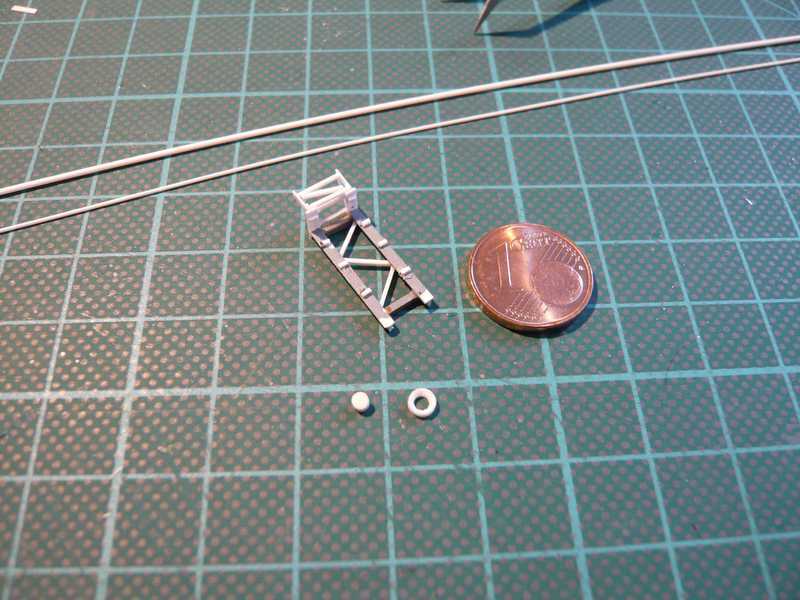 that I have bent from 0.6 mm round profile. Next to it is the small eye shower. 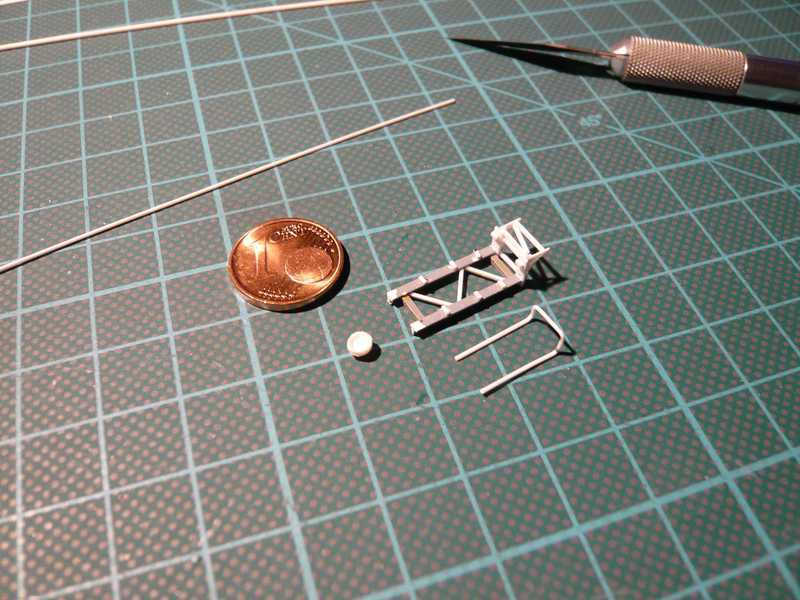 By the way I started with the GO2-Monitoring Panel, which is left of the double Transducer Panel on the Access platform AP 1, and looks similar to the GH2-Monitoring Panel for the LH2-Valve skid. 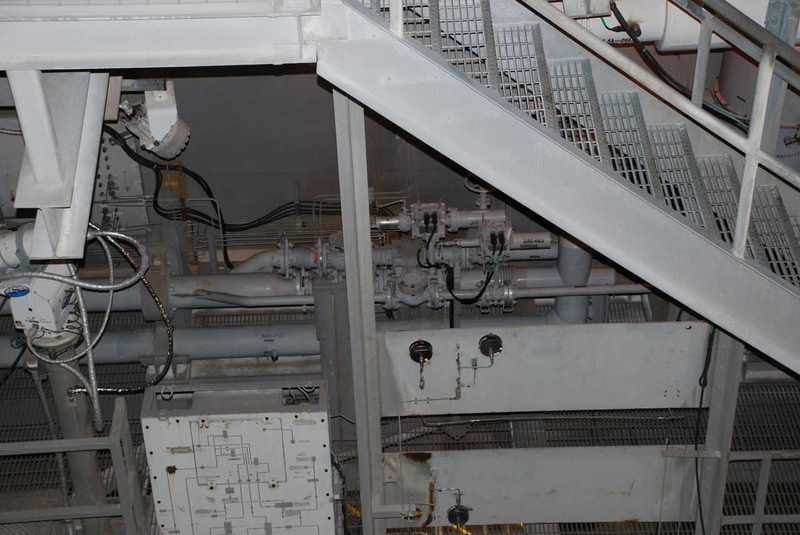 Source: J. Patterson (NASASpaceFlight.com) The frame is made of square profile again 0,5x0,5 mm, the front panel is similar to the other Monitoring panel.  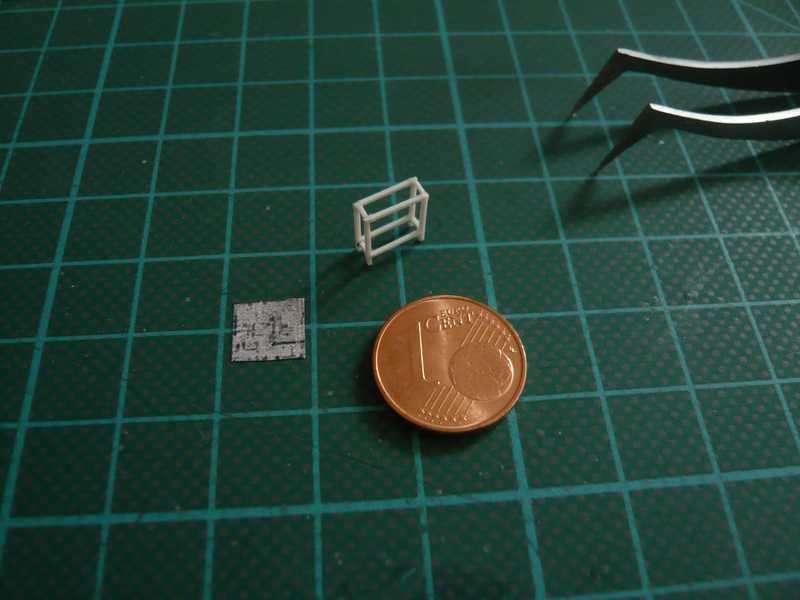 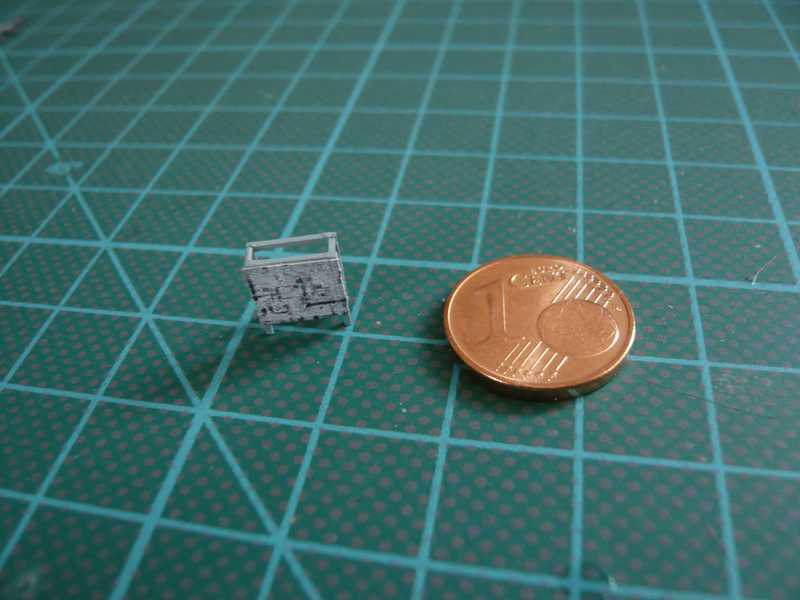 And there, the Panel now stands on its place. 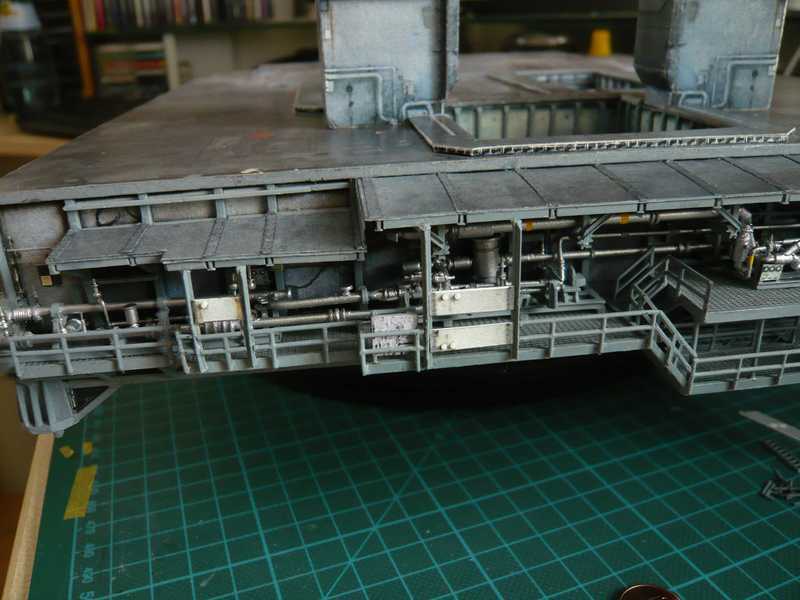 Now, the Sprinkler pipe was further structured. 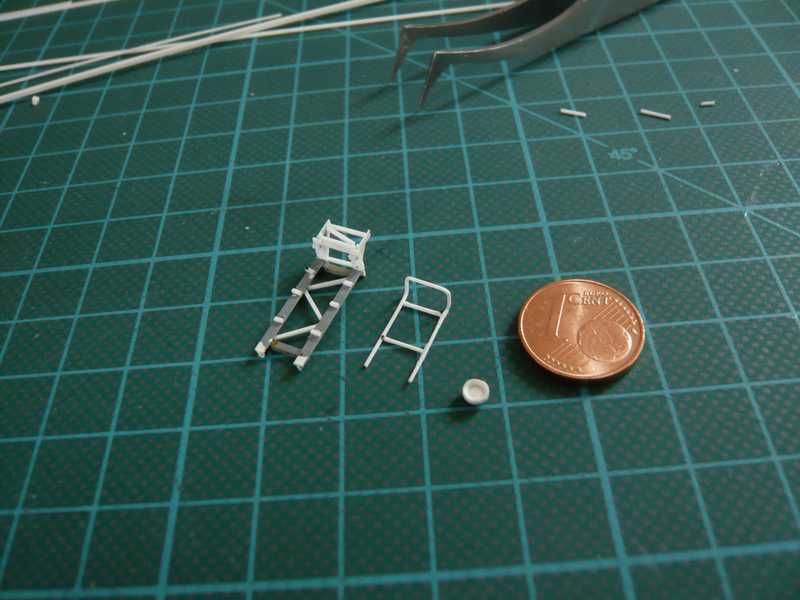 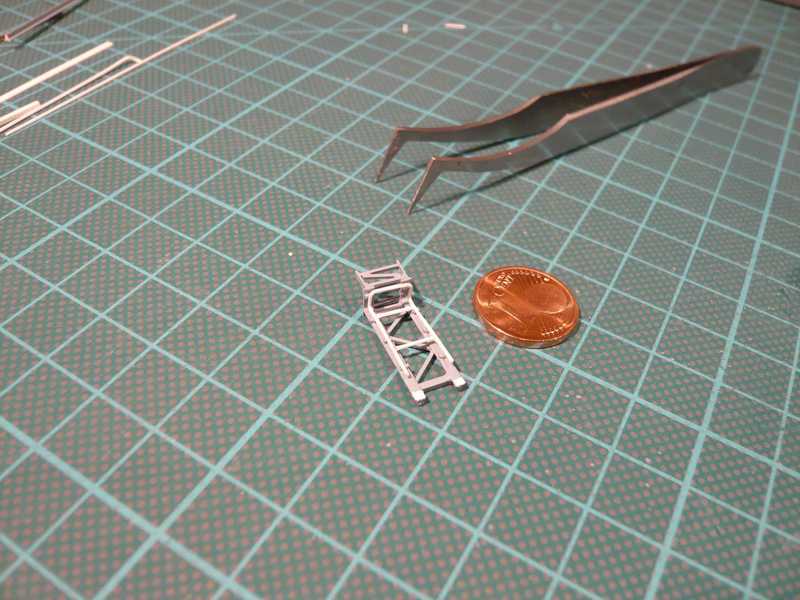 Next, the inlet pipe has been assembled, made of 0.6 mm round profile, 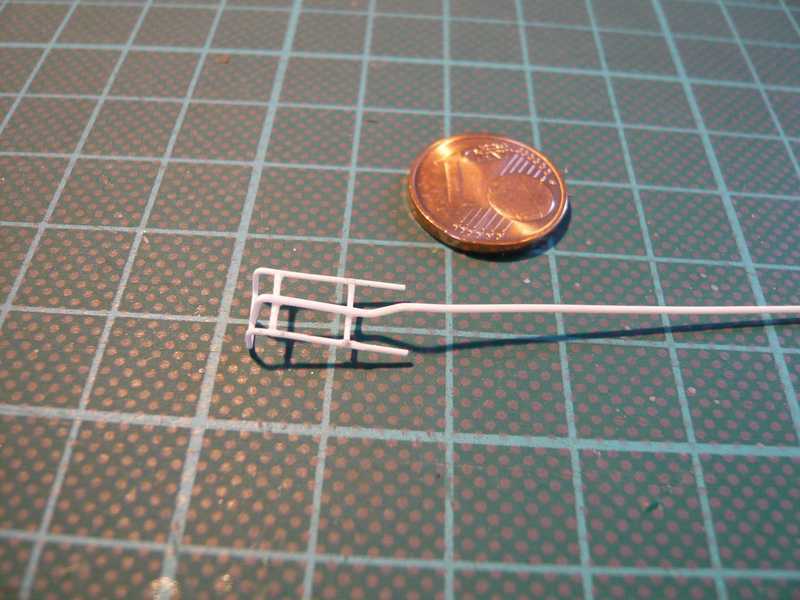 which must be performed through the frame.  And then also the fitting fit quite well with the elbow pipe and the reduced inlet pipe.   Again only a few minor equipment details that further round out the picture, but otherwise quite held something back. 
__________________
Greetings from Germany Manfred Under construction: Launch Pad 39A with Challenger STS-6 (1:144) Last edited by spacerunner; 10-07-2016 at 07:43 AM.
|
|
#207
11-01-2013, 04:59 AM
|
|||
|
|||
|
Manfred, you should consider insuring this model. ;-)
|
|
#208
11-01-2013, 05:16 AM
|
||||
|
||||
|
Mindblowing Detailing
Yes,
This really is a one-of-a-kind model. Incredible super-detailing. So interesting and very educational to follow. Keep up the good work, spacerunner! Bengt in Stockholm
|
|
#209
11-01-2013, 07:04 AM
|
||||
|
||||
|
Spacerunner,
This is a piece of art. Congratulations. I like the super detailing you're doing on this model. I wish I could've had all these close up photos you have, while I was designing mine. Anyway, keep up this great and awesome job. You don't mind if I can use some of these pictures as a reference to upgrade my MLP? Thanks again for sharing your work.
|
|
#210
11-01-2013, 01:59 PM
|
||||
|
||||
|
MANFRED,
You know, It seem to me that it was right about in this area of your project that I first ran across your build at the NASA model site. You have a great way of impressing people with your build skills, including myself. Great job!
__________________
OMG, I have finally discovered what's wrong with my brain: On the left side, there is nothing right, and on the right side, there is nothing left.
|
| Google Adsense |
 |
|
|


 Linear Mode

