


|
|
|
#2781
 03-11-2023, 04:11 PM
|
||||
|
||||
|
Quote:
 The gluing of the parts is always a challenge for us model builders, depending on what materials are to be glued together. Therefore there is not the one and only all-purpose solution, unless you only build Model Kits OOB, for which a normal Styrene glue is sufficient. Because I use a wide range of materials such as paper, wood, plastic, metal, etc. I also have a wider variety of adhesives to use for the pairing in question. 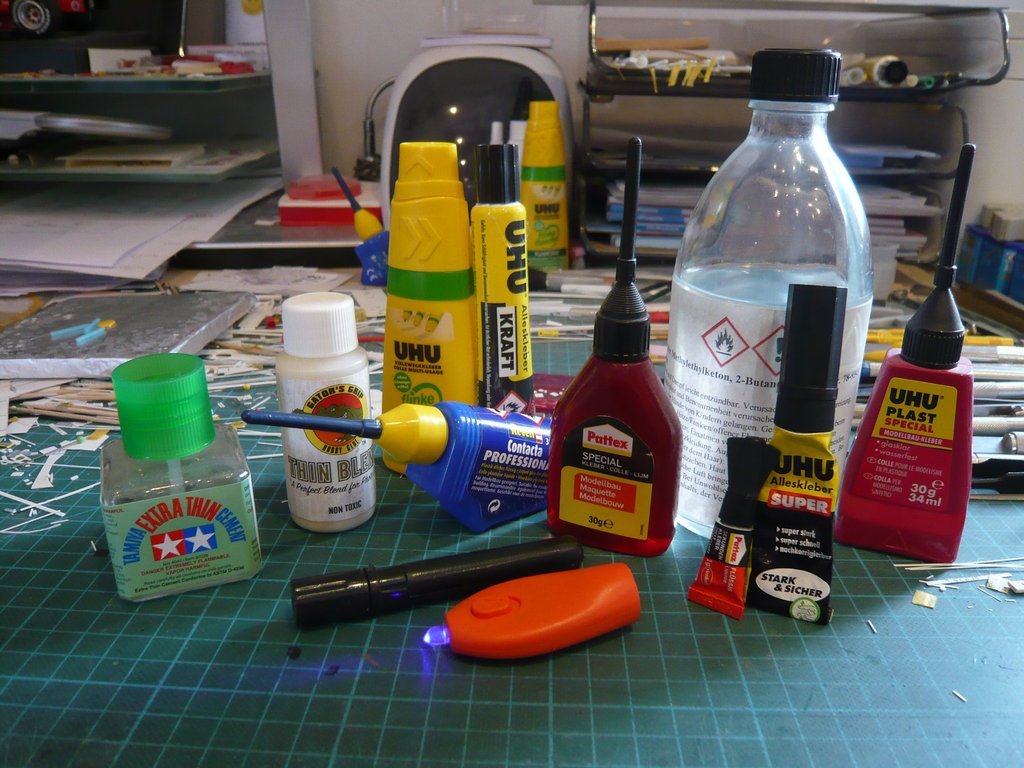 For gluing the handrail struts I use normal Revell Contacta Professional with the thin pipe. Since the pipe diameter (1 mm) is twice as large as that of my struts (0,45 mm), another technique has proven itself, which I have already described several times. I put a small drop of Revell glue on an Aluminum foil base, which spreads out. And in this blob I then carefully dip the face of the strut so that it is only slightly wetted, and then put the strut with the tweezers to the contact point and immediately correct its position and are mindful of an even position of the handrail.  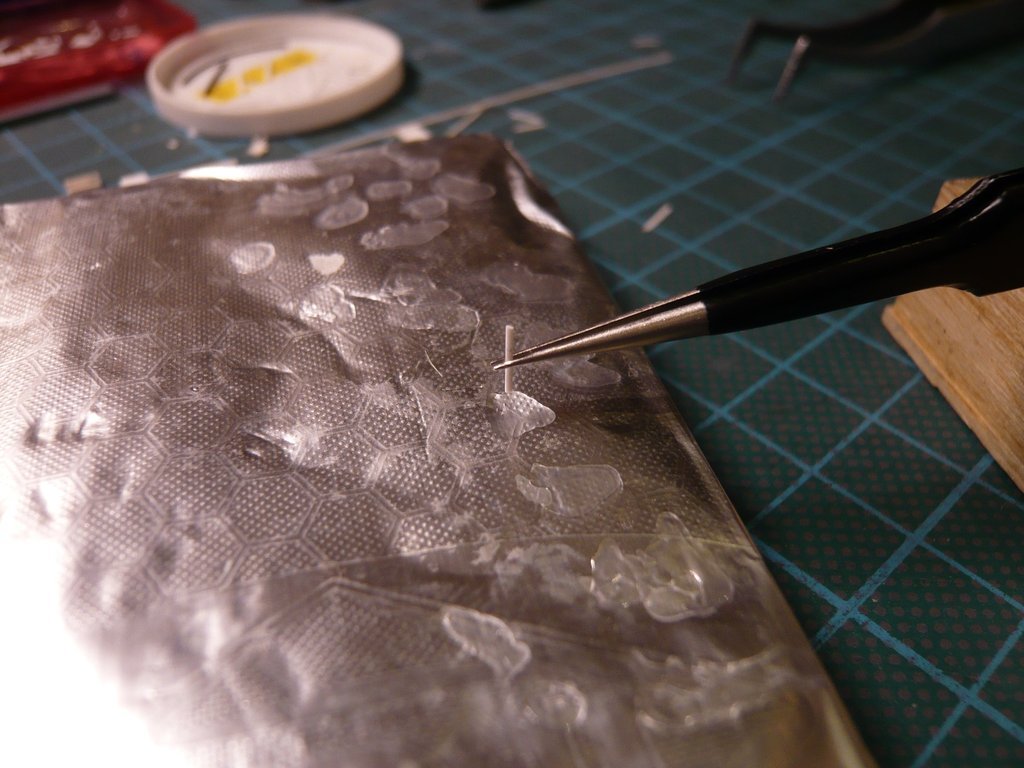 It is important to fix the struts so that nothing can slip. Nevertheless, even with these minimal amounts of adhesive, adhesions can occur on the steel ruler, which is why I immediately separate it with a razor blade and only then let everything dry. If I notice that a contact is not fully bonded, I use a fine brush (red sable) to dab some Methylethylketone (MEK) out of the bottle onto this area, which is immediately bonded. CA I apply in the same way, except that I use fine acupuncture needles to wet the contact point with the needle tip. 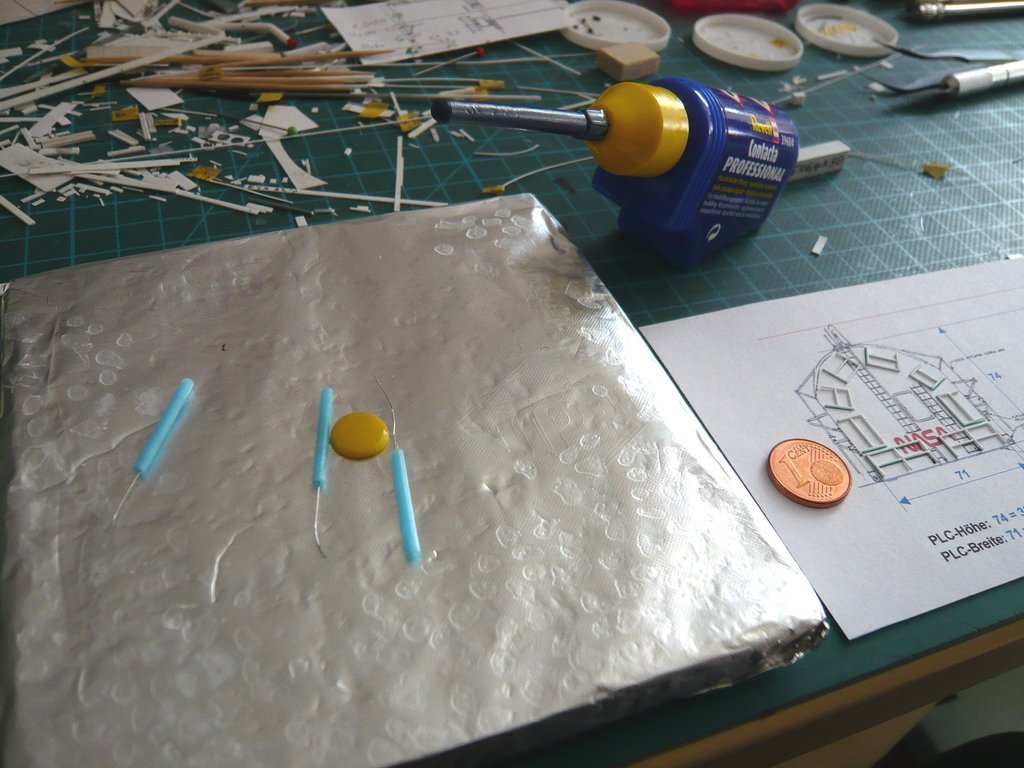 While the liquid Pattex CA sticks immediately, the contact by using the UHU CA can still be corrected for a short time.  So much for gluing.  
__________________
Greetings from Germany Manfred Under construction: Launch Pad 39A with Challenger STS-6 (1:144) 
|
|
#2782
03-11-2023, 04:28 PM
|
||||
|
||||
|
Quote:
Scratch building tiny details - Curse or Blessing, it's like a drug.
__________________
Greetings from Germany Manfred Under construction: Launch Pad 39A with Challenger STS-6 (1:144)
|
|
#2783
03-12-2023, 05:46 PM
|
||||
|
||||
|
Hello everybody,
and thus for gluing the remaining two Handrail pairs, again using the proven method,  here first Handrails G-3, 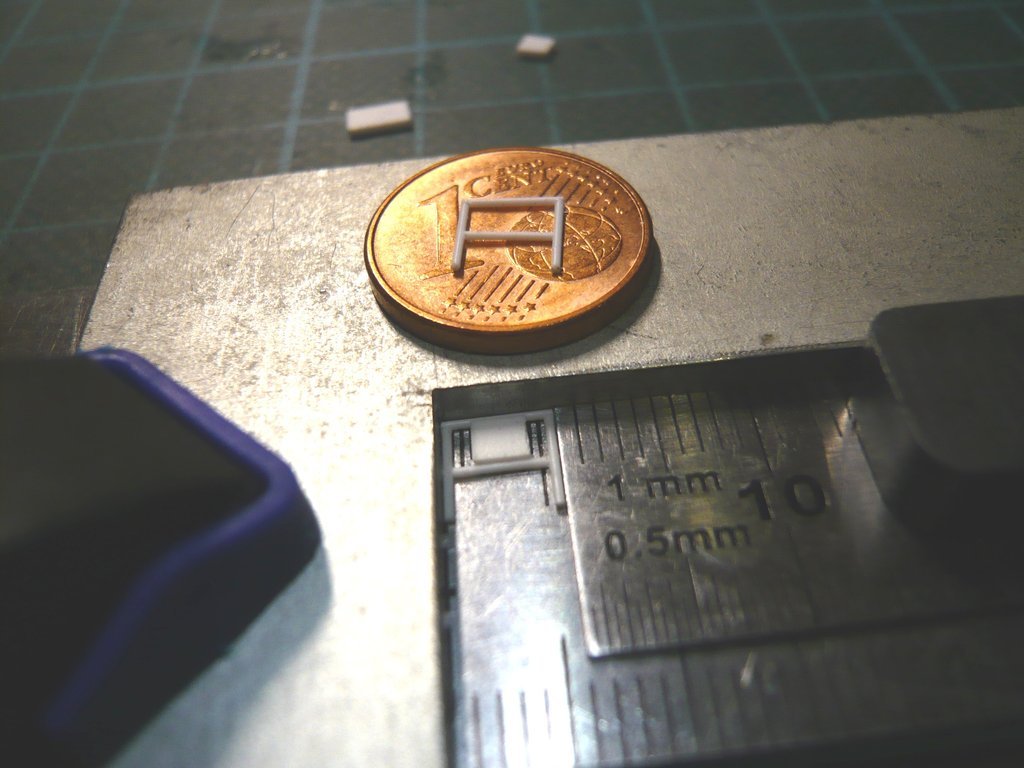 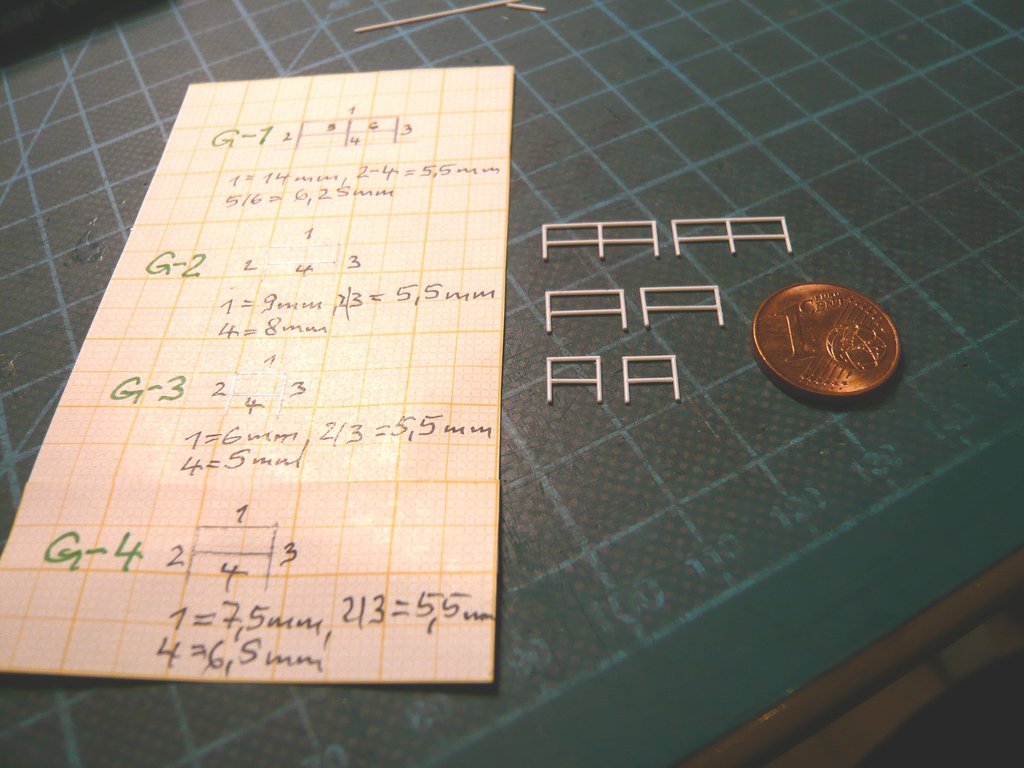 and here Handrails G-4. 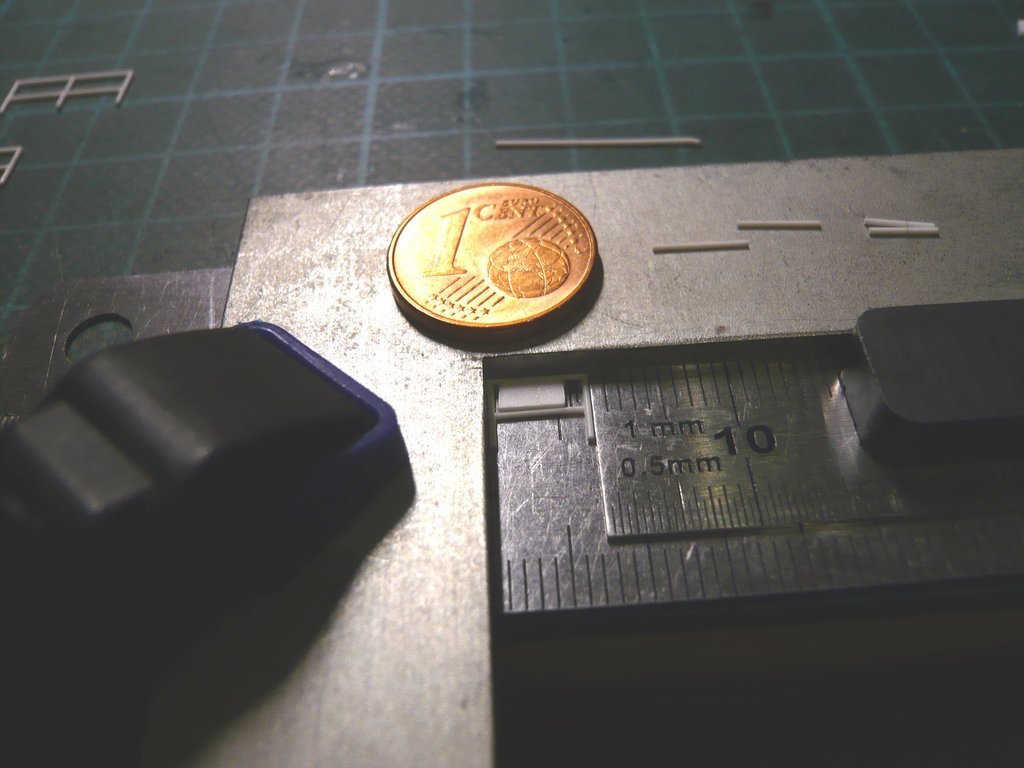 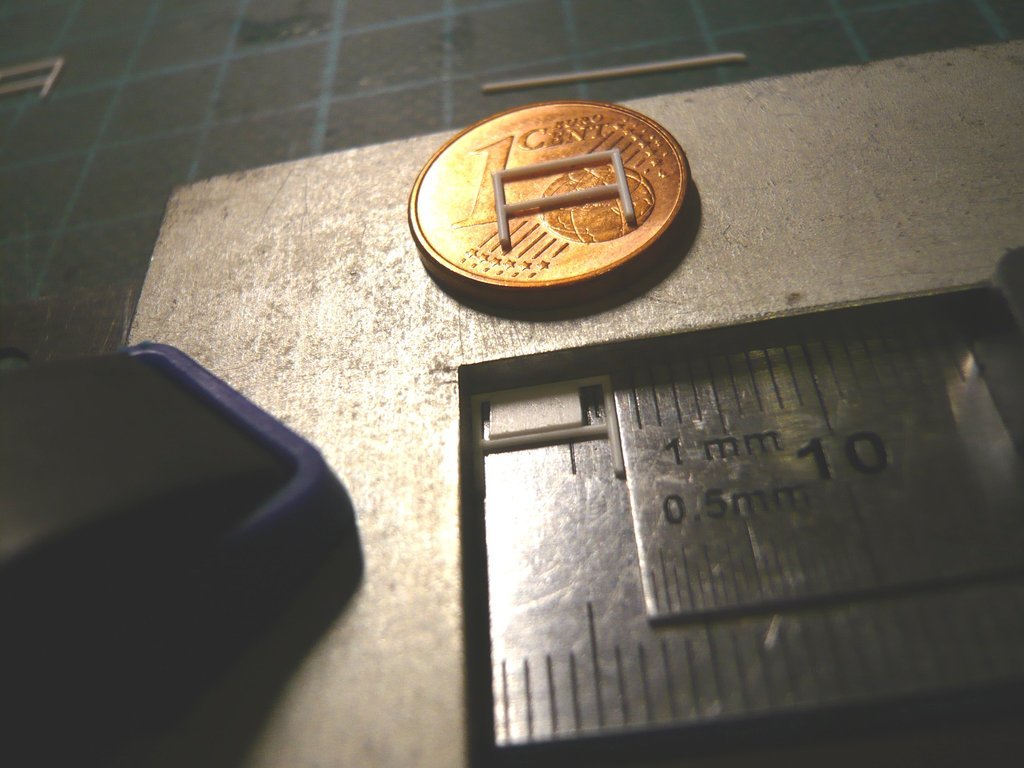 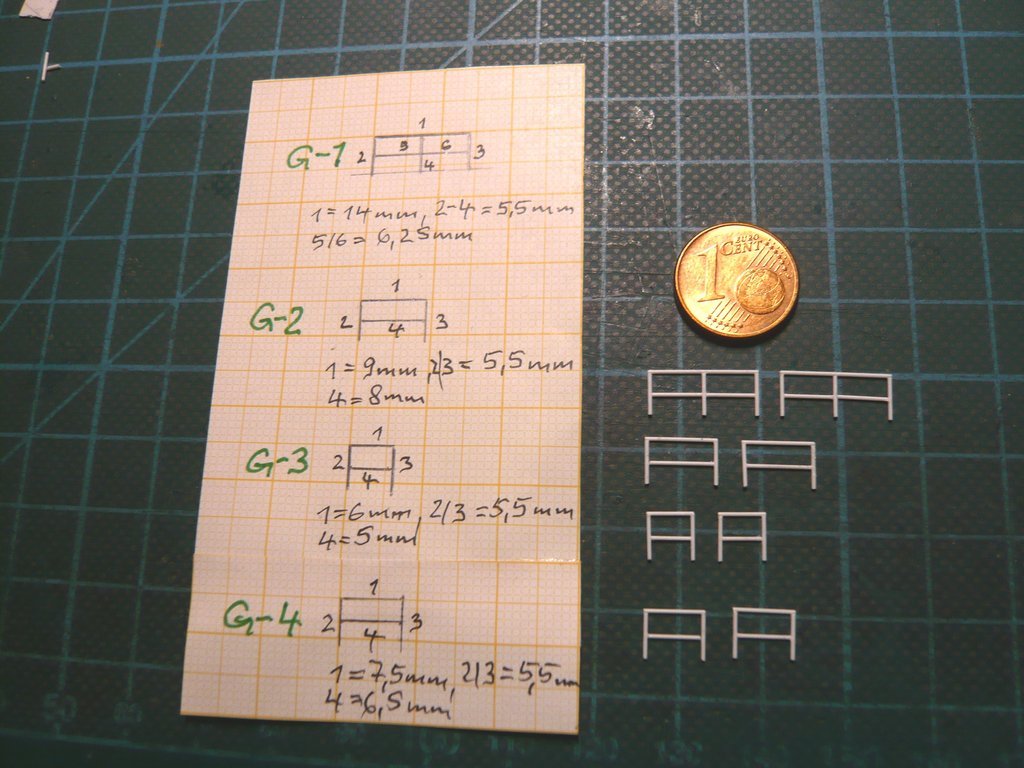 And here is the obligatory test fitting atop the template that I like. 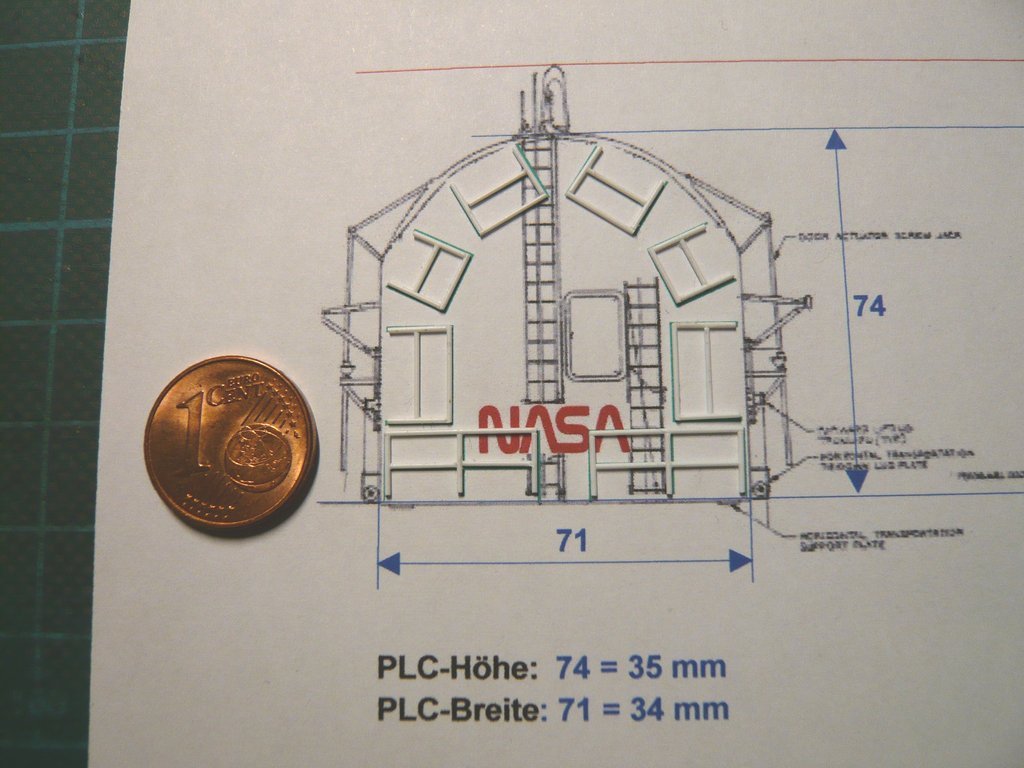 As already mentioned, however, all Handrails on the feet also need similar mounts like the Outriggers, so that they can be erected or folded up as required.  And these are 18 pieces, which should become similarly tiny.
__________________
Greetings from Germany Manfred Under construction: Launch Pad 39A with Challenger STS-6 (1:144)
|
|
#2784
03-13-2023, 09:26 AM
|
|||
|
|||
|
Thanks Manfred. Browsing I think this topic has come up in part before, but I really appreciate the review of your methods. :salute):
__________________
Happy Crafting - Scot On the Bench: Planck and Hershcel
|
|
#2785
03-13-2023, 12:52 PM
|
||||
|
||||
|
Hello everybody,
well, the smaller the details to be scratched, the closer you have to look to see their shape and being able to determine the needed dimensions. As you can see in this image section, the Holder sockets are in the form of small U-profiles in which the handrails are articulated. 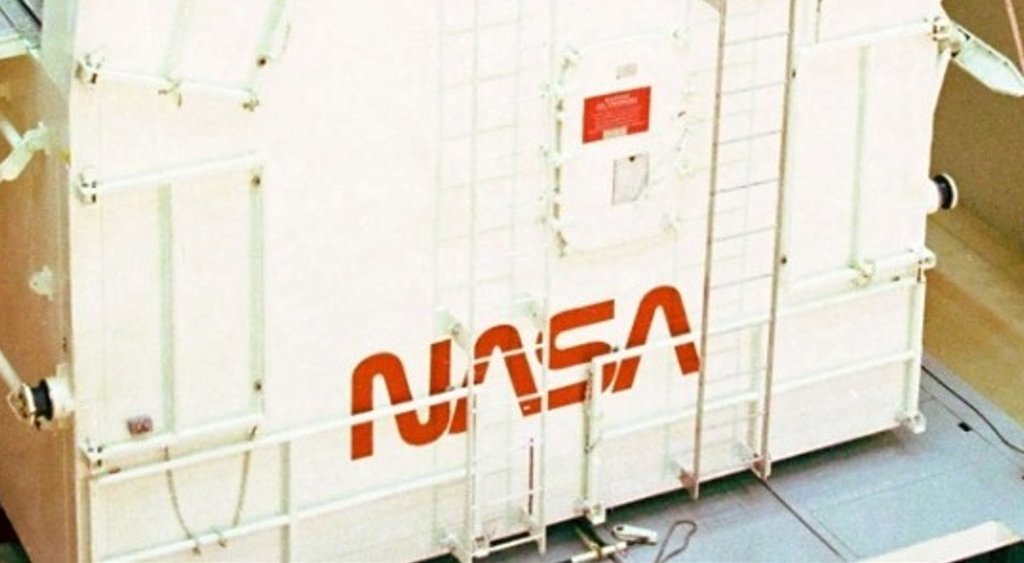 Source: forum.nasaspaceflight.com (STS-9, Ares67) Since this photo shows the canister used during STS-9 (11/1983), it can be assumed that these Handrails and Ladders already existed at the time of STS-6 (04/1983), but unfortunately I don't have any direct photos of it.  On the following photos of the Launch pad during STS-6 it looks like this, 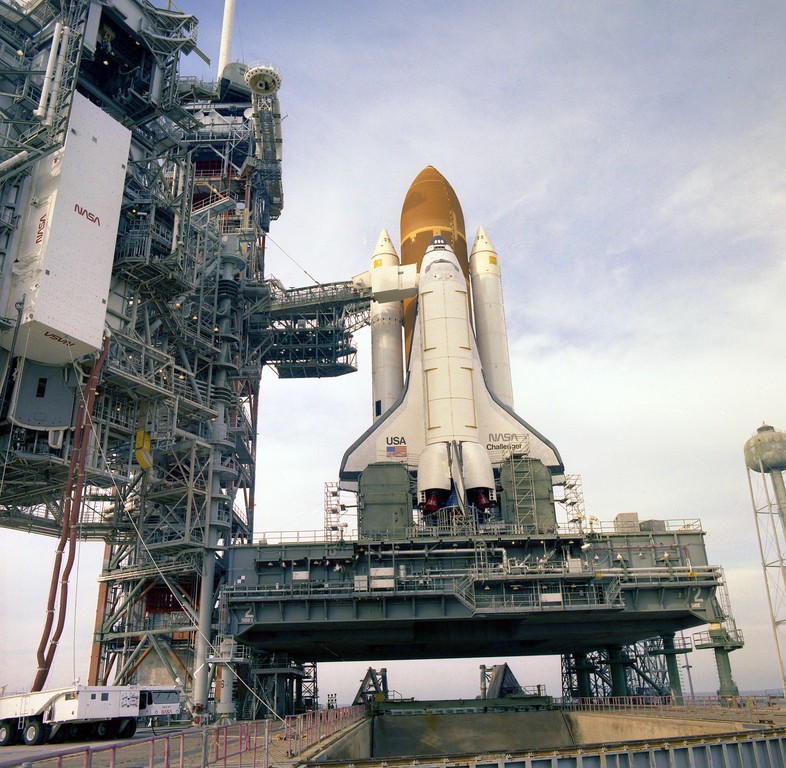 Source: retrospaceimages.com (STS-6) because you can see the holder sockets at least with high magnification,  like here atop of the canister hanging in the RSS-Payload Bay, like here atop of the canister hanging in the RSS-Payload Bay, 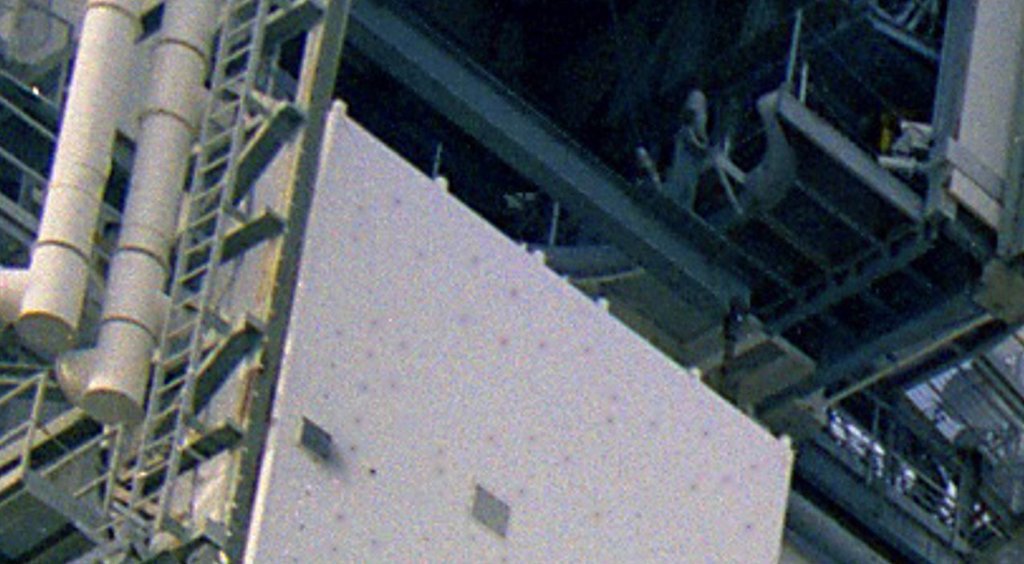 and here during the exit from the Vertical Processing Facility (VPF).  Source: retrospaceimages.com (STS-6) 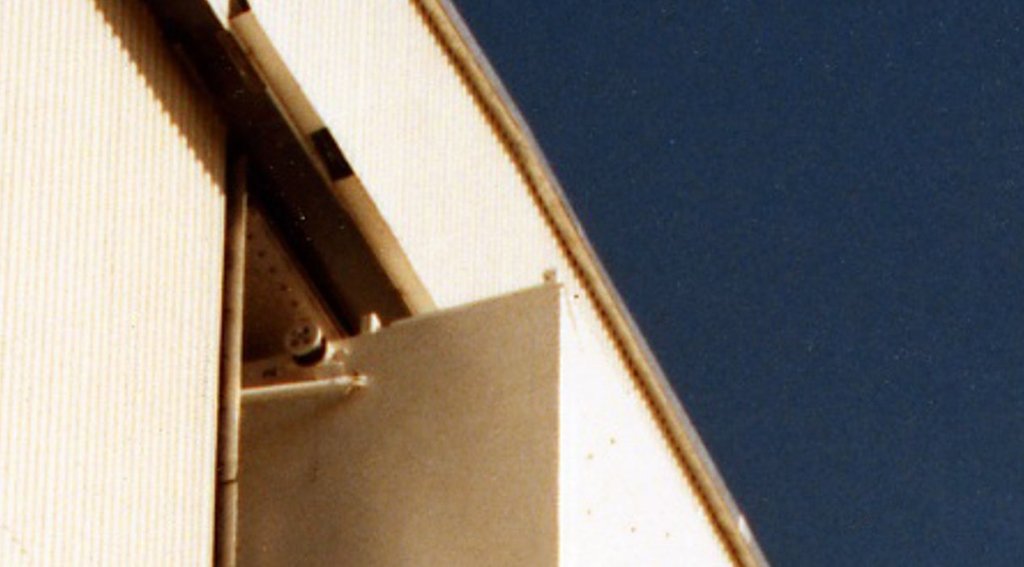 In this drawing I've finally determined the dimensions of the holders.  Source: James MacLaren, Page 52 And as you can plainly see, they are indeed tiny and, according to my previous idea, should each consist of four parts, which is why for 18 holders only 72 snippets would be needed.  Well that can still be going funny.
__________________
Greetings from Germany Manfred Under construction: Launch Pad 39A with Challenger STS-6 (1:144)
|
|
#2786
03-15-2023, 01:29 AM
|
|||
|
|||
|
Perfect as usual, Mani!

|
|
#2787
03-15-2023, 02:38 AM
|
||||
|
||||
 Marcell for your nice compliment! Marcell for your nice compliment! You know me by now and know that in addition to the usual model building, I'm particularly interested in the technical background, which is why I always try to get to the bottom of it. Over the years I've already learned a lot myself, and what I don't understand I try to know firsthand from experts, like from my friend James MacLaren, or like just now regarding the Payload Canister from Richard Chamberlain, a retired member of a Can Crew.
__________________
Greetings from Germany Manfred Under construction: Launch Pad 39A with Challenger STS-6 (1:144)
|
|
#2788
03-17-2023, 01:40 AM
|
|||
|
|||
|
This build has already become unCANny!
 And now you are introducing "Father Ralf"..!
|
|
#2789
03-17-2023, 03:05 AM
|
||||
|
||||
|
Hi Marcell,
today I can't follow you for the first time, who is "Father Ralf"? 
__________________
Greetings from Germany Manfred Under construction: Launch Pad 39A with Challenger STS-6 (1:144)
|
|
#2790
03-17-2023, 04:09 AM
|
|||
|
|||
|
Look up "Die Dornenvögel" and pay attention to the name of the famous actor in the leading role, please.
|
 |
|
|


 Linear Mode

