


|
|
|
#391
 02-19-2014, 04:46 PM
|
||||
|
||||
|
Thanks Yogi for your nice words,
 but it's a very tricky matter with these tiny LEDs and lampshades.  
__________________
Greetings from Germany Manfred Under construction: Launch Pad 39A with Challenger STS-6 (1:144) Last edited by spacerunner; 10-04-2016 at 09:36 AM. 
|
|
#392
02-19-2014, 07:01 PM
|
||||
|
||||
|
MANFRED,
A lot like my lighting, in that the look in the photos is different than in real life. The light on the left seem just a little better looking in your photos. If your build is like mine the lights look better in person. Good luck with the building of all the lamps that you have yet to construct.
__________________
OMG, I have finally discovered what's wrong with my brain: On the left side, there is nothing right, and on the right side, there is nothing left.
|
|
#393
02-20-2014, 05:14 AM
|
||||
|
||||
|
Yep Rich,
this is the well-known effect of the bright LED light when you photography, luckily it looks in reality much better and not nearly as garish.  Thank you for your good wishes for the scratch-building of the felt 10.000 lamps. This might be similar to the felt 100.000 chain links of your crawler tracks,  for which I wish you greatest success and also a lot of fun. for which I wish you greatest success and also a lot of fun. 
__________________
Greetings from Germany Manfred Under construction: Launch Pad 39A with Challenger STS-6 (1:144) Last edited by spacerunner; 10-04-2016 at 09:39 AM.
|
|
#394
02-25-2014, 06:27 AM
|
||||
|
||||
|
Today, I have now started to test production of lampshades. When gluing the tiny tubes (1,3 x0,9 mm) in the screens you need any aid, because you can no longer hold in the tweezers without them jump away if suddenly.
") You also have to make sure that applying only very small doses of the superglue, otherwise there is a disaster. You also have to make sure that applying only very small doses of the superglue, otherwise there is a disaster.Therefore, it is best if you bead the screen and the tube on a needle, 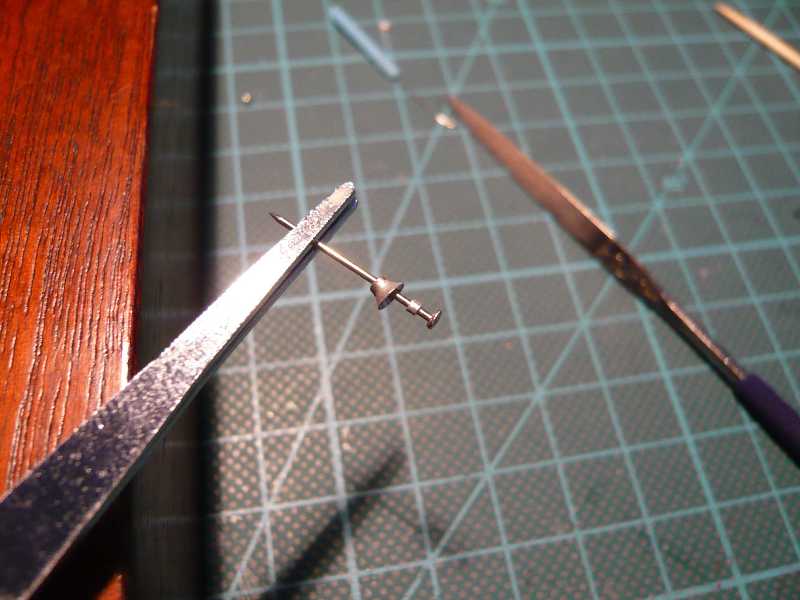 and then the tubes dabbed with superglue, but without coming here to the needle, otherwise you must start over again. But this is possible under the magnifying glass, if you are careful enough and a steady hands has. And these are the first lampshades. 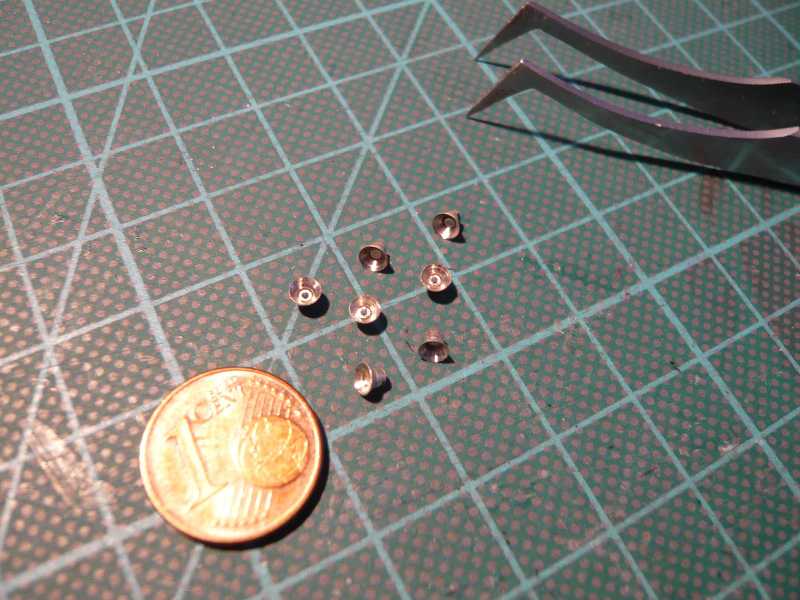 Here I have tried a pattern, without widening the shield of the end ferrule before. This screen you could possibly use for the caution lights that are slightly smaller in diameter. Therefore I'm going to order some red LEDs. Would then have only one suitable cover over it as a bell or glass shade, possibly a pearl, let's see. 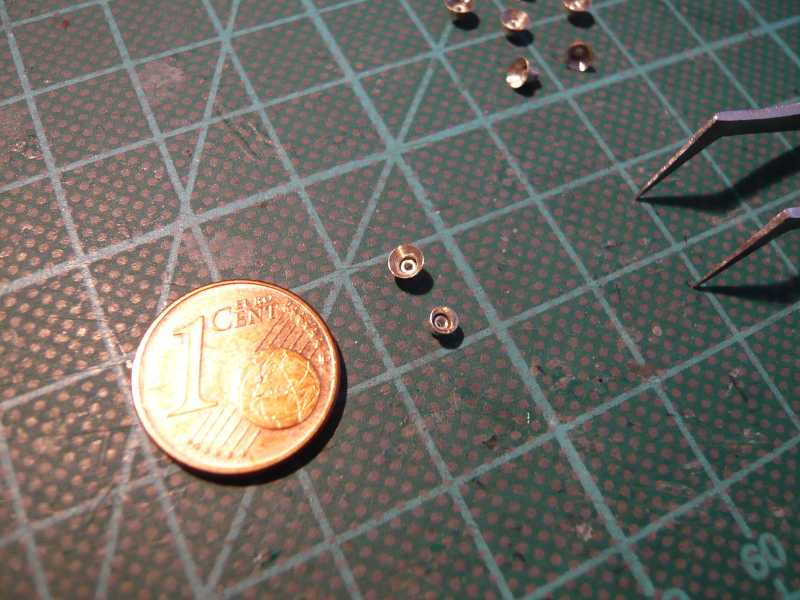 Now with the finished lampshades I wanted to simulate the four lamps on the right MLP side to find out how I could best fix. As you can see in the next picture, the lamps do not sit on the reinforcement bracers, as in the later missions, but in the interstices and are apparently attached to a thin support rail. 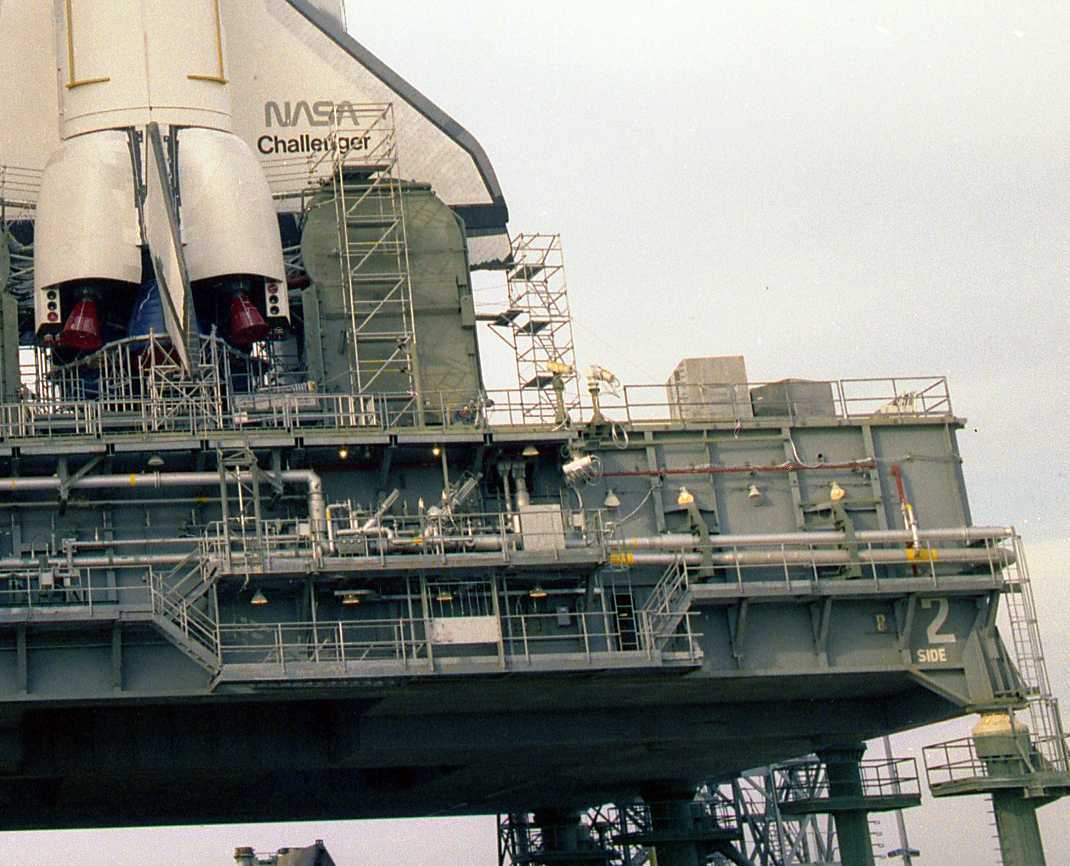 Source: retrospaceimages.com This arrangement is seen here as an interim solution on an assembly sketch. Initially, I threaded the Sunny White LEDs and fixed the wires with tape. Then I glued the support rail of steel wire (0.3 mm) with tiny superglue droplets on the sockets, this somewhat off-center, so the screens do not directly abut the wall. 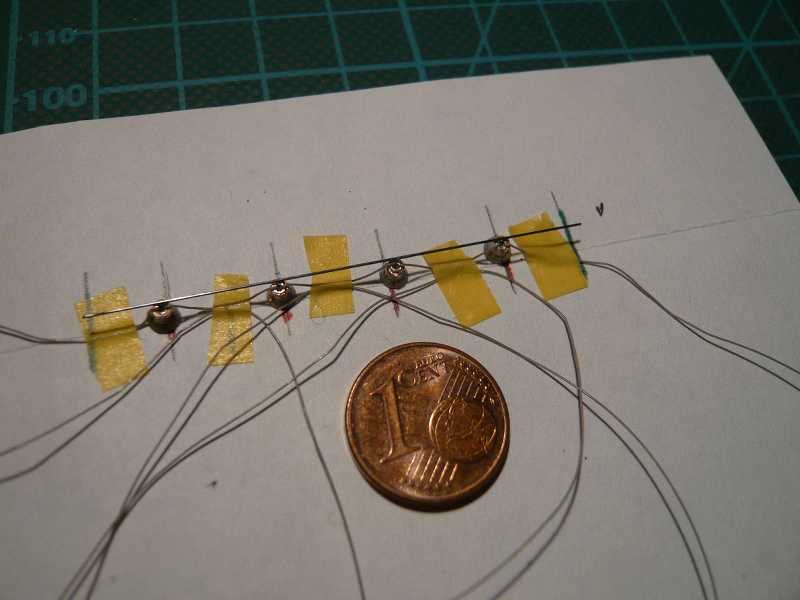 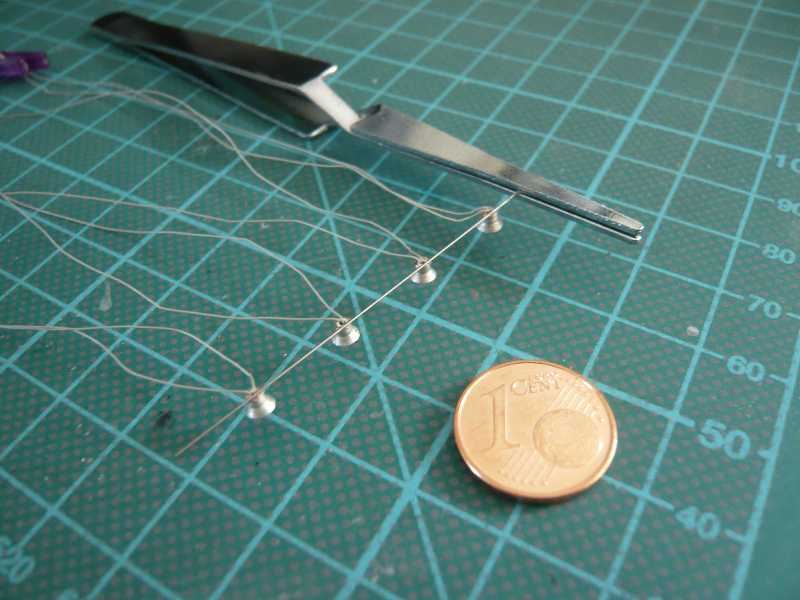 Then I have connected the LEDs in series with each other, you have to really look closely, thus always positive pole comes to the negative pole ... The positive pole of the LEDs can be recognized because his wire is about 10 mm longer. And this time I did not use a flat battery as before, but my current bank with power supply. And as you can see, apparently everything is connected correctly.  Then I have this LED linkage temporarily attached to the MLP wall to test the lighting effect in front of the wall. 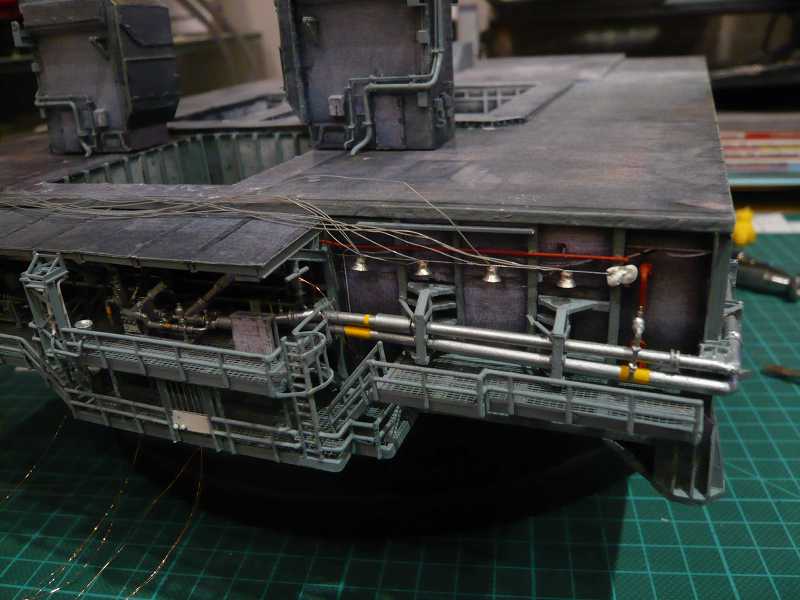 The first sees again surprisingly bright, but in reality is not nearly as blatant. This may be because, firstly, that the LEDs are now powered by the current bank (constant current source) with constant 6 mA and perhaps my flat battery has delivered of a lower current. But but undoubtedly, the combination of the four LEDs on a relatively small area has an impressive light. 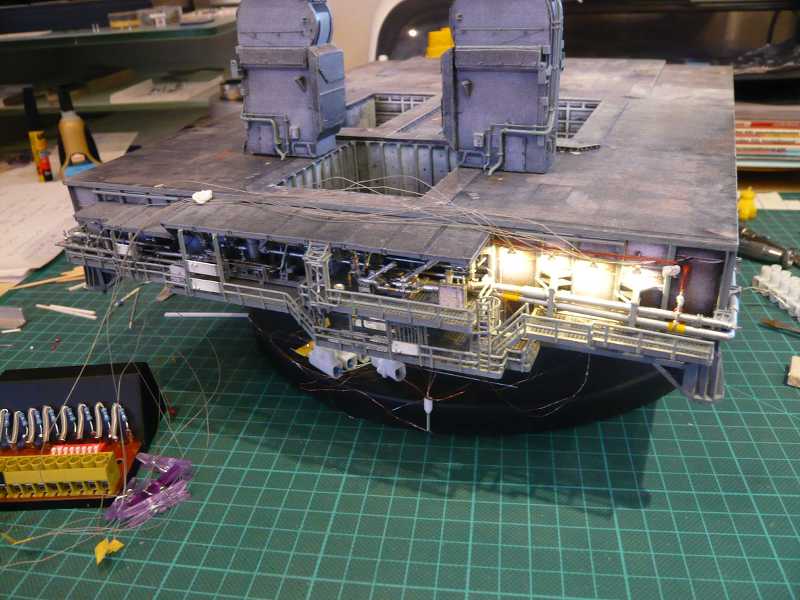 As a result of the brightness test with the test box I had anyway tend to lower current intensities of 2 to 3.5 mA. So I'm going to replace tomorrow the fixed resistor (47 Ohm) to a variable resistor in order to reduce the current and the brightness adjust anything else. 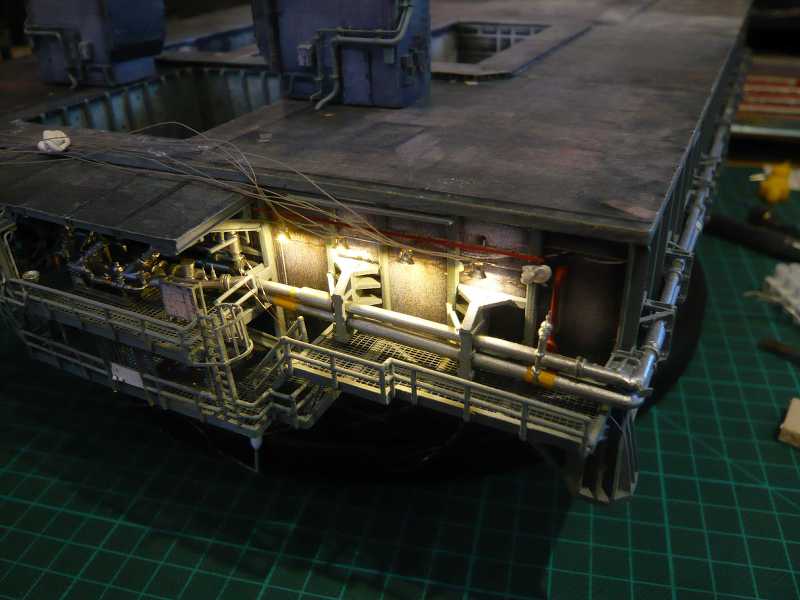 And here is the comparison to the bright cold light of Pure White LEDs I've used first.  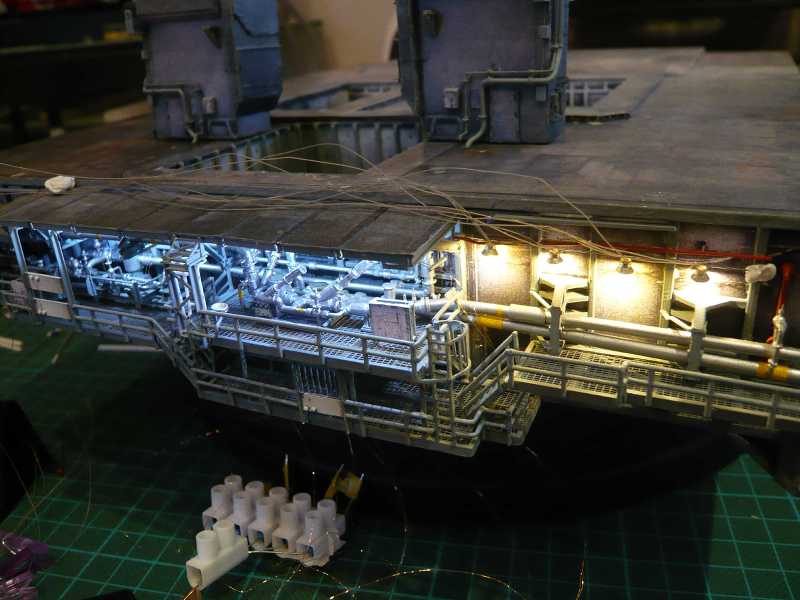 As you can see, everything want to be tested only once, before you can commit and start to the final assembly ... 
__________________
Greetings from Germany Manfred Under construction: Launch Pad 39A with Challenger STS-6 (1:144)
|
|
#396
02-25-2014, 09:24 AM
|
||||
|
||||
|
Thanks eatcrow2 for your kind words.
Yep, the attention to detail will not let me go undoubtedly.
__________________
Greetings from Germany Manfred Under construction: Launch Pad 39A with Challenger STS-6 (1:144)
|
|
#397
02-25-2014, 01:22 PM
|
||||
|
||||
|
So, and here, as already announced, the tests with the variable resistor in a circuit of the current bank.
 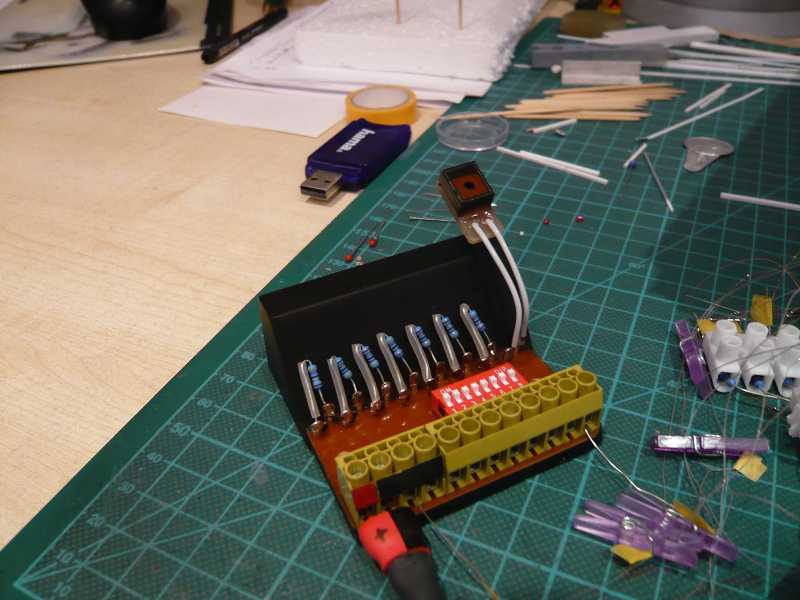 Here with adjusted lowest current of 1,5 mA: 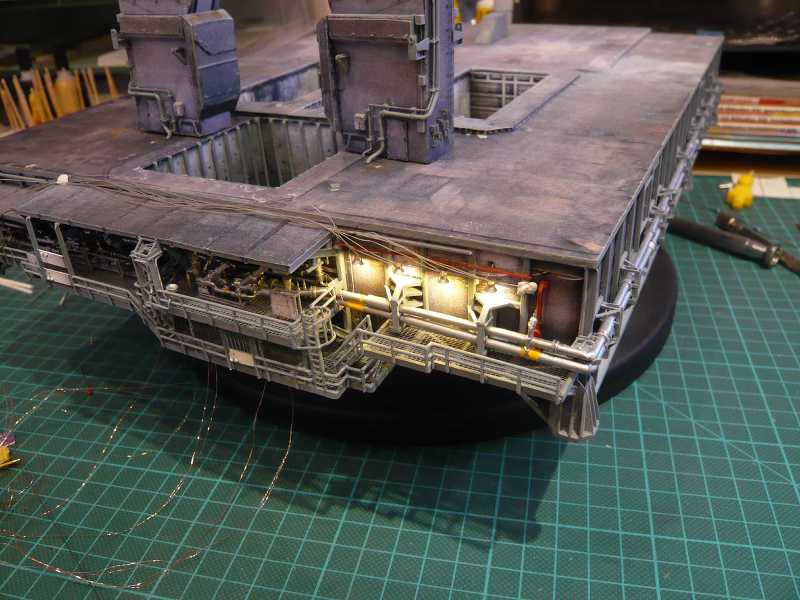 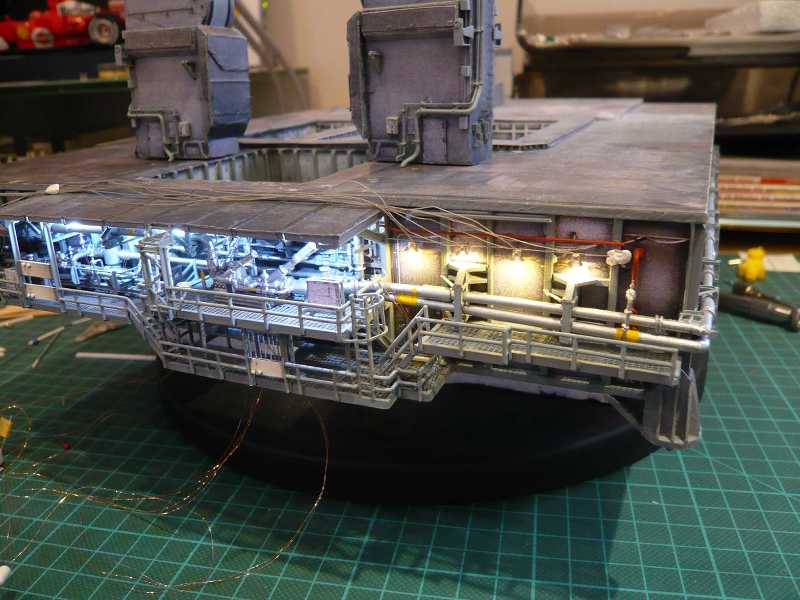 Here with 4 mA: 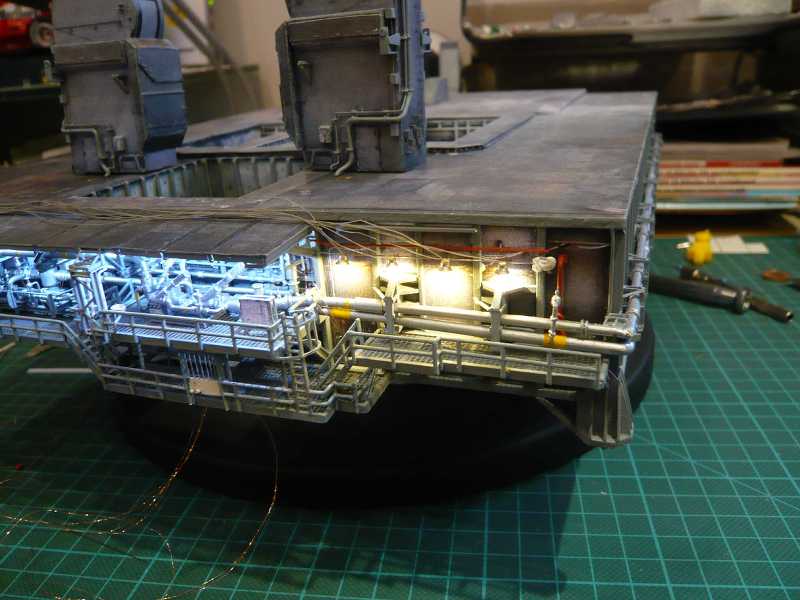 Here at the maximum setting of about 8 mA: 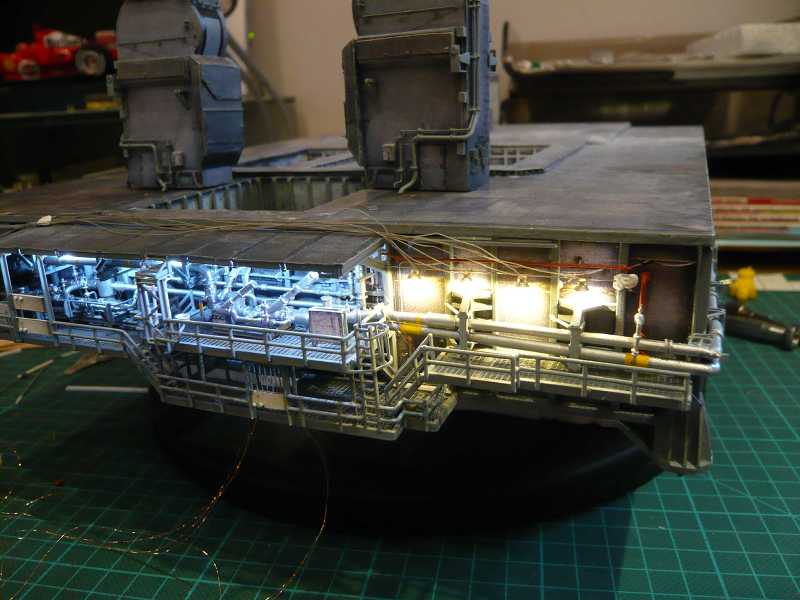 And here without room illumination at 1,5 mA: 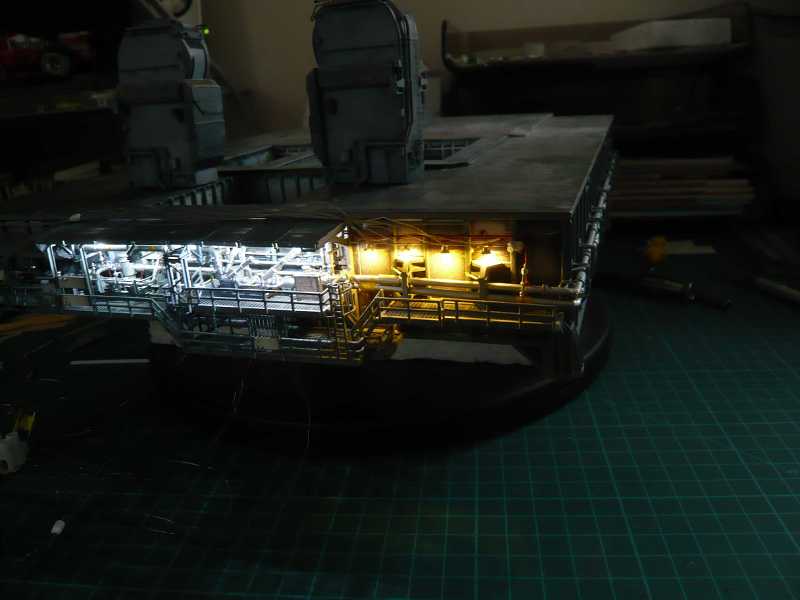 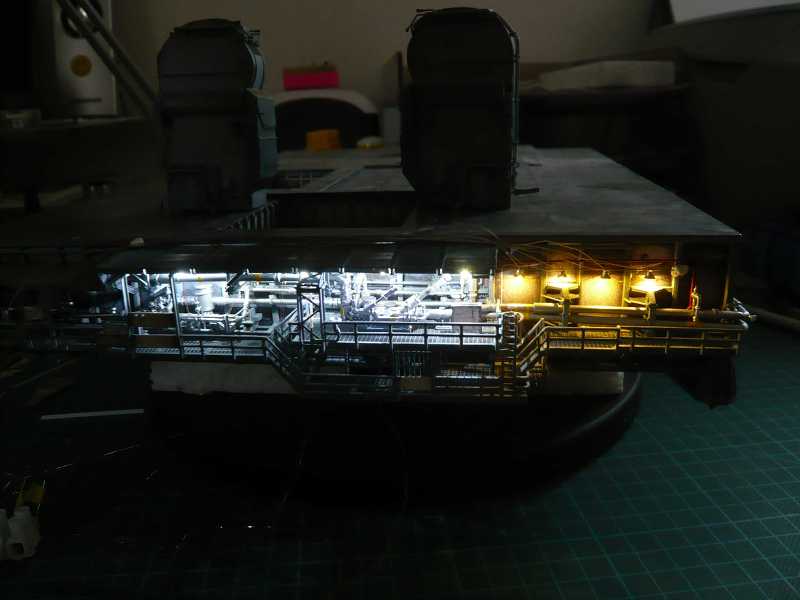 And here the slow expiration of the LEDs after power-off, so even lower brightness than the 1,5 mA. 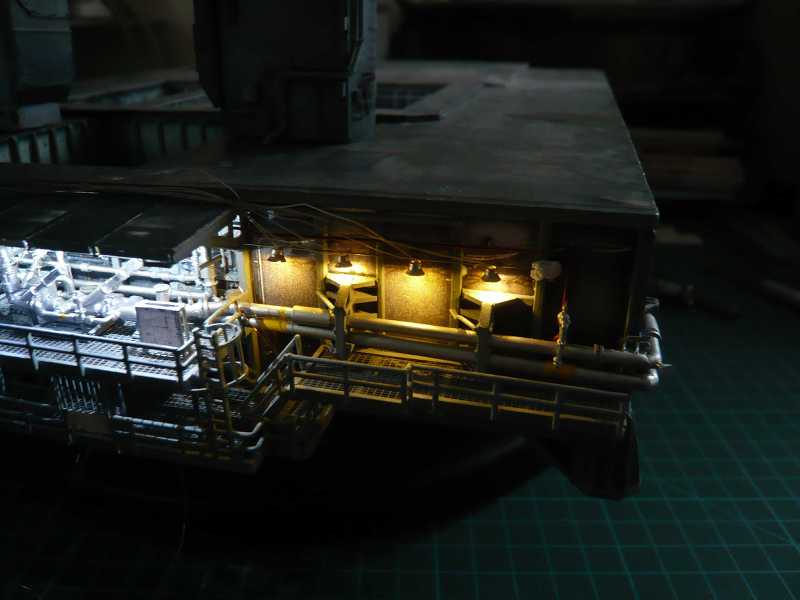 So friends of the LED light, now judge for yourself, I hope that for every taste is catered for.
__________________
Greetings from Germany Manfred Under construction: Launch Pad 39A with Challenger STS-6 (1:144)
|
|
#398
02-25-2014, 03:38 PM
|
||||
|
||||
|
Master. Sir.
__________________
My models on my blog.
|
|
#399
02-25-2014, 08:26 PM
|
||||
|
||||
|
Wow! This just gets better. I do feel privileged to live in such a great age of card modeling.
I remember decades ago, when I was still a styrene-head, FineScale Modeler had a piece about cardmodeling. It was meant as an introduction, and the model the author built (it was an airplane but I can't recall what it was) was ok. It wasn't much to look at, frankly. It certainly didn't win me over to paper. But looking at this MLP reminds me that the best cardmodelers, like Manfred, are great craftsmen and they can do things with paper that are unbelievable. Like I said, Wow!
|
|
#400
02-25-2014, 09:27 PM
|
||||
|
||||
|
Manfred my man, you have hit the nail on the head. Now only 10,000 more to go!
__________________
OMG, I have finally discovered what's wrong with my brain: On the left side, there is nothing right, and on the right side, there is nothing left.
|
| Google Adsense |
 |
| Thread Tools | |
| Display Modes | |
|
|


 Linear Mode

