


|
|
|
#2451
 06-19-2021, 01:16 PM
|
|||
|
|||
|
At this stage of the build I would not be surprised if you are going to replicate the entire Cape to have a proper diorama.


|
|
#2452
06-19-2021, 05:15 PM
|
||||
|
||||
 Marcell, please don't push me to extremes ... Marcell, please don't push me to extremes ...  Then I would have to build Pad 39B too ...  Maybe in my next life ...  
__________________
Greetings from Germany Manfred Under construction: Launch Pad 39A with Challenger STS-6 (1:144)
|
|
#2453
06-21-2021, 03:24 AM
|
|||
|
|||
|
The quantum barrier is strong with you, Mani!
|
|
#2454
06-21-2021, 08:28 AM
|
||||
|
||||
|
Hello everybody,
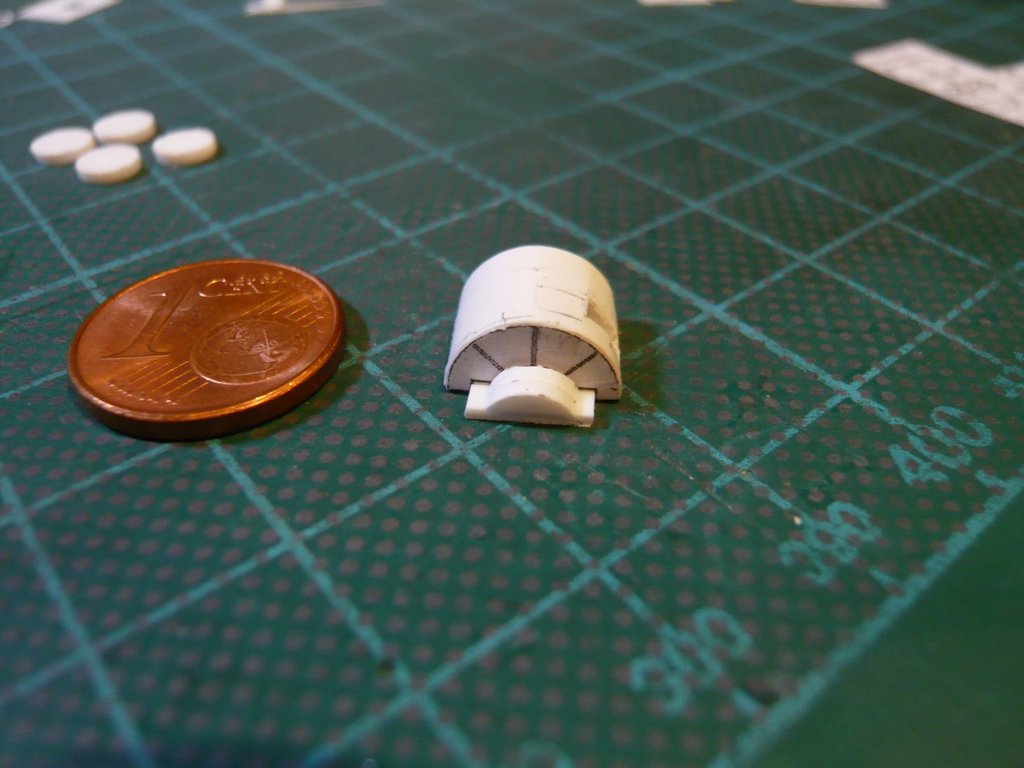
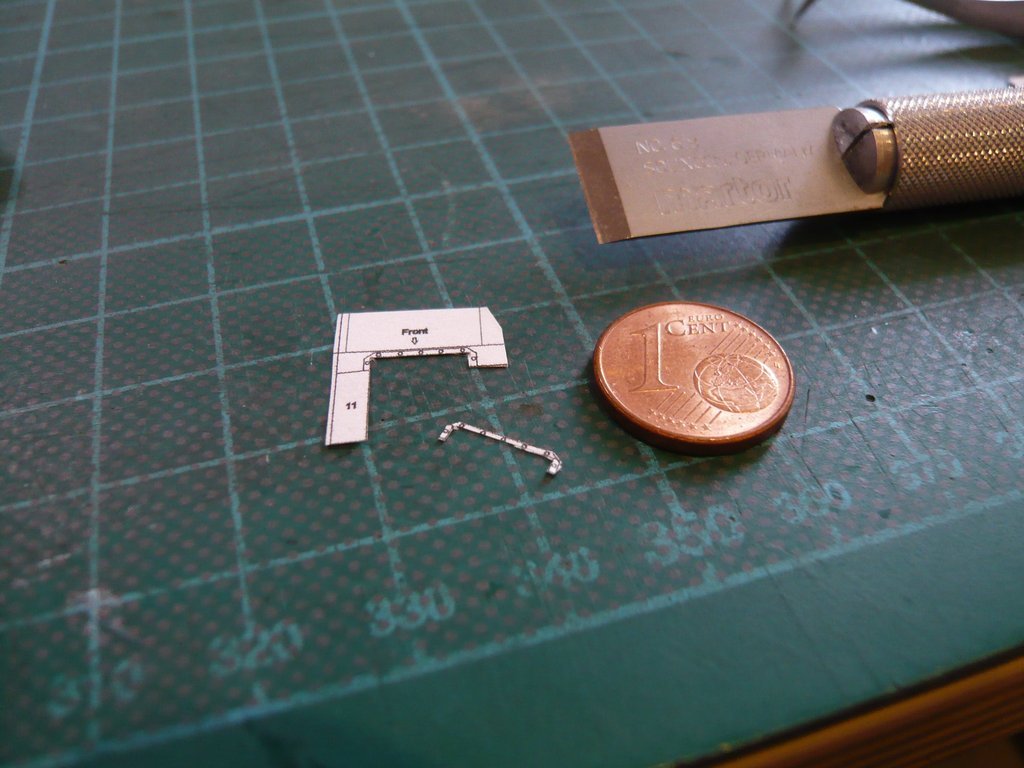
for a better overview I have again determined some dimensions of the parts in the 3D PDF, 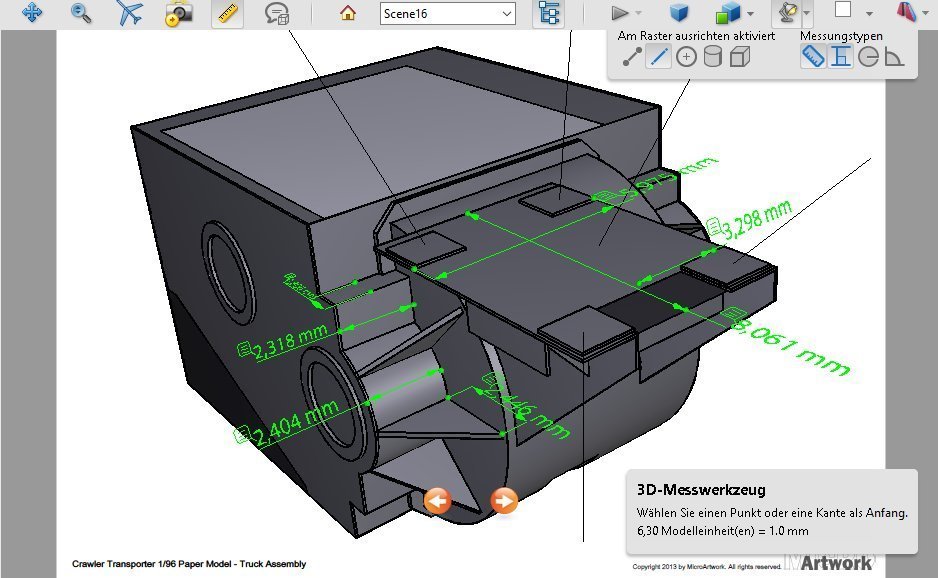 Source: Micro Artwork, Mischa Klement (cyana) which I've then printed out from the Outlines PDF.  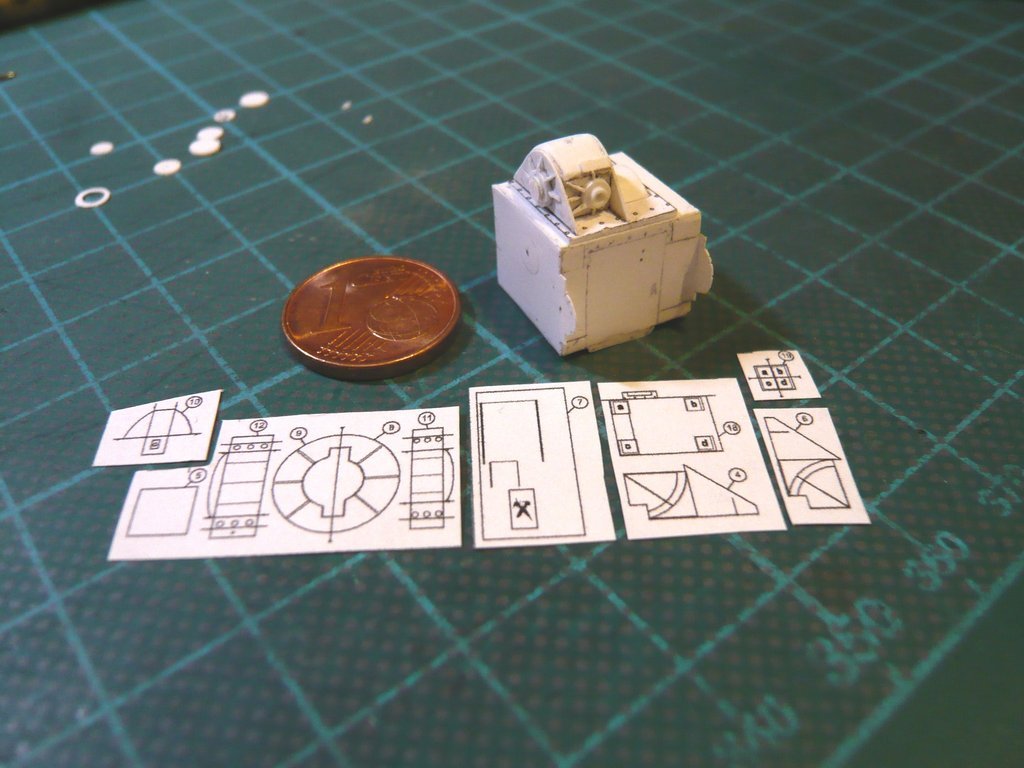 At it first I didn't even notice that both side parts (Parts 8, 9) have different inner contours,  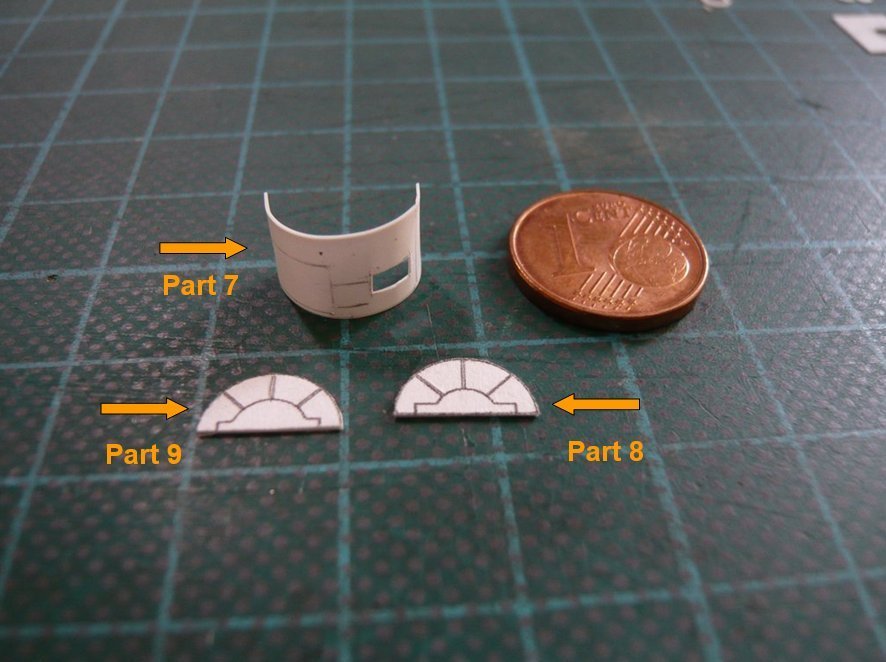 which promptly resulted in the fact that I've glued the side walls reversed in the bulging cladding, which I've only noticed later.  The bonding was carried out on a sheet metal base, to be on the safe side again on a Teflon foil (PTFE), the parts being fixed with small super magnets to prevent slipping. 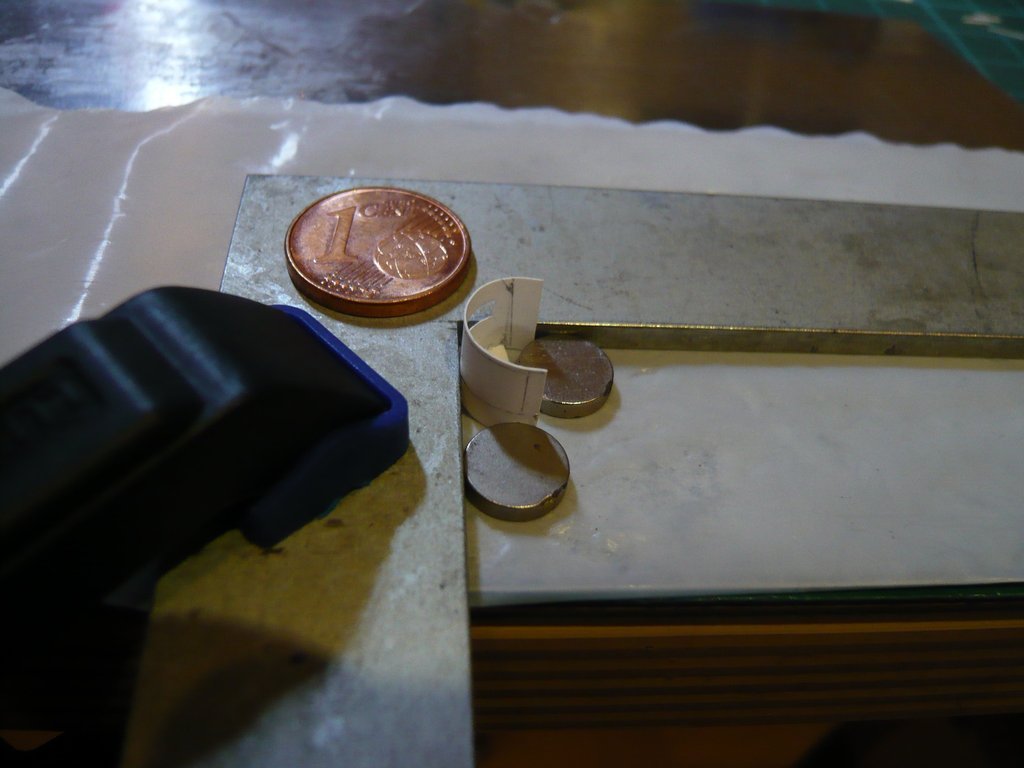 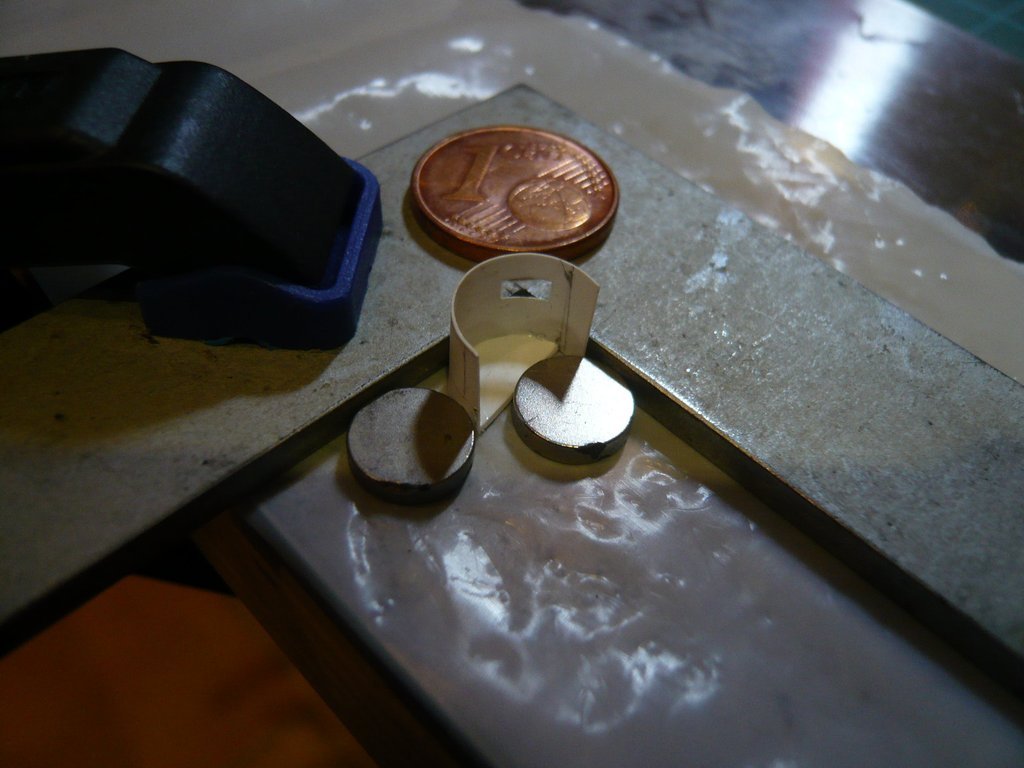 Before, I had cut out the opening for the small lining (Part 10), 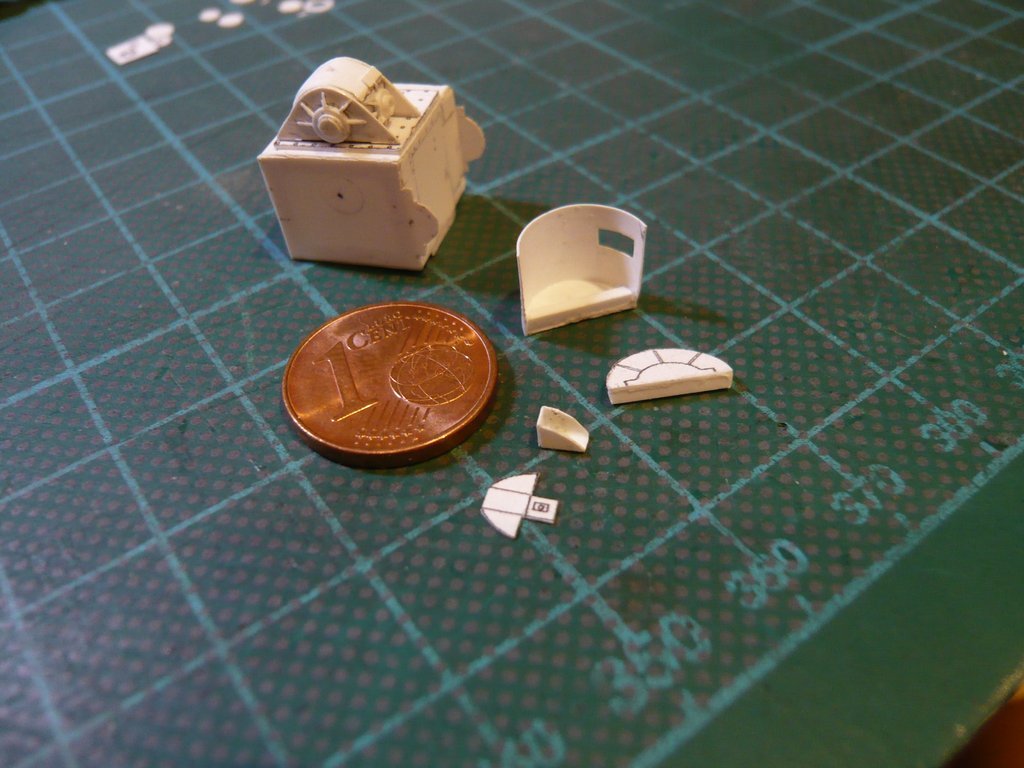 which was then glued inside, which was quite a fiddling, until it was in the right place and the glue was cured.  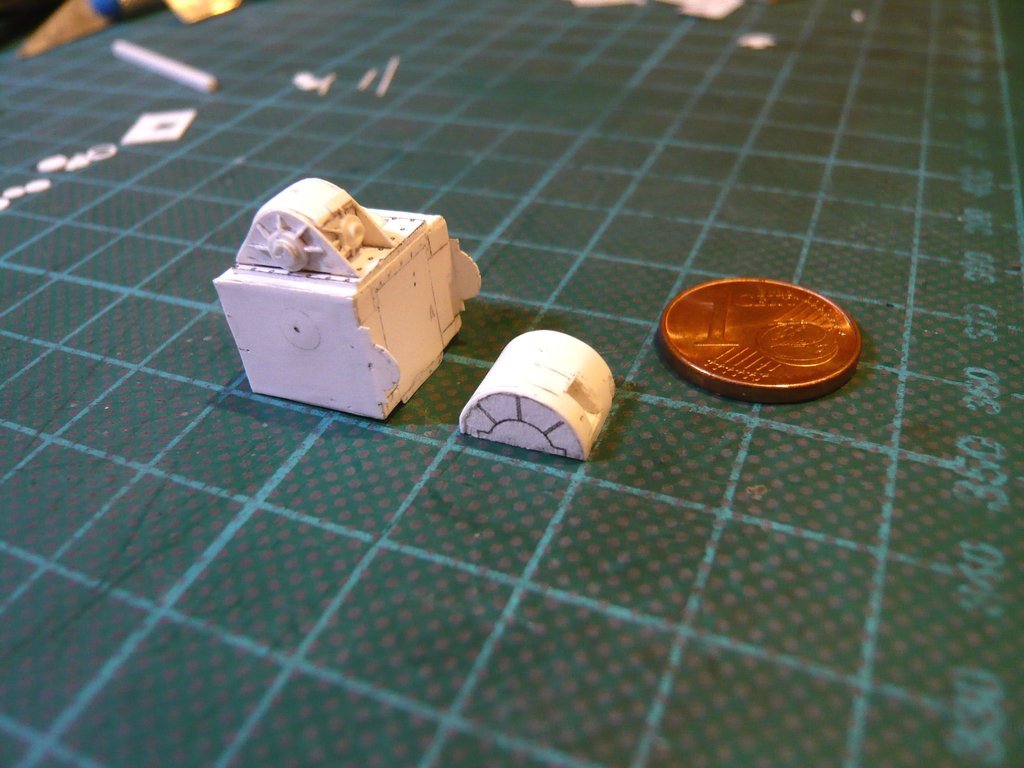 And only when I had put the cladding on the housing did I notice that the semicircular contours did not match because I had glued the side walls of the cover the wrong way round.  This careless mistake had happened to me, because I had already thought more about the construction of the lower, curved claddings (Parts 11, 12) on the flat bases.  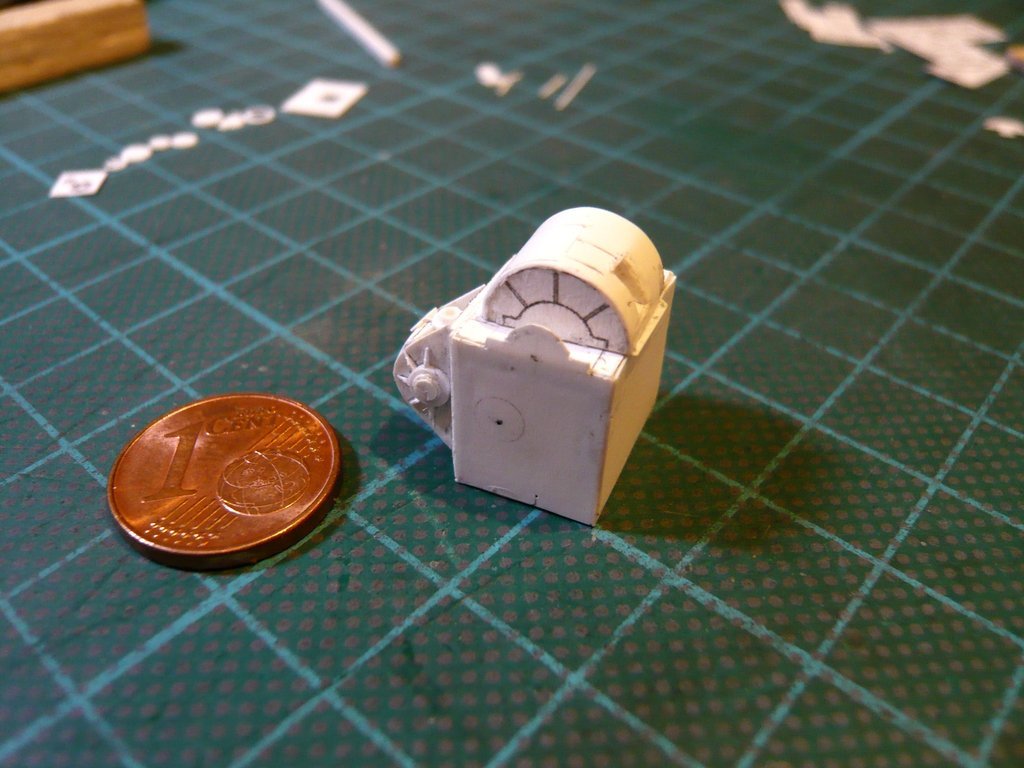 These small claddings I wanted to build from a base strip and an attached circle segment, for which I had punched out several discs (Ø 5 mm) from Styrene (1 mm) to get the required width, which is different on both sides, as you can see from the laid stripes on. 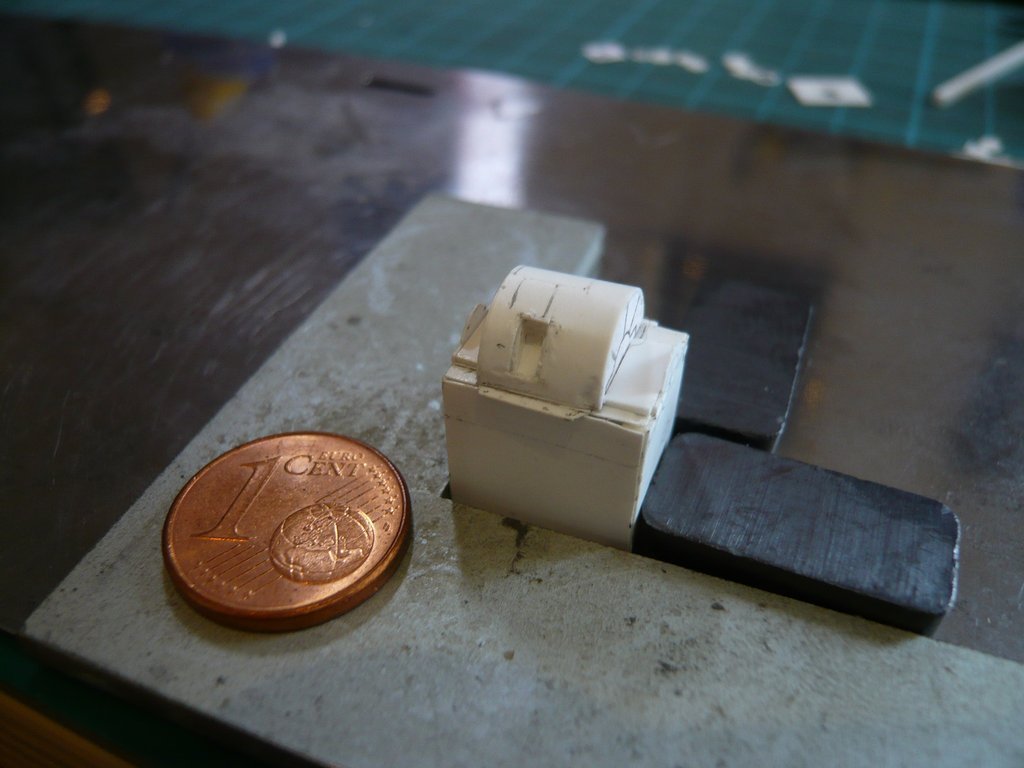 Then I've drawn the segments on the discs, 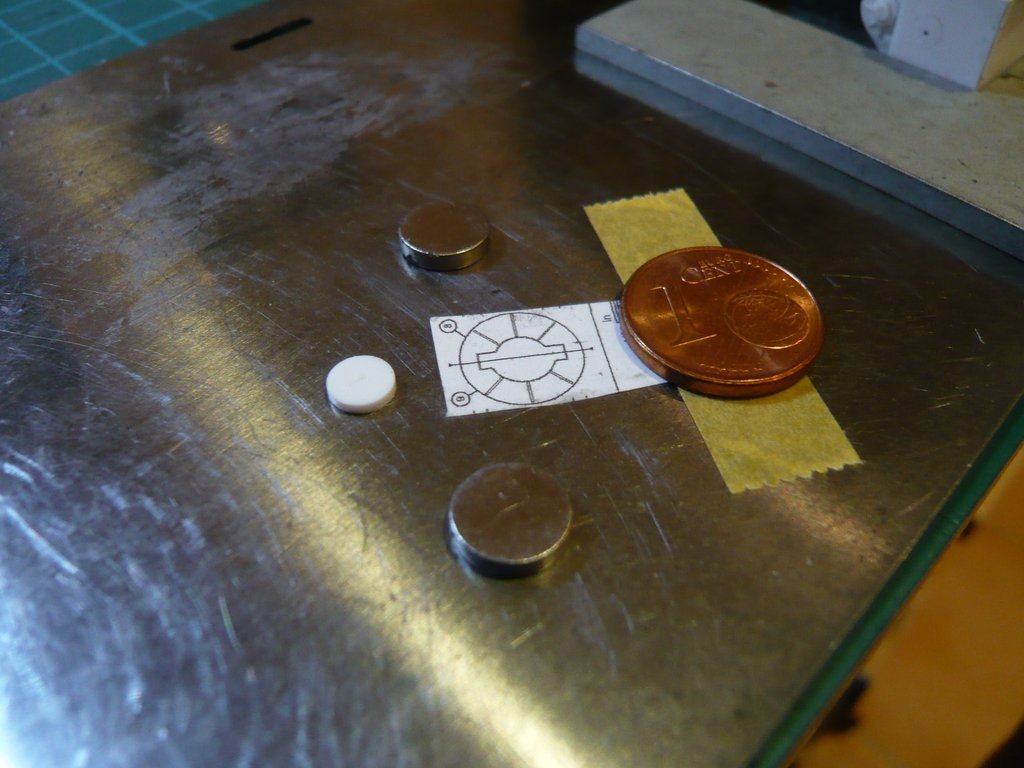 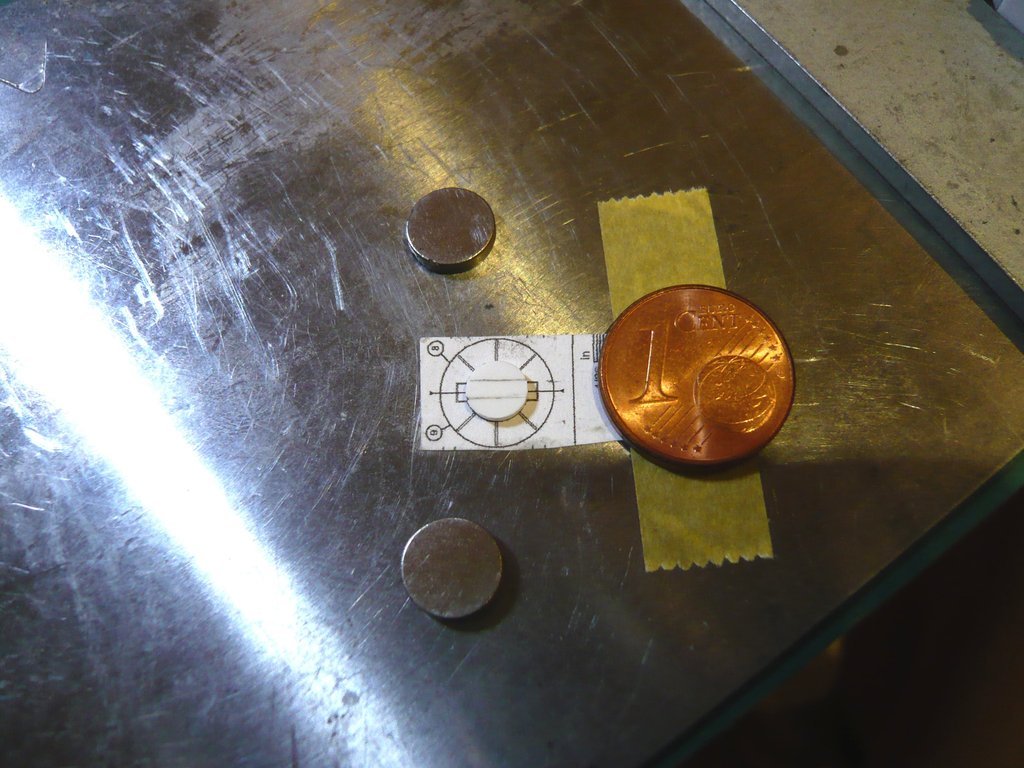 whereby I've cut the segments for the smaller curvature (Part 8 ) a little narrower, 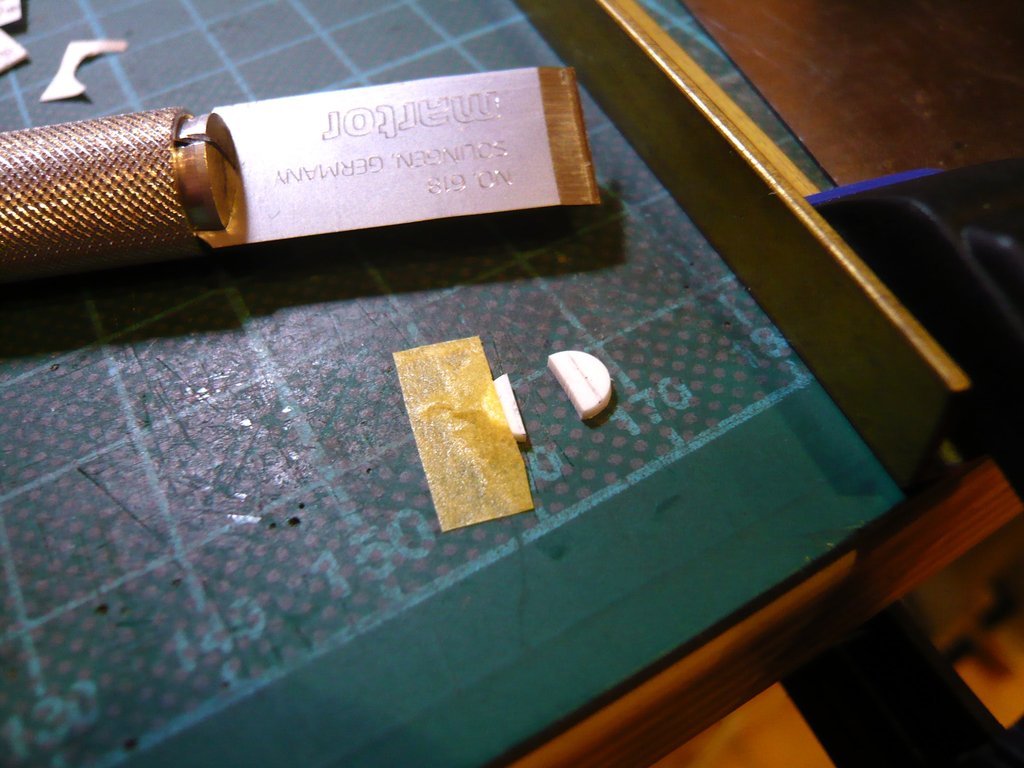 in order to roughly account for the different contours. 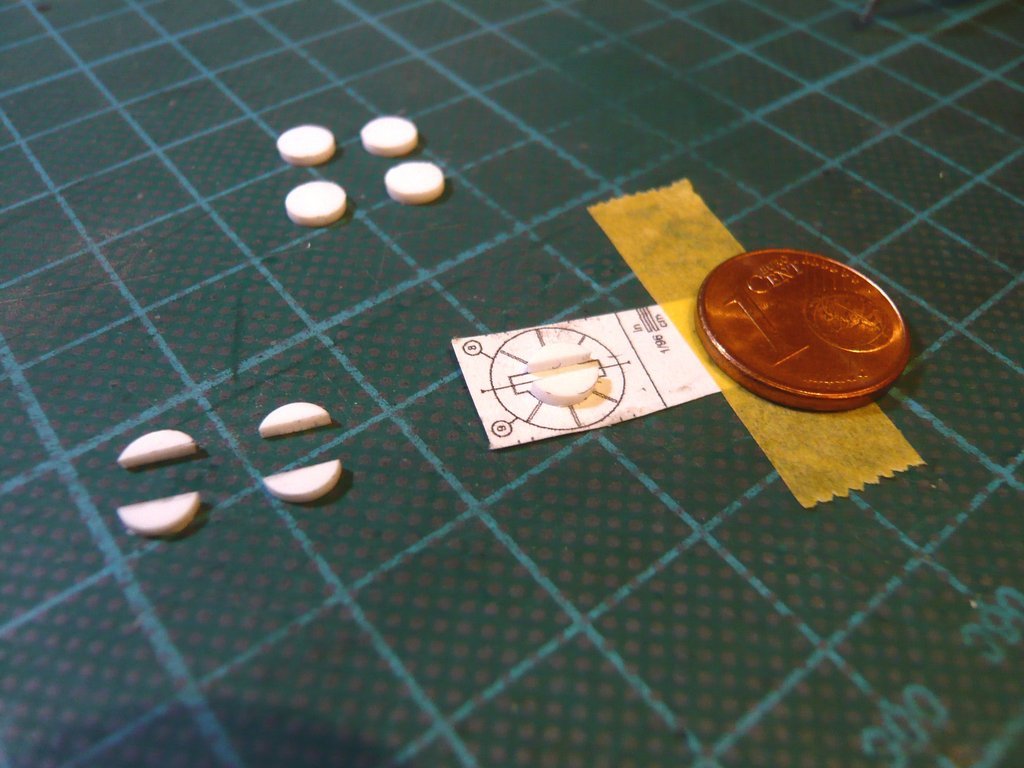
__________________
Greetings from Germany Manfred Under construction: Launch Pad 39A with Challenger STS-6 (1:144)
|
|
#2455
06-21-2021, 08:28 AM
|
||||
|
||||
|
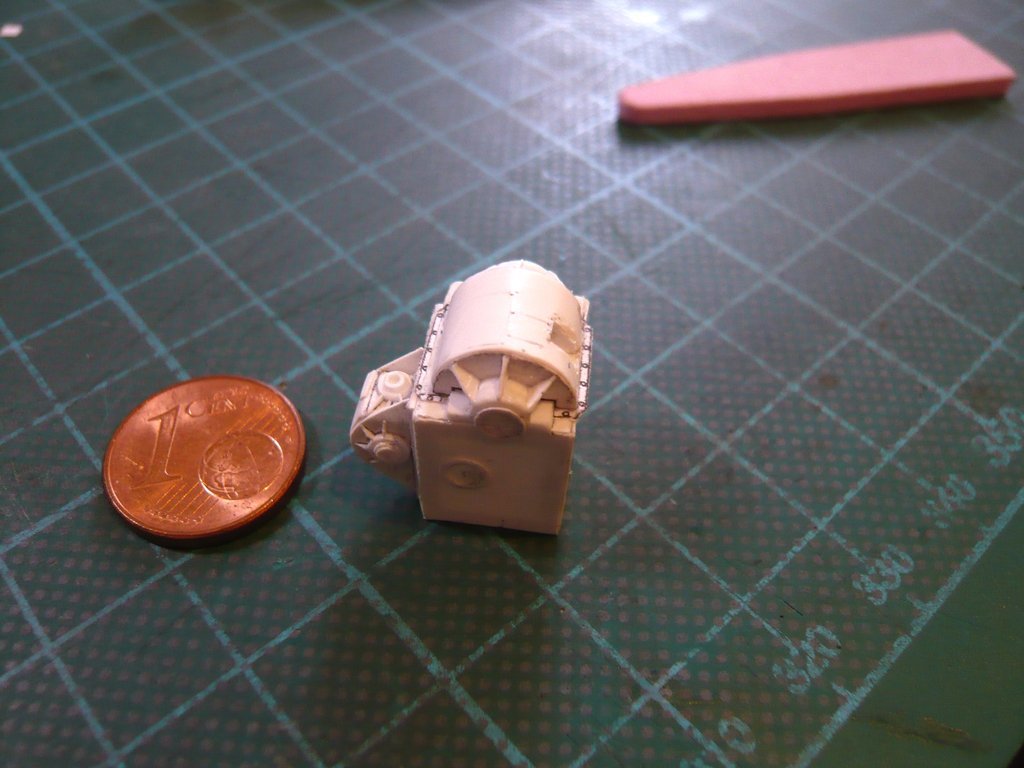
It looked like this in front of the side wall (Part 8), which didn't convince me of the proportions, because the lower curvature of the disc (Ø 5 mm) is too wide and optically simply does not match the large curvature.
  Therefore I've also punched out a couple of discs with Ø 4 mm, the circular segments of which fit perfectly into the picture. What such a small difference can make.  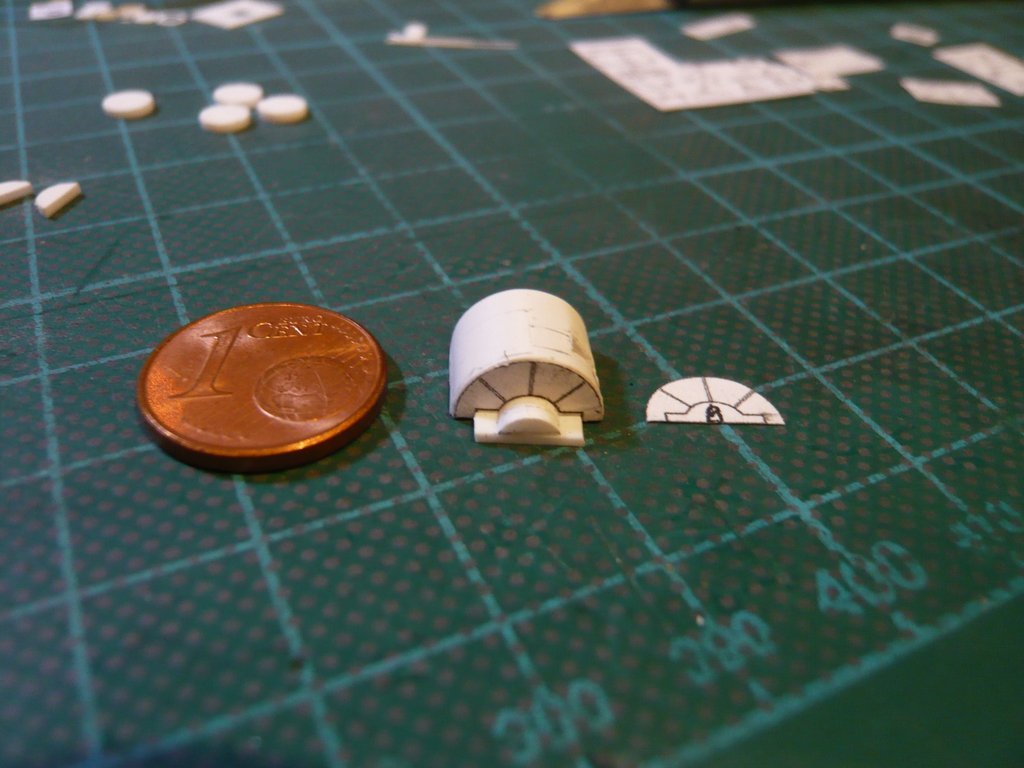 For this, the segments of the Ø 5 mm discs correspond exactly to the intended curvature on the other side wall (Part 9), 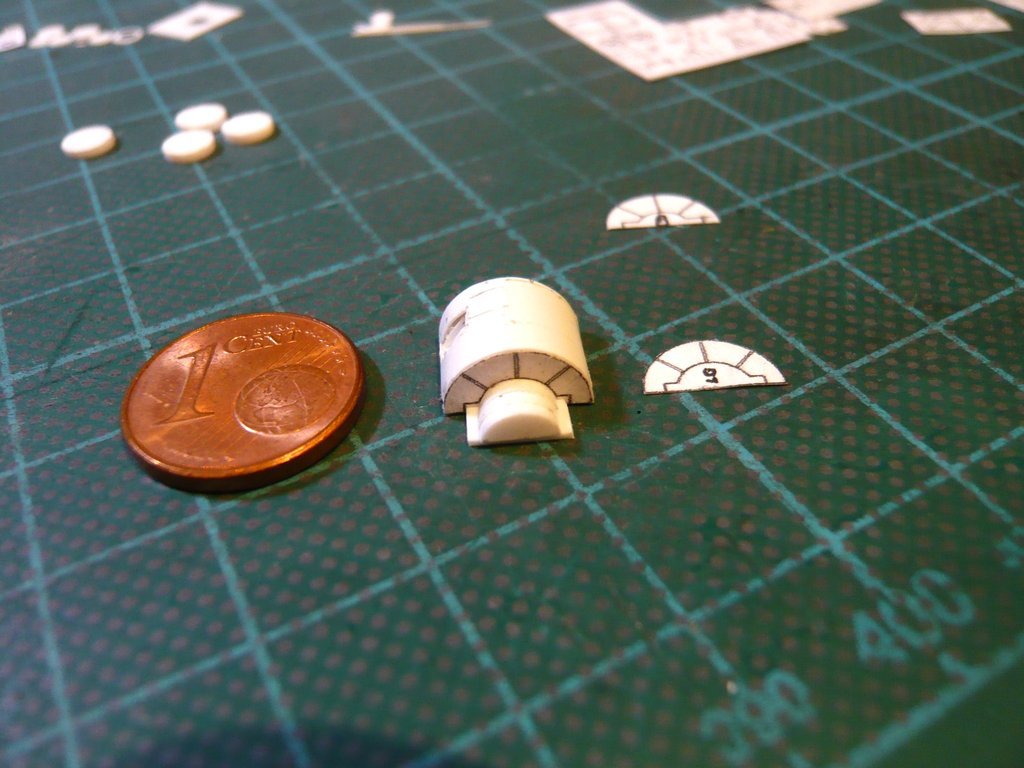 so that I can now glue these parts together.
__________________
Greetings from Germany Manfred Under construction: Launch Pad 39A with Challenger STS-6 (1:144)
|
|
#2456
06-23-2021, 04:43 PM
|
||||
|
||||
|
Hello everybody,
first I've glued the two circle segments for the front side wall together, slightly reworked the seams, and then glued them to the small base. After a short drying time, this small cladding was glued to the gear case. 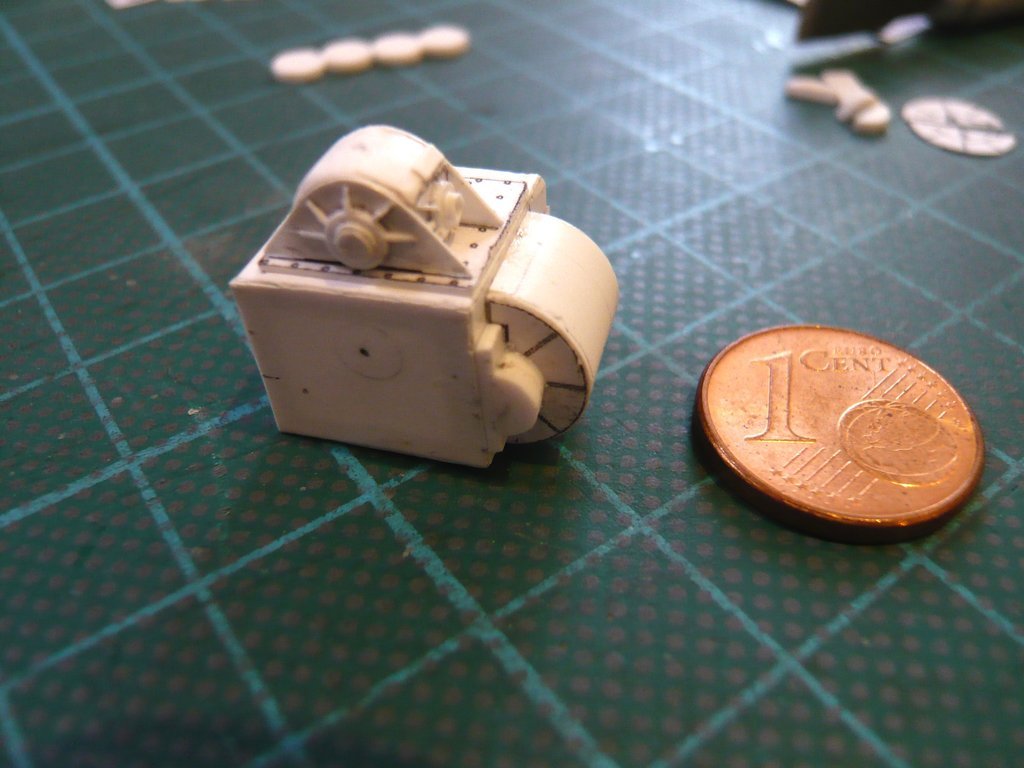 For the cladding on the rear side wall, three circle segments were glued together to get the slightly larger width. 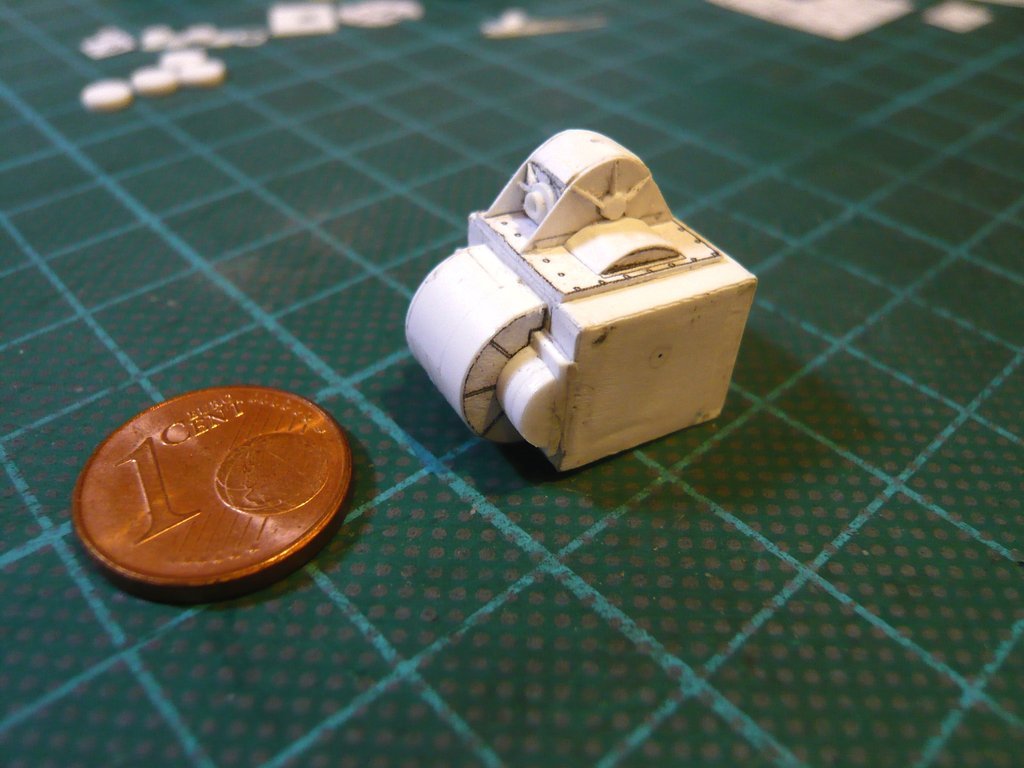 Then I've glued stripes again instead of the triangular struts, first on the front side wall, 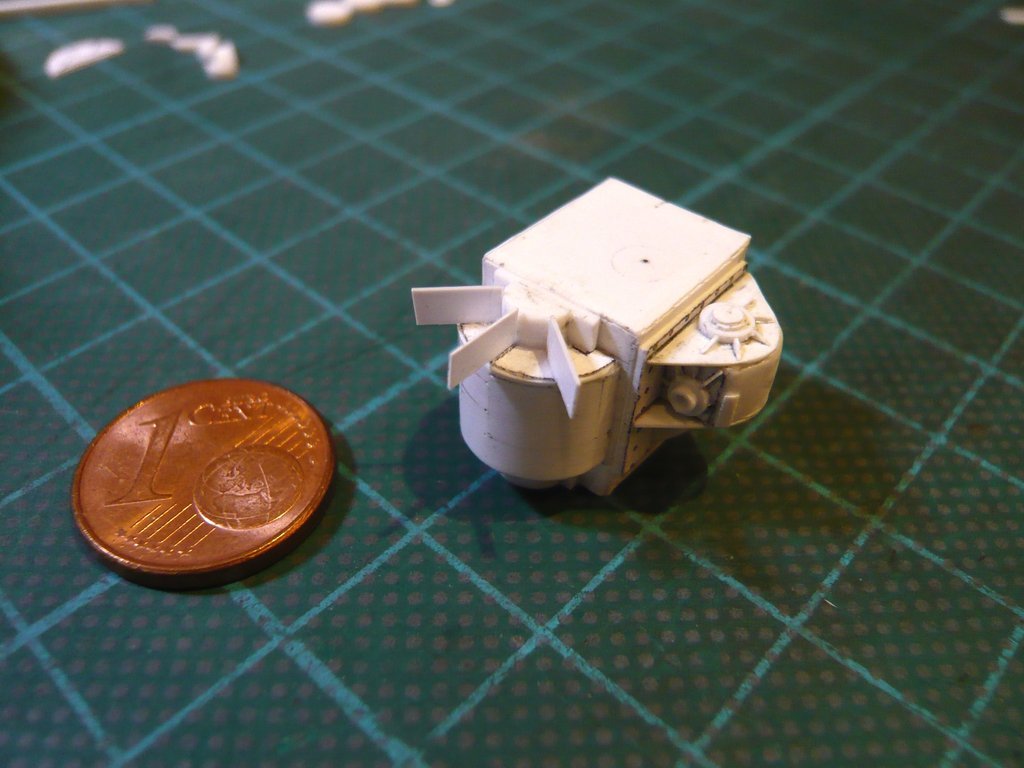 and then on the back of the cladding, whereby my Euro Cent was abruptly attracted by the magnet, which one know and take into account so that no damage is done.  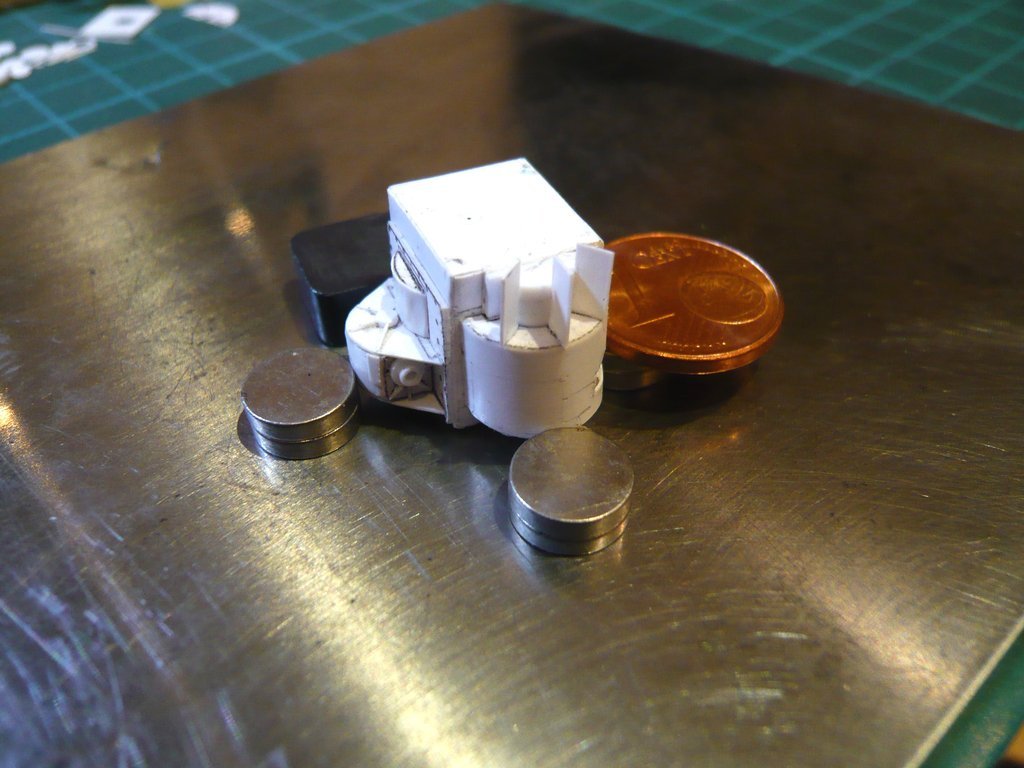 Then the protruding stripes were cut back to the triangular shape of the struts,  for what I've used the following tools to do. In addition to two nail scissors and the razor blade, this Minaral file was particularly well suited for the gentle finishing of the slants, as its narrow side is smaller than the slants are long.  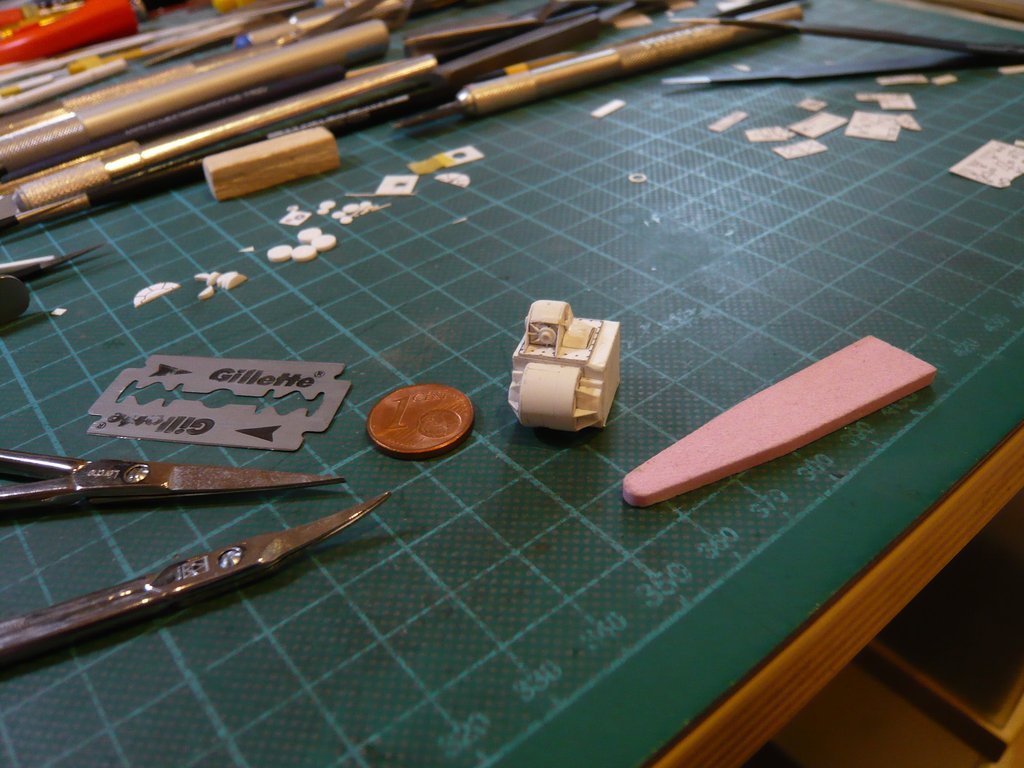 That was quite a game of patience, especially since I had to proceed with extreme caution and a steady hand in order not to tear off the struts, which only adhere to a minimal linear adhesive contact. But as it looks, the result is nothing to sneeze at.  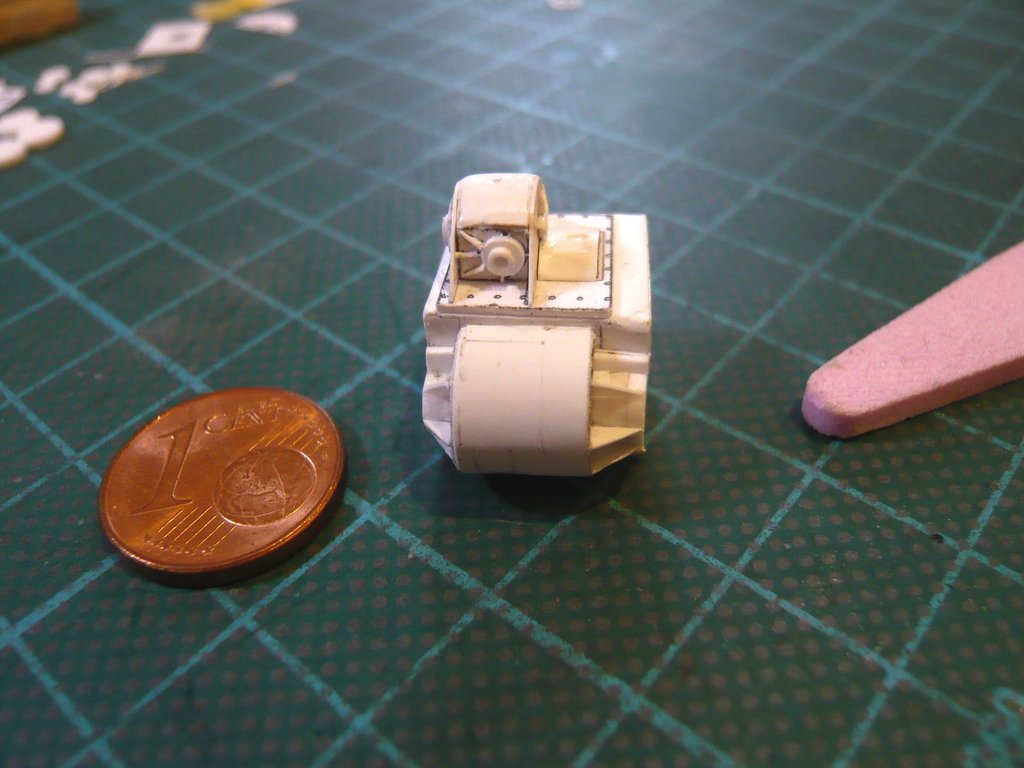 But now there are a few more details, such as these Rings (Parts 20), which I've already tried.  While I was able to punch out their inner diameter (Ø 2,4 mm) from sheet (0,2 mm), for the outer diameter (Ø 3,4 mm) I've punched out a template with which I could transfer this.  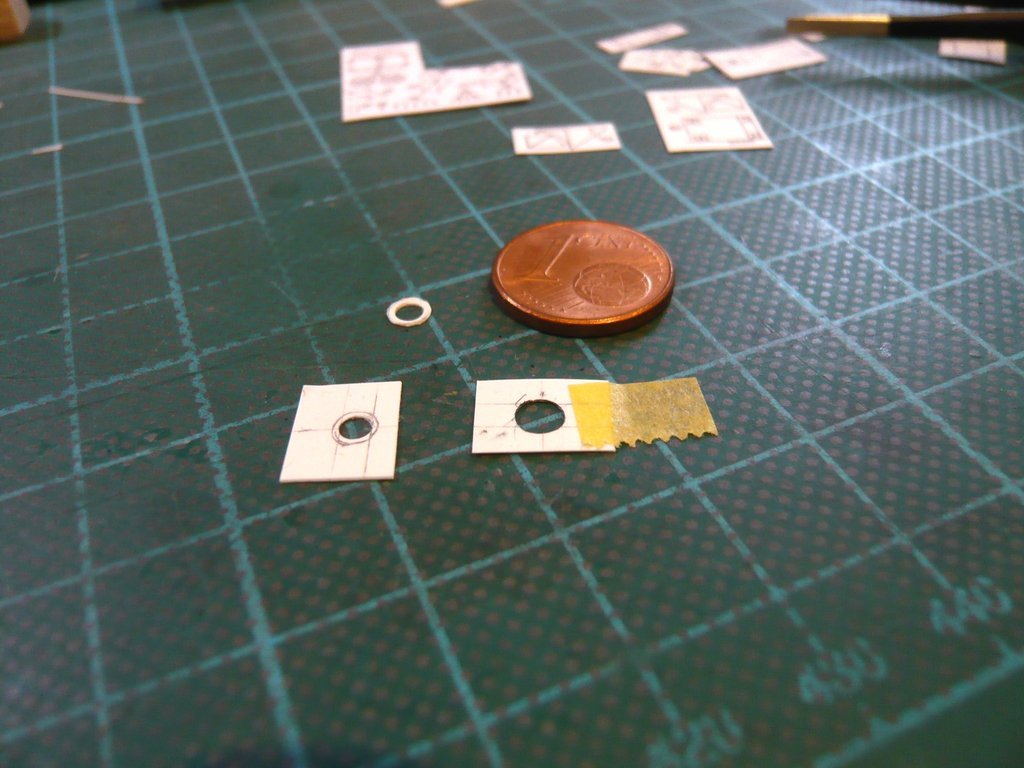 But now the harder part of the exercise came with cutting out the ring,  especially since its width is only approx. 0,5 mm, so one can still hardly hold the ring towards the end. especially since its width is only approx. 0,5 mm, so one can still hardly hold the ring towards the end.  Therefore, I had to leave a small overhang on the ring, which I've then painstakingly stroked off all around with the mineral file.  And after the rings were carefully glued, I was able to take a deep breath and wipe off my sweat. And after the rings were carefully glued, I was able to take a deep breath and wipe off my sweat. 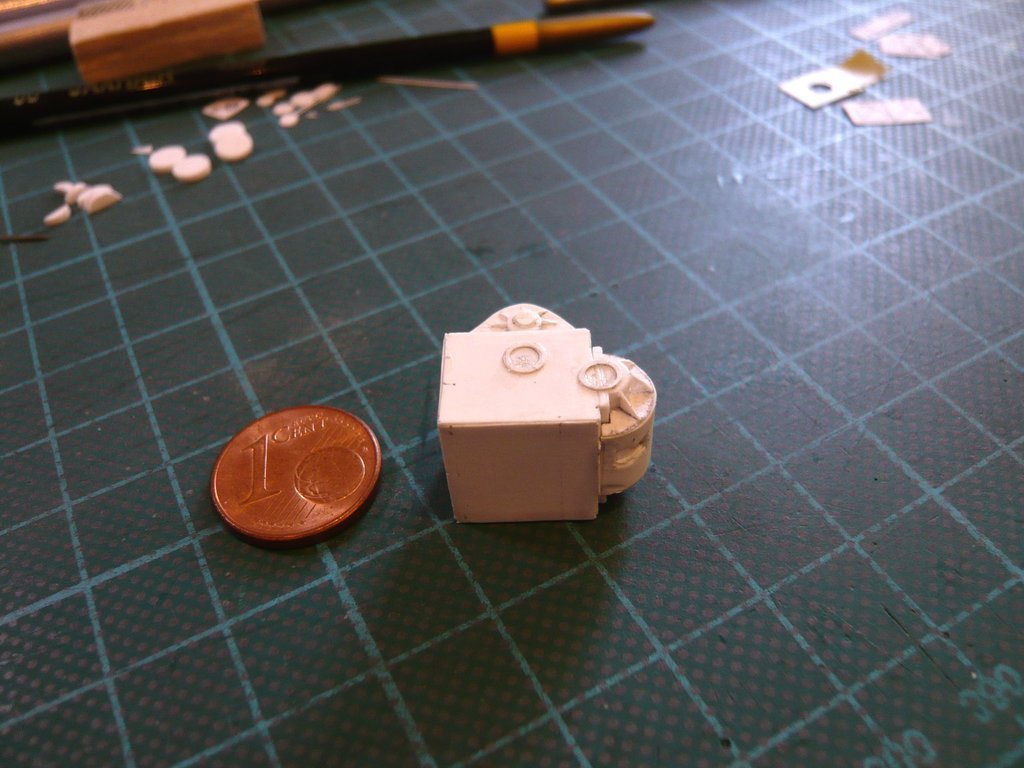
__________________
Greetings from Germany Manfred Under construction: Launch Pad 39A with Challenger STS-6 (1:144)
|
|
#2457
06-23-2021, 04:46 PM
|
||||
|
||||
|
Then there are these small screws bezels (Parts 2/3) that I wanted to at least indicate, even if only made of paper, but at least.
  Next to come this small Platform (Parts 4-6, 16-19) on which the Propel motor is mounted, 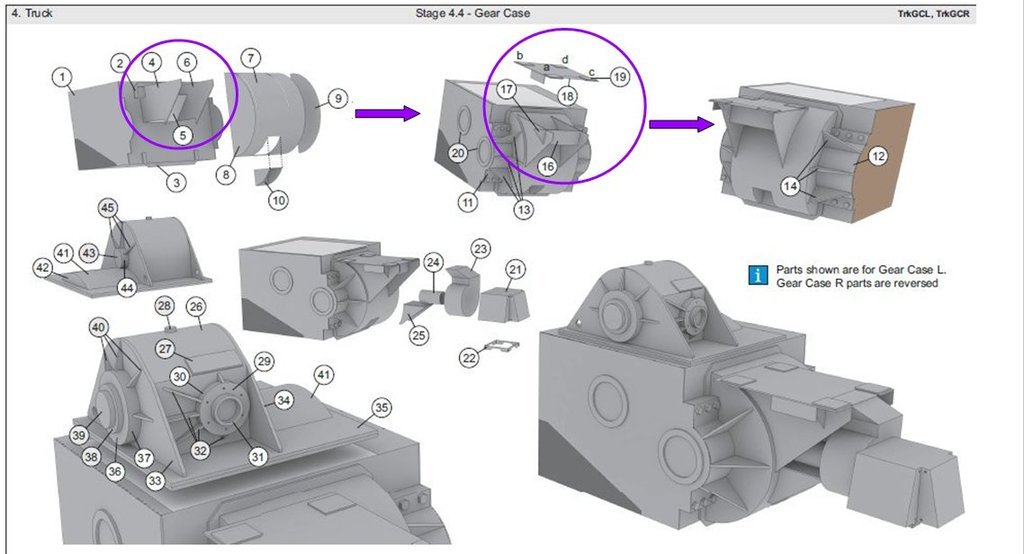 whereby I will modify the structure of the pedestal a bit. 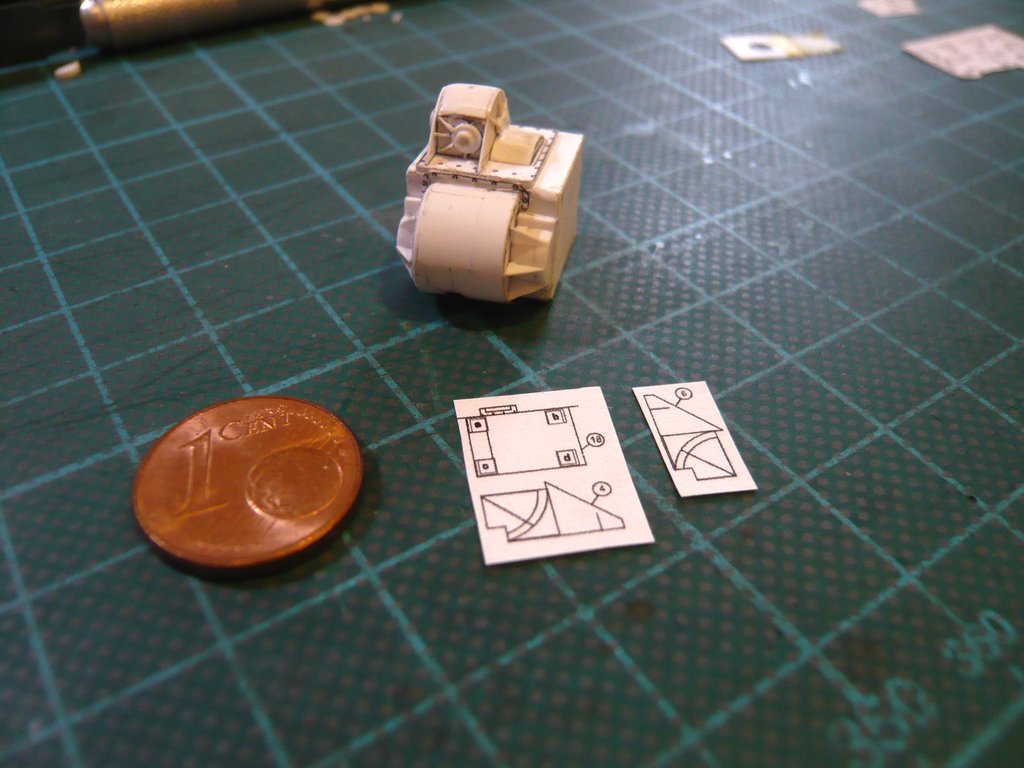 That's it for today.
__________________
Greetings from Germany Manfred Under construction: Launch Pad 39A with Challenger STS-6 (1:144)
|
|
#2458
06-23-2021, 05:24 PM
|
||||
|
||||
|
Quote:
I'm still expecting him to add diesel and have it crawl off at 3 scale miles per hour! 
|
|
#2459
06-24-2021, 04:59 PM
|
||||
|
||||
|
Hold on tight to your dreams, Becky ...
 BTW, you are overestimating the performance of the diesel engines, the maximum speed of the Crawler is only 1 mph.
__________________
Greetings from Germany Manfred Under construction: Launch Pad 39A with Challenger STS-6 (1:144)
|
|
#2460
06-24-2021, 06:53 PM
|
||||
|
||||
|
Quote:
__________________
>-8 Live long and paper \\//_
|
 |
| Thread Tools | |
| Display Modes | |
|
|


 Linear Mode

